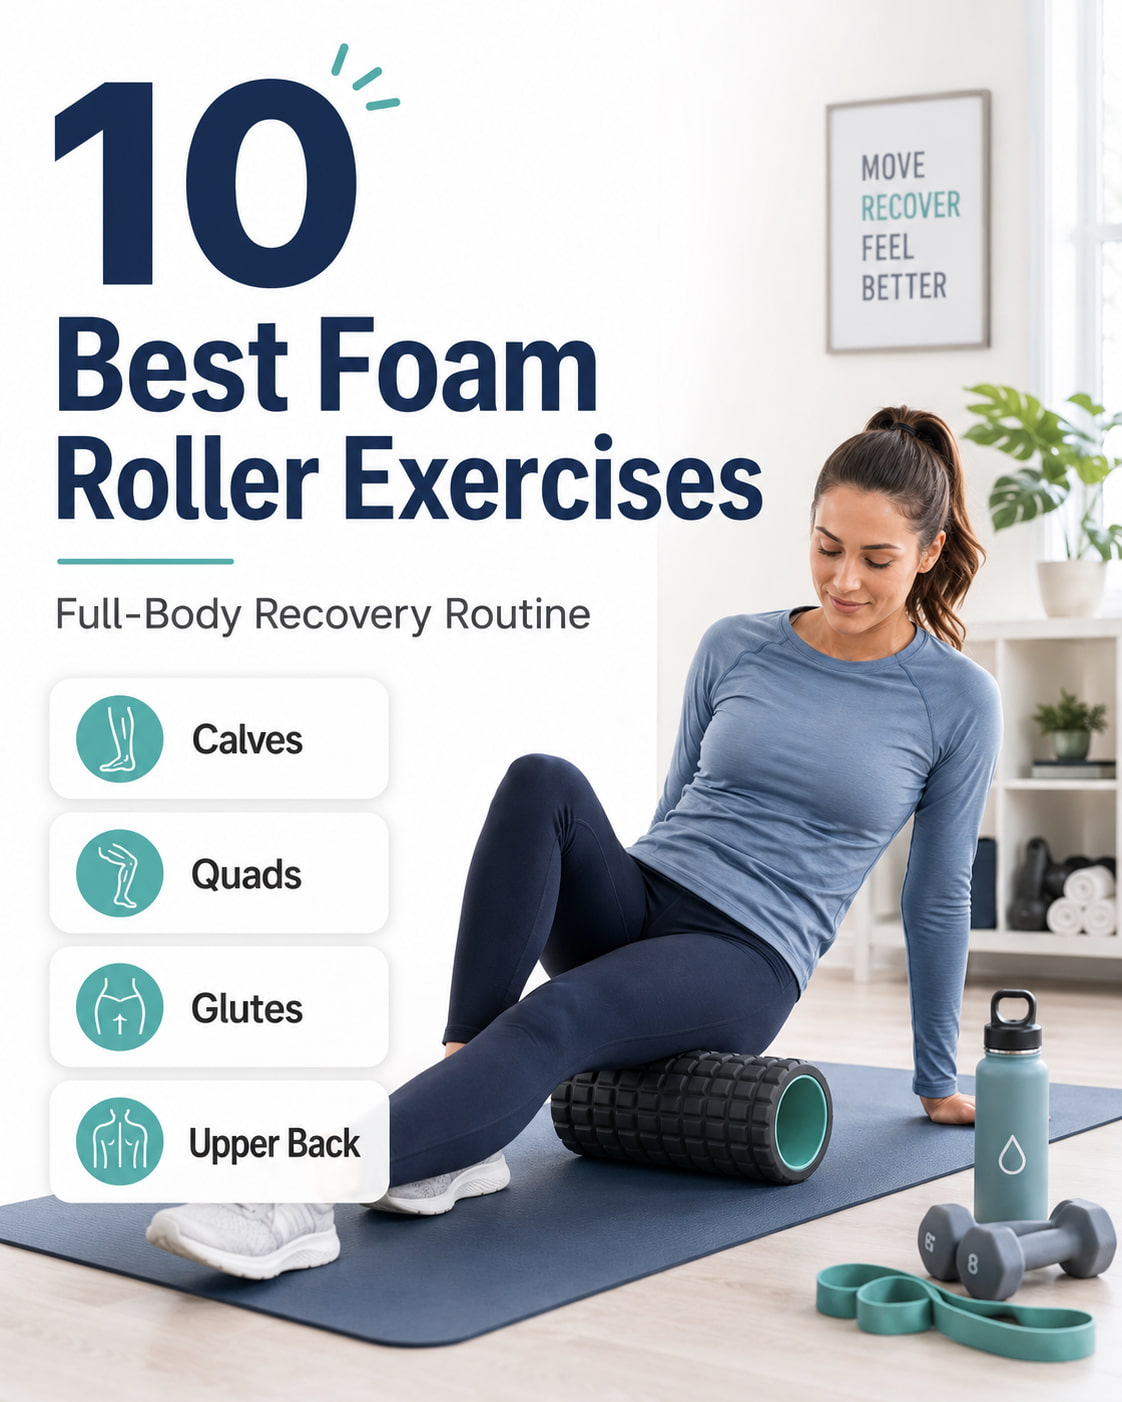
Foam roller exercises are self-massage drills that may help reduce muscle tightness, improve short-term range of motion, and support recovery after training. They are simple, affordable, and easy to add before a workout, after a workout, or on an active recovery day.
A foam roller is not a cure for pain, injury, or poor movement. But when used with good technique, it can help you feel looser, move more comfortably, and prepare tight muscles for better exercise form. In this guide, you will learn the best foam roller exercises for full-body recovery, how to do each one correctly, common mistakes to avoid, and how to build a simple routine.
What Are Foam Roller Exercises?
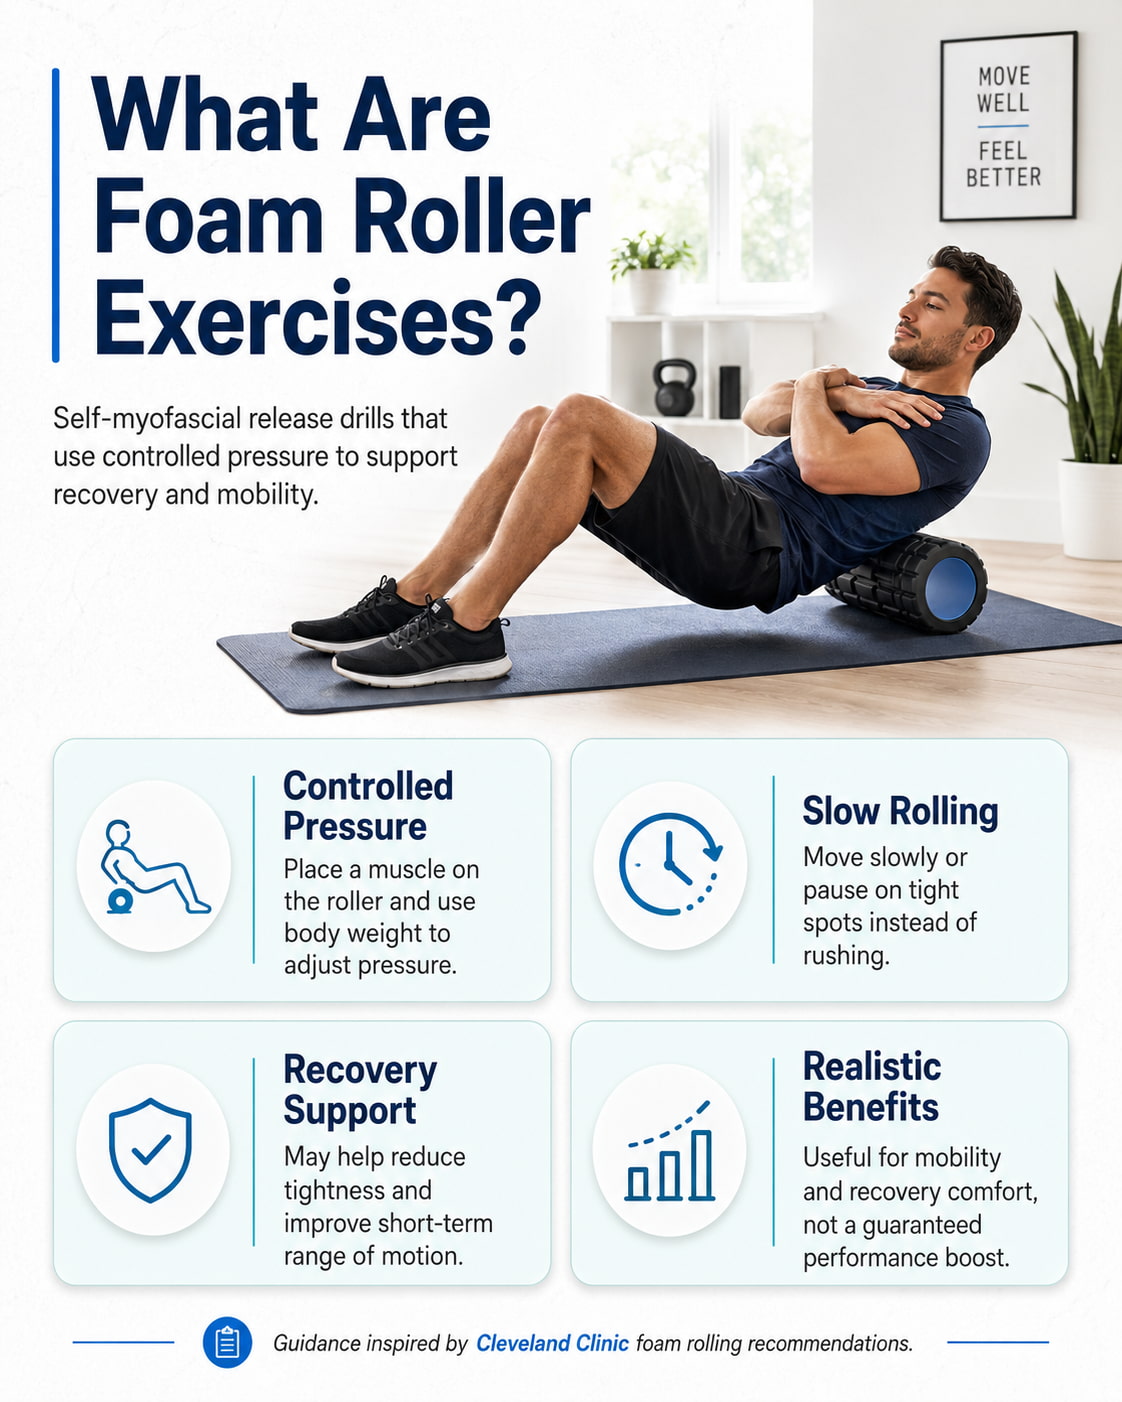
Foam roller exercises are self-myofascial release drills. You place a muscle on a cylindrical roller and use your body weight to apply controlled pressure. As you slowly roll or pause on tight spots, the goal is to help the area relax and move better.
The Cleveland Clinic foam rolling guide describes foam rolling as a technique often used for muscle tightness, soreness, inflammation, and range of motion. Research also supports a realistic view: foam rolling may improve range of motion and recovery comfort, but it should not be sold as a guaranteed way to boost strength, speed, or performance.
Benefits of Foam Roller Exercises
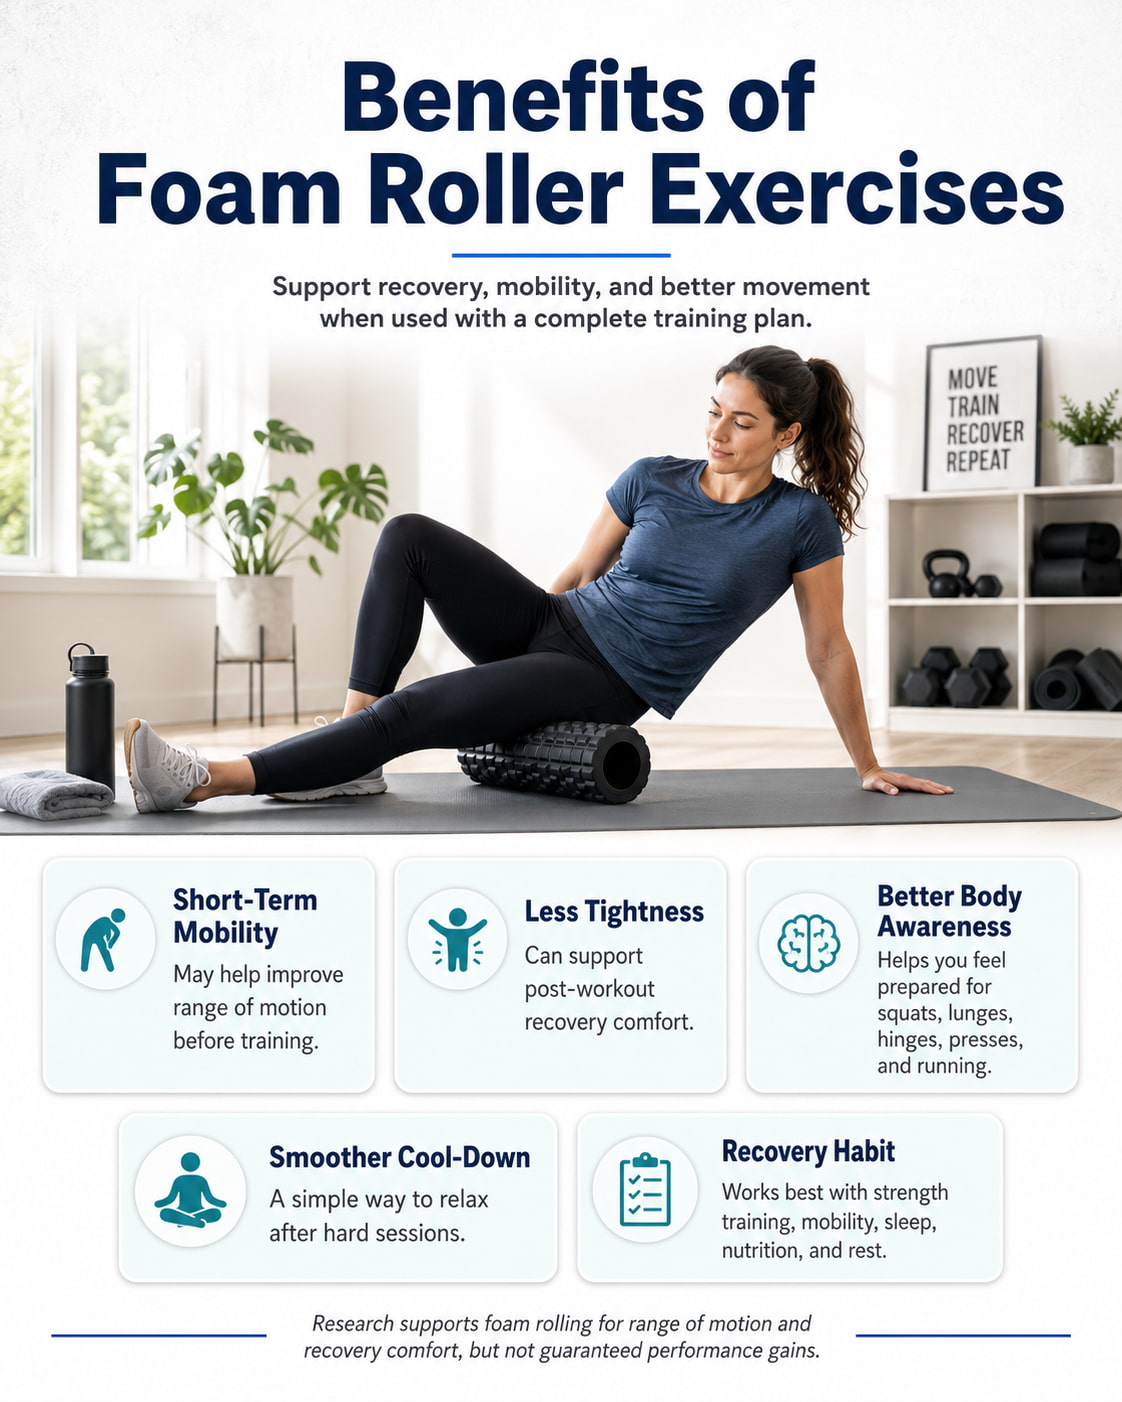
Foam roller exercises are most useful when they are part of a complete training plan. They work best alongside strength training, mobility work, warm-ups, cool-downs, sleep, nutrition, and smart recovery habits.
A systematic review in the Journal of Bodywork and Movement Therapies found that foam rolling can increase range of motion and may be useful for recovery from exercise-induced muscle damage, but it could not conclude that foam rolling directly improves athletic performance beyond range of motion.
- Foam rolling may help support:
- Better short-term mobility before training.
- Less post-workout tightness.
- Improved body awareness before squats, lunges, hinges, presses, and running.
- A smoother cool-down after hard sessions.
- A simple recovery habit on rest days.
How to Use a Foam Roller Safely
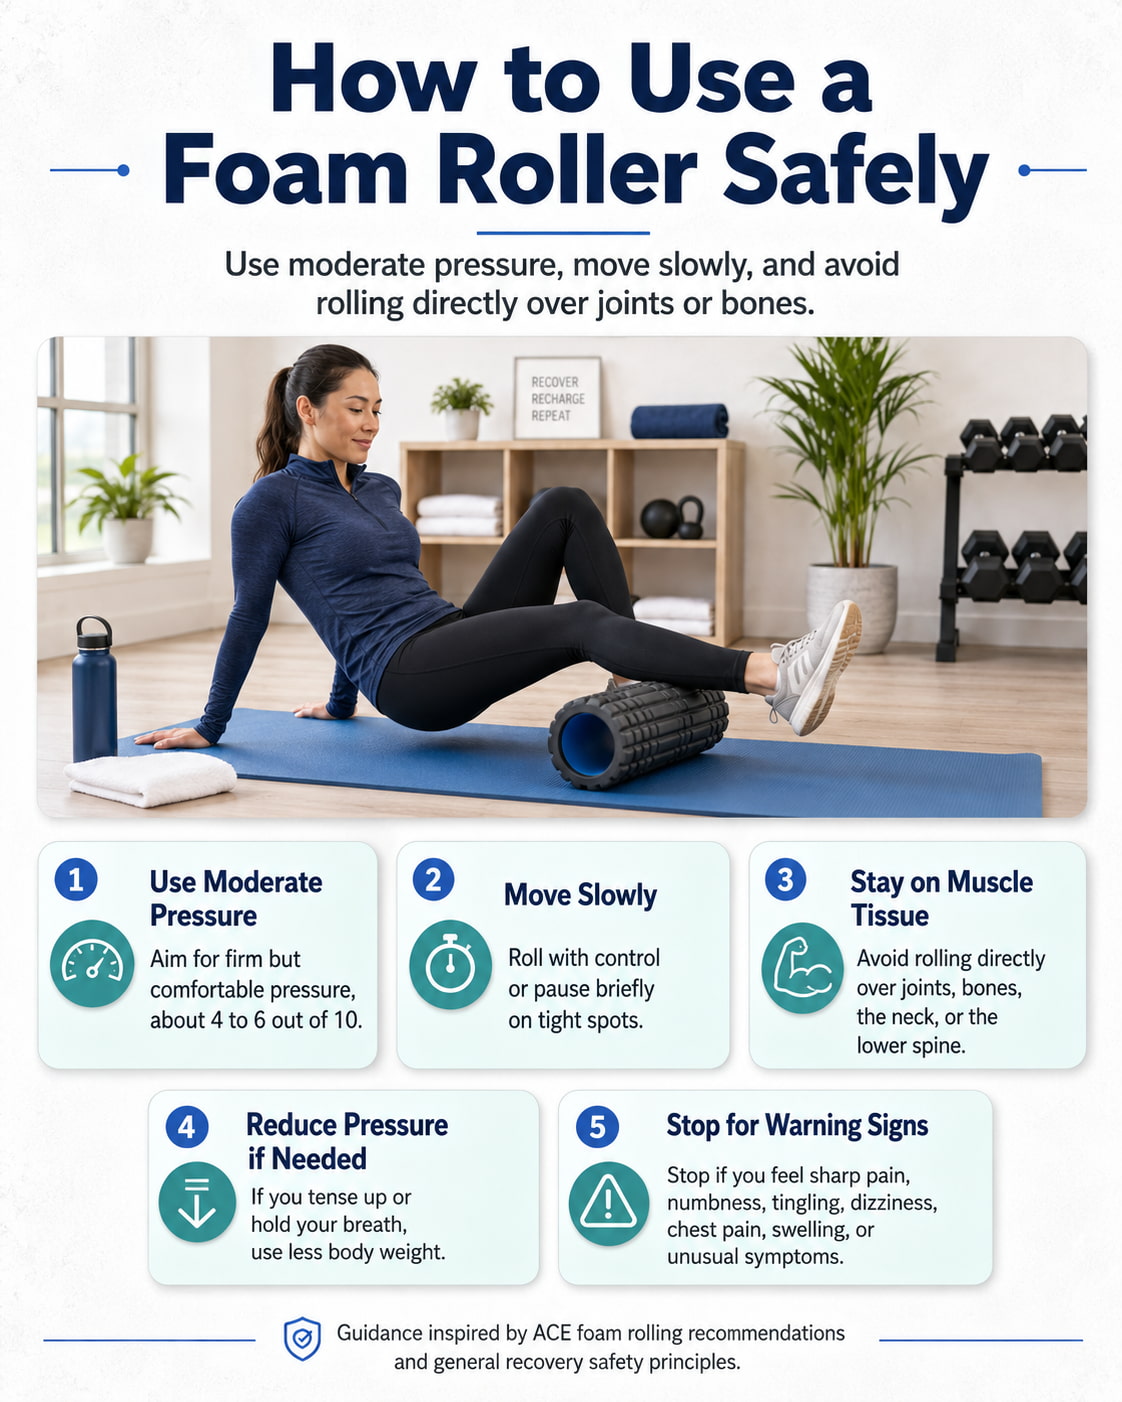
Start with moderate pressure. Foam rolling should feel firm, but it should not feel sharp, electric, or unbearable. A good target is about 4 to 6 out of 10 pressure. If you tense up, hold your breath, or feel like you are fighting the roller, reduce the pressure.
Move slowly. ACE recommends a controlled rolling speed and notes that longer pressure on tense areas can be used when appropriate, while also cautioning against overdoing deep pressure before training. You can review their guidance on using foam rollers for myofascial release.
Avoid rolling directly over joints, bones, the front of the neck, or the lower spine. Use the roller on muscle tissue, not on the knees, elbows, ankles, or bony points of the hips. Stop and seek professional help if foam rolling causes sharp pain, numbness, tingling, dizziness, chest pain, swelling, or unusual symptoms.
10 Best Foam Roller Exercises for Full-Body Recovery
Use these foam roller exercises as a full-body recovery flow or choose the areas that feel most tight after your workout. For most people, 30 to 90 seconds per area is enough.
1. Calf Foam Roll
Best for: Runners, jump training, hiking, long walks, lower-body workouts, and people who feel tight through the calves after standing for long periods.
Muscles worked: Gastrocnemius, soleus, and smaller lower-leg stabilizers.
Why it stands out: Calf foam rolling is simple, easy to control, and useful before squats, lunges, running, and ankle mobility work. The HSS foam roller exercise guide includes calf rolling as a basic lower-body drill.
Suggested sets and reps: Do 1 to 2 rounds of 30 to 60 seconds per side.
Rest: Rest 15 to 30 seconds between sides.
How to do it:
- Sit on the floor with one leg straight and the foam roller under your calf.
- Place your hands behind you for support.
- Lift your hips slightly and roll from below the knee toward the lower calf.
- Turn your leg slightly inward and outward to target different areas.
- Switch sides and repeat.
Common mistakes: Rolling directly behind the knee, moving too fast, using too much pressure, or letting the shoulders shrug up toward the ears.
Expert tip: Keep your breathing slow. If the calf tightens against the pressure, use less body weight.
2. Hamstring Foam Roll
Best for: Post-leg-day recovery, running, deadlift days, and people who sit for long periods.
Muscles worked: Hamstrings, including the biceps femoris, semitendinosus, and semimembranosus.
Why it stands out: Hamstring rolling can help you feel looser before hinge patterns, Romanian deadlifts, glute bridges, and sprint drills.
Suggested sets and reps: Do 1 to 2 rounds of 30 to 60 seconds per side or both legs together.
Rest: Rest 15 to 30 seconds between rounds.
How to do it:
- Sit with your legs extended and the roller under the back of your thighs.
- Place your hands behind your hips for support.
- Lift your hips slightly and roll from just above the back of the knees toward the glutes.
- Rotate your legs slightly to reach the inner and outer hamstring areas.
- Keep the movement slow and controlled.
Common mistakes: Rolling behind the knee, rushing the movement, leaning too far back, or using the roller as a painful test instead of a recovery tool.
Expert tip: If your wrists get tired, keep your hips lower or work one leg at a time with less pressure.
3. Quadriceps Foam Roll
Best for: Squats, lunges, cycling, running, step-ups, and lower-body strength training.
Muscles worked: Rectus femoris, vastus lateralis, vastus medialis, and vastus intermedius.
Why it stands out: The quads often feel tight after knee-dominant workouts. This drill targets the front of the thighs and can pair well with hip flexor mobility, glute activation, and squat warm-ups.
Suggested sets and reps: Do 1 to 2 rounds of 30 to 90 seconds.
Rest: Rest 30 seconds between rounds.
How to do it:
- Lie face down with the roller under the front of your thighs.
- Support your upper body on your forearms.
- Brace your core lightly and keep your spine controlled.
- Roll from the upper thigh toward just above the knee.
- Shift slightly side to side to cover more of the quad.
Common mistakes: Rolling over the kneecap, sagging through the lower back, holding the breath, or forcing painful pressure.
Expert tip: Keep your ribs pulled slightly toward your pelvis so your lower back does not arch hard.
4. Glute Foam Roll
Best for: Squats, deadlifts, hip thrusts, running, and recovery after long sitting.
Muscles worked: Gluteus maximus, gluteus medius, deep hip rotators, and surrounding posterior hip tissue.
Why it stands out: The glutes are major hip extensors and stabilizers. Rolling this area can help you feel more prepared for lower-body training and hip mobility work.
Suggested sets and reps: Do 1 to 2 rounds of 30 to 60 seconds per side.
Rest: Rest 15 to 30 seconds between sides.
How to do it:
- Sit on the foam roller with both knees bent.
- Place your hands behind you for support.
- Shift your weight onto one glute.
- Roll slowly over the fleshy part of the hip, not directly on the tailbone.
- Switch sides and repeat.
Common mistakes: Rolling on the tailbone, collapsing through the shoulders, using too much pressure, or twisting aggressively.
Expert tip: Keep the movement small. You do not need long rolls to target the glutes well.
5. Piriformis Foam Roll
Best for: Posterior hip tightness, hip mobility sessions, glute recovery, and people who need a more targeted hip drill.
Muscles worked: Piriformis, deep hip external rotators, gluteus medius, and gluteus maximus.
Why it stands out: This is a more focused version of glute rolling. NASM includes piriformis rolling by sitting on the roller, crossing one foot over the opposite knee, and leaning into the crossed-leg side in its self-myofascial release guide.
Suggested sets and reps: Do 1 round of 30 to 60 seconds per side.
Rest: Rest 15 to 30 seconds between sides.
How to do it:
- Sit on the foam roller with your knees bent.
- Cross one ankle over the opposite knee.
- Lean slightly toward the crossed-leg side.
- Roll slowly over the back and side of the hip.
- Switch sides and repeat.
Common mistakes: Pressing into sharp pain, rolling too close to the tailbone, rounding the upper back, or forcing the hip into an uncomfortable position.
Expert tip: More pressure is not always better. If you feel nerve-like symptoms, stop the drill.
6. Adductor Foam Roll
Best for: Squats, lateral lunges, sumo deadlifts, skating-style movements, and inner-thigh recovery.
Muscles worked: Adductor longus, adductor brevis, adductor magnus, gracilis, and pectineus.
Why it stands out: The adductors help control the thigh and stabilize the hips during lower-body training. Rolling them can help athletes who feel restricted in wide-stance squats or lateral movement.
Suggested sets and reps: Do 1 to 2 rounds of 30 to 60 seconds per side.
Rest: Rest 15 to 30 seconds between sides.
How to do it:
- Lie face down with one knee bent out to the side.
- Place the foam roller under the inner thigh of the bent leg.
- Support your body with your forearms and opposite leg.
- Roll slowly along the upper inner thigh.
- Switch sides and repeat.
Common mistakes: Rolling directly on the knee, forcing the hip too wide, twisting the lower back, or using pressure that feels sharp.
Expert tip: Keep the roller closer to the upper inner thigh instead of driving it into the knee area.
7. TFL and Outer Hip Foam Roll
Best for: Runners, lifters, cyclists, and anyone who feels tight near the front-outside hip.
Muscles worked: Tensor fasciae latae, upper outer hip muscles, and surrounding lateral thigh tissue.
Why it stands out: Many people roll straight down the outside thigh and irritate sensitive areas. A better approach is to focus higher near the TFL and outer hip, then use stretching and strengthening for the rest of the lateral chain.
Suggested sets and reps: Do 1 round of 30 to 45 seconds per side.
Rest: Rest 15 to 30 seconds between sides.
How to do it:
- Lie on your side with the roller just below and slightly in front of the hip bone.
- Cross the top foot in front of you for support.
- Keep your core lightly braced.
- Roll in a small area near the front-outside hip.
- Switch sides and repeat.
Common mistakes: Rolling hard over the knee, rolling the entire IT band aggressively, dropping the lower back, or chasing pain down the side of the thigh.
Expert tip: Keep this drill short and controlled. Pair it with glute medius strengthening, lateral walks, or single-leg balance work for better long-term hip control.
8. Lat Foam Roll
Best for: Pull-ups, rows, overhead presses, swimming, throwing sports, and upper-body recovery.
Muscles worked: Latissimus dorsi, teres major, posterior shoulder area, and side-body tissue.
Why it stands out: The lats influence shoulder motion and overhead position. Rolling this area may help you feel more open before upper-body training, especially when paired with shoulder mobility drills.
Suggested sets and reps: Do 1 to 2 rounds of 30 to 60 seconds per side.
Rest: Rest 15 to 30 seconds between sides.
How to do it:
- Lie on your side with the roller under the side of your upper back.
- Extend the bottom arm overhead with your thumb facing up.
- Keep your knees bent for balance.
- Roll slowly along the side of the ribs toward the armpit area.
- Switch sides and repeat.
Common mistakes: Rolling directly into the armpit with too much pressure, shrugging the shoulder, holding the breath, or letting the neck tense.
Expert tip: Keep the shoulder relaxed. If your arm tingles or goes numb, stop and adjust the position.
9. Upper Back Foam Roll
Best for: Desk posture, pressing workouts, rowing workouts, upper-back stiffness, and thoracic mobility.
Muscles worked: Thoracic paraspinals, mid-traps, rhomboids, rear shoulder area, and upper-back soft tissue.
Why it stands out: The upper back is one of the best areas to foam roll because the roller can support thoracic mobility without putting direct pressure on the lower spine. HSS and NASM both include upper-back or thoracic spine rolling in their exercise guidance.
Suggested sets and reps: Do 1 to 2 rounds of 30 to 60 seconds.
Rest: Rest 30 seconds between rounds.
How to do it:
- Lie on your back with the roller across your upper back.
- Bend your knees and keep your feet flat.
- Support your head with your hands without pulling on your neck.
- Roll from the mid-back to the upper-back area.
- Keep the roller away from the lower back and neck.
Common mistakes: Rolling the lower spine, pulling on the head, flaring the ribs, or moving too fast.
Expert tip: Think of the roller as a support for the upper back, not a tool for crushing the spine.
10. Foam Roller Chest Opener
Best for: Upper-body recovery, posture-focused mobility, pressing workouts, desk workers, and shoulder warm-ups.
Muscles worked: Pectoralis major, pectoralis minor, anterior deltoids, upper back stabilizers, and shoulder mobility muscles.
Why it stands out: This is not a rolling drill. It is a supported mobility exercise that opens the chest and encourages relaxed breathing. University of Utah Health includes foam roller chest stretch and snow angel variations in its foam rolling exercises for everyone.
Suggested sets and reps: Do 1 to 2 rounds of 30 to 60 seconds or 6 to 10 slow snow angel reps.
Rest: Rest 30 seconds between rounds.
How to do it:
- Place a long foam roller lengthwise on the floor.
- Lie back so your head, upper back, and hips are supported by the roller.
- Bend your knees and keep your feet flat.
- Let your arms open out to the sides with palms facing up.
- Hold the stretch or slowly move your arms overhead and back down like a snow angel.
Common mistakes: Arching the lower back, forcing the arms to the floor, shrugging the shoulders, or turning the stretch into a painful position.
Expert tip: Keep your ribs down and breathe slowly. The goal is relaxed opening, not maximum range.
Full-Body Foam Roller Recovery Routine
Use this routine after a workout or on an active recovery day. Keep the pressure moderate and breathe slowly through each drill.
Beginner Foam Roller Routine
Start with calf foam roll, hamstring foam roll, quad foam roll, glute foam roll, upper back foam roll, and chest opener. Do 30 seconds per area, 1 round total. Rest as needed between exercises. Use a pressure level of 4 out of 10.
Do this 2 to 4 times per week after training or on rest days. Progress by adding 10 to 15 seconds per area before increasing pressure.
Intermediate Foam Roller Routine
Use all 10 foam roller exercises in order. Do 45 to 60 seconds per area, 1 round total. Rest 15 to 30 seconds when switching sides. Use a pressure level of 5 to 6 out of 10.
Do this 3 to 5 times per week depending on training volume. Progress by adding a second round for the tightest areas only.
Quick Pre-Workout Foam Rolling Option
Before a workout, keep foam rolling brief. Choose 2 to 4 tight areas and roll each for 30 seconds. Then move into dynamic warm-up drills that match your workout, such as bodyweight squats, hip hinges, lunges, arm circles, or light rows.
This works well before training because it helps you feel looser without spending too much time on passive recovery work.
Common Foam Rolling Mistakes
The biggest mistake is using too much pressure. Foam rolling should not feel like punishment. If you grind into a sore spot until your muscles guard, you are probably making the drill less useful.
Another common mistake is rolling directly over joints. Stay off the knees, elbows, ankles, and bony points of the hips. Keep the roller on soft tissue.
Do not roll your lower back aggressively. For the back, focus on the upper back and thoracic spine. If you want lower-back relief, use gentle mobility, breathing, walking, hip mobility, and professional guidance when needed.
Finally, do not rely on foam rolling alone. If the same tightness keeps returning, you may need better strength training, more balanced programming, improved technique, more recovery, or help from a qualified professional.
When to Avoid Foam Rolling
Avoid foam rolling over a recent injury, broken bone, torn muscle, open wound, severe bruise, swollen area, or area with unusual pain. Be careful if you have a condition that affects sensation, circulation, bone health, or balance.
Stop and seek professional help if an exercise causes sharp pain, numbness, tingling, dizziness, chest pain, severe shortness of breath, swelling, or symptoms that feel unusual for you.
FAQ
Are foam roller exercises good for recovery?
Foam roller exercises can be useful for recovery because they may reduce feelings of tightness and help you move more comfortably after training. They work best as one part of a recovery plan that also includes sleep, hydration, nutrition, good programming, and rest days.
Should I foam roll before or after a workout?
You can do both, but the goal changes. Before a workout, keep foam rolling short and follow it with dynamic movement. After a workout, you can spend more time on tight areas and use slower breathing to cool down.
How long should I foam roll each muscle?
Most people do well with 30 to 90 seconds per muscle group. Beginners should start closer to 30 seconds and use lighter pressure. More time is not always better, especially if the area becomes irritated.
Is foam rolling supposed to hurt?
Foam rolling may feel tender, but it should not feel sharp, burning, electric, or unbearable. Use moderate pressure and stay relaxed. If you cannot breathe normally, reduce the pressure.
Can beginners use foam roller exercises?
Yes. Beginners should start with a smooth, softer roller and use easier variations. Keep sessions short, focus on large muscle groups, and avoid rolling directly over joints or bones.
Should you foam roll your lower back?
It is usually better to avoid direct foam rolling on the lower back. The upper back is generally a better target for the roller. For lower-back discomfort, choose gentle mobility work and speak with a qualified professional if symptoms continue.
How often should you do foam roller exercises?
You can use foam roller exercises a few times per week or daily if your body tolerates them well. The best frequency depends on your training volume, soreness, mobility needs, and how your body responds.
Conclusion
Foam roller exercises can be a simple way to support full-body recovery, improve short-term mobility, and reduce post-workout tightness. Start with the major muscle groups, use moderate pressure, move slowly, and focus on quality instead of pain.
For the best results, pair foam rolling with smart strength training, warm-ups, mobility work, and enough recovery between hard workouts.
This content is for informational purposes only and is not a substitute for professional medical advice.
References
- Cleveland Clinic: Should You Try Foam Rolling?
- HSS: Foam Roller Exercises for the Whole Body
- NASM: Foam Rolling and Self-Myofascial Release
- ACE Fitness: Using Foam Rollers for Myofascial Release
- Journal of Bodywork and Movement Therapies: Effects of Foam Rolling on Range of Motion, Recovery, and Athletic Performance
- University of Utah Health: Foam Rolling Exercises Everyone Can Do