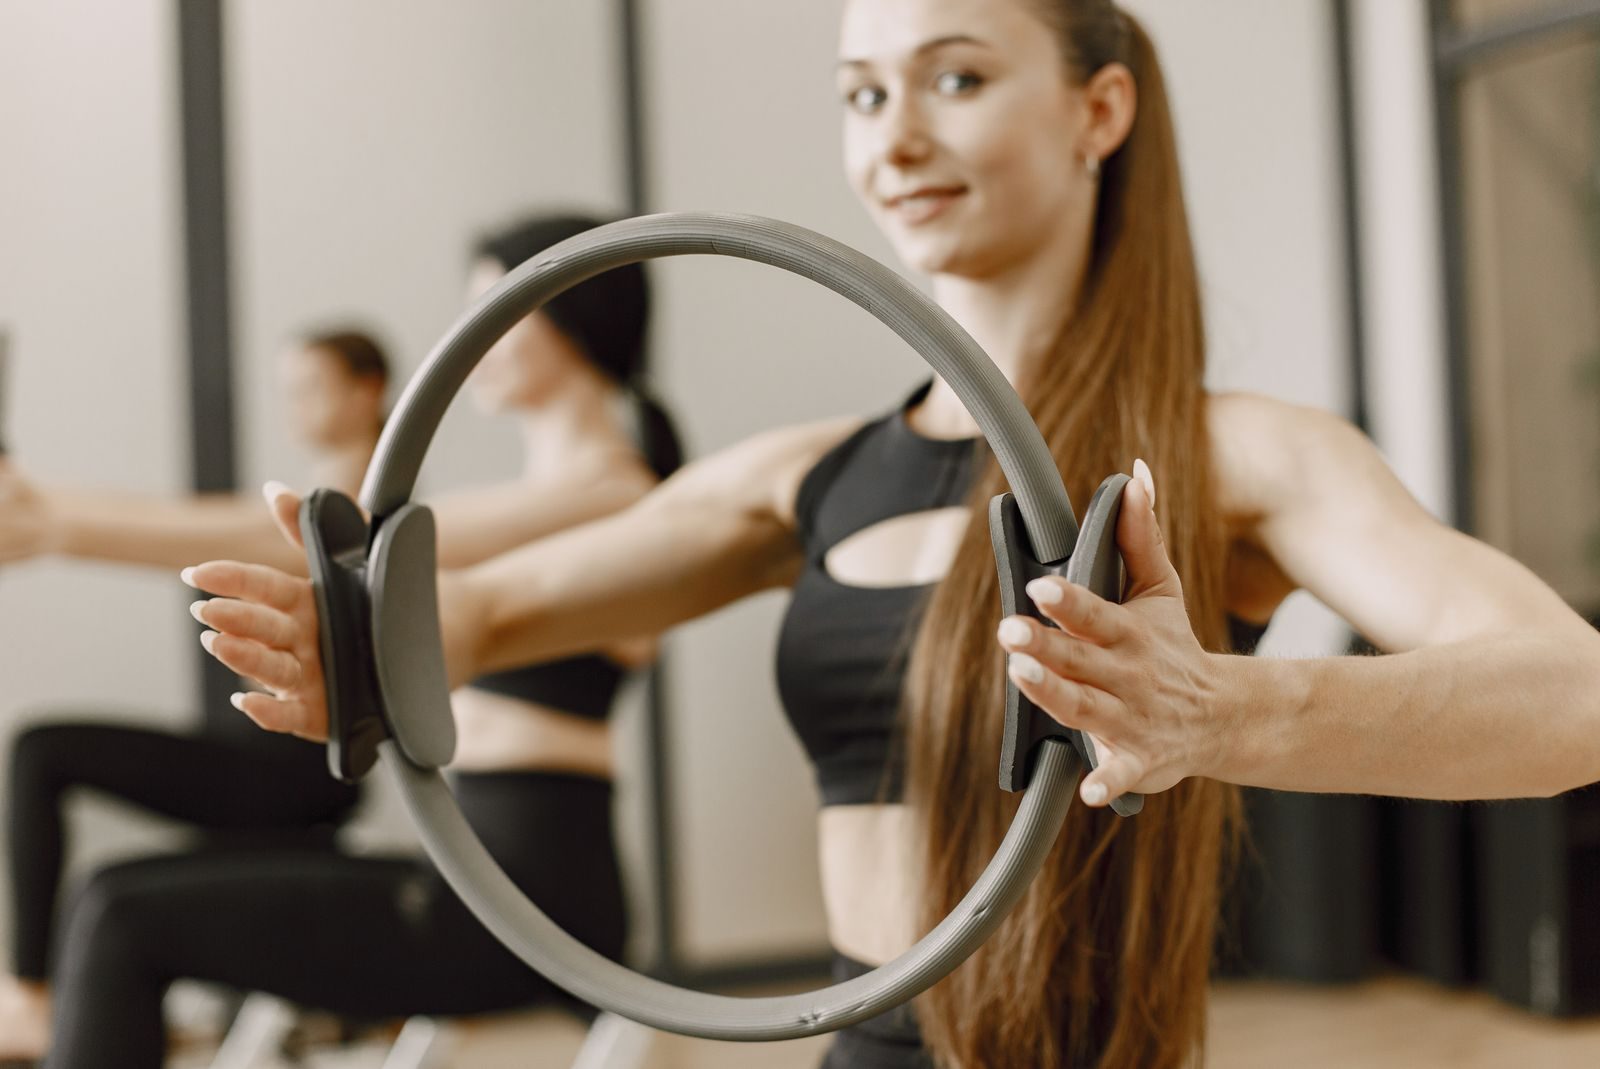
Pilates ring exercises add resistance to familiar movements, helping you challenge your core, hips, legs, chest, and back with one small piece of equipment. Also called a magic circle or fitness circle, the ring can add a controlled pressing task to exercises such as bridges and dead bugs, according to the Hospital for Special Surgery.
The nine exercises below explain where to place the ring, which muscles do the work, and how to adjust each movement. Start with the shorter sample routine rather than trying to master everything in one session.
Before You Start
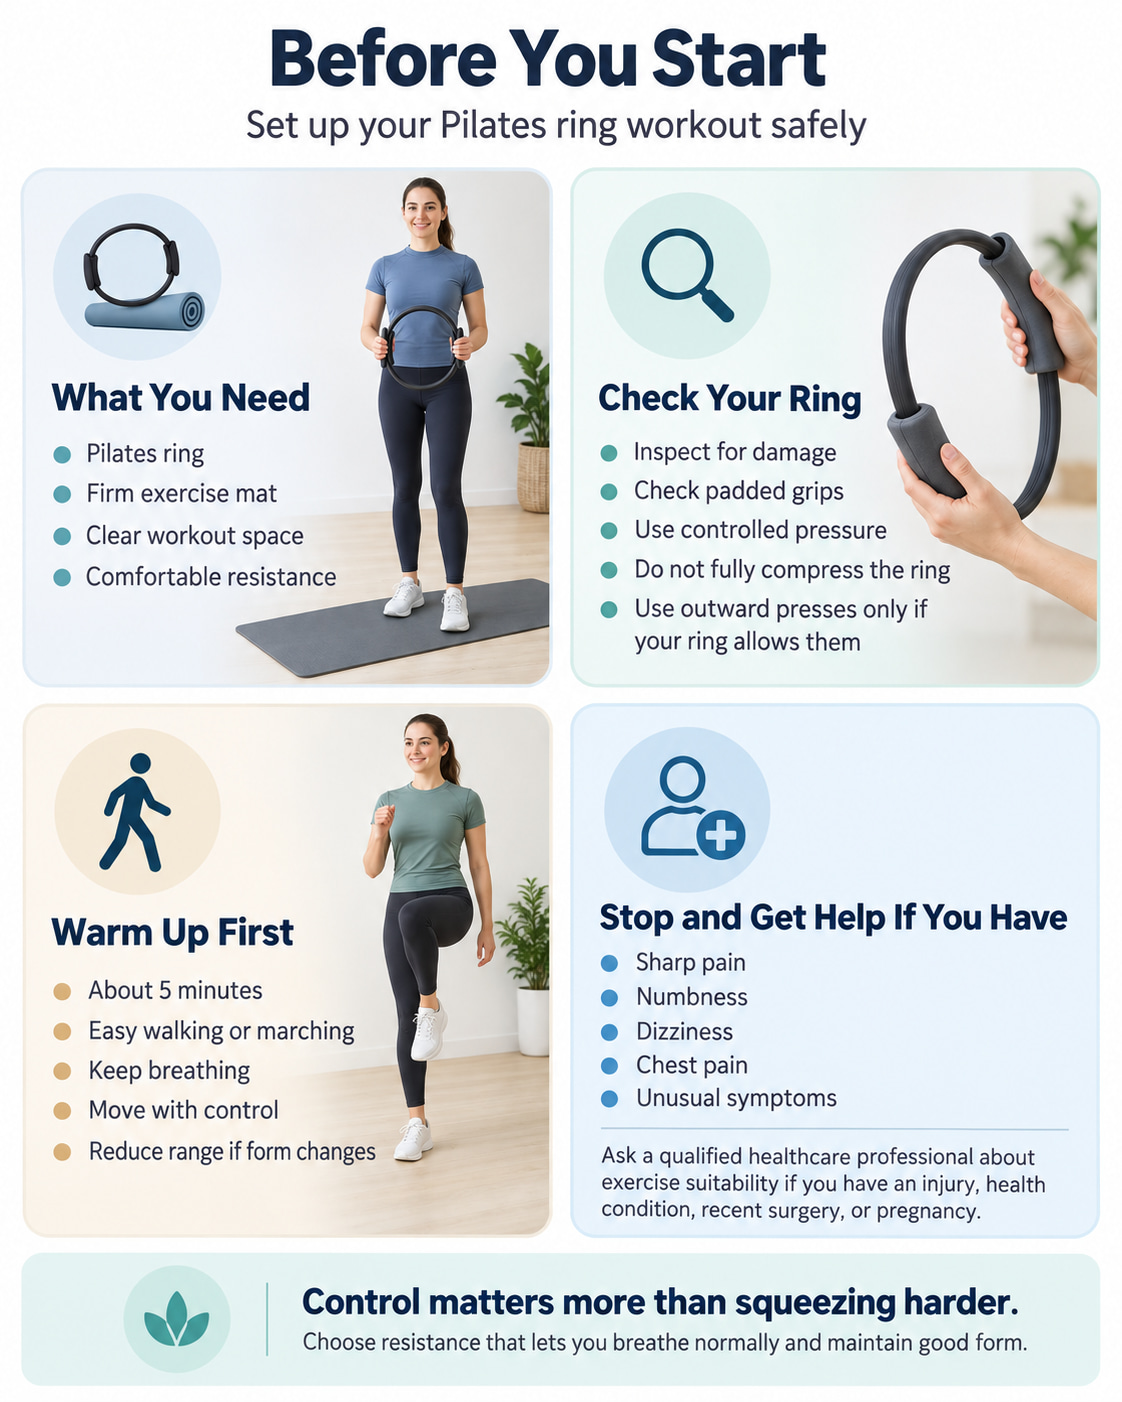
You need a Pilates ring, a firm exercise mat, and enough space to move comfortably. Choose resistance you can control without straining or changing your position.
Check the ring for damage and loose pads. Merrithew recommends slow movement, controlled pressure, and avoiding complete compression of the ring. Only use outward-pressing variations when your ring is designed for them.
Warm up with about five minutes of easy walking or marching. During the workout, keep breathing and reduce the range whenever you lose control.
Stop exercising and seek appropriate professional help for sharp pain, numbness, dizziness, chest pain, or unusual symptoms. The NHS recommends individualized advice when an injury, health condition, recent surgery, or pregnancy may affect exercise suitability.
9 Best Pilates Ring Exercises
These exercises combine standing presses, lower-body work, abdominal control, rotation, and gentle back extension.
Starting guideline: Perform one set at the suggested repetitions, resting 30–60 seconds between exercises. Use moderate pressure and finish while you could still complete several controlled repetitions. Treat the rep ranges as starting points, not quotas.
1. Standing Chest Squeeze
Best for: Learning to control the ring while adding a simple upper-body exercise.
Muscles worked: Primarily the chest, with the front shoulders assisting.
Starting dose: 8–10 controlled squeezes.
How to do it:
- Stand with your feet comfortably apart and knees unlocked.
- Hold the ring upright at chest height, with one palm on each outer pad and your elbows slightly bent.
- Exhale as you press your palms toward each other. Keep your wrists straight and shoulders relaxed.
- Briefly maintain the pressure, then inhale as you release slowly without losing contact with the pads.
The chest-height squeeze is a basic ring exercise demonstrated in Aeromat exercise guidance.
Common mistakes: Shrugging, bending the wrists, or leaning backward to produce a stronger squeeze.
Make it easier: Sit on a sturdy chair with both feet supported. Use lighter pressure while practicing a smooth release.
2. Standing Lat Press
Best for: Adding a back-focused pressing movement without reaching overhead.
Muscles worked: The latissimus dorsi and other muscles that draw the upper arm toward the body; the trunk helps you remain upright.
Starting dose: 6–8 presses per side.
How to do it:
- Stand tall. Place one ring pad against the outside of your right upper thigh and the opposite pad beneath your right palm.
- Keep your right arm long, your elbow unlocked, and your shoulders level.
- Exhale and press your palm toward your thigh without leaning sideways.
- Inhale as you ease the pressure. Complete the repetitions before switching sides.
Use this stationary version before adding any torso rotation.
Common mistakes: Pushing the hip into the ring, tilting the shoulders, or bending the elbow repeatedly instead of pressing through the arm.
Make it easier: Practice positioning the ring with almost no pressure. Increase the squeeze only when your torso stays still.
3. Squat With Ring Chest Press
Best for: Combining a familiar leg exercise with an upper-body squeeze.
Muscles worked: Quadriceps and glutes drive the squat; the chest and front shoulders work against the ring. The ring adds an upper-body task rather than substantial weight to the legs.
Starting dose: 8–10 repetitions.
How to do it:
- Stand with your feet around hip- to shoulder-width apart. Hold the ring near your chest with your elbows bent.
- Bend your hips and knees together, lowering only as far as you can control.
- Apply a light inward squeeze while keeping your whole feet grounded and knees following the direction of your toes.
- Return to standing, then ease the pressure before the next repetition.
The American Council on Exercise emphasizes maintaining controlled lower-body alignment during a bodyweight squat.
Common mistakes: Lifting the heels, letting the knees collapse inward, or squeezing so hard that your squat becomes unsteady.
Make it easier: Use a shallower squat. Practice without the ring first when coordinating both actions feels difficult.
4. Shoulder Bridge With Ring Squeeze
Best for: Combining hip extension with inner-thigh work.
Muscles worked: Glutes and hamstrings lift the hips, inner-thigh muscles squeeze the ring, and the abdominals help control the trunk.
Starting dose: 8–10 repetitions.
How to do it:
- Lie on your back with your knees bent and feet flat. Place the pads against the soft inner thighs, just above the knees—not on the knee joints.
- Adjust your foot spacing so your knees remain aligned with your feet. Apply a light squeeze.
- Exhale and lift your hips to a comfortable height without flaring your ribs or increasing the arch in your lower back.
- Pause briefly, then lower smoothly while maintaining control of the ring.
Merrithew’s shoulder bridge guidance emphasizes avoiding pressure on the knee joints and keeping the shoulders and neck relaxed.
Common mistakes: Chasing a higher bridge, squeezing the knees inward past the feet, or rolling onto the edges of the feet.
Make it easier: Use a lower hip lift or remove the ring.
Progression: Add a two-second pause at the top without changing your rib or pelvic position.
5. Side-Lying Outer-Thigh Press
Best for: Working the outer hips while practicing pelvic control.
Muscles worked: The lateral hip muscles, including the gluteus medius and minimus, with the trunk stabilizing your position.
Starting dose: 6–8 presses per side.
How to do it:
- Lie on your side with your head supported and your hips stacked.
- Position both feet inside the ring, with its inner pads contacting your lower legs just above the ankles. The lower pad rests on the mat.
- Keep your upper kneecap facing forward. Gently press the upper leg upward into the inside pad.
- Release slowly without rolling your pelvis backward. Finish the set, remove the ring, and reposition for the other side.
This is an outward press, not an inward squeeze. Use only a ring with suitable inner pads and manufacturer-approved outward resistance.
Common mistakes: Turning the toes toward the ceiling, lifting through the waist, or forcing the ring farther open. Keep the movement small.
Make it easier: Remove the ring and perform a small side-lying leg lift. The American Council on Exercise emphasizes keeping the pelvis steady rather than lifting the leg as high as possible.
6. Dead Bug With Ring Press
Best for: Maintaining abdominal control while the legs move.
Muscles worked: Abdominals stabilize the trunk, hip flexors move the legs, and the chest maintains the ring press.
Starting dose: 5–6 repetitions per leg.
This beginner variation keeps the arms still while alternating heel lowers, rather than using the full opposite-arm-and-leg pattern. The Hospital for Special Surgery identifies ring-assisted holds as one way to modify dead bugs.
How to do it:
- Lie on your back and hold the ring securely between your hands above your chest, not above your face.
- Lift one leg at a time until your knees are approximately over your hips and bent to right angles. Keep your head supported.
- Apply a light ring squeeze. Exhale as you lower one heel toward the mat without arching your back.
- Return that leg and alternate sides. Shorten the movement when your ribs or pelvis begin to shift.
Maintaining trunk control while the limbs move is the central goal described in NASM dead bug guidance.
Common mistakes: Lowering the heel farther than you can control, holding your breath, or squeezing the ring so hard that your shoulders tense.
Make it easier: Keep one foot planted and practice a short heel slide with the other leg.
7. Modified Hundred With Ring
Best for: Practicing abdominal endurance alongside rhythmic breathing.
Muscles worked: Abdominals maintain the torso position; the inner thighs hold the ring, and the hip flexors support the raised legs.
Starting dose: Three breathing cycles—about 30 arm pumps.
How to do it:
- Lie on your back with the ring between your inner thighs above the knees. Bring your legs into a bent-knee tabletop position.
- Apply light pressure. Gently lift your head and upper shoulders, keeping the back of your neck long.
- Reach your arms beside your hips and make small, controlled up-and-down pumps.
- Inhale over five pumps and exhale over five. After three cycles, lower your head and return your feet to the mat one at a time.
Common mistakes: Pulling the chin forward, lowering the legs too far, or forcing the breathing rhythm.
Make it easier: Keep your head down. For further support, keep your feet on the mat with your knees bent.
Progression: Add one breathing cycle when the current amount feels controlled. Completing 100 pumps is not a requirement for a useful practice set.
8. Seated Spine Twist With Ring
Best for: Practicing controlled trunk rotation.
Muscles worked: Obliques produce rotation, while the back muscles help maintain an upright position.
Starting dose: 5–6 turns per side.
How to do it:
- Sit comfortably cross-legged, using a folded towel beneath your hips when helpful. Hold the ring in front of your chest.
- Exhale as you turn your rib cage gently to one side and apply a light squeeze.
- Keep both sitting bones grounded. Let the ring travel with your torso rather than swinging your arms separately.
- Inhale back to the center, ease the pressure, and alternate sides.
Common mistakes: Leaning backward, lifting one hip, or twisting farther by moving only the arms.
Make it easier: Sit on a sturdy chair with both feet flat. Keep the ring close to your chest and use a smaller turn.
9. Swan Prep With Ring
Best for: Practicing a small, controlled back-extension movement.
Muscles worked: Primarily the spinal extensors, with the abdominals and glutes helping control the position.
Starting dose: 5–8 repetitions.
This is a gentle chest lift—not the rocking Swan Dive.
How to do it:
- Lie on your stomach with your legs comfortably apart. Stand the ring upright on one pad in front of you.
- Place your hands on the upper pad, with your arms reaching comfortably forward and elbows softly bent.
- Inhale as you press down gently and reach your chest forward and slightly upward. Keep your pelvis and legs supported by the mat.
- Exhale and lower smoothly. Let your head follow your chest without tipping your chin upward.
Common mistakes: Lifting too high, hinging mainly through the lower back, or using the ring to support excessive body weight. A small, well-controlled lift is enough.
Make it easier: Set the ring aside and place your palms on the mat beside your lower ribs. Practice the same small chest lift with light hand support.
Skip this exercise when lying face down or extending your spine is unsuitable, including when a clinician has advised against those positions.
A Beginner Pilates Ring Workout
Start with these six exercises. They provide a manageable combination of upper-body pressing, leg work, hip control, abdominal stabilization, and back extension.
| Exercise | Starting amount |
|---|---|
| Squat With Ring Chest Press | 1 set of 8 repetitions |
| Standing Lat Press | 1 set of 6 per side |
| Shoulder Bridge With Ring Squeeze | 1 set of 8 repetitions |
| Side-Lying Outer-Thigh Press | 1 set of 6 per side |
| Dead Bug With Ring Press | 1 set of 5 per leg |
| Swan Prep With Ring | 1 set of 5 repetitions |
Frequency: Begin with two nonconsecutive sessions per week.
Rest: Allow 30–60 seconds between exercises, or longer until you feel ready.
Effort: Keep the pressure moderate enough to breathe steadily and maintain your position. Stop the set before fatigue changes the movement.
Once this feels manageable, introduce the chest squeeze or seated twist. The modified Hundred can replace the dead bug on another day; you do not need to perform both every session.
How to Progress
Progress when you can complete the suggested amount with smooth breathing, stable positioning, and no pain.
Add one or two repetitions first. Later, add a second set to one or two exercises. Change only one variable at a time rather than simultaneously increasing pressure, repetitions, and workout length.
The American College of Sports Medicine emphasizes consistent, individualized resistance training for healthy adults. Its 2026 guidance also notes that training to complete muscular failure is not necessary for the average healthy adult. These are general programming principles, not a tested prescription for this Pilates ring routine.
What Does a Pilates Ring Add?
The ring gives your muscles an additional resistance task. For example, the bridge combines lifting the hips with an inner-thigh squeeze, while the dead bug combines leg movement with a steady upper-body hold.
There is some direct research on ring use. A 2021 study indexed by PubMed reported greater core muscle activation during a modified Pilates Hundred performed with a ring than with a small ball or no prop under the tested conditions.
However, the study measured muscle activity during exercise. It did not establish that Pilates ring training produces superior long-term strength gains or that every ring exercise is more effective than its equipment-free version.
Use the ring to make a movement more challenging without losing its original purpose. A stronger squeeze is not an improvement when it causes you to arch, shrug, twist, or stop breathing.
Frequently Asked Questions
Are Pilates ring exercises suitable for beginners?
They can be, provided the resistance and exercise variation suit your current ability. Begin with simple presses, a low bridge, and supported core variations. A qualified instructor can help with unfamiliar setups, and healthcare guidance may be appropriate when a health concern affects exercise suitability.
How hard should you squeeze the ring?
Use enough pressure to feel muscular effort while maintaining smooth movement and breathing. You should also be able to release the pressure slowly. Avoid trying to flatten the ring completely.
Does a Pilates ring work the inner or outer thighs?
It can challenge either, depending on placement. Squeezing the ring between the thighs involves the inner-thigh muscles. Pressing outward from inside the ring challenges the outer hips. The two setups are not interchangeable.
Can a Pilates ring replace all other strength training?
A ring can add useful resistance, but this routine does not provide the same loading options for every muscle group. In particular, squeezing a ring during a squat does not substantially increase the resistance on your legs.
For broader strength development, include other appropriately challenging exercises and progress them over time.
Build Your Routine Around Control
Start with the six-exercise routine, choose the easier variations when needed, and make every release as controlled as every press. Add repetitions or sets only after the movements feel steady.
The goal is repeatable, comfortable training—not maximum squeezing or completing all nine exercises at once.
This content is for informational purposes only and is not a substitute for medical advice.
References
- PubMed — Core Muscle Activation During the Modified Pilates Hundred
- American College of Sports Medicine — 2026 Resistance Training Guidelines
- Hospital for Special Surgery — Core Strengthening Exercises
- Merrithew — Pilates Shoulder Bridge With Fitness Circle
- Merrithew — Athletic Conditioning With the Fitness Circle
- NHS — Pilates for Beginners