Inner thigh exercises for seniors can strengthen the muscles that help control the hips, stabilize the legs, and move the thighs toward the center of the body. Many effective exercises can be performed at home using only a chair, pillow, towel, or light resistance band.
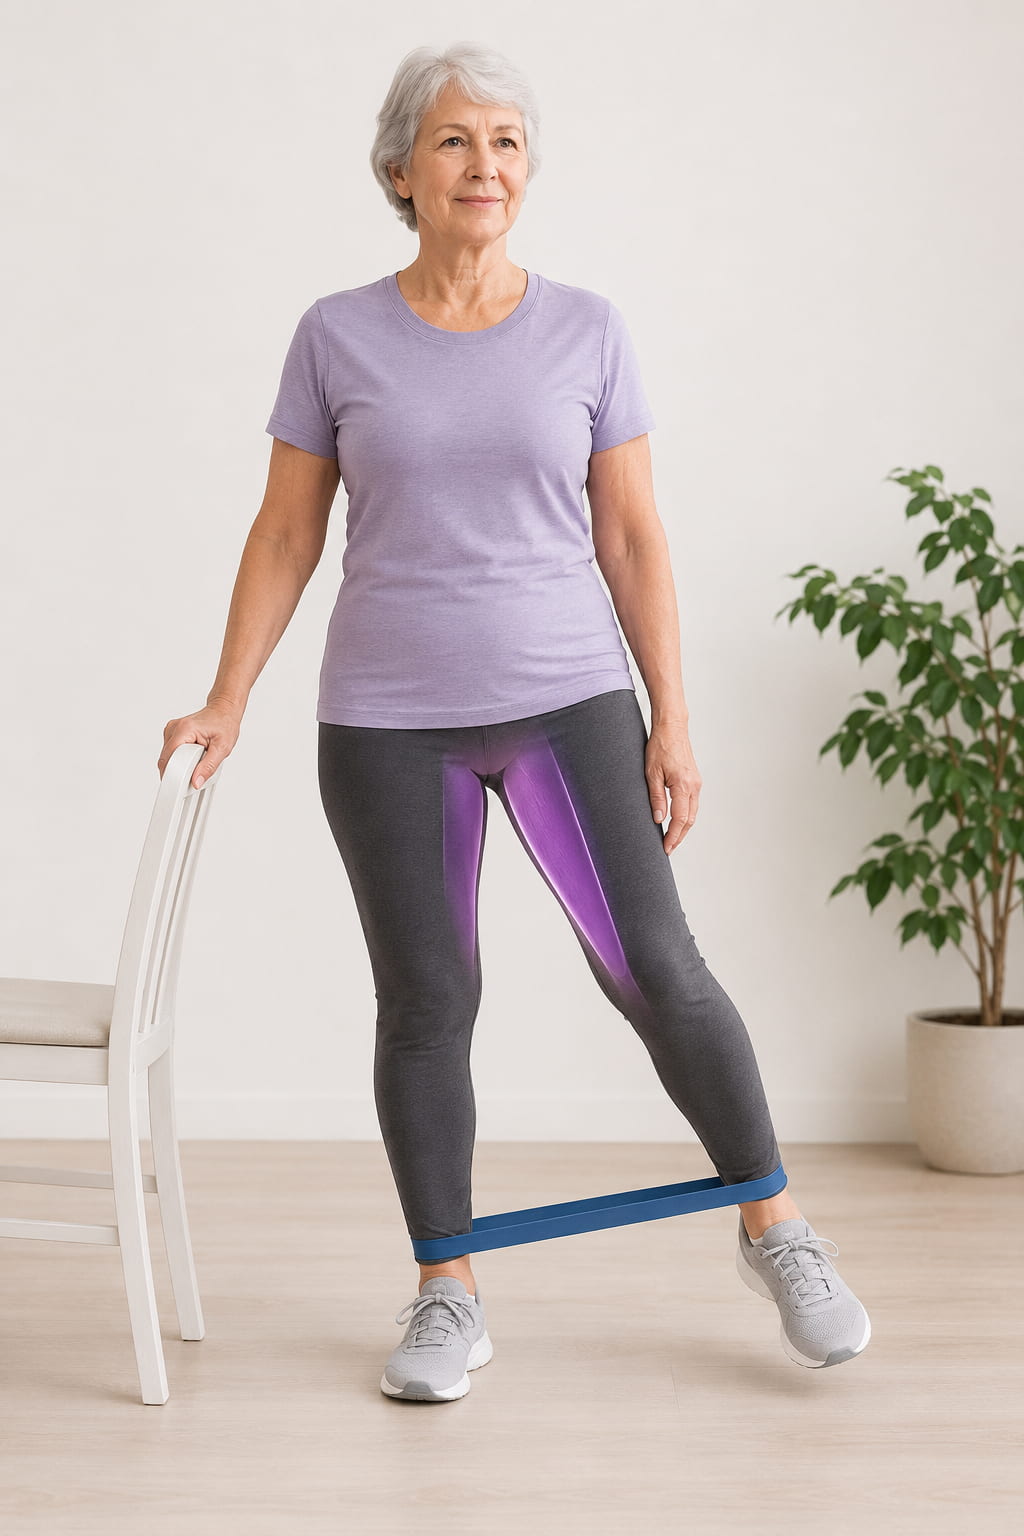
This guide includes seated, lying, and supported standing options. Start with the exercises that match your current mobility and balance rather than trying to complete all ten at once.
What Muscles Do Inner Thigh Exercises Work?
The inner-thigh muscles are commonly called the hip adductors. The main muscles in this group include:
- Adductor longus
- Adductor brevis
- Adductor magnus
- Gracilis
- Pectineus
Their primary action is hip adduction, which means moving the thigh toward the center of the body. They also contribute to pelvic and leg control during standing and walking. The NCBI overview of the thigh adductors explains that these muscles help adduct the thigh and assist with pelvic stability during walking.
Some exercises below target the adductors directly by squeezing the legs together. Others, such as sit-to-stands and shallow side lunges, train the inner thighs alongside the quadriceps, glutes, hamstrings, and core.
Benefits of Inner Thigh Exercises for Seniors
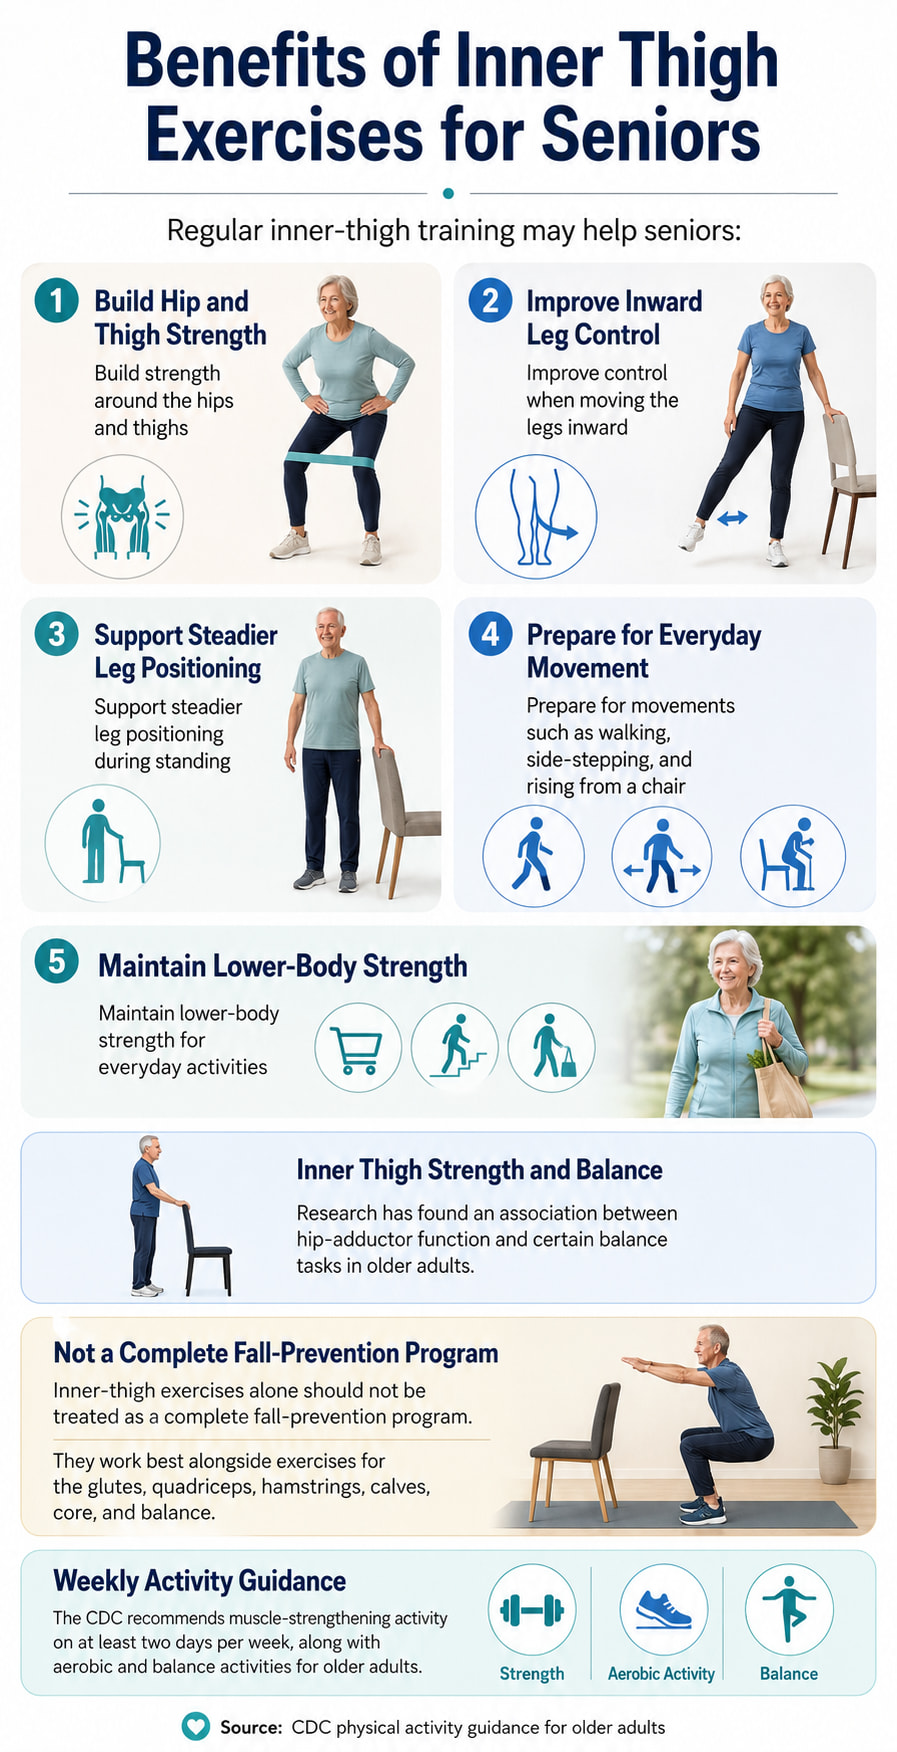
Regular inner-thigh training may help seniors:
- Build strength around the hips and thighs
- Improve control when moving the legs inward
- Support steadier leg positioning during standing
- Prepare for movements such as walking, side-stepping, and rising from a chair
- Maintain lower-body strength for everyday activities
Research has found an association between hip-adductor function and certain balance tasks in older adults. However, inner-thigh exercises alone should not be treated as a complete fall-prevention program. They work best alongside exercises for the glutes, quadriceps, hamstrings, calves, core, and balance.
The CDC’s physical activity guidance for older adults recommends muscle-strengthening activity on at least two days per week, along with aerobic and balance activities.
What You Need for This Home Workout
Most of these exercises require little equipment:
- A sturdy, non-rolling chair
- A small pillow, folded towel, or soft exercise ball
- A bed, exercise mat, or firm carpeted surface
- A towel or furniture slider
- A light resistance band for the optional progression
- Supportive shoes for standing exercises
A bed can replace the floor for lying exercises if getting down and back up is difficult.
Safety Tips Before You Start
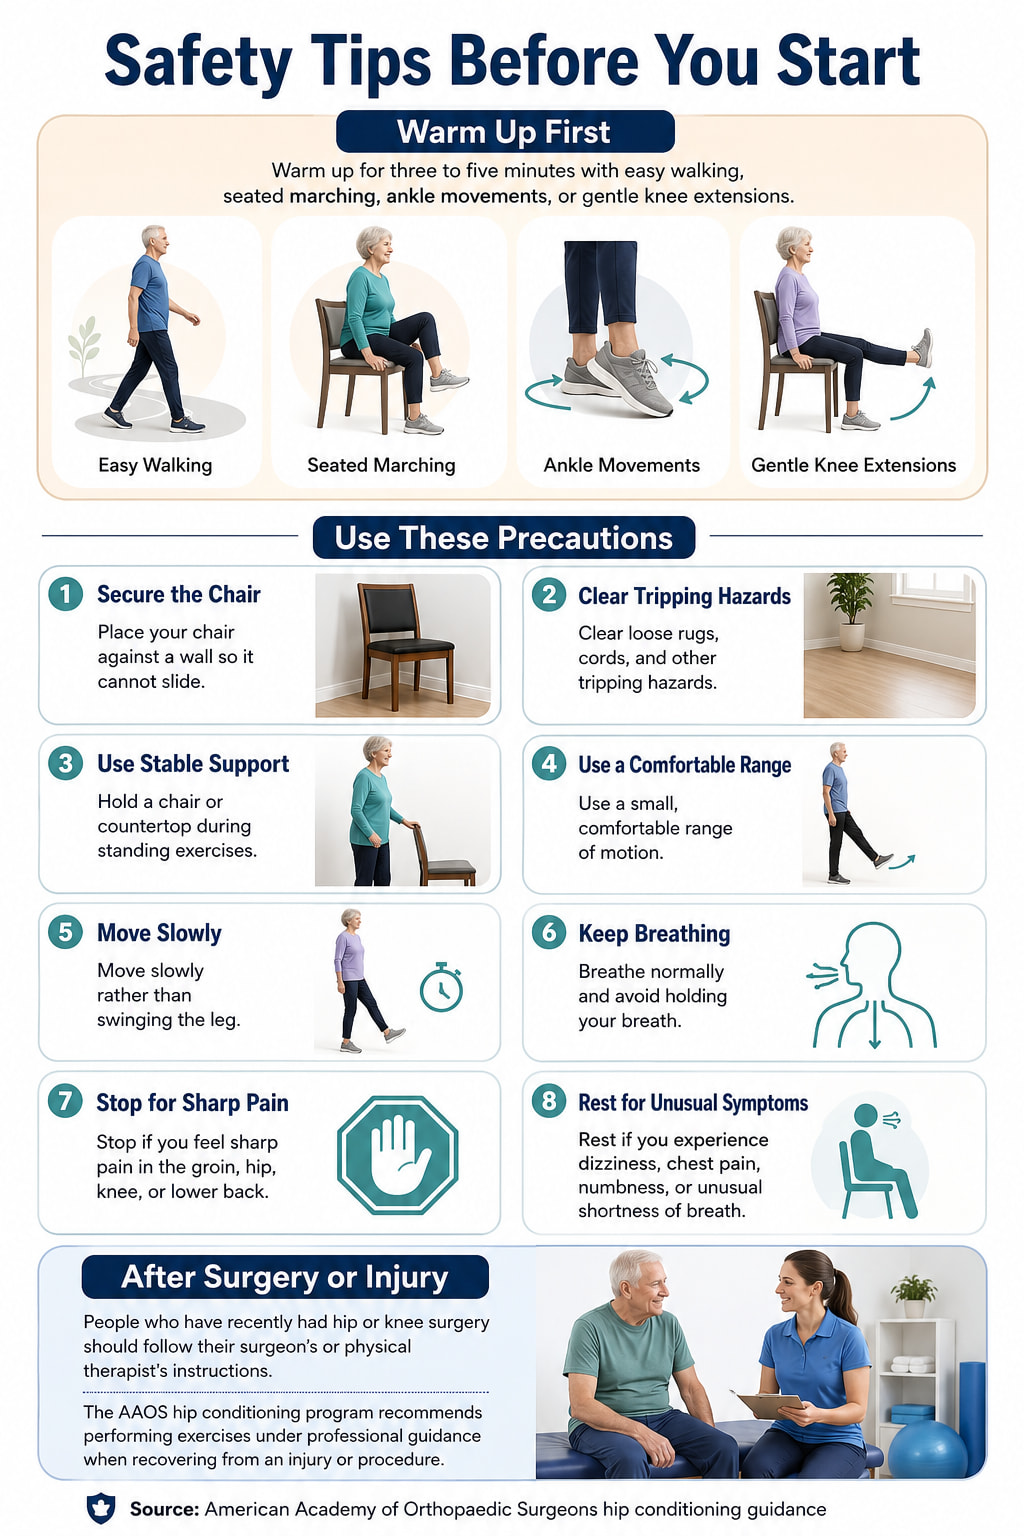
Warm up for three to five minutes with easy walking, seated marching, ankle movements, or gentle knee extensions.
Use these precautions:
- Place your chair against a wall so it cannot slide.
- Clear loose rugs, cords, and other tripping hazards.
- Hold a chair or countertop during standing exercises.
- Use a small, comfortable range of motion.
- Move slowly rather than swinging the leg.
- Breathe normally and avoid holding your breath.
- Stop if you feel sharp pain in the groin, hip, knee, or lower back.
- Rest if you experience dizziness, chest pain, numbness, or unusual shortness of breath.
People who have recently had hip or knee surgery should follow their surgeon’s or physical therapist’s instructions. The AAOS hip conditioning program also recommends performing exercises under professional guidance when recovering from an injury or procedure.
10 Inner Thigh Exercises for Seniors
These 10 inner thigh exercises for seniors include seated, lying, and supported standing options for different mobility levels. Choose the exercises that feel comfortable and focus on slow, controlled movement rather than completing every exercise at once.
1. Seated Pillow/Ball Squeeze
Best for: Beginners, people with limited balance, and anyone who prefers a floor-free exercise.
Muscles worked: Hip adductors of the inner thighs.
Equipment needed: A sturdy chair and small pillow, folded towel, or soft ball.
Sets, reps, and rest: Perform 8–10 squeezes, holding each for 3–5 seconds. Complete 1–2 sets with 30–45 seconds of rest.
How to Do It
- Sit tall near the middle of a sturdy chair.
- Keep both feet flat on the floor.
- Place the pillow or ball between your knees.
- Gently squeeze your knees toward each other.
- Hold without holding your breath.
- Slowly release the pressure.
Common mistakes: Squeezing as hard as possible, holding the breath, lifting the feet, rounding the back, or allowing the knees to collapse unevenly.
Progression or regression: Begin with a folded pillow for less resistance. Progress to a slightly firmer ball or a longer hold.
Coaching cue: Think about gradually pressing the knees together rather than making one sudden squeeze.
2. Supine Pillow Squeeze
Best for: Training the inner thighs while the back and pelvis remain supported.
Muscles worked: Hip adductors, with light involvement from the abdominal and pelvic stabilizers.
Equipment needed: A pillow, folded towel, or soft ball.
Sets, reps, and rest: Perform 8–12 squeezes with a 3-second hold. Complete 1–2 sets.
How to Do It
- Lie on your back with your knees bent and feet flat.
- Place the pillow between your knees.
- Allow your back and shoulders to rest comfortably.
- Gently tighten your abdominal muscles.
- Squeeze the pillow between your knees.
- Hold briefly, then release slowly.
Common mistakes: Pushing through the feet, lifting the hips, forcing the knees together, arching the lower back, or holding the breath.
Regression: Perform the seated version if lying down is uncomfortable or difficult.
3. Supine Hip Adduction Slide
Best for: Practicing controlled inward leg movement with minimal balance demands.
Muscles worked: Inner-thigh adductors, hip stabilizers, and light abdominal involvement.
Equipment needed: A towel or furniture slider on a smooth floor.
Sets, reps, and rest: Perform 6–10 repetitions per side for 1–2 sets.
How to Do It
- Lie on your back with both legs extended.
- Place a towel or slider beneath one heel.
- Keep the kneecap facing upward.
- Slide the leg a short distance away from the body.
- Use the inner thigh to bring the leg back toward the center.
- Complete all repetitions before switching sides.
Common mistakes: Turning the toes outward, moving too far, lifting the heel, holding the breath, or allowing the pelvis to rotate.
Regression: Make the sliding distance smaller or perform the movement with the knee slightly bent.
Coaching cue: Keep the toes pointing toward the ceiling throughout the movement.
4. Side-Lying Inner-Thigh Lift
Best for: Directly strengthening the inner thigh with body weight.
Muscles worked: Adductors of the lower leg, especially the adductor group and gracilis.
Equipment needed: A mat or bed.
Sets, reps, and rest: Perform 6–10 repetitions per side for 1–2 sets.
How to Do It
- Lie on one side with your head supported.
- Keep the lower leg straight.
- Bend the upper knee and place that foot on the floor in front of the lower leg.
- Keep the hips stacked rather than rolling backward.
- Lift the lower leg a few inches.
- Pause briefly and lower it with control.
Common mistakes: Lifting the leg too high, rolling the pelvis backward, bending the lower knee, moving quickly, or straining the neck.
Regression: Lift the leg only one or two inches. A small controlled movement is enough.
Progression: Add a brief pause at the top before considering ankle resistance.
The AAOS includes side-lying hip adduction in its conditioning guidance and recommends progressing gradually as strength improves.
5. Supported Crossover Toe Tap
Best for: Introducing standing inner-thigh work while keeping the moving foot in contact with the floor.
Muscles worked: Hip adductors, standing-leg glutes, quadriceps, calves, and core stabilizers.
Equipment needed: A sturdy chair or countertop.
Sets, reps, and rest: Perform 6–10 taps per side for 1–2 sets.
How to Do It
- Stand beside a chair and hold it with one hand.
- Keep your supporting knee slightly bent.
- Place the toes of the outside foot lightly on the floor.
- Slide or tap that foot diagonally across the front of the standing leg.
- Return it to the starting position.
- Keep most of your weight on the supporting leg.
Common mistakes: Leaning heavily to one side, crossing too far, twisting the hips, locking the supporting knee, or rushing.
Progression or regression: Reduce the crossover distance if balance is limited. Progress by making the movement slightly larger while maintaining control.
6. Supported Standing Hip Adduction
Best for: Strengthening the inner thighs in a standing position.
Muscles worked: Hip adductors of the moving leg, plus the glutes and core of the supporting side.
Equipment needed: A chair or countertop.
Sets, reps, and rest: Perform 8–10 repetitions per side for 1–2 sets.
How to Do It
- Stand beside a sturdy support and hold it securely.
- Shift your weight onto the leg closest to the support.
- Move the outside leg slightly out to the side.
- Keep the knee straight but not locked.
- Bring the leg inward toward the center of your body.
- Return slowly without swinging.
Common mistakes: Leaning the torso, rotating the toes outward, swinging the leg, moving through an excessive range, or locking the standing knee.
Regression: Keep the toes lightly touching the floor as you move the leg.
Coaching cue: Stay tall while the leg moves beneath you.
7. Resistance-Band Standing Hip Adduction
Best for: Seniors who can perform supported standing adduction comfortably and want more resistance.
Muscles worked: Hip adductors, glutes, core, and standing-leg stabilizers.
Equipment needed: A light resistance band and sturdy anchor.
Sets, reps, and rest: Perform 8–12 repetitions per side for 1–2 sets. Rest for 45–60 seconds.
How to Do It
- Secure a light band to a stable anchor near ankle height.
- Attach the other end around the ankle farthest from the anchor.
- Hold a chair or counter for support.
- Begin with the working leg slightly out to the side.
- Pull the leg inward toward the standing leg.
- Return slowly against the band’s resistance.
Common mistakes: Using a band that is too heavy, allowing the band to pull the leg back quickly, leaning the body, or placing the anchor somewhere unstable.
Regression: Practice the bodyweight standing version first.
Progression: Add repetitions before using a stronger band.
8. Glute Bridge With Pillow Squeeze
Best for: Combining inner-thigh, glute, and trunk training.
Muscles worked: Glutes, hip adductors, hamstrings, and core stabilizers.
Equipment needed: A pillow, folded towel, or soft ball.
Sets, reps, and rest: Perform 6–10 repetitions for 1–2 sets.
How to Do It
- Lie on your back with your knees bent and feet flat.
- Place the pillow between your knees.
- Apply gentle inward pressure to keep the pillow in place.
- Press through your feet and lift your hips to a comfortable height.
- Pause briefly while keeping the knees aligned.
- Lower your hips slowly.
Common mistakes: Squeezing the pillow too forcefully, lifting the hips too high, arching the lower back, pushing through the toes, or allowing the knees to move unevenly.
Regression: Keep the hips on the floor and perform only the pillow squeeze.
Progression: Increase the pause at the top to two or three seconds.
9. Supported Wide-Stance Sit-to-Stand
Best for: Building functional lower-body strength for rising from a chair.
Muscles worked: Quadriceps, glutes, hip adductors, hamstrings, calves, and core.
Equipment needed: A sturdy chair.
Sets, reps, and rest: Perform 5–10 repetitions for 1–2 sets. Rest for 45–60 seconds.
How to Do It
- Sit near the front of a sturdy chair.
- Place your feet slightly wider than hip-width apart.
- Point your toes slightly outward.
- Lean forward from the hips while keeping your chest lifted.
- Push through both feet and stand.
- Sit back slowly under control.
Common mistakes: Allowing the knees to collapse inward, dropping quickly onto the chair, pushing mostly through one leg, rounding the back, or placing the feet too far forward.
Regression: Use the armrests or place your hands on your thighs for assistance.
Progression: Use less hand support or pause just above the chair before sitting.
Chair-rise movements can also contribute to a broader balance and strength routine for older adults, as described in guidance from the National Institute on Aging.
10. Supported Shallow Side Lunge
Best for: More active seniors who can comfortably perform supported standing exercises.
Muscles worked: Hip adductors, glutes, quadriceps, hamstrings, and core.
Equipment needed: A countertop, railing, or sturdy chair.
Sets, reps, and rest: Perform 5–8 repetitions per side for 1–2 sets.
How to Do It
- Stand with your feet slightly wider than shoulder-width apart.
- Hold a stable support with both hands if needed.
- Shift your hips slightly toward one side.
- Bend that knee while keeping the opposite leg mostly straight.
- Keep the movement shallow and comfortable.
- Push through the bent leg to return to the center.
Common mistakes: Lunging too deeply, allowing the knee to collapse inward, lifting the heel, rounding the back, or moving without adequate support.
Regression: Perform a small side-to-side weight shift without bending deeply.
Progression: Gradually increase the range only when the movement feels stable and pain-free.
Beginner Inner Thigh Workout for Seniors
You do not need to perform all ten exercises in one session. Start with this five-exercise routine:
| Exercise | Sets and Reps |
|---|---|
| Seated pillow squeeze | 1–2 sets of 8–10 |
| Supine hip adduction slide | 1 set of 6–10 per side |
| Side-lying inner-thigh lift | 1 set of 6–10 per side |
| Supported standing hip adduction | 1 set of 8–10 per side |
| Supported wide-stance sit-to-stand | 1–2 sets of 5–10 |
Rest for 30–60 seconds between exercises. The entire routine should take approximately 15–20 minutes, including a brief warm-up.
Effort Level
Use a resistance or variation that feels moderate. You should feel the muscles working while still being able to complete every repetition with steady breathing and controlled form.
Stop the set when your form starts to change. More repetitions are not useful when they require swinging, leaning, or straining.
How to Progress
Use the following progression order:
- Improve movement control.
- Add one or two repetitions.
- Add a second set.
- Increase the hold time slightly.
- Choose a harder variation or add light resistance.
Change only one variable at a time. You are ready to progress when you can complete the current version without pain, breath-holding, or loss of balance.
How Often Should Seniors Train Their Inner Thighs?
Most beginners can perform these exercises two nonconsecutive days per week. A third weekly session may be appropriate when the routine is short, resistance is light, and recovery is comfortable.
Avoid training only the inner thighs. A complete weekly routine should also include:
- Glute exercises
- Quadriceps and hamstring exercises
- Calf raises
- Core training
- Balance practice
- Walking or another suitable aerobic activity
The NSCA position statement on resistance training for older adults emphasizes individualized programs and gradual progression based on a person’s experience, health, and functional ability.
Common Inner Thigh Exercise Mistakes
Squeezing With Maximum Effort
A gentle-to-moderate squeeze is usually enough when starting. Forcing the knees together can make the exercise uncomfortable without improving technique.
Using Momentum
Swinging the leg reduces control and may place unnecessary stress on the hip or lower back. Lift, slide, or pull the leg slowly.
Taking Too Large a Range
A small pain-free movement is more useful than a large movement that causes the pelvis to twist or the body to lean.
Holding the Breath
Exhale during the lifting, squeezing, or standing phase. Inhale as you return to the starting position.
Progressing Too Quickly
Master the seated and supported bodyweight variations before adding a resistance band or deeper standing movements.
Ignoring the Supporting Leg
During standing exercises, keep the supporting knee slightly relaxed and hold a stable surface. The goal is controlled strengthening, not testing how long you can balance without assistance.
Frequently Asked Questions
What is the safest inner-thigh exercise for seniors?
The seated pillow squeeze is usually one of the most accessible starting options because it does not require floor transfers or standing balance. Use light pressure and keep both feet supported.
Can seniors perform inner-thigh exercises while seated?
Yes. Seated pillow squeezes can directly engage the hip adductors. Seniors who cannot safely lie down or stand for long periods can begin with seated exercises and progress only when appropriate.
Can inner-thigh exercises improve balance?
Stronger hip muscles may contribute to better leg and pelvic control, but inner-thigh exercises should not replace balance practice. Combine them with supported balance exercises and training for the outer hips, glutes, thighs, and calves.
How often should seniors perform these exercises?
Two nonconsecutive sessions per week are a practical starting point. Allow additional recovery when the muscles remain unusually sore or tired.
What should I do if an exercise causes hip, knee, or groin pain?
Stop the exercise rather than pushing through the pain. Try a smaller range or an easier position only if the movement becomes comfortable. Seek guidance from a qualified healthcare professional when pain is sharp, persistent, worsening, or related to a recent injury or operation.
Conclusion
The best inner thigh exercises for seniors begin with controlled seated or lying movements and gradually progress to supported standing exercises. Choose four to six exercises that match your mobility, use a comfortable range, and focus on slow, steady repetitions.
For balanced lower-body strength, combine inner-thigh training with exercises for the glutes, quadriceps, hamstrings, calves, core, and balance.
References
- CDC: Physical Activity Guidelines for Older Adults
- National Institute on Aging: Exercise and Physical Activity
- AAOS: Hip Conditioning Program
- NSCA: Resistance Training for Older Adults
- NCBI: Anatomy of the Thigh Adductors
- PubMed: Hip Abductor-Adductor Function and Balance in Older Adults
This content is for informational and educational purposes only and is not intended as a substitute for professional medical advice, diagnosis, or treatment.
5 thoughts on “10 Inner Thigh Exercises for Seniors: Safe Home Workout”