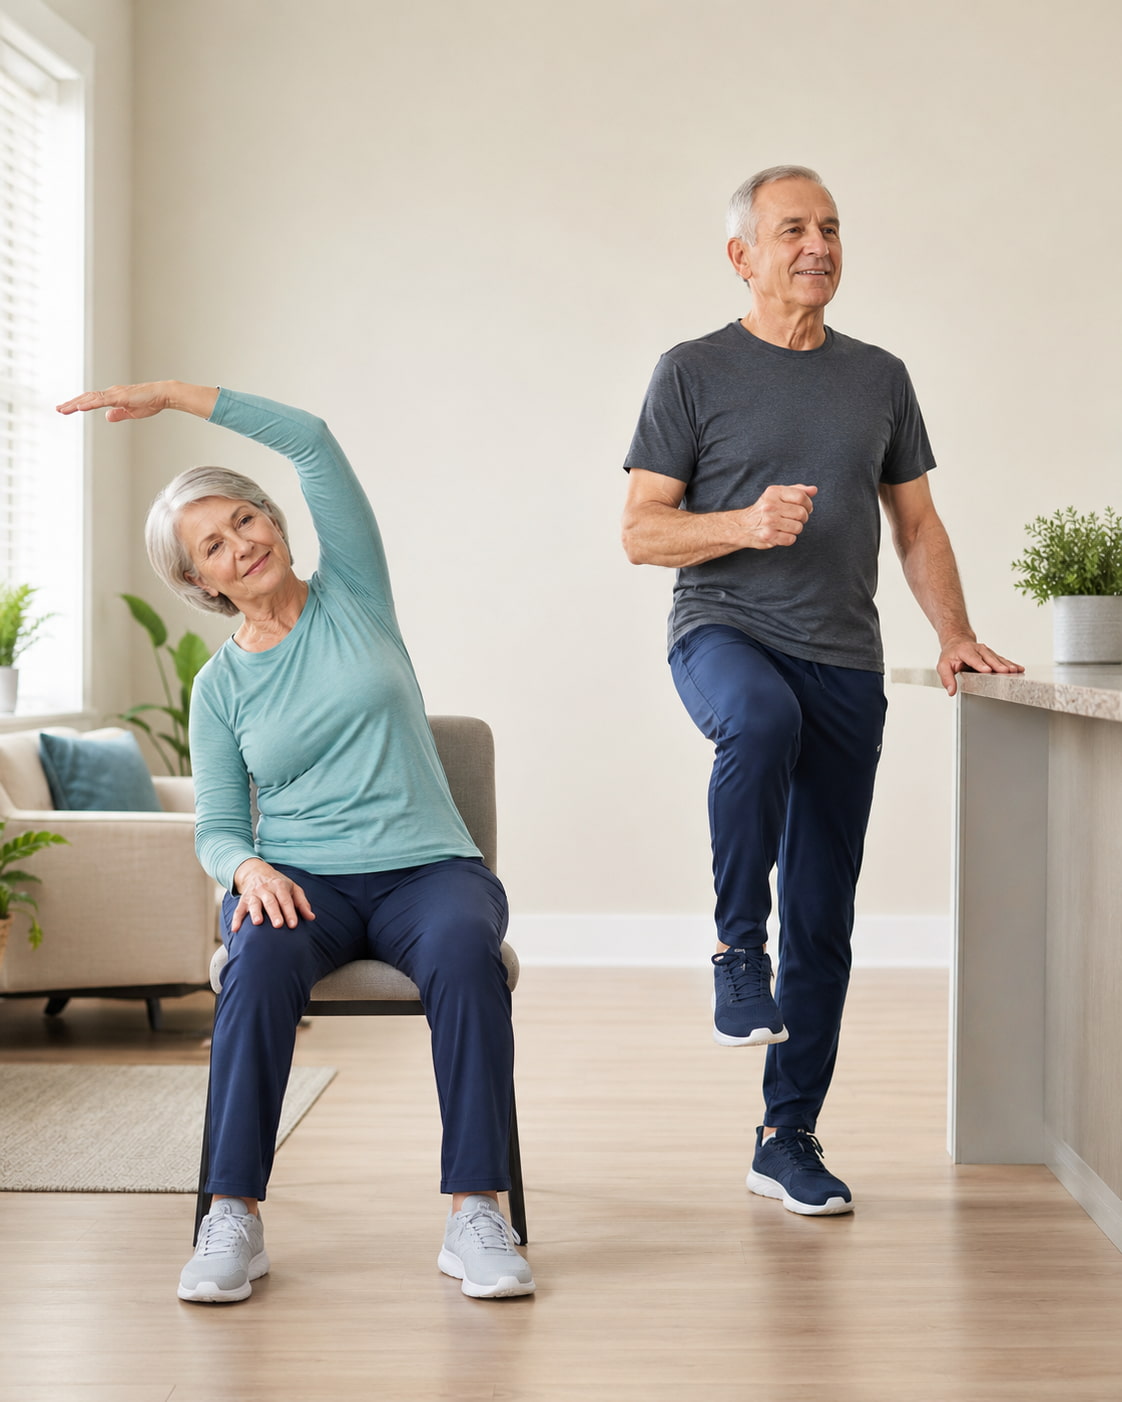
Cool down exercises for seniors should begin with a few minutes of easy movement and finish with gentle, pain-free stretches performed with support when needed. This gradual approach allows breathing and exercise intensity to settle instead of bringing the workout to an abrupt stop.
The following routine requires little space and no specialized equipment. A sturdy chair, wall, or countertop can provide support, making the exercises suitable after walking, chair exercise, light cardio, balance practice, or strength training.
What Is a Cool-Down?
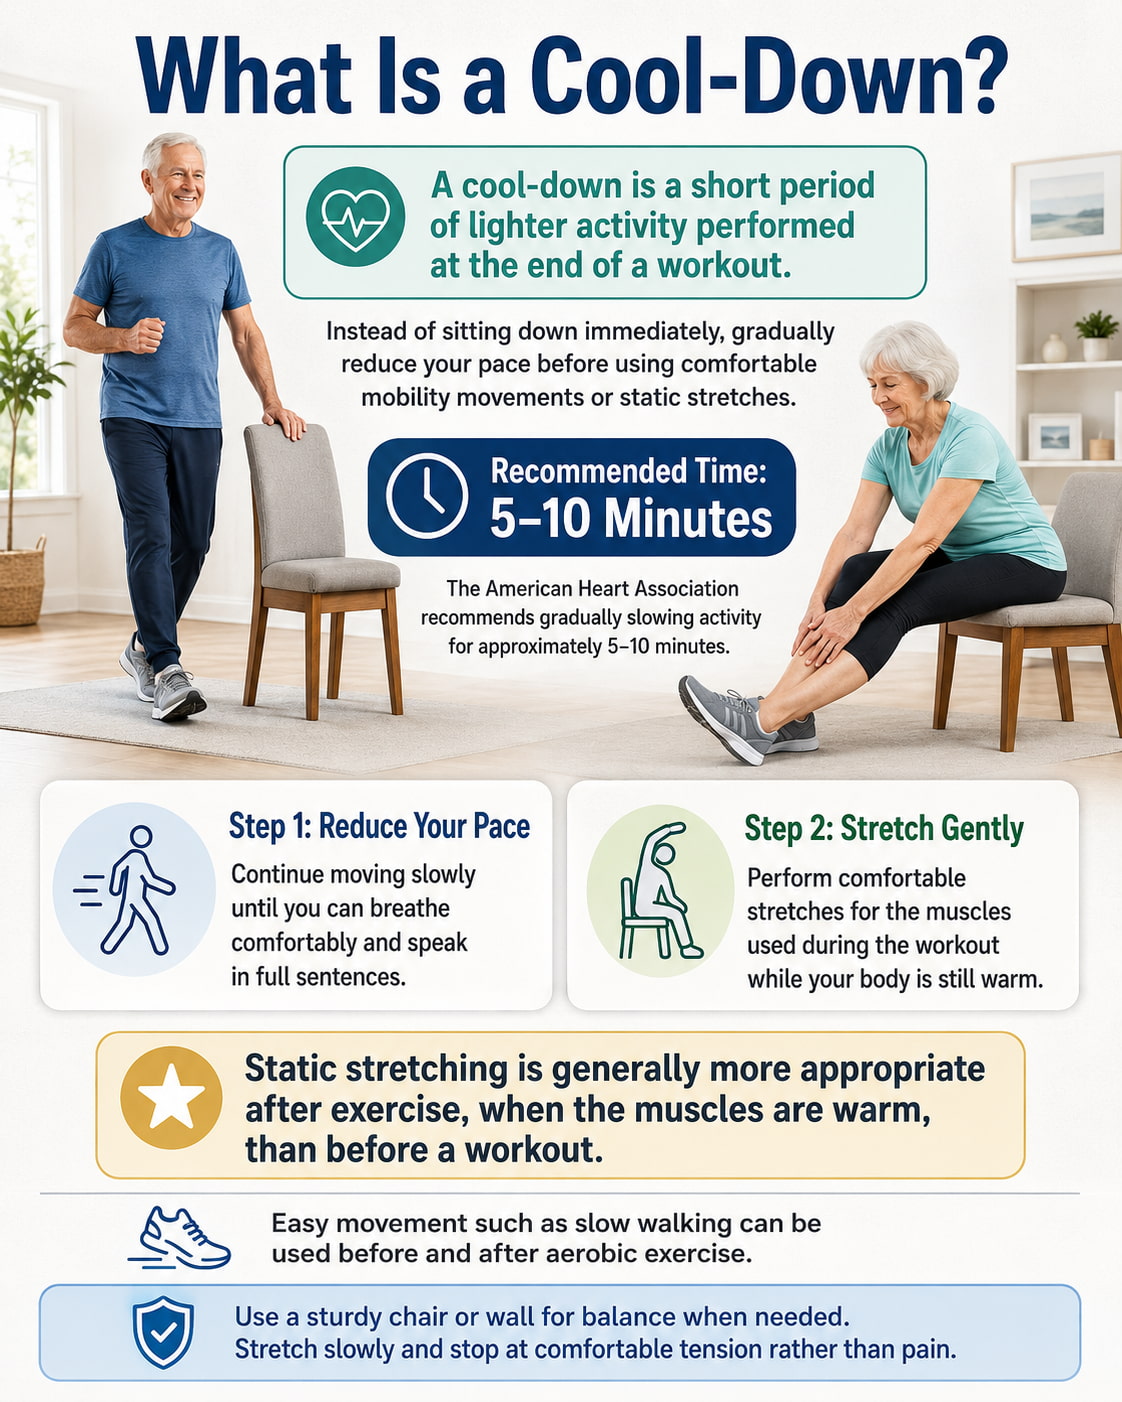
A cool-down is a short period of easier activity at the end of a workout. Instead of stopping suddenly and sitting down, you gradually slow your pace and allow your breathing and effort level to settle.
The American Heart Association recommends gradually reducing activity for about 5–10 minutes. Easy walking or gentle marching works well after most home workouts.
A simple cool-down can have two parts:
- Slow down first: Walk or march at an easy pace until you can breathe and speak comfortably.
- Stretch afterward: Perform gentle stretches for the muscles you used while your body is still warm.
You do not need a long or complicated routine. A few minutes of easy movement followed by comfortable stretching is enough for most light or moderate workouts.
Benefits of Cool-Down Exercises for Seniors
Cool-down exercises give you a gradual way to finish a workout and provide a convenient time to work on flexibility.
- Gradually reduces exercise intensity: Slow walking or marching lets your body transition from exercise toward rest instead of stopping abruptly.
- Supports flexibility: Gentle stretching after exercise may help maintain or improve comfortable joint range of motion over time.
- Encourages relaxed movement: Slower movements and steady breathing create a calm finish without adding more strenuous exercise.
- Makes stretching easier to remember: Adding several minutes of stretching to the end of a workout can be easier than planning a separate flexibility session.
Keep the benefits in perspective. Post-workout stretching should not be considered a guaranteed way to prevent injury or eliminate next-day muscle soreness. Its main role in this routine is to support flexibility and provide a comfortable finish to your workout.
How to Do Cool-Down Exercises for Seniors Safely
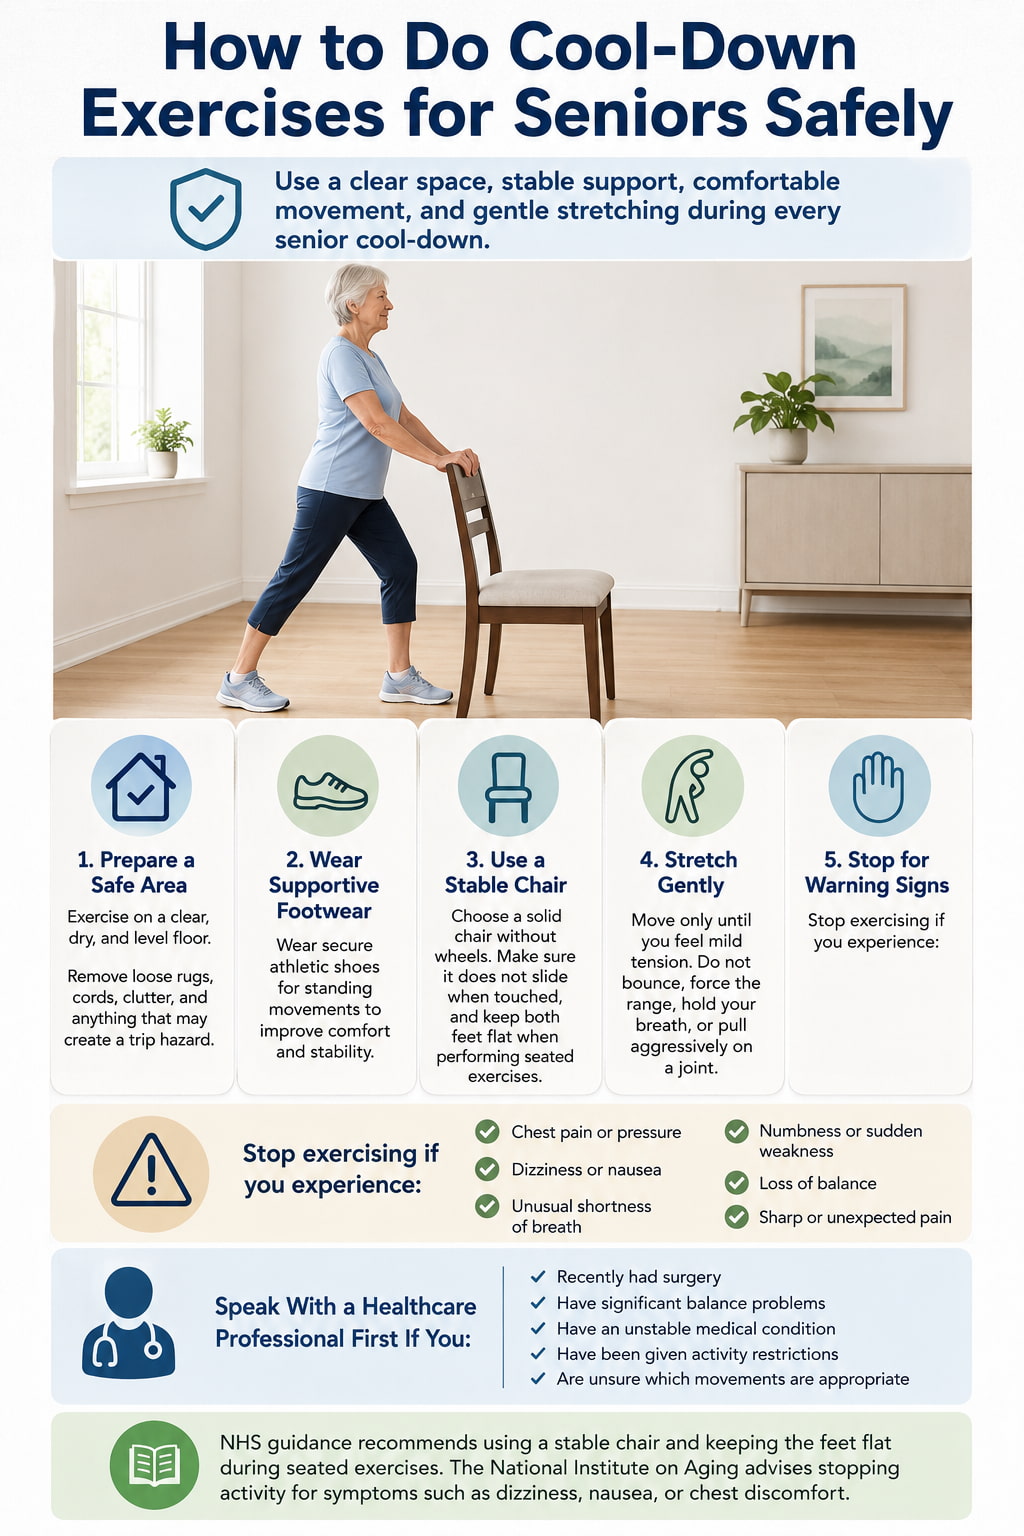
Keep the routine comfortable and easy. A cool-down is not the time to push for deeper stretches or challenge your balance.
Before starting:
- Use a clear, dry, and level exercise area.
- Wear supportive footwear for standing exercises.
- Keep a wall, countertop, or sturdy chair nearby if you need balance support.
- If using a chair, choose one without wheels that will not slide.
- Stretch only until you feel mild, comfortable tension.
- Move slowly and never bounce or force the range.
- Keep breathing normally instead of holding your breath.
The NHS chair-exercise guidance recommends using a stable chair and keeping the feet comfortably supported during seated exercise.
Stop the exercise if you experience sharp pain, chest pain or pressure, dizziness, unusual shortness of breath, nausea, numbness, sudden weakness, or loss of balance.
If you have recently had surgery, have significant balance difficulties, have been given exercise restrictions, or have a medical condition that affects physical activity, ask a qualified healthcare professional which exercises are appropriate for you.
10 Gentle Cool-Down Exercises for Seniors
Complete the exercises in order when you want a full-body cool-down. After a shorter workout, select the easy march and three or four stretches that target the areas you trained.
1. Slow Walk or Gentle March in Place
Best for: Beginning the cool-down after walking, cardio, chair exercise, or a full-body workout.
Muscles worked: Calves, quadriceps, hamstrings, hip flexors, and glutes.
Equipment needed: A chair, wall, or countertop for optional support.
Why it stands out: This movement lowers the workout pace gradually while keeping the legs active. It is a better first step than immediately sitting down after continuous exercise.
Suggested sets and reps: Continue for 2–5 minutes at a very easy pace.
How to do it:
- Stand tall beside a stable chair or countertop.
- Begin walking slowly around the room or marching gently in place.
- Keep the steps short and allow the arms to move naturally.
- Gradually make the steps slower and smaller.
- Continue until your breathing feels comfortable and controlled.
Common mistakes: Stopping abruptly, lifting the knees too high, marching quickly, leaning heavily on the chair, or treating the cool-down as additional cardio.
Expert tip: You should be able to speak in full sentences during this movement. If not, continue slowing the pace.
2. Heel-to-Toe Rocks
Best for: Cooling down after walking, marching, calf raises, or other standing exercise.
Muscles worked: Calves, shins, ankles, and foot muscles.
Equipment needed: A stable chair or countertop.
Why it stands out: Heel-to-toe rocking keeps the ankles moving gently without adding significant effort. It is also easy to modify from a chair.
Suggested sets and reps: Perform 1–2 sets of 8–12 controlled repetitions.
How to do it:
- Stand behind a sturdy chair with the feet about hip-width apart.
- Shift your weight toward your toes and lift the heels slightly.
- Lower the heels slowly.
- Shift back toward your heels and gently lift the toes.
- Continue rocking forward and backward without rushing.
Common mistakes: Moving too quickly, bending excessively at the hips, rolling onto the outside edges of the feet, or lifting so high that balance becomes difficult.
Expert tip: Think about moving through the ankles while keeping the rest of the body tall and quiet.
3. Shoulder Rolls
Best for: After walking, resistance-band exercise, light dumbbell training, or a chair workout.
Muscles worked: Trapezius, deltoids, upper-back muscles, and muscles around the shoulder blades.
Why it stands out: Shoulder rolls move the upper body through an easy range without requiring weights or complicated coordination.
Suggested sets and reps: Perform 5 rolls backward and 5 rolls forward for 1–2 sets.
How to do it:
- Stand or sit with the spine tall and the arms relaxed.
- Lift both shoulders gently toward the ears.
- Roll them backward, down, and forward in a smooth circle.
- Complete five controlled circles.
- Reverse the direction for five more repetitions.
Common mistakes: Moving rapidly, forcing the shoulders toward the ears, arching the lower back, or turning the movement into a forceful neck exercise.
Expert tip: Keep your jaw relaxed and make the circles smooth rather than large.
4. Seated or Standing Chest Opener
Best for: After walking with rounded shoulders, cycling, band rows, pressing exercises, or prolonged sitting.
Muscles worked: Chest, front shoulders, and upper-back postural muscles.
Equipment needed: A chair for the seated option.
Why it stands out: This exercise opens the front of the upper body without requiring the hands to be pulled forcefully behind the back.
Suggested sets and reps: Hold for 15–30 seconds and repeat 1–2 times.
How to do it:
- Sit or stand tall with the arms relaxed beside the body.
- Turn the palms slightly forward.
- Gently draw the shoulders back and down.
- Lift the center of the chest slightly without arching the lower back.
- Hold while breathing normally.
Common mistakes: Throwing the head backward, overextending the lower back, forcing the arms behind the body, or shrugging the shoulders.
Expert tip: Imagine widening the collarbones rather than pushing the chest as far forward as possible.
The NHS seated chest stretch uses an upright position with the shoulders drawn back and down rather than a forceful backward pull.
5. Cross-Body Shoulder Stretch
Best for: After upper-body strength exercises, resistance-band work, gardening, or activities involving repeated arm movement.
Muscles worked: Rear deltoid, upper back, and muscles around the shoulder blade.
Why it stands out: The cross-body position stretches the back of the shoulder without requiring the arm to move overhead.
Suggested sets and reps: Hold for 15–30 seconds per side for 1–2 rounds.
Rest: Switch arms slowly; no additional rest is usually needed.
How to do it:
- Sit or stand tall with the shoulders relaxed.
- Bring one arm across the chest.
- Use the opposite forearm to support the stretching arm above or below the elbow.
- Gently draw the arm closer until you feel mild tension behind the shoulder.
- Hold, breathe normally, and repeat on the other side.
Common mistakes: Pulling directly on the elbow joint, twisting the torso, raising the shoulder, or using force to increase the stretch.
Expert tip: Keep the stretching shoulder down and away from the ear.
6. Chair-Supported Calf Stretch
Best for: After walking, marching, step-ups, standing balance exercises, or heel raises.
Muscles worked: Gastrocnemius, soleus, ankle muscles, and Achilles tendon region.
Equipment needed: A wall, countertop, or sturdy chair.
Why it stands out: The support makes it easier to adjust the stance while keeping the back heel in contact with the floor.
Suggested sets and reps: Hold for 15–30 seconds per side for 1–2 rounds.
How to do it:
- Face a chair, wall, or countertop and place both hands on it.
- Step one foot backward with the toes pointing forward.
- Keep the rear heel down and the rear leg comfortably straight.
- Bend the front knee slightly and shift the body forward.
- Hold when you feel a gentle stretch in the back calf, then switch sides.
Common mistakes: Turning the back foot outward, lifting the back heel, leaning too far, bouncing, or bending the rear knee unintentionally.
Expert tip: Shorten the stance if you cannot keep the back heel down.
The NHS post-exercise stretching routine also uses a supported stance and emphasizes keeping the back heel down.
7. Seated Hamstring Stretch
Best for: After walking, sit-to-stands, squats, step exercises, or other lower-body workouts.
Muscles worked: Hamstrings, calves, and muscles supporting the back of the thigh.
Equipment needed: A stable chair without wheels.
Why it stands out: The seated position reduces the balance demand and does not require getting onto the floor.
Suggested sets and reps: Hold for 15–30 seconds per side for 1–2 rounds.
How to do it:
- Sit near the front of a stable chair with both feet flat.
- Extend one leg forward and place the heel on the floor.
- Keep the knee straight or slightly bent.
- Maintain a long spine and hinge forward gently from the hips.
- Hold when you feel mild tension along the back of the thigh, then switch sides.
Common mistakes: Rounding the back, locking the knee forcefully, reaching for the toes, or lowering the head toward the leg.
Expert tip: Move the chest forward rather than trying to move the hands toward the foot.
8. Chair-Supported Hip-Flexor Stretch
Best for: After walking, cycling, seated marching, step exercises, or extended periods of sitting.
Muscles worked: Hip flexors, upper quadriceps, and muscles at the front of the hip.
Equipment needed: A sturdy chair, wall, or countertop.
Why it stands out: The exercise targets the front of the hip while allowing the reader to control the stance and use both hands for balance.
Suggested sets and reps: Hold for 15–30 seconds per side for 1–2 rounds.
How to do it:
- Stand beside a stable chair or countertop.
- Step one foot backward into a short split stance.
- Keep both feet pointing generally forward.
- Gently tuck the pelvis and shift the body forward slightly.
- Hold when you feel a mild stretch at the front of the rear hip, then switch sides.
Common mistakes: Taking an excessively long stance, arching the lower back, leaning far forward, twisting the pelvis, or allowing the front knee to collapse inward.
Expert tip: The movement is small. Think about bringing the belt buckle slightly upward rather than pushing the hips far forward.
9. Gentle Seated Side Bend
Best for: After upper-body exercise, walking with arm movement, or a full-body chair workout.
Muscles worked: Obliques, latissimus dorsi, intercostal muscles, shoulders, and upper back.
Equipment needed: A stable chair.
Why it stands out: The seated position provides support while allowing gentle movement through the side of the torso.
Suggested sets and reps: Hold for 10–20 seconds per side for 1–2 rounds.
How to do it:
- Sit tall with both feet flat and comfortably apart.
- Place one hand on the chair beside the hip.
- Raise the opposite arm toward the ceiling.
- Lean gently toward the supporting hand without twisting.
- Hold briefly, return to the center, and repeat on the other side.
Common mistakes: Collapsing forward, twisting the chest toward the floor, lifting one hip from the chair, or reaching so far that breathing becomes difficult.
Expert tip: Think about creating length through the side of the ribs rather than trying to bend as far as possible.
10. Gentle Neck Side Stretch With Slow Breathing
Best for: Finishing a walking, chair, resistance-band, or light strength workout.
Muscles worked: Upper trapezius and muscles along the side of the neck.
Why it stands out: This low-effort movement finishes the routine without requiring standing balance or large joint ranges.
Suggested sets and reps: Hold for 10–20 seconds per side and complete 1–2 rounds.
How to do it:
- Sit tall with both feet flat and the shoulders relaxed.
- Look straight ahead.
- Slowly tilt one ear toward the same-side shoulder.
- Stop when you feel mild tension along the opposite side of the neck.
- Hold without pulling on the head, then return to the center and change sides.
Common mistakes: Pulling the head with the hand, rotating the chin, raising the shoulder, slouching, or forcing a large range.
Expert tip: Let the weight of the head create the stretch. More pressure is not necessary.
The NHS flexibility exercise guidance recommends building gentle mobility work gradually and staying within a manageable range.
10-Minute Cool-Down Routine for Seniors
This sequence works well after walking, light strength training, a chair workout, or moderate home exercise.
| Exercise | Time or Repetitions |
|---|---|
| Slow walk or gentle march | 2–3 minutes |
| Heel-to-toe rocks | 10 repetitions |
| Shoulder rolls | 5 each direction |
| Chest opener | 20 seconds |
| Cross-body shoulder stretch | 20 seconds per side |
| Supported calf stretch | 20 seconds per side |
| Seated hamstring stretch | 20 seconds per side |
| Supported hip-flexor stretch | 20 seconds per side |
| Seated side bend | 15 seconds per side |
| Neck side stretch | 15 seconds per side |
Keep the entire routine at an easy effort. A cool-down should not feel like another workout.
After a more demanding aerobic session, spend closer to 5–10 minutes gradually reducing the pace before performing the stretches. After a short chair or mobility workout, 1–3 minutes of gentle marching may be enough before moving into the remaining exercises. The American Heart Association advises walking slowly for approximately 5–10 minutes before and after aerobic or strengthening activity when appropriate.
Seated Cool-Down Exercises for Seniors
The routine can be adapted for someone who cannot stand safely or comfortably.
Begin with seated marching for 1–3 minutes. Follow it with seated heel and toe lifts, shoulder rolls, the chest opener, cross-body shoulder stretch, seated hamstring stretch, side bend, and neck stretch.
For the calf stretch, extend one leg forward with the heel down and gently draw the toes toward the shin. For the hip flexors, sit slightly toward one side of the chair and move one foot backward only if the position feels stable and comfortable.
Keep both feet on the floor whenever possible, avoid leaning beyond your ability to recover, and place the chair near a wall if additional stability is needed.
How to Match the Cool-Down to Your Workout
After walking or cardio
Prioritize the slow walk, ankle rocks, calf stretch, hamstring stretch, and hip-flexor stretch. Spend enough time slowing down before sitting.
After a lower-body workout
Focus on the calves, hamstrings, front of the hips, and any other area that feels mildly tight. Stretching should remain gentle even after squats, step-ups, or sit-to-stands.
After an upper-body workout
Use shoulder rolls, the chest opener, cross-body shoulder stretch, side bend, and neck stretch. Do not force a joint simply because the muscles feel warm.
After a chair workout
Begin with seated marching and ankle pumps. Continue with the seated versions of the remaining exercises so you do not need to stand when already fatigued.
After balance training
Hold the chair during the standing movements. Fatigue can affect steadiness, so the end of a workout is not the best time to remove support or practice difficult balance positions.
Common Cool-Down Mistakes to Avoid
Stopping too suddenly
After continuous activity, reduce the pace progressively before sitting or lying down. Walk or march gently until your breathing becomes comfortable.
Stretching before breathing has settled
Complete the active portion first. Trying to hold a stretch while breathing heavily may make it difficult to maintain good posture.
Bouncing
Static stretches should be steady. Bouncing may cause you to move beyond your comfortable range before you can respond.
Forcing a deeper stretch
A stronger sensation is not necessarily more effective. Stop at mild tension and allow your range to improve gradually through regular practice.
Holding the breath
Breathe normally during every exercise. Reduce the range if the position makes relaxed breathing difficult.
Using an unstable chair
Do not use a chair with wheels, a folding chair that can collapse, or furniture that slides easily.
Stretching through pain
Stretching may create mild tension, but it should not cause sharp, burning, electrical, or joint pain. Stop and seek professional guidance when symptoms are unusual or persistent.
Assuming stretching prevents all soreness
Post-workout stretching can be used for flexibility and comfort, but it should not be treated as a guaranteed soreness-prevention strategy.
How Often Should Seniors Cool Down?
Use a brief cool-down after most planned exercise sessions, particularly after aerobic activity or workouts that noticeably elevate breathing and heart rate.
Flexibility exercises can also be practiced separately on non-training days, but warm the body with a few minutes of easy movement first. The American Heart Association recommends warming the muscles before a stretching-only session.
A cool-down complements rather than replaces a balanced activity program. Current CDC guidance for adults aged 65 and older recommends a combination of aerobic, muscle-strengthening, and balance activity based on individual ability.
How to Progress Safely
Begin with the easiest supported version of each movement. Progress by improving posture, control, and consistency before increasing the stretch.
Once 15 seconds feels comfortable, gradually extend a hold toward 20–30 seconds. You can also add a second round for areas that commonly feel tight.
Do not progress by pulling harder, bouncing, using unstable positions, or attempting extreme flexibility. The goal is comfortable movement that supports daily activity and exercise—not achieving the deepest possible stretch.
Frequently Asked Questions
How long should seniors cool down after exercise?
Most cool-downs can last approximately 5–10 minutes. A longer or more intense workout may require more time to reduce the pace, while a short chair workout may need only a few minutes of light movement followed by selected stretches.
Is slow walking enough for a cool-down?
Slow walking can be enough when the main goal is to gradually reduce exercise intensity. Add stretching when you also want to work on flexibility or when particular muscle groups feel mildly tight.
Should seniors stretch before or after exercise?
Longer static stretches generally fit better after exercise, when the muscles are warm. Before a workout, prioritize light movement and controlled dynamic exercises that prepare the body for the planned activity.
Can cool-down exercises prevent muscle soreness?
They may feel comfortable, but research does not show that post-exercise stretching reliably prevents delayed-onset muscle soreness. Use stretching mainly to support flexibility and create a gradual finish to the workout.
Can seniors complete the entire cool-down while seated?
Yes. Marching, ankle pumps, shoulder rolls, chest and shoulder stretches, hamstring stretches, side bends, and gentle neck movements can all be performed from a stable chair.
How intense should a stretch feel?
Aim for mild, controlled tension rather than pain. You should be able to breathe normally and remain relaxed. Reduce the range if you feel joint pressure, shaking, sharp pain, or difficulty maintaining the position.
Is it normal for one side to feel tighter?
Small side-to-side differences are common. Use a comfortable range for each side rather than forcing the tighter side to match the more flexible side. Seek professional guidance if the difference is sudden, painful, or affects normal movement.
When should a senior stop the routine?
Stop for sharp pain, chest pain or pressure, dizziness, unusual shortness of breath, nausea, numbness, sudden weakness, loss of balance, or any symptom that feels unexpected. Seek appropriate medical help when symptoms are severe or do not settle.
Conclusion
The best cool down exercises for seniors combine easy movement, comfortable stretching, relaxed breathing, and appropriate balance support. Begin by gradually slowing your walking or marching, then stretch the main areas used during the workout without bouncing or forcing the range.
A stable chair can make the routine more accessible without reducing its value. Practice consistently, choose the movements that match your workout, and treat pain or unusual symptoms as a reason to stop rather than push harder.
References
- American Heart Association — Warm Up, Cool Down
- American Heart Association — Flexibility Exercise and Stretching
- National Institute on Aging — Tips for Getting and Staying Active as You Age
- CDC — Physical Activity Guidelines for Older Adults
- NHS — How to Stretch After Exercising
- NHS — Sitting Exercises
- Afonso et al. — Effectiveness of Post-Exercise Stretching: Systematic Review and Meta-Analysis