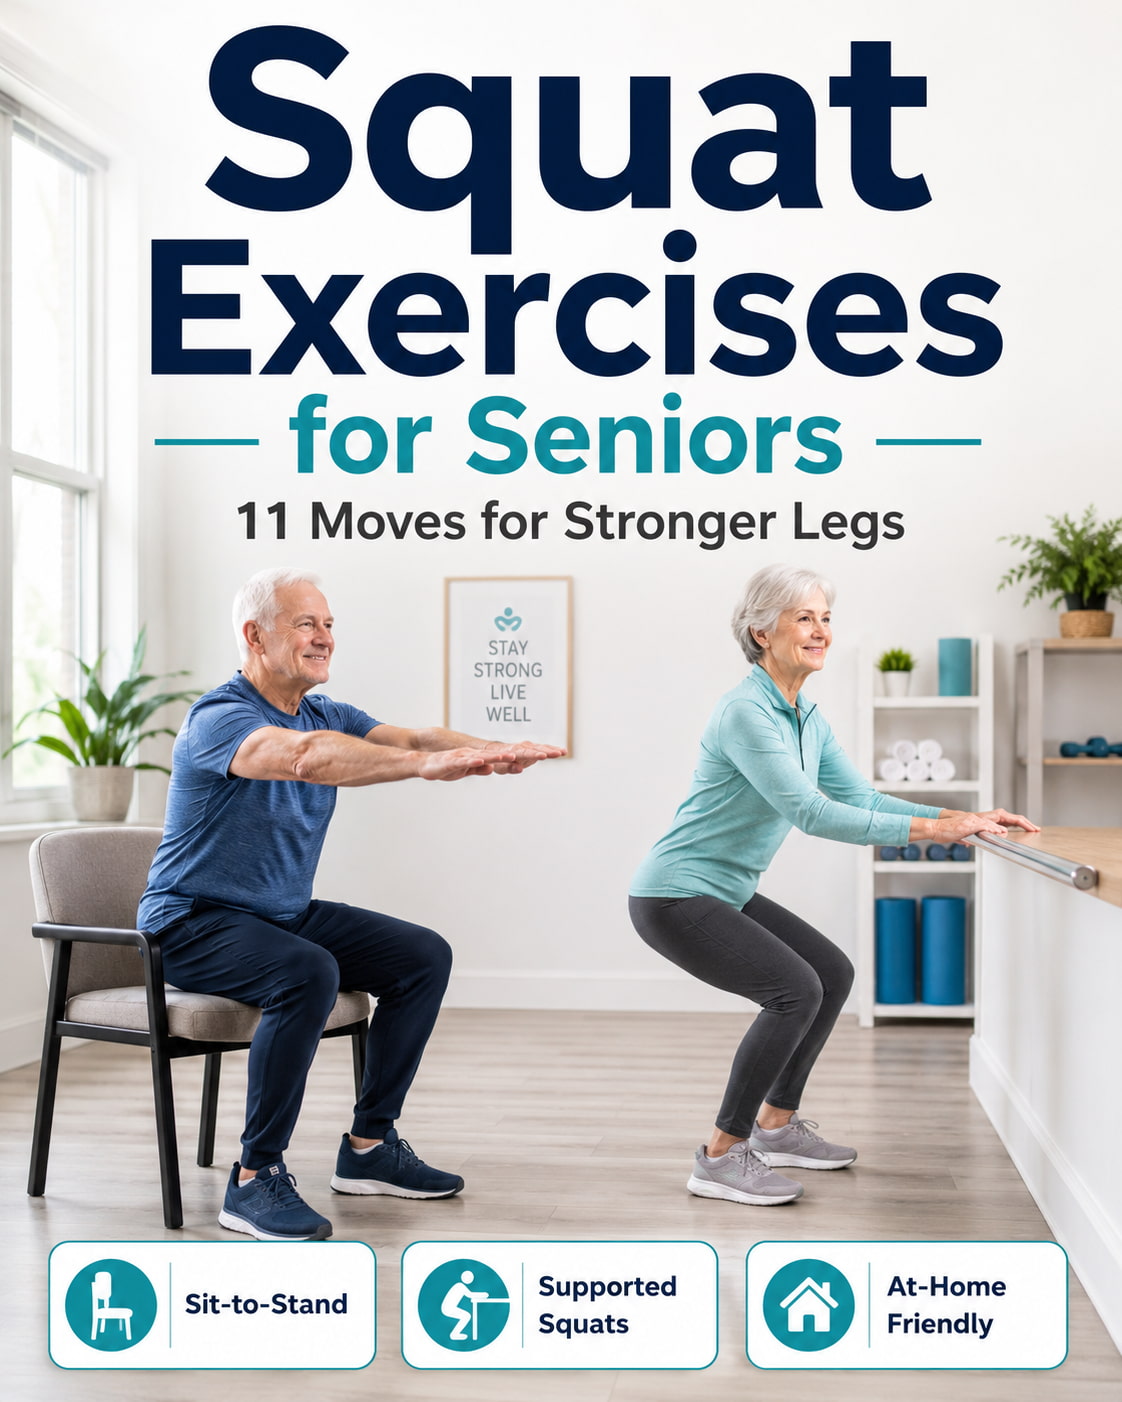
Squat exercises for seniors can help build leg strength, improve daily movement, and make tasks like standing from a chair, climbing stairs, and getting in and out of a car feel easier. The key is choosing the right variation, using support when needed, and progressing slowly.
You do not need heavy weights or deep barbell squats to benefit. A sturdy chair, countertop, wall, resistance band, or light dumbbell can be enough to train the squat pattern safely and effectively.
This guide covers the best squat exercises for seniors, how to do them, common mistakes to avoid, and how to build a simple lower-body routine.
Why Squat Exercises for Seniors Are Worth Doing
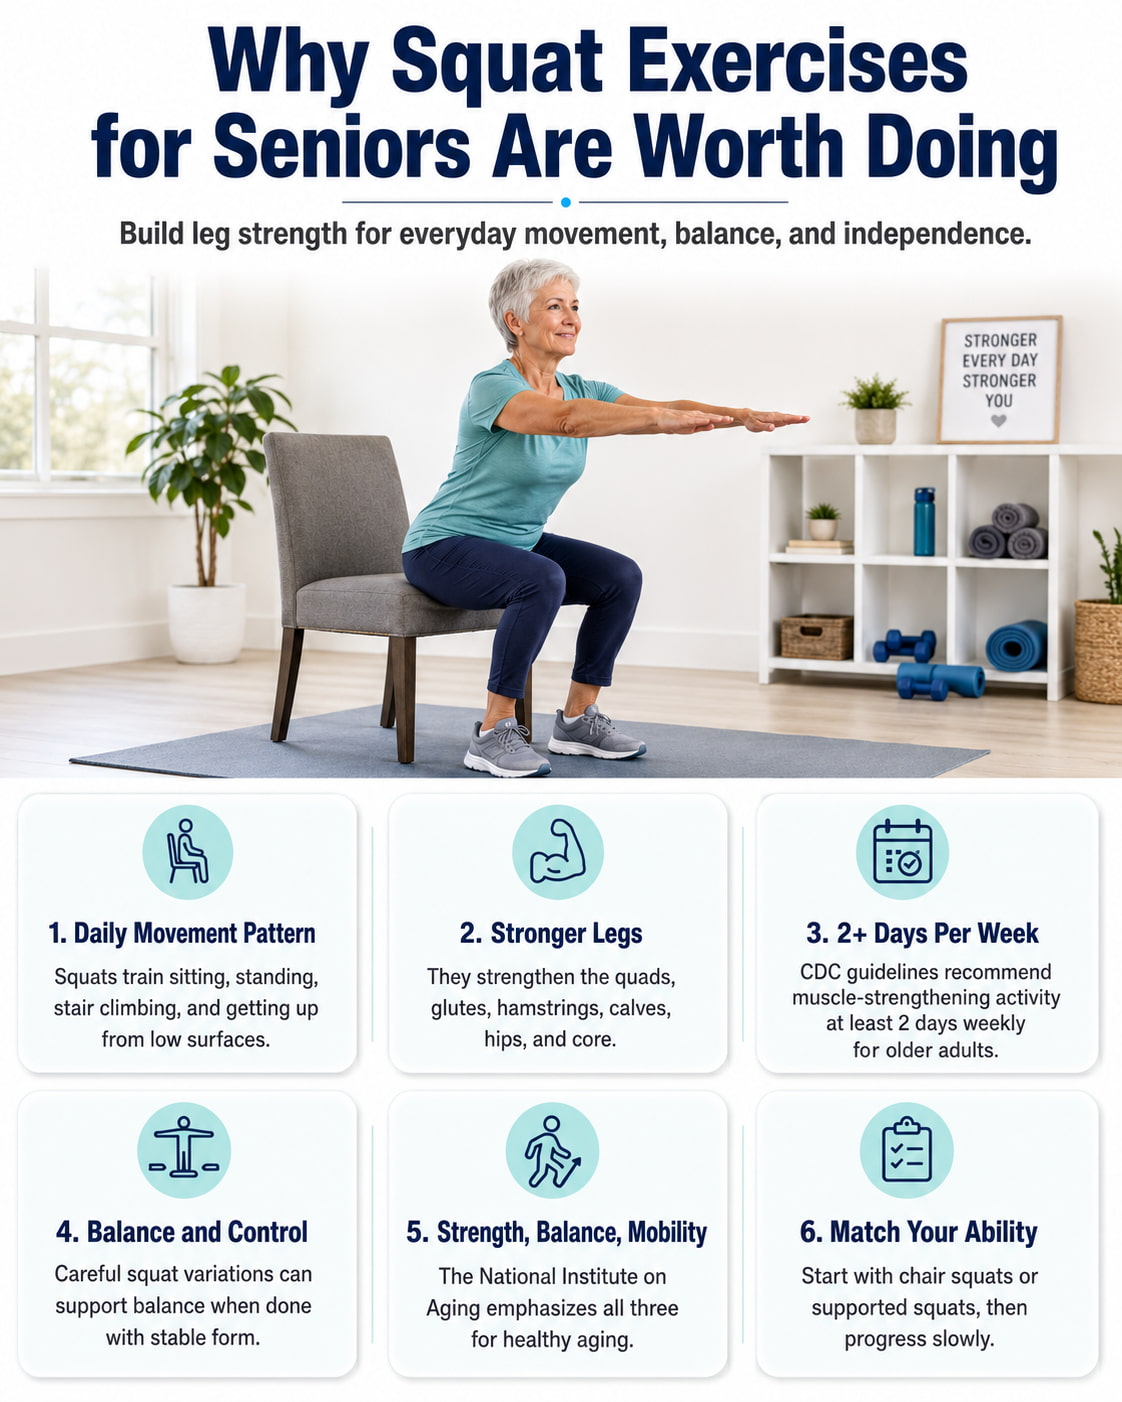
Squats train one of the most important movement patterns in everyday life: bending the hips and knees, lowering the body, and standing back up with control. That pattern shows up when you sit down, stand from a chair, use the toilet, pick something up from a lower surface, climb stairs, or move from the car seat to standing.
The CDC physical activity guidelines for older adults recommend muscle-strengthening activities at least 2 days per week, along with aerobic activity and balance-focused movement. Squats fit well because they strengthen the legs and can also challenge balance when done carefully.
The National Institute on Aging also emphasizes strength, balance, and mobility-focused activity for older adults. Squat variations can support all three when they are matched to the person’s current ability.
How Seniors Should Squat Safely
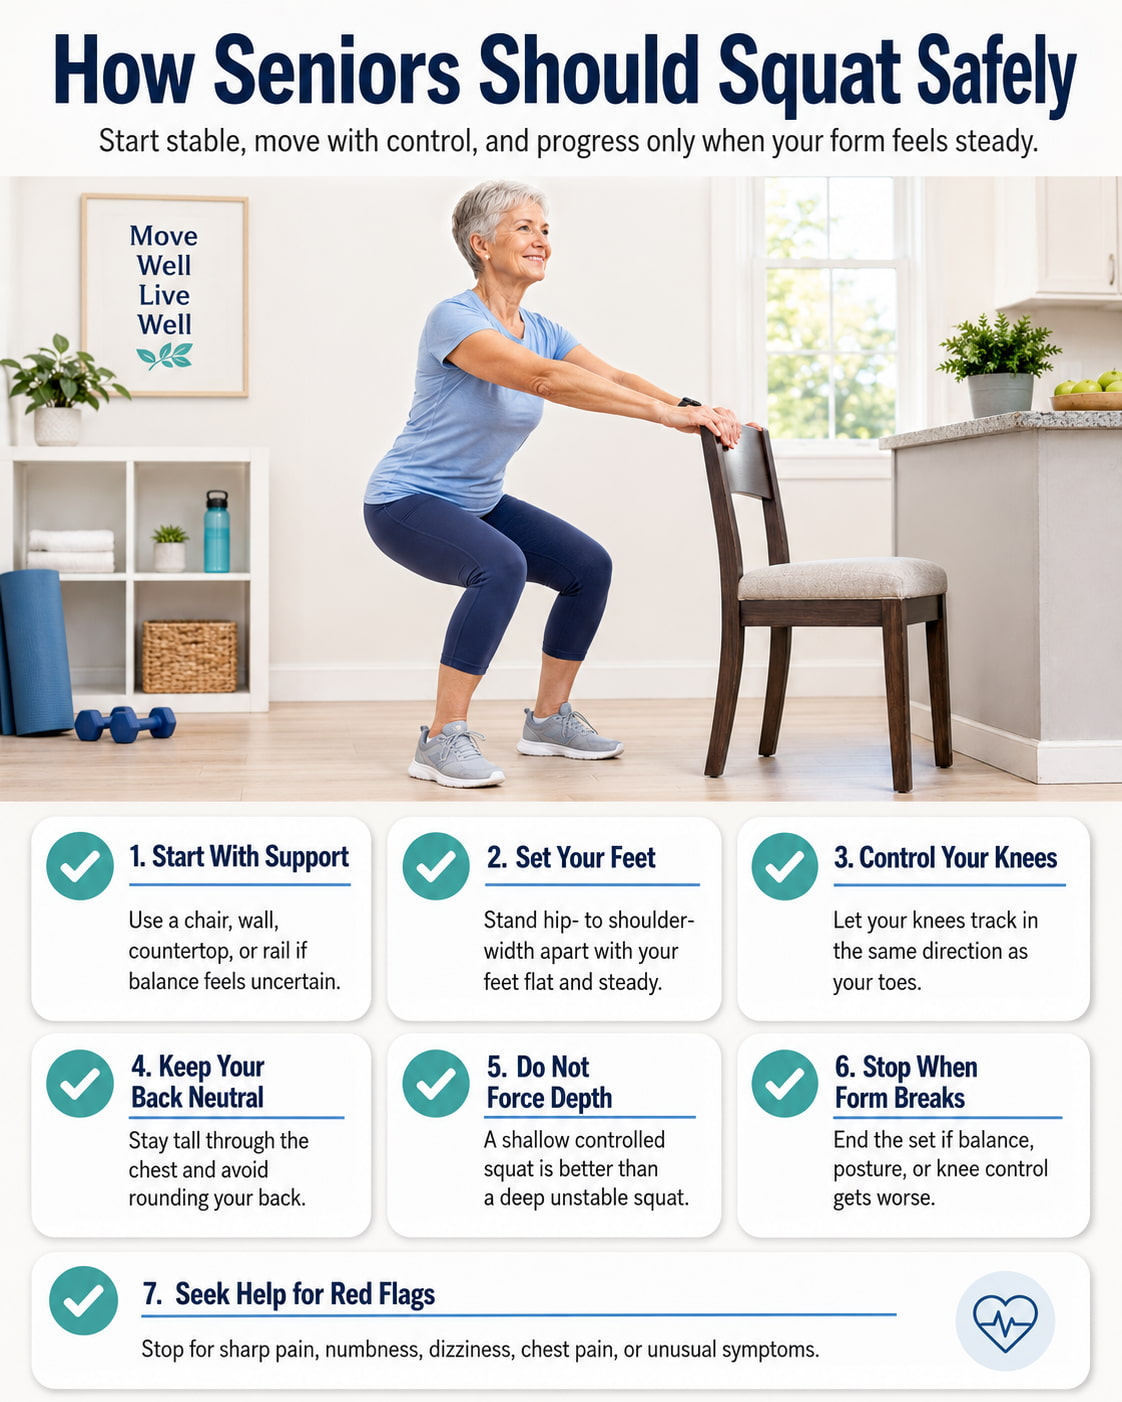
Start with a variation that feels stable. For many people, that means a sit-to-stand, chair squat, or supported mini squat. A sturdy chair, wall, countertop, or rail can make the movement safer while you build confidence.
Keep your feet about hip- to shoulder-width apart. Sit the hips back slightly, bend the knees, and keep the chest lifted. Your knees should generally track in the same direction as your toes instead of collapsing inward.
The Mayo Clinic squat guide recommends keeping the back neutral, keeping the knees centered over the feet, using the arms for balance and support when needed, and going only as low as you can control.
Do not force depth. A shallow, controlled squat is better than a deep squat with poor balance, knee collapse, or back rounding. Stop the set when your form changes, your balance feels uncertain, or your muscles are too tired to control the movement.
Stop and seek professional help if an exercise causes sharp pain, numbness, dizziness, chest pain, severe shortness of breath, or unusual symptoms. If you have a recent surgery, major balance problem, joint replacement, heart condition, or ongoing knee, hip, or back pain, ask a qualified healthcare professional before starting.
11 Best Squat Exercises for Seniors
The best squat exercise is the one you can do with control, confidence, and no sharp pain. Start with easier variations first, then progress when your reps feel steady.
1. Sit-to-Stand
Best for: True beginners, older adults returning to exercise, and anyone who wants to improve the ability to stand up from a chair.
Muscles worked: Quadriceps, glutes, hamstrings, calves, hip stabilizers, and core.
Equipment needed: A sturdy chair that does not roll.
Why it stands out: The sit-to-stand is one of the most practical squat exercises for seniors because it directly trains a daily movement. The NHS strength exercise guide includes sit-to-stands as a simple strength exercise and recommends using a stable chair and controlled movement.
Suggested sets and reps: Start with 1–2 sets of 5–8 reps. Build toward 2–3 sets of 8–12 reps as strength improves.
Beginners: Use a taller chair and lightly use your hands on the chair or thighs if needed.
Intermediate: Cross your arms over your chest or reach your arms forward instead of pushing with your hands.
Advanced: Use a slower lowering phase or hold a light dumbbell at chest height.
Rest: Rest 60–90 seconds between sets.
How to do it:
- Sit near the front edge of a sturdy chair with your feet flat on the floor.
- Place your feet about hip-width apart.
- Lean slightly forward from the hips while keeping your chest lifted.
- Press through your feet and stand tall.
- Pause at the top and squeeze your glutes lightly.
- Slowly lower back to the chair with control.
- Touch the chair softly instead of dropping onto it.
Common mistakes: The biggest mistakes are rocking too hard, pushing mostly with the arms, letting the knees collapse inward, or dropping quickly into the chair.
Expert tip: Think “stand tall through the whole foot.” Keep the heels down, but do not let the toes lift off the floor.
2. Chair Squat
Best for: Beginners who can stand but need a target behind them for depth and confidence.
Muscles worked: Quadriceps, glutes, hamstrings, calves, adductors, and core.
Equipment needed: A sturdy chair.
Why it stands out: A chair squat teaches the squat pattern without requiring you to guess how low to go. The chair gives a clear stopping point, which is useful for seniors who worry about balance or knee comfort.
Suggested sets and reps: Do 2 sets of 6–10 reps. Progress to 3 sets of 10–12 reps when control improves.
Beginners: Fully sit down between reps if needed.
Intermediate: Lightly tap the chair and stand back up without fully relaxing.
Advanced: Hold a light dumbbell, medicine ball, or household object close to the chest.
Rest: Rest 60–90 seconds between sets.
How to do it:
- Stand in front of a sturdy chair with your feet hip- to shoulder-width apart.
- Reach your arms forward for balance.
- Push your hips back toward the chair.
- Bend your knees and lower with control.
- Touch the chair lightly or sit down briefly.
- Press through your feet and stand tall.
- Reset your posture before the next rep.
Common mistakes: Avoid falling into the chair, lifting the heels, rounding the back, or letting the knees cave inward.
Expert tip: Aim your hips toward the chair, but keep your chest proud. This helps you sit back without folding forward.
3. Supported Mini Squat
Best for: Seniors with balance concerns, limited mobility, or low confidence with full squats.
Muscles worked: Quadriceps, glutes, calves, hip stabilizers, and core.
Equipment needed: A chair back, countertop, wall, or stable rail.
Why it stands out: The supported mini squat keeps the range of motion small and controlled. The NHS strength exercise guide includes mini-squats with hand support and recommends bending only as far as comfortable.
Suggested sets and reps: Start with 1–2 sets of 5–8 reps. Build to 2–3 sets of 10 reps.
Beginners: Hold the support with both hands and use a shallow range.
Intermediate: Use one hand for support or reduce how much you rely on your arms.
Advanced: Use a slower tempo or add a brief pause at the bottom.
Rest: Rest 45–90 seconds between sets.
How to do it:
- Stand tall behind a chair or in front of a countertop.
- Hold the support lightly with both hands.
- Place your feet about hip-width apart.
- Bend your knees slightly and lower a few inches.
- Keep your chest lifted and heels down.
- Press through your feet to stand tall again.
- Repeat slowly and smoothly.
Common mistakes: Avoid pulling yourself up with your arms, bending too low too soon, or letting the knees drift inward.
Expert tip: Use the support for balance, not as the main driver of the movement.
4. Counter-Supported Squat
Best for: Home workouts, balance support, and seniors who want a safer transition from mini squats to deeper squats.
Muscles worked: Quadriceps, glutes, hamstrings, calves, hip stabilizers, and core.
Equipment needed: A stable countertop, rail, or heavy table that will not move.
Why it stands out: A countertop often gives better support than a chair because it is heavier and more stable. This helps the person focus on leg strength while still feeling secure.
Suggested sets and reps: Do 2 sets of 6–10 reps. Build toward 3 sets of 10–12 reps.
Beginners: Use both hands and squat only halfway down.
Intermediate: Use lighter fingertip support while keeping the movement slow.
Advanced: Use a deeper range or add a 2-second pause at the bottom.
Rest: Rest 60–90 seconds between sets.
How to do it:
- Stand facing a stable countertop or rail.
- Hold the support lightly with both hands.
- Step your feet hip- to shoulder-width apart.
- Push your hips back and bend your knees.
- Lower to a comfortable depth while keeping your heels down.
- Press through your feet to stand.
- Finish tall without leaning backward.
Common mistakes: Avoid hanging from the counter, pulling with the arms, rushing the lowering phase, or letting the knees twist inward.
Expert tip: Keep your hands light. The legs should do the work while the support helps you balance.
5. Wall Squat
Best for: Building leg endurance and learning a controlled upright position.
Muscles worked: Quadriceps, glutes, hamstrings, calves, and core.
Equipment needed: A clear wall.
Why it stands out: The wall gives feedback and support. This can help seniors practice lowering with control while reducing fear of falling backward.
Suggested sets and reps: Do 1–2 sets of 5–8 reps or 2–3 holds of 10–20 seconds.
Beginners: Use a shallow depth and keep the hold short.
Intermediate: Lower slightly deeper and hold for 15–30 seconds.
Advanced: Add a longer hold or perform slow reps with a controlled pause.
Rest: Rest 60–120 seconds between sets or holds.
How to do it:
- Stand with your back against a wall.
- Step your feet slightly forward.
- Keep your feet about hip- to shoulder-width apart.
- Slide down the wall a few inches.
- Keep your knees tracking over your feet.
- Hold briefly or press back up to standing.
- Move slowly and keep breathing.
Common mistakes: Avoid sliding too low, placing the feet too close to the wall, holding your breath, or letting the knees move inward.
Expert tip: Keep the first few sessions easy. A shallow wall squat can still create a strong leg-strengthening effect.
6. Box Squat
Best for: Controlled depth, strength progression, and seniors who are ready for more structure than a chair squat.
Muscles worked: Quadriceps, glutes, hamstrings, adductors, calves, and core.
Equipment needed: A sturdy box, bench, or firm chair.
Why it stands out: A box squat lets you control range of motion and progress gradually. A higher box is easier, while a lower box makes the squat more demanding.
Suggested sets and reps: Do 2–3 sets of 6–10 reps.
Beginners: Use a higher box and sit briefly between reps.
Intermediate: Touch the box lightly without fully relaxing.
Advanced: Add light load or use a slower lowering phase.
Rest: Rest 60–120 seconds between sets.
How to do it:
- Stand in front of a box, bench, or firm chair.
- Set your feet hip- to shoulder-width apart.
- Brace your midsection gently.
- Push your hips back and bend your knees.
- Lower until your hips touch the box.
- Keep your chest lifted and feet flat.
- Stand back up by pressing through the floor.
Common mistakes: Avoid bouncing off the box, sitting too far back, collapsing the knees, or using a box that is too low for your current ability.
Expert tip: Treat the box as a depth guide, not a place to rest completely on every rep.
7. Bodyweight Squat
Best for: Seniors with good balance, basic leg strength, and control without external support.
Muscles worked: Quadriceps, glutes, hamstrings, calves, adductors, hip stabilizers, and core.
Why it stands out: The bodyweight squat is the natural progression after chair squats and supported squats. It builds strength and coordination without equipment.
Suggested sets and reps: Do 2–3 sets of 6–12 reps.
Beginners: Start with partial-depth bodyweight squats and keep a chair nearby.
Intermediate: Squat to a comfortable depth with smooth control.
Advanced: Slow the lowering phase or add a pause at the bottom.
Rest: Rest 60–120 seconds between sets.
How to do it:
- Stand with your feet hip- to shoulder-width apart.
- Keep your chest lifted and arms forward for balance.
- Bend your hips and knees together.
- Lower as far as you can control comfortably.
- Keep your knees tracking over your feet.
- Press through your feet to stand tall.
- Reset your posture before the next rep.
Common mistakes: Avoid going too deep too soon, leaning too far forward, lifting the heels, or letting the knees cave inward.
Expert tip: A good squat should feel controlled from start to finish. Do not chase depth at the expense of balance.
8. Heel-Elevated Squat
Best for: Seniors who struggle to stay upright during squats because of limited ankle mobility.
Muscles worked: Quadriceps, glutes, calves, hip stabilizers, and core.
Equipment needed: A small stable wedge, slant board, or firm heel lift.
Why it stands out: Elevating the heels can make it easier to keep the torso upright and may help some people squat with better control. It should be done carefully because the heel lift can change balance demands.
Suggested sets and reps: Do 2 sets of 6–10 reps.
Beginners: Use a very small heel lift and keep a support nearby.
Intermediate: Use bodyweight and focus on smooth, even pressure through both feet.
Advanced: Add a light goblet hold if balance and form are strong.
Rest: Rest 60–120 seconds between sets.
How to do it:
- Place your heels on a stable low wedge or firm heel lift.
- Keep the balls of your feet on the floor.
- Stand tall with feet about hip-width apart.
- Reach your arms forward for balance.
- Bend your knees and lower under control.
- Keep your knees tracking over your toes.
- Press through your feet to stand tall.
Common mistakes: Avoid using an unstable object, shifting onto the toes too much, or letting the knees collapse inward.
Expert tip: Start with a low elevation. More height is not automatically better.
9. Resistance Band Squat
Best for: Seniors who want a simple home-based strength progression without heavy weights.
Muscles worked: Quadriceps, glutes, hamstrings, calves, core, and upper-back stabilizers.
Equipment needed: A resistance band or resistance tubing.
Why it stands out: A resistance band adds challenge without requiring a gym. The Mayo Clinic resistance tubing squat guide gives similar form cues to the bodyweight squat: keep the back neutral, knees centered over the feet, and movement controlled.
Suggested sets and reps: Do 2–3 sets of 8–12 reps with light to moderate band tension.
Beginners: Use a light band and shallow depth.
Intermediate: Use a slightly stronger band while keeping smooth control.
Advanced: Use a stronger band or slow tempo, but do not sacrifice posture.
Rest: Rest 60–120 seconds between sets.
How to do it:
- Stand on the center of a resistance band with both feet.
- Hold the handles or band ends near your shoulders.
- Stand tall and brace your core gently.
- Bend your hips and knees to lower into a squat.
- Keep your knees tracking over your feet.
- Press through your feet and stand against the band tension.
- Finish tall without leaning backward.
Common mistakes: Avoid using too much band tension, letting the band pull you forward, rounding the back, or rushing the stand-up phase.
Expert tip: The band should make the movement harder, not messier. Reduce tension if your form changes.
10. Goblet Squat
Best for: Intermediate seniors who are ready to add light external resistance.
Muscles worked: Quadriceps, glutes, hamstrings, adductors, calves, core, and upper-back stabilizers.
Equipment needed: A light dumbbell or kettlebell.
Why it stands out: The goblet squat is easier to learn than a barbell squat because the weight stays in front of the chest. The NASM goblet squat guide highlights the importance of knee control, avoiding excessive forward lean, keeping the chest from dropping, and moving with control.
Suggested sets and reps: Do 2–3 sets of 6–10 reps with a light weight.
Beginners: Practice bodyweight squats or box squats first before adding load.
Intermediate: Hold a light dumbbell close to the chest and use a comfortable range.
Advanced: Use a slightly heavier weight or add a slow lowering phase.
Rest: Rest 90–150 seconds between sets.
How to do it:
- Hold a light dumbbell or kettlebell close to your chest.
- Stand with feet hip- to shoulder-width apart.
- Keep your elbows close and chest lifted.
- Bend your hips and knees to lower.
- Keep the weight close to your body.
- Press through your feet to stand tall.
- Finish each rep with control.
Common mistakes: Avoid holding the weight too far away, leaning forward, letting the knees cave inward, or choosing a weight that is too heavy.
Expert tip: The weight should feel like it helps you stay organized, not like it pulls you out of position.
11. Split Squat to Support
Best for: Advanced seniors with good balance, good basic squat control, and a need to train one leg at a time.
Muscles worked: Quadriceps, glutes, hamstrings, calves, hip stabilizers, and core.
Equipment needed: A wall, rail, countertop, or chair for support.
Why it stands out: The split squat trains one leg more than the other, which can help build side-to-side control. It is more demanding than a regular squat, so it should come after chair squats, supported squats, and bodyweight squats feel steady.
Suggested sets and reps: Do 1–3 sets of 5–8 reps per side.
Beginners: Start with a short stance and small range of motion while holding support.
Intermediate: Use a slightly longer stance and lower with more control.
Advanced: Add a pause or light dumbbell only if balance stays solid.
Rest: Rest 60–120 seconds between sides or sets.
How to do it:
- Stand beside a wall, rail, or countertop.
- Step one foot forward and the other foot back.
- Keep your feet about hip-width apart from side to side.
- Hold the support lightly.
- Bend both knees and lower a few inches.
- Press through the front foot to rise.
- Complete all reps, then switch sides.
Common mistakes: Avoid placing the feet on one narrow line, leaning too far forward, twisting the hips, or dropping too deep before you are ready.
Expert tip: Keep the stance wide enough to feel balanced. A split squat is not a tightrope walk.
Beginner Senior Squat Workout
This simple routine can be done 2 days per week with at least one rest day between sessions. Warm up first with 3–5 minutes of easy walking, marching in place, gentle heel raises, or light seated leg movement.
Start with sit-to-stands for 2 sets of 5 reps. Rest 60–90 seconds. Then do supported mini squats for 2 sets of 6 reps. Rest again. Finish with a squat hold to a chair for 2 rounds of 10 seconds.
The effort should feel easy to moderate. You should finish each set with about 2–4 good reps still left in reserve. If your form breaks down, reduce the reps, use more support, or stop the set.
After 2–3 weeks, progress by adding 1–2 reps per set, reducing arm assistance, using a slightly lower chair, or adding a third set. Do not add weight until bodyweight reps are steady and comfortable.
How Often Should Seniors Do Squats?
Most seniors can start with squat exercises 2 days per week as part of a lower-body or full-body strength routine. The ACSM older adult strength training guidance supports strength training at least 2 days per week and suggests a broad working range such as 1–3 sets of 6–15 reps depending on ability, goal, and tolerance.
A simple plan is to train squats on nonconsecutive days, such as Monday and Thursday or Tuesday and Friday. Stronger seniors may train lower-body strength 2–3 times per week, but recovery still matters.
More is not always better. Good squats should feel controlled, repeatable, and stable. If your legs stay sore for several days, your knees feel irritated, or your balance worsens during a session, reduce the total volume.
How to Progress Squats Safely
Progress one thing at a time. First, improve control. Then add reps. Then add sets. Then reduce support. Only after that should you consider adding resistance.
A good progression might look like this: sit-to-stand, chair squat, supported mini squat, counter-supported squat, box squat, bodyweight squat, resistance band squat, goblet squat, and supported split squat.
Move to the next level when you can complete your current exercise with steady balance, quiet foot pressure, controlled lowering, and no sharp pain. You should not feel like you are falling into the bottom position or pushing yourself up with momentum.
Common Squat Mistakes Seniors Should Avoid
One common mistake is using a variation that is too hard. If a bodyweight squat feels unstable, use a chair, wall, or countertop. Support is not cheating. It is a smart way to train the pattern safely.
Another mistake is rushing. Fast reps can hide poor control and increase the chance of losing balance. Lower slowly, pause briefly if needed, and stand with steady pressure through the feet.
Do not force the knees to stay perfectly behind the toes. Instead, focus on keeping the knees tracking in the same direction as the toes while staying comfortable. Different bodies need slightly different squat depths and foot positions.
Avoid adding weight before your bodyweight form is consistent. A goblet squat or band squat should make a good squat stronger, not turn a shaky squat into a harder one.
Are Squats Safe for Seniors?
Squats can be safe for many seniors when the exercise is matched to ability, performed with control, and progressed gradually. A chair squat or supported mini squat is often a better starting point than a deep unsupported squat.
Safety depends on the person. Someone with strong balance and training experience may handle bodyweight or goblet squats well. Someone with balance concerns, pain, or a recent medical event may need a much easier version and professional guidance.
The safest squat is the one you can do with stable feet, good knee control, comfortable depth, steady breathing, and no sharp pain.
FAQs About Squat Exercises for Seniors
Are squats good for seniors?
Yes, squats can be useful for seniors because they train the legs, hips, and core in a movement pattern used every day. They may help support strength for standing, sitting, stairs, and general lower-body control when done safely.
What is the safest squat for seniors?
The sit-to-stand is often the safest starting point because it uses a sturdy chair and trains a familiar daily movement. A supported mini squat or counter-supported squat is also a good option for seniors who need extra balance support.
How many squats should a senior do?
A good starting point is 1–2 sets of 5–8 controlled reps, 2 days per week. Over time, many seniors can build toward 2–3 sets of 8–12 reps. The right number depends on strength, balance, comfort, and recovery.
Should seniors do deep squats?
Not everyone needs deep squats. Seniors should squat only as low as they can control with steady balance and comfortable joints. A shallow chair squat done well is more useful than a deep squat done with poor form.
What if squats hurt my knees?
Reduce the depth, use a chair or countertop for support, slow down the movement, and check that your knees track in the same direction as your toes. Stop if pain is sharp, worsening, or unusual. A physical therapist or qualified healthcare professional can help identify the safest variation.
Are chair squats enough to build leg strength?
Chair squats can build useful leg strength, especially for beginners. As they become easier, you can progress by adding reps, slowing the lowering phase, lightly touching the chair instead of fully sitting, using a lower chair, or adding light resistance.
Conclusion
Squat exercises for seniors are most effective when they are simple, controlled, and matched to the person’s current ability. Start with sit-to-stands, chair squats, or supported mini squats. Build confidence first, then gradually progress to bodyweight, band, goblet, or split squat variations.
The goal is not to squat as low or as heavy as possible. The goal is to build stronger legs for real life, move with better control, and keep improving safely over time.
7 thoughts on “11 Best Squat Exercises for Seniors to Build Leg Strength”