Coordination exercises for seniors are simple movements that train your eyes, hands, feet, core, and balance system to work together more smoothly. They can help older adults move with better control during daily tasks like walking, turning, climbing stairs, reaching, and standing up from a chair.
Good coordination is not only about fast reflexes. For seniors, it is about steady foot placement, controlled weight shifts, safe reaction to changes in direction, and confidence during normal movement.
In this guide, you will learn 10 beginner-friendly coordination exercises for seniors, how to do them safely, which muscles they train, common mistakes to avoid, and how to use them in a simple weekly balance routine.
What Are Coordination Exercises for Seniors?

Coordination exercises for seniors are controlled movements that help different parts of the body work together at the right time. These exercises often combine balance, posture, foot control, arm movement, visual focus, and reaction.
For example, marching while reaching the opposite arm trains hand-foot coordination. Heel-to-toe walking trains foot placement and balance. A standing ball toss trains eye-hand coordination while the lower body stays stable.
The CDC older adult physical activity recommendations include balance activities as part of weekly movement for adults 65 and older. The goal is not to make exercise complicated. The goal is to practice movements that support real-life stability.
Benefits of Coordination Exercises for Seniors
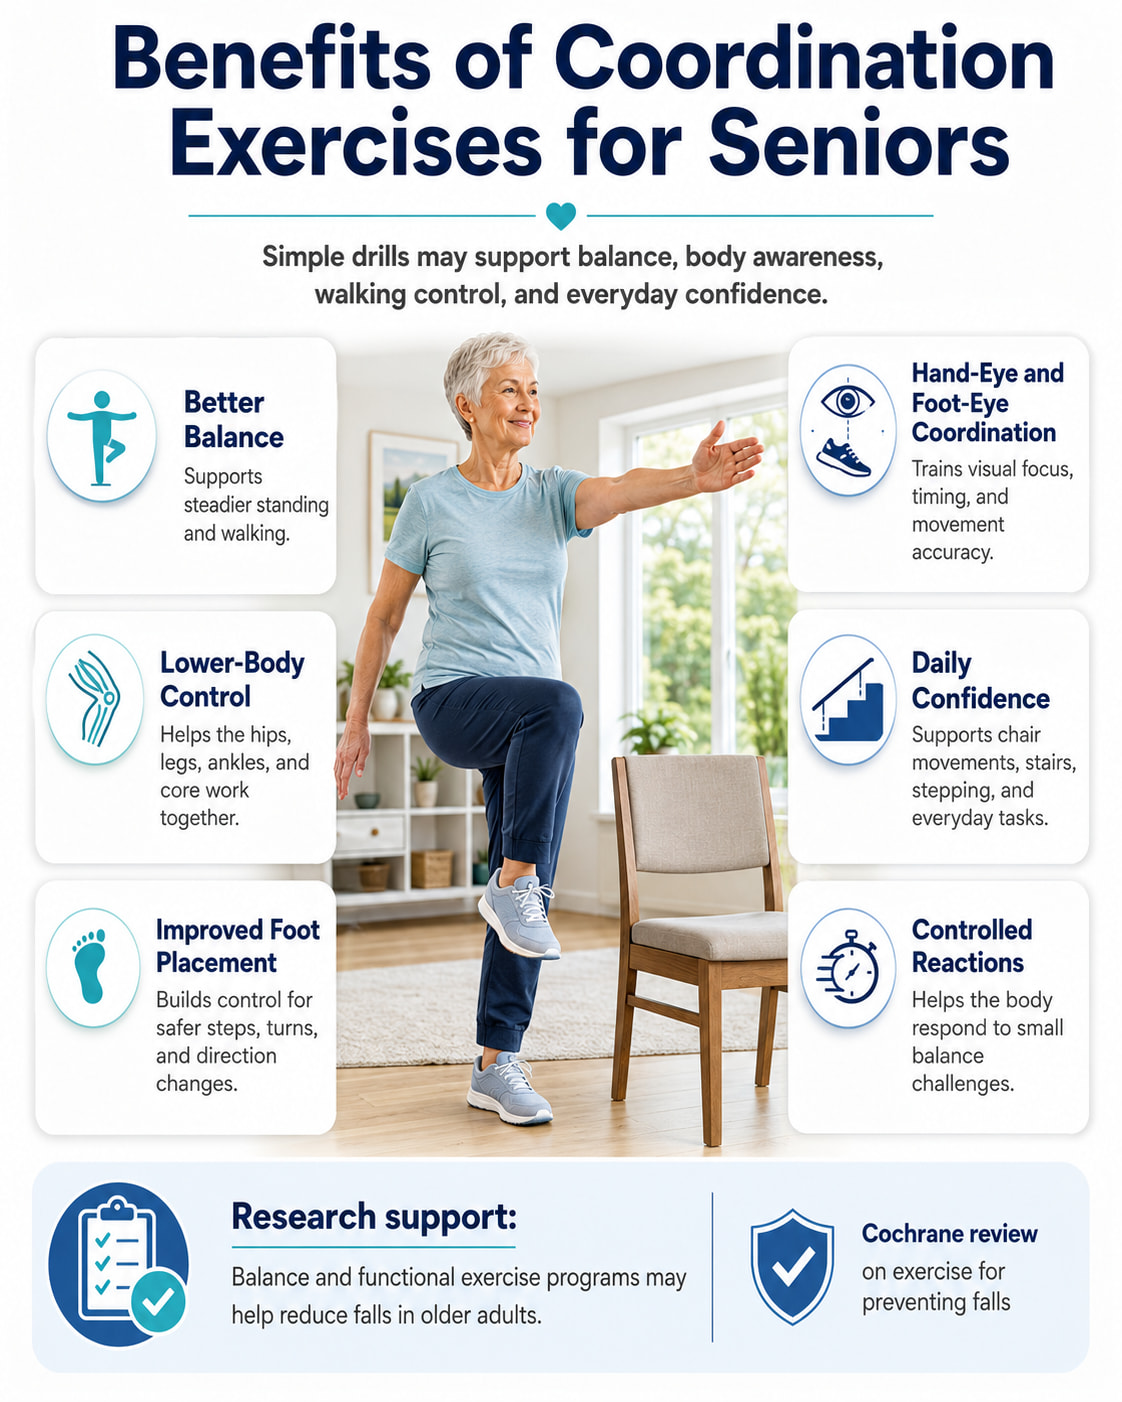
Coordination exercises may help seniors improve balance, body awareness, walking control, and confidence with everyday movement. They are especially useful because many daily tasks require more than one skill at the same time.
These exercises may help support:
- Better balance during standing and walking
- Stronger lower-body control
- Improved foot placement
- Better hand-eye and foot-eye coordination
- More confidence when turning or changing direction
- Safer stair, step, and chair movements
- Better reaction to small balance challenges
Exercise programs that include balance and functional training have been shown to help reduce falls in older adults living in the community, according to a Cochrane review on exercise for preventing falls. That does not mean one exercise prevents all falls, but it does support the value of regular, well-planned balance and coordination training.
Safety Tips Before Starting Coordination Exercises
Before doing coordination exercises, choose a safe space. Use a clear floor, remove loose rugs, keep pets away, and practice near a wall, countertop, or sturdy chair. The NHS balance exercise guide recommends building up slowly and using a wall or stable chair for support when needed.
Wear supportive shoes unless a healthcare professional has told you otherwise. Move slowly, breathe normally, and stop before your form breaks down.
Stop exercising and seek professional help if you feel sharp pain, dizziness, chest pain, numbness, unusual shortness of breath, sudden weakness, or symptoms that do not feel normal for you.
If you have had recent falls, severe balance problems, a neurological condition, recent surgery, major joint pain, or a medical condition that affects exercise safety, speak with a qualified healthcare professional before starting.
10 Coordination Exercises for Seniors to Improve Balance
The exercises below are arranged from simple to more dynamic. Start with the easiest version and progress only when you can move with control.
1. Chair Sit-to-Stand
Best for: Building lower-body coordination for standing up, sitting down, and daily independence.
Muscles worked: Quadriceps, glutes, hamstrings, calves, core, and postural muscles.
Equipment needed: A sturdy chair that does not slide.
Why it stands out: Chair sit-to-stand trains one of the most important daily movement patterns. It teaches the legs, hips, trunk, and feet to work together as you shift from seated to standing.
Suggested sets and reps: Do 2 to 3 sets of 6 to 10 reps.
Beginners: Use your hands lightly on the chair or armrests. Choose a higher chair if standing feels difficult.
Intermediate: Cross your arms over your chest or reach your arms forward while standing up.
Advanced: Lower yourself slowly for 3 seconds, lightly touch the chair, then stand again without dropping your body weight.
Rest: Rest 45 to 60 seconds between sets.
How to do it:
- Sit near the front half of a sturdy chair with your feet flat on the floor.
- Place your feet about hip-width apart.
- Lean your chest slightly forward while keeping your back tall.
- Press through your feet and stand up fully.
- Pause at the top and keep your balance.
- Push your hips back and lower slowly to the chair.
Common mistakes: Avoid dropping into the chair, letting the knees cave inward, pushing mostly through the toes, or using too much momentum.
Expert tip: Think “nose over toes” as you stand. This helps you shift your weight forward without rounding your back.
Exercise variations: Try a higher chair, lower chair, slow eccentric sit-to-stand, or sit-to-stand with a light reach.
Easier variation: Use both hands on the chair or place the chair near a countertop for extra support.
Harder variation: Pause for 2 seconds halfway down before sitting.
2. Heel-to-Toe Walk
Best for: Improving walking balance, foot placement, and body control in a narrow stance.
Muscles worked: Calves, ankles, glutes, hip stabilizers, thighs, and core.
Equipment needed: A wall, hallway, or countertop for light support.
Why it stands out: Heel-to-toe walking challenges coordination because each step must land in a straight line. It trains balance while moving, which is more useful for daily life than only standing still.
Suggested sets and reps: Do 2 to 4 rounds of 5 to 10 steps.
Beginners: Walk beside a wall and touch it lightly with your fingertips.
Intermediate: Take slower steps with less hand support.
Advanced: Add a brief pause after each step while keeping your eyes forward.
Rest: Rest 30 to 45 seconds between rounds.
How to do it:
- Stand tall beside a wall or counter.
- Place one heel directly in front of the toes of the other foot.
- Shift your weight slowly onto the front foot.
- Step the back foot forward so the heel lands in front of the other toes.
- Continue walking in a straight line.
- Turn around carefully and repeat if space allows.
Common mistakes: Avoid looking down the whole time, rushing, crossing the feet too sharply, or letting the upper body sway side to side.
Expert tip: Keep your eyes on a spot in front of you. Looking forward helps train balance in a more natural walking position.
Exercise variations: Try a semi-tandem walk, full heel-to-toe walk, or heel-to-toe walk with a light pause.
Easier variation: Step with a small gap between the feet instead of placing the heel directly against the toes.
Harder variation: Walk more slowly and pause for one breath after each step.
3. Sideways Walking
Best for: Lateral balance, hip control, and safer side-stepping.
Muscles worked: Glute medius, glute maximus, inner thighs, quadriceps, calves, ankles, and core.
Equipment needed: A wall, countertop, or hallway for support.
Why it stands out: Many falls happen when people turn, sidestep, or move around obstacles. Sideways walking trains the hips and feet to control movement in a direction that many people do not practice enough.
Suggested sets and reps: Do 2 to 3 sets of 8 to 12 steps each direction.
Beginners: Hold a countertop lightly and take small steps.
Intermediate: Use less hand support and keep the knees softly bent.
Advanced: Add a slow tempo or use a light mini band only if you already move well without it.
Rest: Rest 30 to 60 seconds between sets.
How to do it:
- Stand tall with your feet together and knees slightly bent.
- Step one foot out to the side.
- Bring the other foot in to meet it.
- Keep your toes pointing forward.
- Continue for several steps in one direction.
- Reverse and step back the other way.
Common mistakes: Avoid dragging the feet, dropping the hips, turning the toes out too much, or leaning heavily on the support.
Expert tip: Imagine your belt line staying level as you step. This helps your hips stay controlled.
Exercise variations: Try side steps along a counter, side steps with a pause, or side steps with a very light band.
Easier variation: Take smaller steps while holding the countertop with both hands.
Harder variation: Add a 1-second pause each time the feet come together.
4. Supported Single-Leg Stand
Best for: Static balance, ankle control, and confidence standing on one leg.
Muscles worked: Calves, ankles, glutes, hip stabilizers, quadriceps, and core.
Equipment needed: A wall, chair, or countertop.
Why it stands out: Single-leg balance is important for walking because every step briefly places the body on one leg. A supported version makes the exercise safer and more beginner-friendly.
Suggested sets and reps: Do 2 to 3 sets of 5 to 20 seconds per side.
Beginners: Keep both fingertips on a wall or chair.
Intermediate: Use one hand or one fingertip for light support.
Advanced: Hold longer while keeping the lifted foot close to the floor and the support nearby.
Rest: Rest 30 to 45 seconds between sides.
How to do it:
- Stand beside a wall or sturdy chair.
- Hold the support lightly.
- Shift your weight onto one foot.
- Lift the opposite foot a few inches from the floor.
- Keep your hips level and chest tall.
- Lower the foot slowly and switch sides.
Common mistakes: Avoid locking the standing knee, leaning into the wall, hiking one hip, or holding your breath.
Expert tip: Keep a soft bend in the standing knee. A slightly relaxed knee helps the ankle, hip, and core make small balance corrections.
Exercise variations: Try toe-tap support, single-leg stand with fingertip support, or single-leg stand with a small forward reach.
Easier variation: Keep the toes of the lifted foot lightly touching the floor.
Harder variation: Reduce hand support gradually instead of adding speed or unstable surfaces.
5. Weight Shifts
Best for: Balance awareness, ankle control, and learning how to move weight from one side to the other.
Muscles worked: Feet, ankles, calves, glutes, thighs, and core.
Equipment needed: A chair or countertop for support if needed.
Why it stands out: Weight shifts are simple, but they teach an essential balance skill: moving your center of gravity without losing control. The Mayo Clinic balance exercise guide includes weight shifts as a starting point for balance training.
Suggested sets and reps: Do 2 to 3 sets of 8 to 12 shifts per side.
Beginners: Keep both feet wide and hold a chair lightly.
Intermediate: Shift farther while keeping the foot tripod stable.
Advanced: Briefly lift the unweighted foot for 1 to 2 seconds.
Rest: Rest 30 to 45 seconds between sets.
How to do it:
- Stand with your feet hip-width apart.
- Keep your chest tall and knees soft.
- Shift your weight slowly toward your right foot.
- Feel more pressure under the right foot without leaning your whole body.
- Return to center.
- Shift slowly toward your left foot and repeat.
Common mistakes: Avoid rushing, collapsing the arch, leaning from the shoulders, or letting the hips twist.
Expert tip: Feel pressure under the heel, big toe, and little toe of the working foot. This gives you a more stable base.
Exercise variations: Try side-to-side shifts, forward-backward shifts, or shifts with a short hold.
Easier variation: Use a wider stance and keep both hands on a countertop.
Harder variation: Shift to one side and lift the opposite heel for a short pause.
6. Marching With Opposite Arm Reach
Best for: Hand-foot coordination, walking rhythm, and core control.
Muscles worked: Hip flexors, quadriceps, glutes, calves, shoulders, upper back, and core.
Equipment needed: A chair, wall, or countertop if support is needed.
Why it stands out: This exercise connects the opposite arm and leg, similar to natural walking. It helps train rhythm, posture, and coordination without needing much space.
Suggested sets and reps: Do 2 to 3 sets of 8 to 12 marches per side.
Beginners: March seated or hold a chair with one hand.
Intermediate: March standing with slow opposite arm reach.
Advanced: Pause at the top of each march for 1 second while staying tall.
Rest: Rest 30 to 60 seconds between sets.
How to do it:
- Stand tall with your feet hip-width apart.
- Lift your right knee to a comfortable height.
- Reach your left arm forward at the same time.
- Lower with control.
- Lift your left knee and reach your right arm forward.
- Continue alternating sides slowly.
Common mistakes: Avoid leaning backward, lifting the knee too high, swinging the arms aggressively, or stomping the foot down.
Expert tip: Keep the movement smooth and quiet. A quiet foot landing shows good control.
Exercise variations: Try seated marching, standing marching, marching with arm reach, or marching with a pause.
Easier variation: Do the movement seated in a sturdy chair.
Harder variation: Slow the tempo and pause at the top of each rep.
7. Step-Ups With Support
Best for: Stair confidence, lower-body strength, and foot-eye coordination.
Muscles worked: Quadriceps, glutes, hamstrings, calves, ankles, and core.
Equipment needed: A low step, stair, or aerobic step with a railing or wall nearby.
Why it stands out: Step-ups train one of the most practical movements for seniors: stepping onto a curb, stair, or platform. The exercise improves coordination because the eyes, feet, legs, and trunk must work together.
Suggested sets and reps: Do 2 to 3 sets of 5 to 8 reps per side.
Beginners: Use a low step and hold a railing or wall.
Intermediate: Step up slowly with lighter hand support.
Advanced: Add a controlled knee lift at the top only if balance is steady.
Rest: Rest 45 to 60 seconds between sets.
How to do it:
- Stand facing a low step with support nearby.
- Place your whole right foot on the step.
- Press through the right foot and step up.
- Bring the left foot onto the step.
- Step down slowly with control.
- Repeat on one side, then switch legs.
Common mistakes: Avoid pushing mostly off the back foot, letting the knee collapse inward, rushing the step down, or using a step that is too high.
Expert tip: Place your full foot on the step before standing up. A half-foot position can feel unstable.
Exercise variations: Try low step-ups, stair step-ups with railing support, or step-ups with a short balance pause.
Easier variation: Use a very low step and hold the railing with both hands.
Harder variation: Step up, pause at the top for 1 second, then step down slowly.
8. Standing Ball Toss
Best for: Eye-hand coordination, reaction, posture, and standing balance.
Muscles worked: Shoulders, arms, upper back, core, glutes, thighs, calves, and ankles.
Equipment needed: A soft, light ball and a partner or wall.
Why it stands out: Standing ball toss combines visual tracking, hand control, reaction, and posture. It is a useful coordination drill because the upper body moves while the lower body stays stable.
Suggested sets and reps: Do 2 to 3 sets of 10 to 20 gentle tosses.
Beginners: Stand with feet wide and toss the ball gently to a partner.
Intermediate: Use a narrower stance or stand a little farther from the wall.
Advanced: Use a staggered stance while keeping the toss slow and controlled.
Rest: Rest 30 to 60 seconds between sets.
How to do it:
- Stand tall with your feet about hip-width apart.
- Hold a soft ball at chest height.
- Gently toss the ball to a partner or against a wall.
- Catch it with both hands.
- Reset your posture after each catch.
- Continue at a slow, steady pace.
Common mistakes: Avoid throwing too hard, reaching too far outside your base, locking the knees, or standing where the floor is slippery.
Expert tip: Keep the toss gentle enough that you can catch it without stepping or twisting quickly.
Exercise variations: Try seated ball toss, standing ball toss, wall toss, or staggered-stance ball toss.
Easier variation: Sit in a sturdy chair and toss the ball with a partner.
Harder variation: Stand in a staggered stance with one foot slightly ahead of the other.
9. Grapevine Walk
Best for: Foot placement, lateral coordination, and controlled crossing steps.
Muscles worked: Glutes, inner thighs, hip stabilizers, quadriceps, calves, ankles, and core.
Equipment needed: A wall or countertop for support.
Why it stands out: The grapevine walk trains controlled cross-steps, which can improve foot awareness and lateral movement. This is more challenging than a regular side step, so it should be done slowly.
Suggested sets and reps: Do 2 to 3 rounds of 3 to 5 cross-steps each direction.
Beginners: Use small steps and touch the wall with your fingertips.
Intermediate: Cross the foot more clearly while keeping posture tall.
Advanced: Move slowly with less hand support and a brief pause after each cross-step.
Rest: Rest 45 to 60 seconds between rounds.
How to do it:
- Stand beside a wall or countertop.
- Step your right foot across in front of your left foot.
- Bring the left foot out to the side.
- Step the right foot behind the left foot.
- Bring the left foot out again.
- Continue slowly, then repeat in the other direction.
Common mistakes: Avoid rushing, crossing too far, looking down the entire time, or letting the feet tangle.
Expert tip: Make the steps small at first. Smaller steps often create a better balance challenge without making the drill unsafe.
Exercise variations: Try front-cross only, back-cross only, or a full grapevine pattern.
Easier variation: Practice only one cross-step, then reset your feet.
Harder variation: Add a 1-second pause after each cross-step while keeping fingertip support nearby.
10. Reaction Side Steps
Best for: Reaction, agility, side-step coordination, and confidence changing direction.
Muscles worked: Glutes, quadriceps, hamstrings, calves, ankles, hip stabilizers, and core.
Equipment needed: Clear floor space and optional chair or wall support.
Why it stands out: Daily life sometimes requires a quick but controlled step, such as moving around an obstacle or adjusting your position. Reaction side steps train the body to respond to a simple cue without turning the movement into a risky speed drill.
Suggested sets and reps: Do 2 to 3 sets of 6 to 10 steps total.
Beginners: Step only to one side at a time and return to center.
Intermediate: Have a partner call “right” or “left” at a slow pace.
Advanced: Add a soft knee bend before stepping, but keep the movement controlled.
Rest: Rest 45 to 60 seconds between sets.
How to do it:
- Stand tall with feet hip-width apart.
- Keep your knees soft and arms relaxed.
- Ask a partner to call “right” or “left,” or choose your own direction.
- Step one foot to that side.
- Bring the other foot in to regain balance.
- Return to the starting position and repeat.
Common mistakes: Avoid jumping, crossing the feet, stepping too wide, or moving faster than you can control.
Expert tip: React smoothly, not suddenly. The goal is controlled response, not speed.
Exercise variations: Try self-cued side steps, partner-cued side steps, or color-cued steps using safe floor markers.
Easier variation: Practice beside a counter and step only a few inches.
Harder variation: Add a gentle reach in the direction of the step after you regain balance.
Beginner Coordination Routine for Seniors
Use this routine 2 to 4 days per week. Keep the effort level around 4 to 6 out of 10. You should feel focused and lightly challenged, not exhausted.
| Exercise | Sets | Reps or Time | Rest |
|---|---|---|---|
| Chair Sit-to-Stand | 2 | 6 to 8 reps | 45 to 60 seconds |
| Weight Shifts | 2 | 8 per side | 30 to 45 seconds |
| Heel-to-Toe Walk | 2 | 5 to 8 steps | 30 to 45 seconds |
| Sideways Walking | 2 | 8 steps each way | 30 to 60 seconds |
| Marching With Opposite Arm Reach | 2 | 8 per side | 30 to 60 seconds |
| Supported Single-Leg Stand | 2 | 5 to 15 seconds per side | 30 to 45 seconds |
Start with the easiest version of each exercise. When the routine feels steady for 2 weeks, progress one variable at a time. You can add a few reps, increase hold time, walk a little farther, or reduce hand support slightly.
How Often Should Seniors Do Coordination Exercises?
Most seniors can practice coordination exercises 2 to 4 days per week, depending on fitness level, recovery, and safety. Short sessions of 10 to 20 minutes are enough for many beginners.
The CDC guide on what counts as physical activity for older adults describes balance as part of a multicomponent activity plan that also includes aerobic and muscle-strengthening activity. That means coordination work should support a complete routine, not replace walking, strength training, or other safe physical activity.
A simple weekly plan could look like this:
| Day | Activity |
|---|---|
| Monday | Coordination and balance routine |
| Tuesday | Walking or light aerobic activity |
| Wednesday | Strength training |
| Thursday | Rest or gentle mobility |
| Friday | Coordination and balance routine |
| Saturday | Walking, tai chi, or light activity |
| Sunday | Rest or easy movement |
How to Progress Safely
Progress slowly. Better balance comes from consistent practice, not from making every exercise harder right away.
Good progression options include increasing reps, adding a longer pause, slowing the tempo, walking a slightly longer distance, or using less hand support. Make only one change at a time.
Avoid advanced balance challenges too soon, such as closing your eyes, standing on unstable surfaces, turning quickly, or adding heavy weights. These may not be appropriate for many seniors unless supervised by a qualified professional.
Common Mistakes to Avoid
The most common mistake is rushing. Coordination exercises work best when every step is controlled. Fast, sloppy reps do not train balance as well as slow, accurate movement.
Another mistake is removing support too early. Holding a chair or wall is not a failure. It is a smart way to practice safely while your body learns the movement.
Also avoid exercises that feel painful, dizzying, or unsafe. Mild muscle effort is normal. Sharp pain, unusual symptoms, or fear of falling is a sign to stop and choose an easier option or get professional guidance.
FAQs About Coordination Exercises for Seniors
What are the best coordination exercises for seniors?
Some of the best coordination exercises for seniors include chair sit-to-stand, heel-to-toe walking, side steps, supported single-leg stands, weight shifts, marching with opposite arm reach, step-ups, standing ball tosses, grapevine walks, and reaction side steps. The best choice depends on the person’s balance level and safety needs.
Can coordination exercises help seniors improve balance?
Coordination exercises may help improve balance because they train posture, foot placement, reaction, and body control. For best results, they should be combined with strength training, walking or other aerobic activity, and safe daily movement.
Are chair exercises good for coordination?
Yes, chair exercises can be useful for beginners. Seated marching, seated ball tosses, and chair sit-to-stands can help seniors practice coordination with more support. Chair-based movements are also helpful for people who are not ready for standing balance drills.
How long should seniors do coordination exercises?
A beginner can start with 10 minutes, 2 to 3 days per week. As confidence improves, sessions can increase to 15 to 20 minutes. Quality matters more than duration.
Should seniors do balance exercises every day?
Some gentle balance practice can be done often if it feels safe and does not cause pain or fatigue. However, more challenging drills may need rest days. Seniors should choose a frequency that matches their ability, recovery, and medical situation.
What equipment is needed for senior coordination exercises?
Most coordination exercises for seniors need little or no equipment. A sturdy chair, wall, countertop, low step, and soft ball are enough for many home routines.
Conclusion
Coordination exercises for seniors are a practical way to train balance, foot control, posture, reaction, and everyday movement confidence. Start with simple supported exercises, move slowly, and progress only when your form feels steady.
The best routine is not the hardest one. It is the one you can do safely and consistently.
This content is for informational purposes only and is not a substitute for professional medical advice.