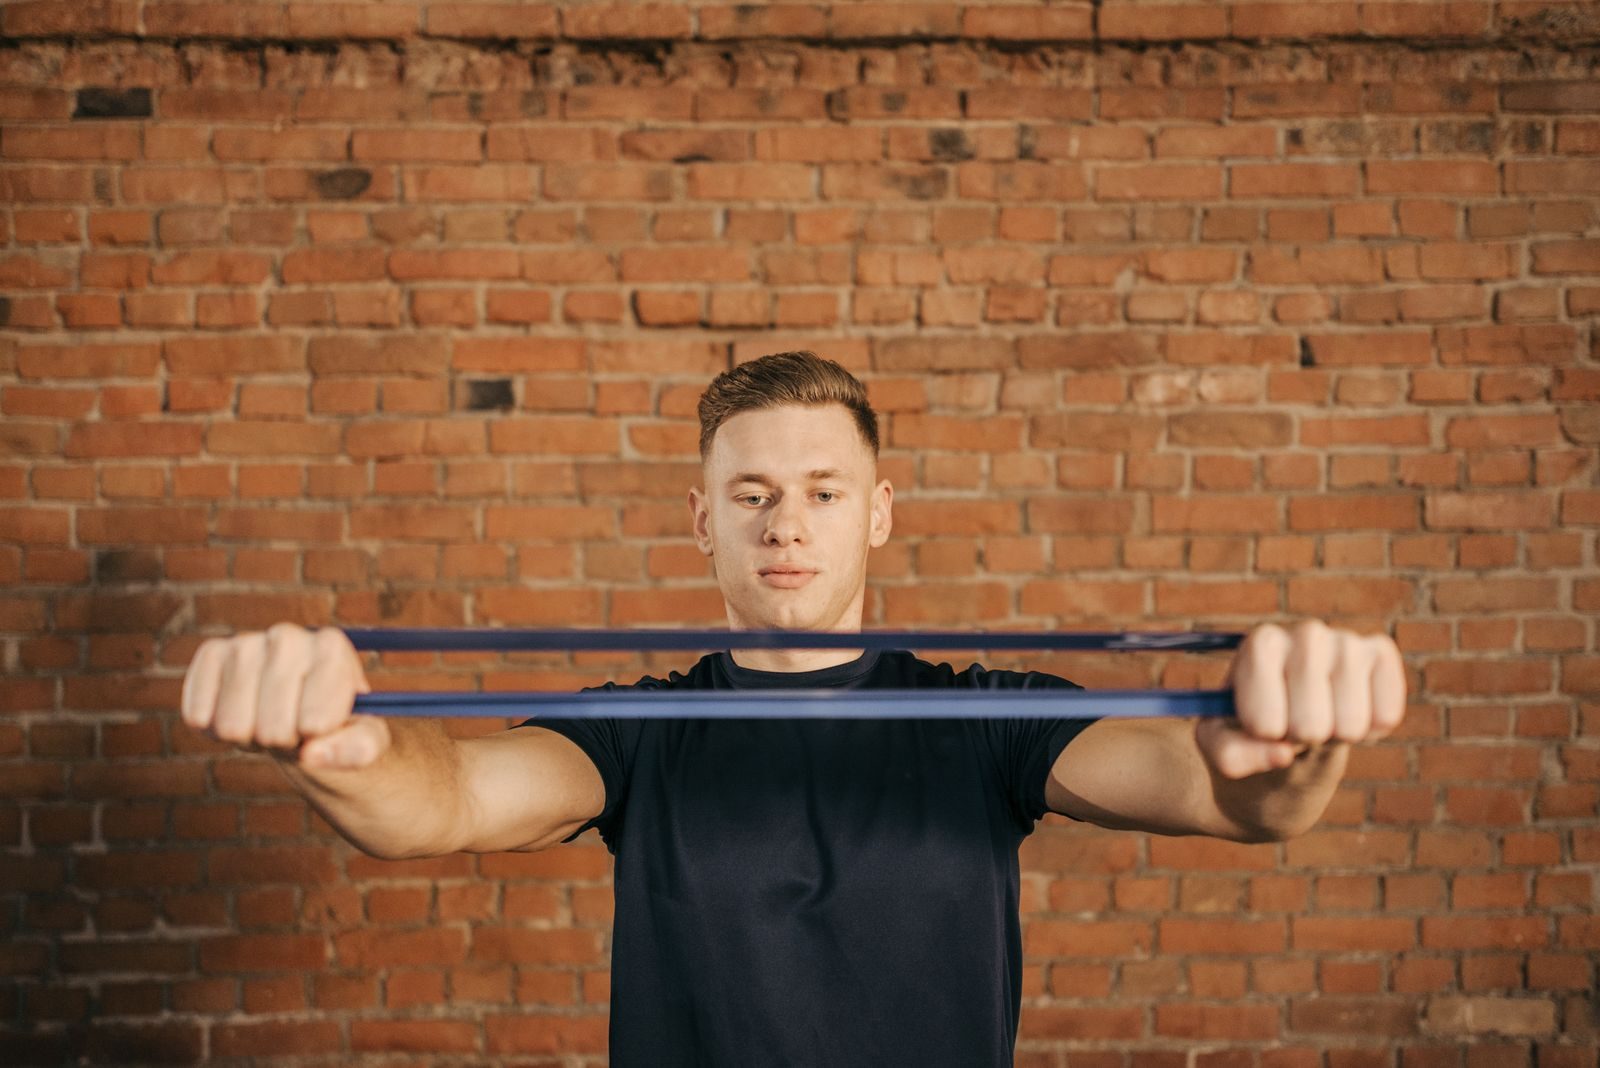
Resistance band exercises for beginners can build strength across the legs, back, chest, shoulders, arms, and core when you use controlled technique and gradually increase the challenge. Start with manageable resistance—not the strongest band you can stretch.
The American College of Sports Medicine recognizes elastic-band training as an effective option for building strength and muscle. These nine exercises show you how to get started, avoid common mistakes, and put together a repeatable beginner workout.
Before You Start
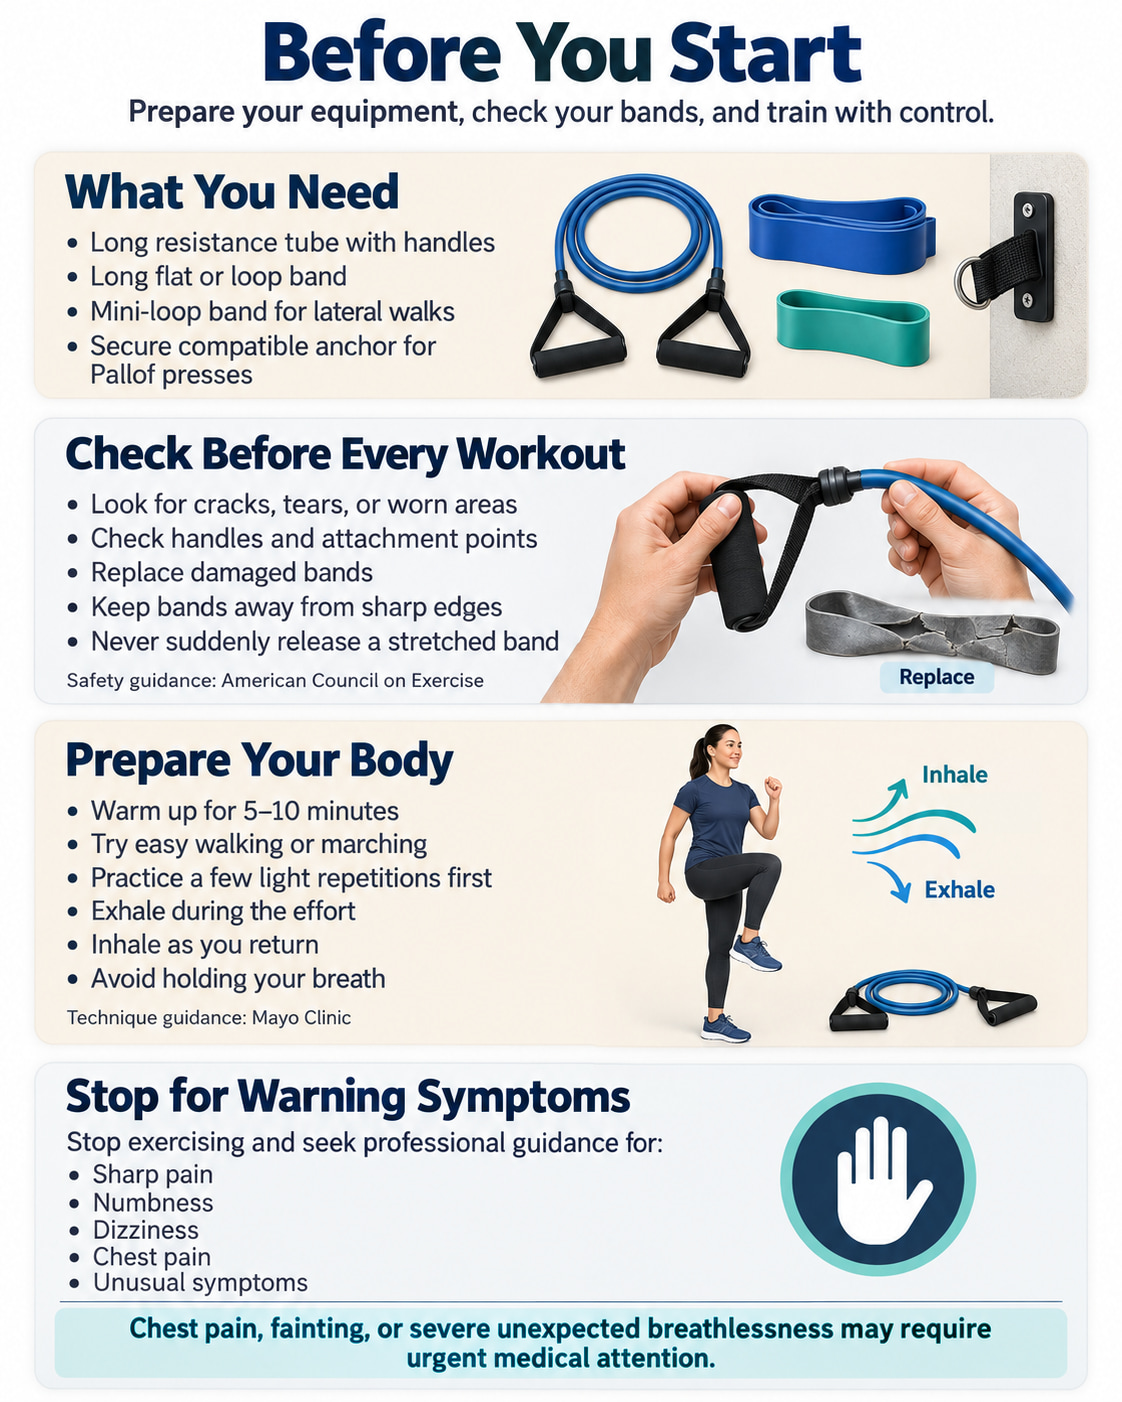
You will need a long resistance tube with handles, a long flat or loop band, and a mini-loop band for the lateral walk. The Pallof press also requires a compatible, securely installed anchor. Each exercise below identifies its equipment.
Check your bands before every workout. Look for cracks, tears, worn areas, and loose handle connections. Discard damaged bands, follow the manufacturer’s stretching limits, and never release a stretched band suddenly. The American Council on Exercise also advises keeping bands away from sharp objects and checking attachment points before use.
Warm up with 5–10 minutes of easy walking or marching, followed by a few light practice repetitions. Mayo Clinic recommends controlled strength-training movements and normal breathing rather than holding your breath. Breathe out during the lifting, pushing, or pulling effort and breathe in as you return.
Stop and seek professional guidance for sharp pain, numbness, dizziness, chest pain, or unusual symptoms. Chest pain, fainting, or severe unexpected breathlessness warrants urgent medical attention.
9 Resistance Band Exercises for Beginners
The first four exercises provide the foundation: a squat, hip hinge, row, and chest press. The remaining movements add shoulder, arm, upper-back, hip, and core work.
The sets and repetitions below are suggested starting targets. Begin with one set while learning, and use the sample workout later in this guide rather than doing all nine immediately.
1. Resistance Band Squat
Best for: Building lower-body strength with a basic squat pattern.
Muscles worked: Quadriceps and glutes, with the abdominal and back muscles helping stabilize your torso.
Equipment: Long resistance tube with handles.
Sets, reps, and rest: 1–2 sets of 8–12 repetitions; rest 60–120 seconds.
How to Do It
- Place the middle of the tube beneath both feet, approximately shoulder-width apart.
- Bring the handles beside your shoulders, with the tubing running behind your arms. Keep your wrists aligned with your forearms.
- Brace your abdomen and bend your hips and knees together, lowering into a comfortable squat.
- Keep your feet planted and your knees moving in the same general direction as your toes.
- Push through your feet to stand. Keep the handles beside your shoulders throughout.
Common mistakes: Lifting the heels, letting the knees collapse inward, rounding the torso, and pressing the handles overhead as you stand.
Beginner adjustment: Rehearse the same movement without resistance before adding the tube. Increase depth only while you can maintain balance and control.
This shoulder-held version uses the band beneath your feet; it is different from squatting with a mini-band above the knees. The setup is consistent with the resistance-band squat guidance from Get Healthy U.
2. Resistance Band Romanian Deadlift
Best for: Learning to move through the hips while strengthening the back of the legs.
Muscles worked: Hamstrings and glutes; the trunk and back muscles help maintain position.
Equipment: Long loop resistance band.
Sets, reps, and rest: 1–2 sets of 8–12 repetitions; rest 60–120 seconds.
How to Do It
- Place the band beneath both midfeet, with your feet about hip-width apart. Grip the band on either side beside your legs.
- Stand tall with straight arms and a slight bend in your knees.
- Push your hips backward, allowing your torso to tip forward while keeping your back in its natural alignment.
- Lower until you feel a comfortable hamstring stretch or reach the limit of your controlled movement. Your hands do not need to reach the floor.
- Press through your feet and bring your hips forward to stand tall without leaning backward.
Common mistakes: Turning the movement into a deep squat, rounding the back, looking upward, or overextending at the top.
Coaching cue: Move your hips backward rather than reaching your hands downward.
The hip-hinge guidance from Girls Gone Strong emphasizes stopping the descent before the spine begins to round.
3. Bent-Over Resistance Band Row
Best for: Adding a controlled pulling movement to balance your pressing exercises.
Muscles worked: Upper back, lats, and rear shoulders; the biceps assist.
Equipment: Long resistance tube with handles.
Sets, reps, and rest: 1–2 sets of 8–12 repetitions; rest 60–120 seconds.
How to Do It
- Stand on the center of the tube with both feet approximately shoulder-width apart.
- Hold the handles with your palms facing inward.
- Bend your knees slightly and move your hips backward to lean forward. Keep your spine in a comfortable, neutral position.
- Pull the handles toward your lower ribs, guiding your elbows backward close to your sides.
- Lower the handles slowly until your arms are extended, maintaining the same torso position.
Common mistakes: Standing up during each pull, jerking the handles, shrugging, and repeatedly rounding or arching the back.
Beginner adjustment: Reduce resistance when you cannot hold the bent-over position steadily. Do not compensate by swinging your torso.
Mayo Clinic’s exercise guidance demonstrates this palms-in, foot-anchored variation and emphasizes maintaining a neutral back and controlled elbow movement.
4. Standing Resistance Band Chest Press
Best for: Training a forward pushing movement without a bench or external anchor.
Muscles worked: Chest, front shoulders, and triceps.
Equipment: Long flat resistance band.
Sets, reps, and rest: 1–2 sets of 8–12 repetitions; rest 60–90 seconds.
How to Do It
- Stand with your feet hip-width apart.
- Position the band behind your upper back and bring the ends forward beneath your arms.
- Hold the ends with your elbows bent outward and your knuckles pointing forward.
- Press both hands forward until your arms are nearly straight, keeping your torso still.
- Return slowly without allowing the band to pull your arms backward abruptly.
Common mistakes: Leaning forward to finish repetitions, bending the wrists, and allowing the band to ride toward the neck.
Beginner adjustment: Use a lighter band when you cannot complete the press smoothly.
This is the back-wrapped chest press described by the British Heart Foundation, not a door-anchored press.
5. Standing Resistance Band Overhead Press
Best for: Building shoulder and triceps strength through a controlled overhead movement.
Muscles worked: Deltoids and triceps; the upper back and trunk assist with control.
Equipment: Long resistance tube with handles.
Sets, reps, and rest: 1–2 sets of 8–12 repetitions; rest 60–120 seconds.
How to Do It
- Stand on the middle of the tube with both feet approximately shoulder-width apart.
- Bring the handles just outside your shoulders, with your palms facing forward and elbows bent.
- Gently brace your abdomen and keep your ribs positioned over your pelvis.
- Press the handles upward until your arms are comfortably straight overhead.
- Lower to shoulder height under control.
Common mistakes: Leaning backward, flaring the ribs, pushing the head forward, and using a tube too short to allow the intended movement safely.
Beginner adjustment: Select a lighter, sufficiently long tube rather than forcing overhead range. Skip the exercise and seek guidance when overhead movement causes pain.
The standing setup and upward pressing pattern are described in resistance-band exercise guidance from Performance Health.
6. Standing Resistance Band Biceps Curl
Best for: Adding direct arm work after your larger pulling exercises.
Muscles worked: Biceps and other elbow-flexing muscles.
Equipment: Long resistance tube with handles.
Sets, reps, and rest: 1–2 sets of 8–12 repetitions; rest 60 seconds.
How to Do It
- Stand on the middle of the tube with both feet shoulder-width apart.
- Hold one handle in each hand, arms beside your body and palms facing forward.
- Keep your upper arms close to your sides as you bend both elbows.
- Curl the handles toward your shoulders without moving your elbows forward.
- Lower slowly until your arms are straight again.
Common mistakes: Rocking the torso, swinging the elbows, and curling the wrists inward.
Coaching cue: Move your forearms while keeping your upper arms quiet.
Use less resistance when the handles stop moving unless you lean backward. A controlled curl with a lighter tube is more useful than a heavier repetition completed with momentum. The FITTR exercise library describes this bilateral, underhand-grip setup.
7. Resistance Band Pull-Apart
Best for: Adding focused rear-shoulder and upper-back work.
Muscles worked: Rear deltoids and shoulder-blade muscles, including the trapezius; rotator-cuff muscles assist.
Equipment: Light flat resistance band.
Sets, reps, and rest: 1–2 sets of 10–15 repetitions; rest 45–60 seconds.
How to Do It
- Hold the band at shoulder height, hands approximately shoulder-width apart and palms down.
- Keep your arms straight as you move your hands outward.
- Open until your arms are roughly in line with your torso.
- Bring your hands forward again slowly.
Common mistakes: Bending the elbows into a row, shrugging, or leaning backward.
Beginner adjustment: Use a lighter band rather than forcing the finishing position.
Keep this variation horizontal with a palms-down grip. Changing hand position or movement direction creates a different pull-apart variation rather than an interchangeable technique.
8. Lateral Band Walk
Best for: Training the muscles at the sides of the hips with a simple sideways movement.
Muscles worked: Hip abductors, particularly the gluteus medius and minimus.
Equipment: Mini-loop band.
Sets, steps, and rest: 1–2 sets of 6–10 steps in each direction; rest 45–60 seconds.
How to Do It
- Place the mini-band around your thighs, just above your knees.
- Stand with your feet hip-width apart and bend your hips and knees into a shallow squat.
- Take a small step sideways, keeping your pelvis level and toes generally forward.
- Bring the trailing foot across only far enough to return to your hip-width stance.
- Continue for the planned steps, then reverse direction.
Common mistakes: Letting the feet come together, allowing the knees to collapse inward, taking excessively wide steps, and swaying the torso.
Beginner adjustment: Use a lighter mini-band and smaller steps while keeping the same above-knee placement.
Hospital for Special Surgery describes this above-knee variation and recommends maintaining space between the feet to preserve band tension.
9. Standing Resistance Band Pallof Press
Best for: Training your core to resist being pulled into rotation.
Muscles worked: Obliques and other abdominal stabilizers; the hips and shoulders help maintain position.
Equipment: Long resistance band and a compatible, secure chest-height anchor.
Sets, reps, and rest: 1–2 sets of 6–10 repetitions per side; rest 45–60 seconds after completing both sides.
How to Do It
- Secure the band at approximately chest height. Check the anchor before applying exercise-level tension.
- Stand sideways to it with your feet about hip-width apart and knees softly bent.
- Hold the band with both hands at the center of your chest. Move far enough away to create light tension.
- Press your hands straight forward without turning your shoulders or hips.
- Pause briefly, return your hands to your chest, and repeat. Turn around to train the opposite side.
Common mistakes: Rotating toward the anchor, leaning sideways, holding the breath, and choosing excessive tension.
Beginner adjustment: Move slightly closer to the anchor while retaining tension.
Follow the anchor manufacturer’s installation instructions. Do not improvise with lightweight furniture or an unsecured attachment.
A Simple Beginner Resistance Band Workout
You do not need all nine exercises in every session. Begin with the five movements below, then add one accessory exercise when the basic routine feels manageable.
The Centers for Disease Control and Prevention recommends muscle-strengthening activity at least twice weekly, covering the major muscle groups. Its introductory guidance includes 8–12 repetitions and at least one set per exercise.
Starter Routine
Perform this workout on two nonconsecutive days, such as Monday and Thursday.
| Exercise | Starting amount | Rest |
|---|---|---|
| Resistance band squat | 1 set of 8–12 reps | 60–120 seconds |
| Bent-over resistance band row | 1 set of 8–12 reps | 60–120 seconds |
| Resistance band Romanian deadlift | 1 set of 8–12 reps | 60–120 seconds |
| Standing resistance band chest press | 1 set of 8–12 reps | 60–90 seconds |
| Standing Pallof press | 1 set of 6–10 reps per side | 45–60 seconds after both sides |
Optional addition: Choose one exercise from the overhead press, biceps curl, pull-apart, or lateral walk. Perform one set using its recommended range.
This is a suggested beginner routine, not a requirement to reach a particular workload immediately. Once technique and recovery are manageable, build the main exercises toward two sets.
Effort target: Finish most sets feeling that you could perform about two or three more controlled repetitions. A resistance-training position stand available through the National Library of Medicine supports training with sufficient effort without requiring every set to reach complete muscular failure. For band walks and Pallof presses, stop before your posture or movement control deteriorates.
How to Choose Resistance and Progress
Choose the Band for the Whole Movement
Test a few repetitions before starting your working set. The resistance should allow you to reach both the starting and finishing positions without jerking, leaning, or shortening the movement to escape the tension.
Bands produce more tension as they stretch. A band that feels manageable at the beginning may be too difficult near the end, especially during presses and curls. Use the manufacturer’s resistance information alongside your actual movement control.
Increase Repetitions Before Resistance
A practical progression rule is to reach the top of your repetition range with steady technique in two consecutive sessions before increasing resistance.
For example, progress from eight controlled rows toward twelve. Once twelve repetitions remain manageable, move to a slightly stronger tube and return toward eight repetitions.
Change one variable at a time. Do not simultaneously add a stronger band, extra sets, and several new exercises.
Keep Your Setup Consistent
Record the band used, repetitions, and sets. Also note your grip position, foot placement, and distance from the anchor where relevant.
These details matter because changing the working length of the band changes the resistance. Consistent setup makes your progress easier to judge. Stay within the manufacturer’s stretching limits instead of repeatedly shortening or overstretching the same band.
Frequently Asked Questions
Can Resistance Bands Build Muscle Without Weights?
Yes. Elastic-band training can improve muscle size and strength when it provides sufficient challenge. As you improve, continue increasing the training demand rather than repeating an indefinitely easy workout.
What Resistance Band Should a Beginner Use?
Choose a light band that allows the complete exercise with controlled technique. There is no single resistance level that suits every beginner or every movement. Test each exercise separately rather than assuming your squat band will also suit your shoulder press.
Should Beginners Use Resistance Bands Every Day?
For the full-body strength routine above, start with two nonconsecutive days per week. Leave a recovery day between sessions that challenge the same muscles instead of repeating the workout hard every day.
Do I Need to Perform All Nine Exercises?
No. Use the starter routine first. Add accessory exercises gradually according to your goals and available time. Completing fewer exercises consistently with good control is a more manageable starting plan than rushing through the entire list.
Can I Train Without a Door Anchor?
Yes. Eight of these nine setups do not require an external anchor. Only the Pallof press needs one. Leave it out when a suitable anchor is unavailable rather than attaching the band to something unsecured.
Conclusion
Start with the main movements, use resistance you can control, and repeat a manageable workout twice weekly. Record your repetitions and setup, then increase the challenge gradually. Your next step is simple: choose your bands, practice the first set carefully, and build from there.
This content is for informational purposes only and is not a substitute for medical advice.
References
- American College of Sports Medicine — 2026 Resistance Training Guidelines
- ACSM Position Stand — Resistance Training Prescription for Healthy Adults
- Elastic Resistance vs. Conventional Resistance Training — Systematic Review and Meta-Analysis
- CDC — What Counts as Physical Activity for Adults
- American Council on Exercise — Resistance Band Workout Builder
- Mayo Clinic — Weight Training: Do’s and Don’ts of Proper Technique