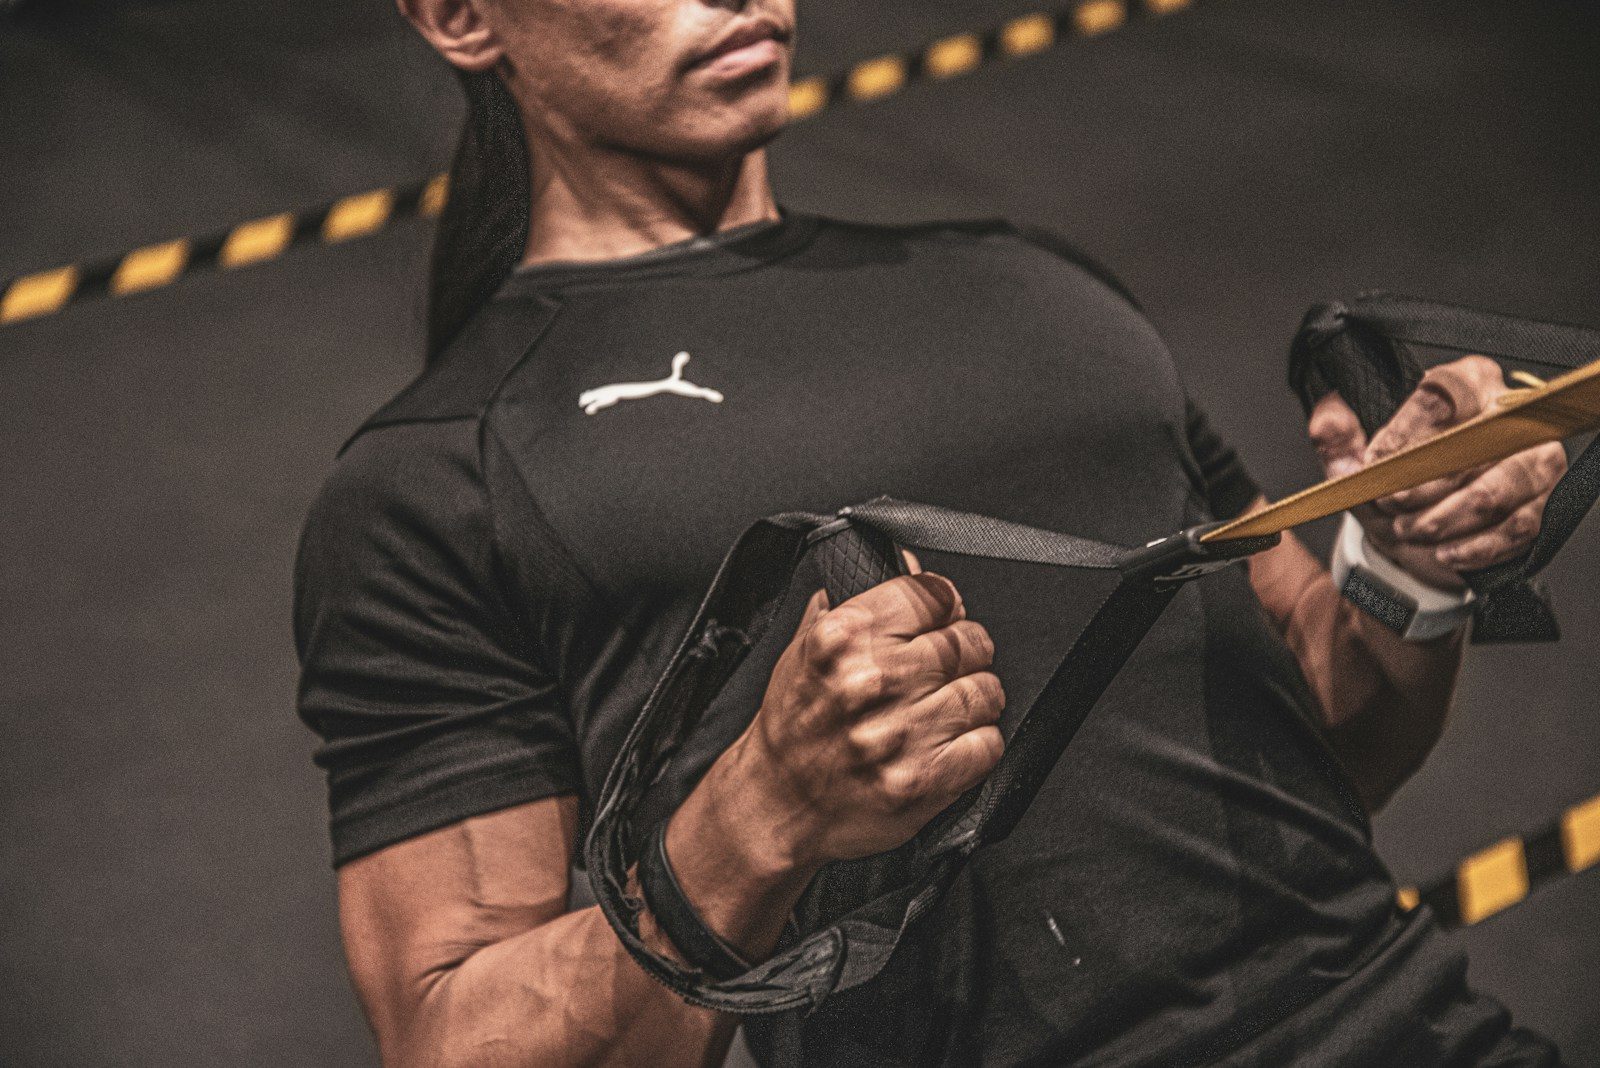
This resistance band workout plan combines two full-body workouts with a four-week schedule, clear repetition targets, and gradual progression. You will practice eight exercises that cover your legs, hips, chest, back, shoulders, arms, and core.
The plan is designed for generally healthy beginners and returning exercisers. Follow the three-day schedule, or use the two-day option when that is more manageable. The goal is to build a routine you can repeat—not to force a heavier band every week.
Before You Start
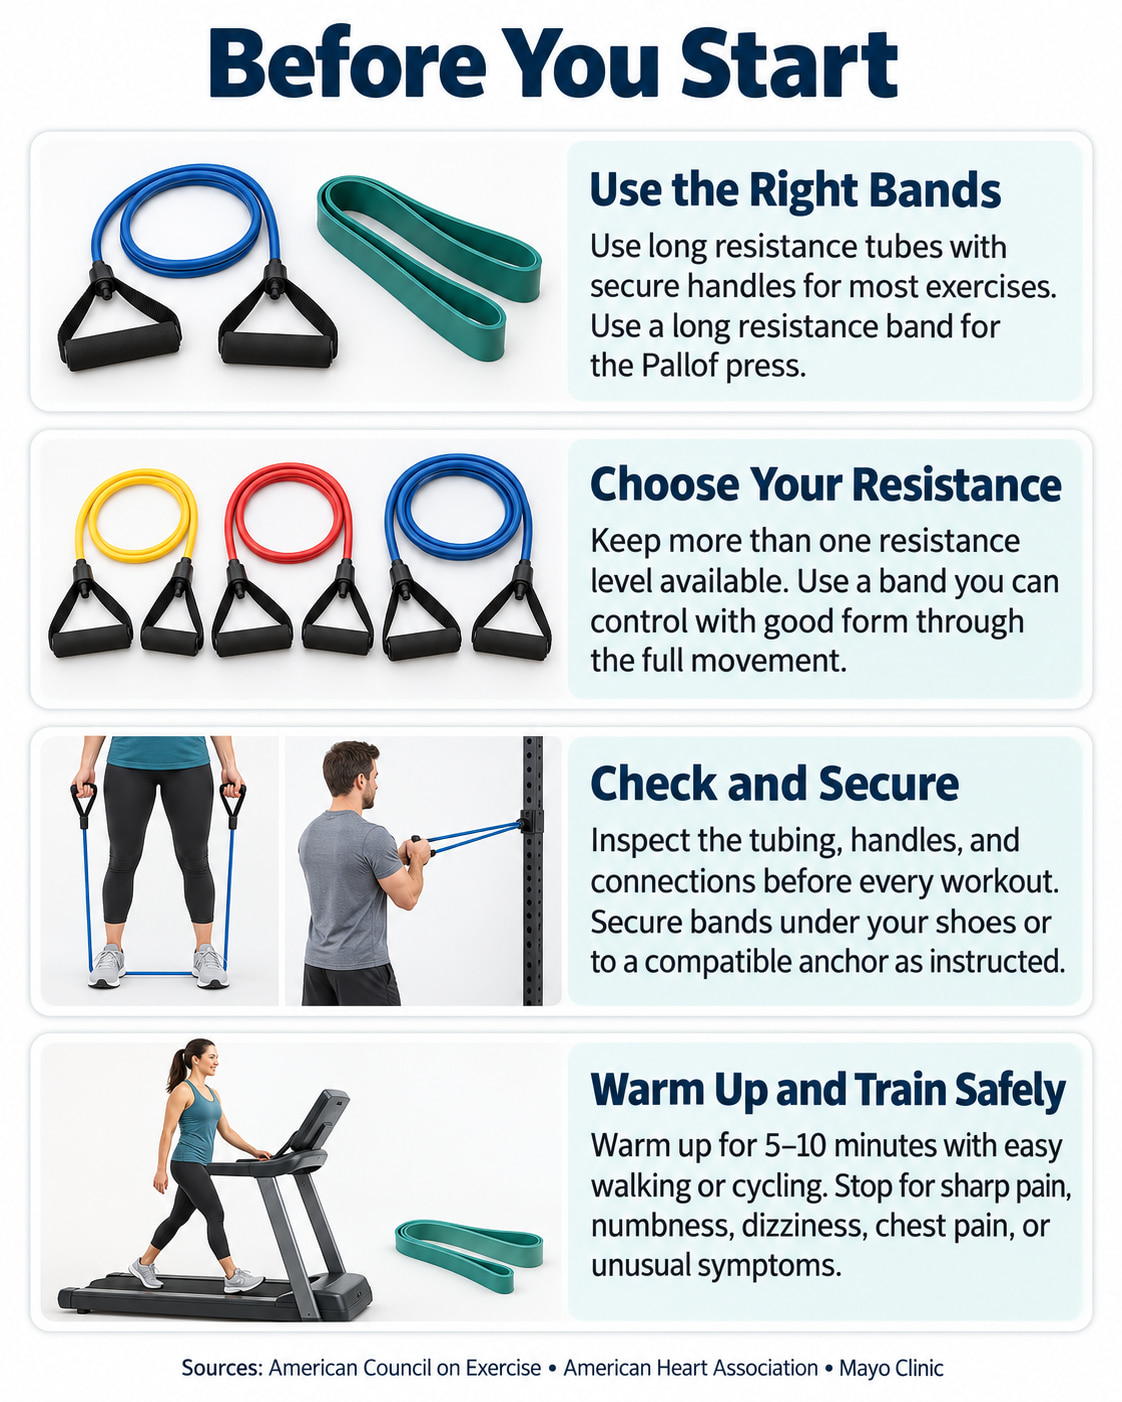
Use long resistance tubes with secure handles for the first seven exercises. For the Pallof press, use a long resistance band that you can grip securely with both hands. The chest press and Pallof press also require a compatible, securely installed chest-height anchor.
Have more than one resistance level available when possible. Choose the band separately for each exercise rather than assuming your legs, shoulders, and arms need the same resistance.
Check the tubing, handles, and connections before every workout. The American Council on Exercise recommends discarding damaged bands, staying within the manufacturer’s stretching limits, and never releasing a band under tension. For foot-anchored exercises, secure the tubing beneath your shoes; do not put the handles over your feet.
Warm up with 5–10 minutes of easy walking or cycling, then practice a few repetitions of your opening exercises without resistance or with a lighter band. The American Heart Association recommends gradually warming up before more demanding activity.
If you have an injury, ongoing medical condition, or concerns about exercising safely, get individualized guidance before starting. Mayo Clinic advises stopping exercises that cause pain and using resistance you can control safely. Stop for sharp pain, numbness, dizziness, chest pain, or other unusual symptoms and seek professional help. Chest pain, fainting, or severe breathing difficulty warrants urgent medical attention.
Your 4-Week Resistance Band Workout Plan
Alternate Workout A and Workout B on nonconsecutive days. Perform only the workout assigned to that day, not both workouts together.
| Week | Monday | Wednesday | Friday |
|---|---|---|---|
| 1 | Workout A | Workout B | Workout A |
| 2 | Workout B | Workout A | Workout B |
| 3 | Workout A | Workout B | Workout A |
| 4 | Workout B | Workout A | Workout B |
You can move these sessions to different weekdays. Keep at least one full day between full-body workouts to give the muscles you trained time to recover.
Two-day option: Perform Workout A on Monday and Workout B on Thursday each week. The Centers for Disease Control and Prevention recommends strengthening all major muscle groups on at least two days weekly; three sessions are not a requirement for getting started.
Workout A
Complete the exercises in the order shown. Finish the prescribed sets of one exercise before moving to the next.
| Exercise | Repetitions per set |
|---|---|
| 1. Resistance Band Squat | 8–12 |
| 2. Standing Resistance Band Chest Press | 8–12 |
| 3. Resistance Band Romanian Deadlift | 8–12 |
| 4. Bent-Over Resistance Band Row | 8–12 |
| 5. Standing Resistance Band Biceps Curl | 10–15 |
| 6. Standing Resistance Band Pallof Press | 8–10 per side |
Workout B
| Exercise | Repetitions per set |
|---|---|
| 1. Resistance Band Romanian Deadlift | 8–12 |
| 2. Standing Resistance Band Chest Press | 8–12 |
| 3. Resistance Band Split Squat | 8–12 per side |
| 4. Bent-Over Resistance Band Row | 8–12 |
| 5. Standing Resistance Band Shoulder Press | 8–12 |
| 6. Standing Resistance Band Pallof Press | 8–10 per side |
For the split squat and Pallof press, one set includes the prescribed repetitions on both sides. Pause between sides when needed to reset your position.
Sets and Weekly Progression
The set counts below apply to the exercise positions in each workout table.
| Week | First four exercises | Final two exercises | Main goal |
|---|---|---|---|
| 1 | 1–2 sets each | 1–2 sets each | Learn the setups and use comfortable resistance. |
| 2 | 2 sets each | 2 sets each | Repeat good technique and gradually add repetitions. |
| 3 | 2–3 sets each | 2 sets each | Add a third set only where recovery and control remain good. |
| 4 | Maintain Week 3 sets | 2 sets each | Increase resistance selectively when you meet the progression rule below. |
Start Week 1 with one set when you are completely new to training. Build toward two sets rather than treating the upper number as mandatory.
A third set in Week 3 is optional. You can add it to one or two movements first instead of increasing every exercise at once. Repeat a week when the current workload still feels challenging.
Rest, Effort, and Movement Speed
Rest: Start with 90–120 seconds between sets of the first four exercises and 60–90 seconds for the final two. Take longer when necessary to recover your breathing and maintain technique. These are starting prescriptions for this plan, not strict limits.
Effort: Finish most sets feeling that you could perform approximately two or three more controlled repetitions. Week 1 can feel easier while you learn the movements.
You do not need to force repetitions until you cannot move the band. The American College of Sports Medicine reports that training to muscular failure does not consistently improve outcomes for the average healthy adult.
Pace: Lift, press, or pull smoothly, then control the return. Breathe throughout the movement rather than holding your breath.
How to Do the Exercises
Use the workout tables for repetitions and the weekly progression table for sets. The instructions below explain the equipment setup, movement, and most important form checks.
1. Resistance Band Squat
Best for: Building leg strength with both feet planted.
Muscles worked: Primarily the quadriceps and glutes, with the trunk muscles helping maintain your position.
How to do it:
- Stand on the middle of the tube with your feet about shoulder-width apart. Keep the tubing securely beneath the middle of both shoes.
- Hold one handle beside each shoulder, with the tubing behind your upper arms. Brace your abdomen.
- Bend your hips and knees to lower into a squat. Let your knees follow the direction of your toes and keep your feet planted.
- Push through your feet to stand upright. Keep the handles at shoulder level rather than adding an overhead press.
Common mistakes: Letting the heels lift, allowing the knees to collapse inward, or dropping lower than you can control. The American Council on Exercise emphasizes stable feet and coordinated movement of the hips and knees during the squat.
Make it easier: Remove the band and practice the same movement through a comfortable depth. Add resistance only after your repetitions look consistent.
2. Resistance Band Romanian Deadlift
Best for: Learning to move through your hips while keeping your trunk steady.
Muscles worked: Hamstrings and glutes, with the back and abdominal muscles helping stabilize the torso.
How to do it:
- Stand with your feet about hip-width apart on the tube’s midpoint. Hold the handles beside the fronts of your thighs.
- Soften your knees and push your hips backward. Allow your torso to tip forward while your arms remain long.
- Keep your hands close to your legs and lower only as far as you can maintain a neutral spine and a small, relatively constant knee bend.
- Press through your feet and bring your hips forward to stand tall. Finish upright without leaning backward.
Common mistakes: Turning the movement into a squat, reaching toward the floor by rounding your back, or snapping your hips forward. The American Council on Exercise describes the Romanian deadlift as a hip-hinge movement performed with a relatively small amount of knee bending.
Make it easier: Rehearse the hip hinge without the band. Use a shorter range until you can move at the hips without changing your back position.
3. Standing Resistance Band Chest Press
Best for: Training a forward pressing movement without a bench.
Muscles worked: Chest, triceps, and front shoulders.
Equipment: Handled tubing and a compatible chest-height anchor behind you.
How to do it:
- Secure the tubing according to the anchor manufacturer’s instructions. Face away from the anchor and hold one handle in each hand.
- Take a stable split stance with one foot forward. Bring your hands beside your chest, with your elbows bent and slightly below shoulder height.
- Brace your abdomen and maintain a small, steady forward lean. Press the handles forward until your arms straighten comfortably.
- Pause briefly, then return your hands toward your chest under control. After the final repetition, step toward the anchor to reduce tension before releasing the handles.
Common mistakes: Flaring the elbows directly sideways, shrugging, or allowing the band to pull your body backward. Peak Physio demonstrates a controlled band chest press with the resistance positioned behind the body.
Make it easier: Use lighter tubing or reduce your starting distance from the anchor while retaining manageable tension.
4. Bent-Over Resistance Band Row
Best for: Adding an upper-body pulling movement without an external anchor.
Muscles worked: Lats, upper-back muscles, rear shoulders, and elbow flexors.
How to do it:
- Stand on the tube with your feet about shoulder-width apart. Hold the handles with your palms facing inward.
- Bend your knees slightly and push your hips backward until your torso angles toward the floor.
- Hold that position while pulling the handles toward your lower ribs. Move your elbows backward close to your sides.
- Slowly straighten your elbows to lower the handles without standing up between repetitions.
Common mistakes: Using your hips to swing the handles upward or rounding your back as you tire. Mayo Clinic emphasizes a neutral back, controlled movement, and elbows staying near the body during a bent-over row.
Coaching cue: Your arms move; your torso holds its position. End the set when you can no longer maintain the hinge.
5. Resistance Band Split Squat
Best for: Training each leg in a stationary split stance.
Muscles worked: Primarily the quadriceps and glutes, with the hip and trunk muscles helping maintain balance.
How to do it:
- Secure the middle of the tube beneath your front shoe. Step your other foot backward, keeping some side-to-side space between your feet.
- Raise the handles beside your shoulders. Keep your front foot flat and your rear heel lifted.
- Bend both knees to lower your body through a comfortable range. Keep your torso controlled rather than pitching forward.
- Push through your front foot to rise. Keep both feet in place for the entire set, then carefully reduce the band tension and change sides.
Common mistakes: Setting your feet in a tightrope stance, bouncing at the bottom, or stepping forward and backward on every repetition. This plan uses a fixed-foot split squat, not a stepping lunge. FITTR demonstrates a band-resisted lunge setup with the resistance beneath the front foot and the handles held near shoulder level.
Make it easier: Remove the band and lightly hold a stable support. Practice a smaller range before adding resistance.
6. Standing Resistance Band Shoulder Press
Best for: Adding overhead pressing to the program.
Muscles worked: Deltoids and triceps, with the shoulder-blade muscles assisting overhead movement.
How to do it:
- Stand on the tube’s midpoint with your feet about hip-width apart. Use tubing long enough for the full movement within its stretching limit.
- Bring the handles to shoulder level, palms facing forward and tubing behind your upper arms.
- Brace your abdomen and press upward until your arms straighten comfortably overhead. Keep your torso upright.
- Lower the handles slowly to shoulder level. Keep your knees softly unlocked without dipping them to drive the next repetition.
Common mistakes: Leaning backward, flaring the ribs, or using leg momentum to finish. INTEGRIS Health describes a standing band shoulder press that begins at shoulder level and finishes with the arms extended overhead.
Make it easier: Choose lighter or appropriately longer tubing. Do not force the movement when your band is too short or your shoulders cannot move comfortably overhead.
7. Standing Resistance Band Biceps Curl
Best for: Direct upper-arm work after the larger exercises.
Muscles worked: Primarily the biceps and other elbow flexors.
How to do it:
- Stand on the middle of the tube with your feet about shoulder-width apart.
- Hold one handle in each hand beside your thighs, with your palms facing forward.
- Bend both elbows to curl the handles upward. Keep your upper arms near your sides and your wrists aligned with your forearms.
- Lower the handles slowly until your arms are comfortably straight.
Common mistakes: Rocking backward, lifting the elbows forward, or bending the wrists to finish the curl. Mayo Clinic emphasizes keeping the elbows relatively steady and controlling the movement during a resistance-tubing curl.
Coaching cue: Stop the set when your body starts helping your arms lift the band.
8. Standing Resistance Band Pallof Press
Best for: Practicing core control while resisting rotation.
Muscles worked: Abdominal muscles, including the obliques.
Equipment: A long resistance band and a compatible chest-height anchor.
How to do it:
- Secure the band at chest height and stand sideways to the anchor. Hold the band firmly with both hands together in front of your chest.
- Position your feet about hip-width apart, soften your knees, and move away from the anchor until there is manageable tension.
- Brace your abdomen and press your hands straight forward. Keep your chest and hips facing ahead, then pause for one or two seconds.
- Bring your hands back toward your chest without twisting. Complete your repetitions, reduce the tension, and turn around to train the other side.
Common mistakes: Rotating toward the anchor, leaning away from it, or choosing resistance that prevents a controlled pause. Girls Gone Strong describes the basic standing Pallof press as an anti-rotation exercise in which the torso resists the band’s rotational pull.
Make it easier: Use a lighter band or stand closer to the anchor. Keep the same controlled press rather than adding circles or overhead movements.
How to Increase Resistance Without Losing Form
Add repetitions before increasing resistance. Use the following progression rule for this plan:
When you complete every prescribed set at the top of the repetition range, with consistent technique and approximately two repetitions still possible, repeat that performance at the next session containing the exercise. Then try a small increase in resistance.
For example, during a two-set phase, your rows might progress from 10 and 9 repetitions to 12 and 12. After repeating 12 and 12 with control at the next session, try a slightly stronger tube and return toward eight repetitions.
Keep your foot placement, anchor height, grip, and starting distance consistent. Changing your position relative to an anchor can change how much tension the band provides, which makes workouts harder to compare.
Do not increase sets and resistance simultaneously. If the next band prevents you from completing the minimum repetitions with good form, return to the previous resistance or use a smaller available increase.
Keep a Simple Training Log
Record the exercise, band used, setup, repetitions for each set, and roughly how many more repetitions felt possible.
A useful entry could read:
Bent-over row: medium tube, shoulder-width stance, 12/12 repetitions, approximately two repetitions remaining.
Compare your performance with the same setup—not just the band’s color or how tired you felt afterward.
Recovery and What to Do After Week 4
Use nonlifting days for rest or comfortable activity such as walking. Reduce your next session’s volume when soreness or fatigue changes how you move. Significant pain is not a reason to push harder; the American Academy of Orthopaedic Surgeons advises stopping exercises that cause pain rather than forcing through symptoms.
At the end of Week 4, review your log. Look for more controlled repetitions, improved consistency, or greater resistance with the same technique.
You can repeat the program at your current manageable set counts. There is no need to return automatically to Week 1’s lighter workload or replace every exercise. Continue progressing individual movements as you earn the increase.
Frequently Asked Questions
Can resistance bands build muscle as well as strength?
Yes. ACSM’s current resistance-training guidance recognizes elastic bands and home-based resistance training as useful options for improving strength and muscle size. The resistance still needs to be appropriately challenging, and the program should develop as your ability improves.
Four weeks is a starting block, not a guarantee of visible muscle growth.
Can I do this resistance band workout every day?
Not as written. Both workouts train several of the same muscle groups, so keep recovery days between them.
Daily movement is fine, but it does not need to be another hard full-body strength session.
What should I do if I miss a workout?
Continue with the next workout in the A/B sequence on your next available training day. Preserve the recovery gap rather than doubling the workouts or squeezing them into consecutive days.
For example, after completing Workout A and missing Workout B, your next session should be Workout B.
What if I cannot finish the prescribed repetitions?
Stop when your technique breaks down, even if you have not reached the target. For the next set, use a lighter band and take enough rest to repeat the movement correctly.
If this happens across most exercises, return to the previous week’s set count or use the two-day schedule. The plan should match your current capacity, not force you to train beyond it.
Should I repeat the plan after four weeks?
Yes, if the exercises still suit you and you are progressing. Continue using the same movements while gradually increasing repetitions or resistance when appropriate.
You do not need an entirely new workout every four weeks. Consistent practice makes it easier to judge whether your strength and technique are improving.
The Bottom Line
A useful resistance band workout plan gives you movements to practice, time to recover, and a clear reason to increase the challenge. Start with manageable sets, keep your setups consistent, and record your repetitions.
Complete your first Workout A with control. Build from that session rather than rushing toward the heaviest band.
This content is for informational purposes only and is not a substitute for medical advice.