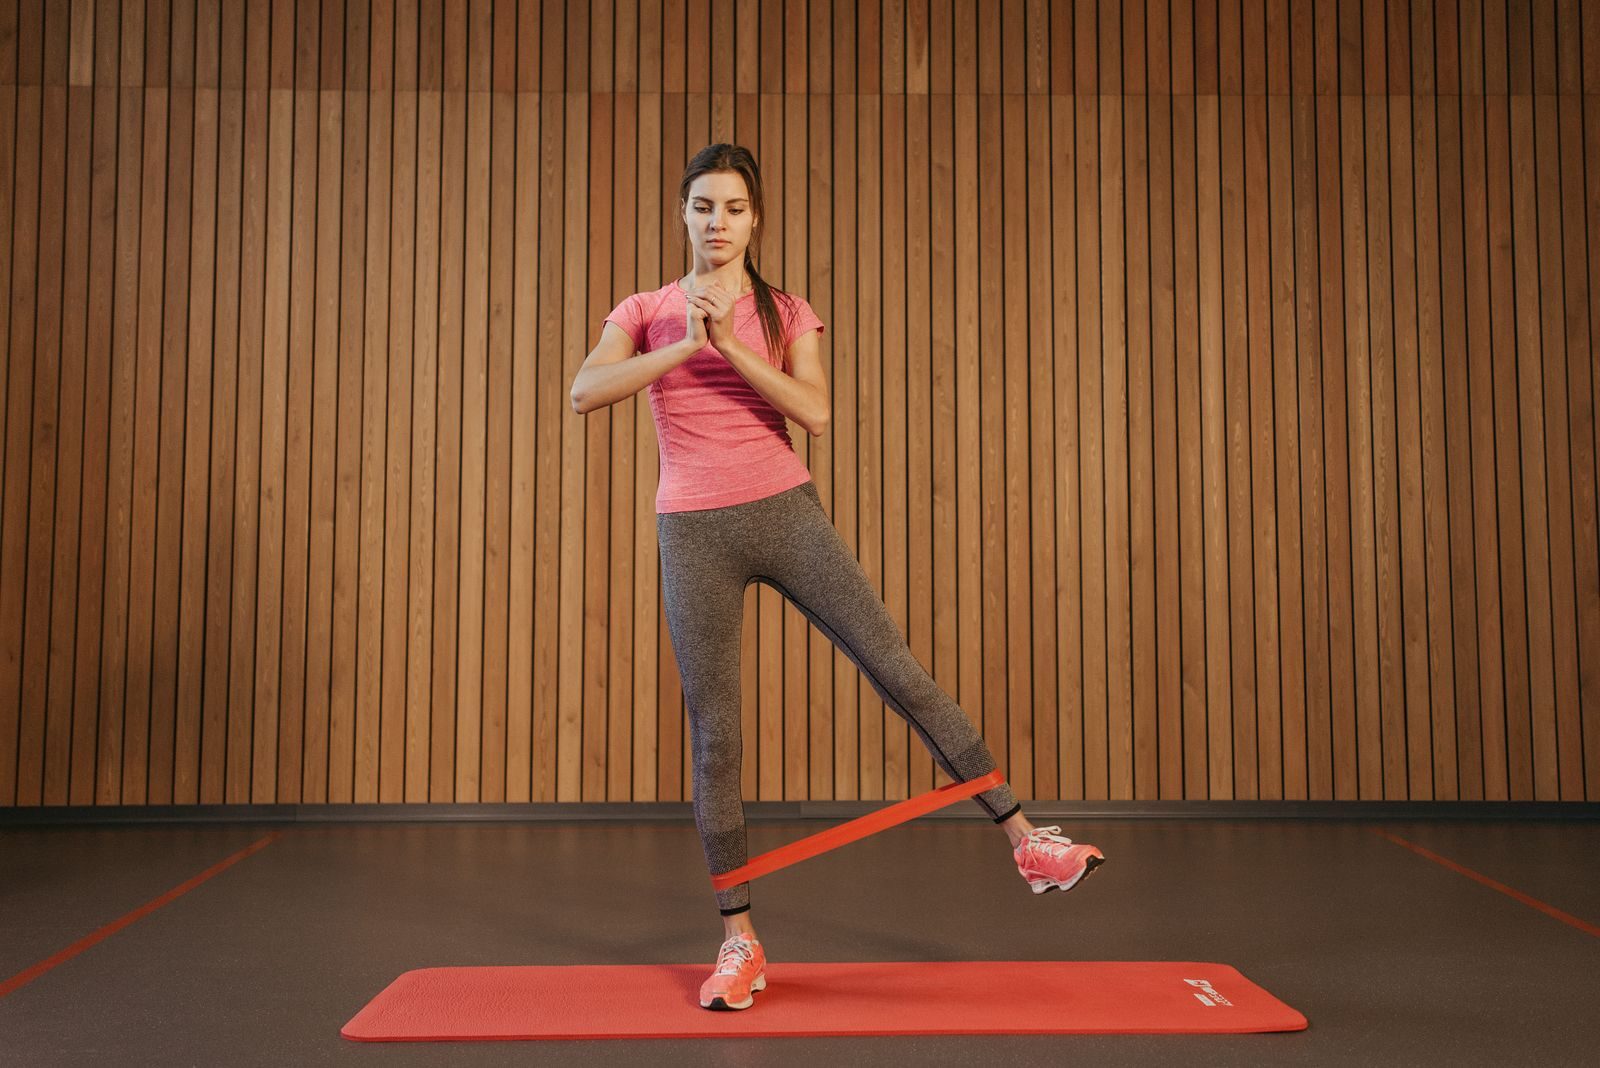
Resistance band exercises for legs can build lower-body strength when the resistance is challenging, your technique stays controlled, and your training progresses over time. The American College of Sports Medicine recognizes resistance bands and home-based workouts as effective strength-training options.
The exercises below cover your quads, hamstrings, glutes, inner thighs, outer hips, and calves. You will also find a manageable workout and a clear way to make it harder as you improve.
Before You Start
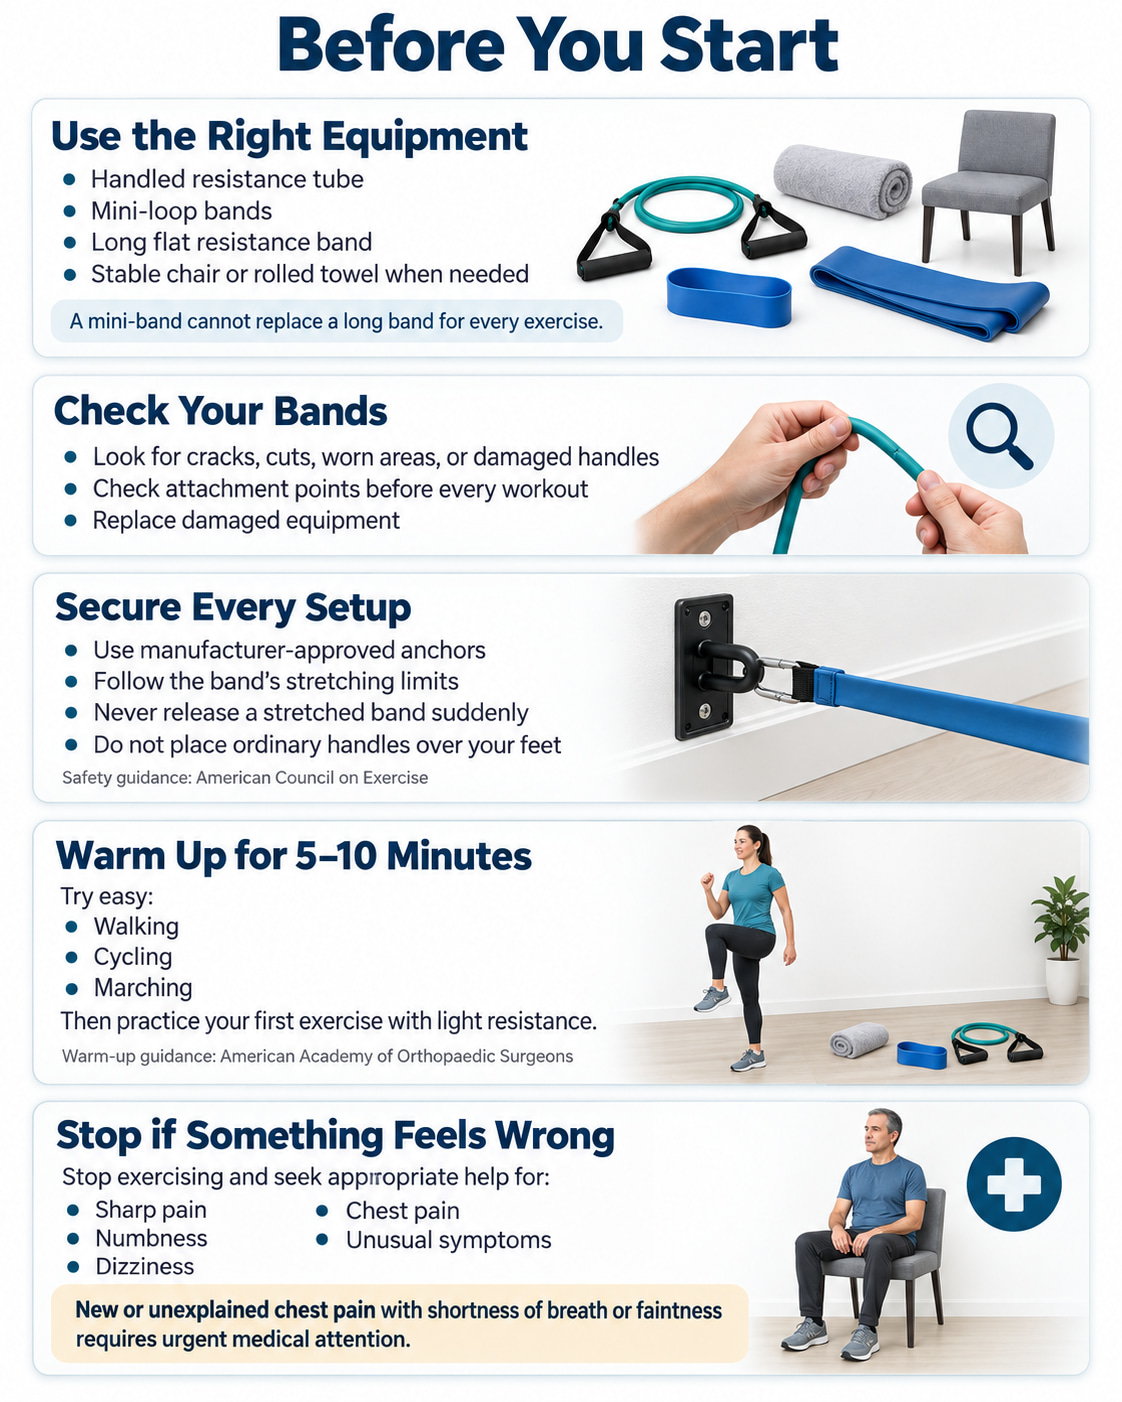
Different movements need different equipment. This guide uses a handled resistance tube, mini-loop bands, and a long flat resistance band. Some exercises also require a manufacturer-approved anchor, a stable chair, or a rolled towel. A short mini-band cannot replace a long band in every exercise.
Inspect bands, handles, and attachments before training. Discard damaged equipment, follow the manufacturer’s stretching limits, and use only suitable anchors. Never release a stretched band suddenly or put ordinary handgrips over your feet. These precautions follow American Council on Exercise resistance-band safety guidance.
Warm up with 5–10 minutes of easy walking, cycling, or marching, then practice your first movement with little resistance. This follows the general warm-up approach used by the American Academy of Orthopaedic Surgeons.
Stop exercising if you experience sharp pain, numbness, dizziness, chest pain, or unusual symptoms, and seek appropriate medical guidance. New or unexplained chest pain—especially with shortness of breath or faintness—requires urgent medical attention.
11 Best Resistance Band Exercises for Legs
These exercises cover several movement patterns, from squatting and hinging to knee extension and calf work.
Treat them as an exercise menu: choose movements that match your equipment and ability rather than performing all 11 in one session.
The sets, repetitions, and hold times below are suggested starting ranges. Use resistance that allows smooth movement throughout each set.
1. Resistance Band Squat
Best for: A main lower-body exercise emphasizing the quads and glutes.
Muscles worked: Primarily the quadriceps and gluteus maximus; the trunk helps maintain your position.
Equipment: A resistance tube with handles.
Sets, reps, and rest: 2–3 sets of 8–15 repetitions. Rest 90–120 seconds.
How to do it:
- Stand on the middle of the tube with your feet approximately shoulder-width apart.
- Bring one handle beside each shoulder, with the tubing running behind your upper arms. Keep your wrists straight.
- Bend your hips and knees, lowering into a squat while keeping your feet planted and your knees tracking in the direction of your toes.
- Descend only as far as you can control, then push through your feet to stand. Keep the handles beside your shoulders.
Common mistakes: Letting the knees collapse inward, lifting the heels, or pressing the handles overhead as you stand. Your arms hold the band in position; they do not turn the movement into an overhead press. Get Healthy U uses a handled tube beneath both feet with the handles at shoulder level.
2. Resistance Band Deadlift
Best for: Learning to load the back of the legs through a hip hinge.
Muscles worked: Hamstrings and gluteus maximus, with the trunk and grip providing support.
Equipment: A resistance tube with handles.
Sets, reps, and rest: 2–3 sets of 10–15 repetitions. Rest 90–120 seconds.
How to do it:
- Stand securely on the middle of the tube, holding one handle in each hand beside your legs.
- Soften your knees, brace your abdomen, and push your hips backward. Let your torso tip forward while your arms stay long.
- Stop when you feel tension through your hamstrings or before your back begins to round.
- Push through your feet and bring your hips forward to stand tall. Keep your arms straight and avoid leaning backward at the top.
Common mistakes: Turning the movement into a deep squat, pulling the handles with your arms, or rounding your back to reach lower. The main movement comes from the hips—not repeated bending and straightening of the lower back. The exercise setup is demonstrated by FITTR.
3. Resistance Band Split Squat
Best for: Giving each leg more individual work without needing a rear-foot-elevated setup.
Muscles worked: Primarily the quads and glutes, with the hips and trunk helping you balance.
Equipment: A resistance tube with handles.
Sets, reps, and rest: 2 sets of 8–12 repetitions per side. Rest 90–120 seconds as needed.
How to do it:
- Secure the middle of the tube beneath your front foot. Step the other foot back and raise the rear heel.
- Hold the handles beside your shoulders. Keep your feet separated sideways enough to balance comfortably.
- Bend both knees and lower your body between your feet. Let your front knee follow the direction of your toes.
- Push through the front foot to rise, keeping the same stance throughout the set. Switch sides afterward.
Common mistakes: Standing on a tightrope-like line, bouncing the rear knee off the floor, or letting the front heel lift. Use a depth you can control rather than forcing the rear knee to touch down.
4. Mini-Band Glute Bridge
Best for: Practicing hip extension on the floor while maintaining controlled knee position.
Muscles worked: Gluteus maximus, with assistance from the hamstrings; the outer hips work against the band’s inward pull.
Equipment: A mini-loop band and an exercise mat.
Sets, reps, and rest: 2 sets of 12–20 repetitions. Rest 60 seconds.
How to do it:
- Place the mini-band around your thighs, just above your knees. Lie on your back with your knees bent and feet flat.
- Keep your feet approximately hip-width apart and apply gentle outward pressure against the band.
- Press through your feet and lift your hips until your shoulders, hips, and knees form a controlled line.
- Lower slowly without letting the knees collapse inward.
Common mistakes: Lifting higher by arching your lower back or forcing the knees excessively wide. Keep the ribs controlled and stop the lift before your lower back takes over. Elite Performance Institute demonstrates the same general band-above-the-knees bridge setup.
Important distinction: A band above the knees challenges outward hip control. It does not pull downward across your pelvis, so a stronger thigh band is not the same as adding more resistance directly to the hip lift.
5. Standing Lateral Band Walk
Best for: Training the outer hips while moving sideways.
Muscles worked: Gluteus medius and other hip abductors.
Equipment: A mini-loop band positioned around the ankles.
Sets, reps, and rest: 1–2 sets of 8–12 steps in each direction. Rest 45–60 seconds.
How to do it:
- Place the band around your ankles and stand upright with your feet separated enough to create light tension.
- Put your hands on your hips and keep your knees relaxed rather than forcefully locked.
- Take a small sideways step, then bring the trailing foot across without letting your feet meet.
- Continue for a few steps, then reverse direction. Keep your torso upright and your steps controlled.
Common mistakes: Taking oversized steps, dragging the trailing foot, or allowing the band to snap your feet together. FITTR demonstrates this as an upright ankle-band variation rather than a deep-squat walk with the band above the knees.
6. Prone Mini-Band Hamstring Curl
Best for: Training the hamstrings through knee bending without an external anchor.
Muscles worked: Primarily the hamstrings.
Equipment: A light mini-loop band and an exercise mat.
Sets, reps, and rest: 2 sets of 10–15 repetitions per leg. Rest 60–90 seconds.
How to do it:
- Place the mini-band around your lower legs, just above the ankles. Lie on your stomach with your arms comfortably supported.
- Keep one leg straight on the floor so it anchors the band.
- Bend the other knee, bringing that heel toward your buttock while keeping the working thigh and pelvis down.
- Stop before your lower back arches, then slowly straighten the knee. Finish the set before changing legs.
Common mistakes: Lifting the thigh, twisting the pelvis, or using a band so strong that you can barely bend the knee. The hamstring curl should come from knee movement while the hip stays relatively still. The setup is demonstrated by FITTR.
Make it easier: Choose a lighter loop and use a smaller controlled range. Do not force the heel toward your buttock against excessive tension.
7. Seated Resistance Band Knee Extension
Best for: Giving the quadriceps direct work in a supported position.
Muscles worked: The quadriceps on the front of the thigh.
Equipment: A stable chair, a long resistance band, and a suitable low anchor behind the working foot.
Sets, reps, and rest: 2 sets of 10–15 repetitions per leg. Rest 60–90 seconds.
YouTube demonstration: Peak Physio
How to do it:
- Secure the band behind the working foot, with the other end safely positioned around your ankle.
- Sit upright on a firm chair high enough for your foot to move freely. Keep your working thigh supported on the seat.
- Straighten the knee in front of you without snapping it into its endpoint.
- Pause briefly, then bend the knee slowly to return.
Common mistakes: Leaning backward, lifting the entire thigh, or letting the band pull the leg back abruptly. Keep the movement concentrated at the knee. Peak Physio demonstrates this seated band-resisted knee-extension setup. The anchor and chair must remain stable throughout the set.
8. Seated Resistance Band Hip Abduction
Best for: Training the outer hips without a standing balance demand.
Muscles worked: Gluteus medius and other lateral hip muscles.
Equipment: A resistance band secured around the thighs and a stable chair.
Sets, reps, and rest: 2 sets of 12–20 repetitions. Rest 45–60 seconds.
How to do it:
- Sit upright with your feet flat and approximately hip-width apart.
- Position the band around your thighs, just above the knees.
- Press your knees outward while keeping your feet supported and your torso still.
- Pause briefly, then return slowly without allowing the band to pull your knees together abruptly.
Common mistakes: Rocking your upper body, rolling onto the outside edges of your feet, or chasing a wider range than your hips can control. A modest, deliberate movement is enough to work against the band. Peak Physio provides the corresponding seated hip-abduction guidance.
9. Isometric Standing Band Hip Adduction
Best for: Training the inner thighs while holding a steady position.
Muscles worked: Hip adductors, with support from the standing-side hip and trunk.
Equipment: A long band, a suitable low side anchor, and a stable hand support when needed.
Sets, holds, and rest: 2–3 holds of 10–20 seconds per side. Rest 30–60 seconds.
How to do it:
- Stand sideways to the anchor with the band secured around the ankle nearest it.
- Step away until there is tension, then balance on the other leg. Use fixed support as needed.
- Draw the banded foot inward until it is close to—but not resting against—the standing foot.
- Hold the position with your pelvis level and breathe normally. Release the pull gradually before switching sides.
Common mistakes: Swinging the leg across the body, leaning away from the anchor, or resting the working foot against the other leg. Elite Performance Institute demonstrates this as a stationary hold rather than repeated crossing movements.
10. Isometric Band Clamshell
Best for: Practicing hip rotation control without rolling the pelvis.
Muscles worked: Gluteal muscles and other hip external rotators.
Equipment: A mini-loop band and an exercise mat.
Sets, holds, and rest: 2–3 holds of 10–20 seconds per side. Rest 30–45 seconds.
How to do it:
- Place the band above your knees and lie on your side with your hips stacked and knees bent.
- Keep your feet together and your trunk still.
- Open the top knee only as far as you can without rolling your pelvis backward.
- Hold that position while breathing normally, then lower the knee slowly. Complete both sides.
Common mistakes: Rolling backward to lift the knee higher, separating the feet, or holding your breath. Reduce the opening distance when you cannot maintain a stacked pelvis. Elite Performance Institute provides the corresponding isometric clamshell guidance.
Progression: Build toward a controlled 20-second hold before increasing band resistance. A heavier loop is not useful when it changes the movement into a torso roll.
11. Seated Resistance Band Calf Press
Best for: Working the calves without needing standing balance.
Muscles worked: The gastrocnemius and soleus, which help point the ankle away from the shin.
Equipment: A long flat resistance band and a rolled towel.
Sets, reps, and rest: 2 sets of 15–20 repetitions per leg. Rest 45–60 seconds.
How to do it:
- Sit with the working leg straight and supported on a rolled towel so the foot can move freely.
- Place the flat band securely across the ball of your foot and hold the ends firmly.
- Press the forefoot away from you by pointing the ankle, keeping the knee still.
- Return slowly toward the starting position without allowing the band to slip.
Common mistakes: Curling the toes instead of moving the ankle, rolling the foot inward or outward, or placing the band only across the tips of the toes. Keep the band broad and secure across the forefoot. Peak Physio provides the corresponding band-resisted plantar-flexion instructions.
A Simple Resistance Band Leg Workout
Start with the following five-exercise routine rather than the entire list. It combines a squat, a hip hinge, direct hamstring work, sideways hip work, and a calf exercise.
| Exercise | Sets | Repetitions | Rest |
|---|---|---|---|
| Resistance band squat | 2 | 8–15 | 90–120 seconds |
| Resistance band deadlift | 2 | 10–15 | 90–120 seconds |
| Prone mini-band hamstring curl | 2 | 10–15 per leg | 60–90 seconds |
| Standing lateral band walk | 1–2 | 8–12 steps each direction | 45–60 seconds |
| Seated resistance band calf press | 2 | 15–20 per leg | 45–60 seconds |
Frequency: Begin with two nonconsecutive sessions each week. This fits within the broader recommendation from the American College of Sports Medicine to train all major muscle groups at least twice weekly; include upper-body training elsewhere in your schedule.
Effort: Choose a band that makes the final repetitions challenging while leaving approximately two or three good repetitions available. You should not need to bounce, shorten the movement dramatically, or hold your breath to finish.
For a new beginner: Start with one set of each exercise. Add the second set once the movements feel familiar and you recover comfortably.
To vary the second session: Replace the squat with the split squat and the lateral walk with seated hip abduction. Keep the remaining exercises the same initially so you can track progress.
The knee extension, bridge, adduction hold, and clamshell are additional options—not mandatory finishers after every workout.
How to Progress Without Losing Form
Build repetitions before increasing resistance. For an exercise prescribed at 8–15 repetitions, begin near the lower end with controlled technique. When you can complete the top of the range across all sets for two sessions, try a modest increase in resistance and return to fewer repetitions.
For the isometric exercises, first increase the hold gradually within the suggested range. End the hold when your position begins to change, even when time remains.
Keep your setup consistent. Record the band used, foot position, grip position, and anchor distance. The American Council on Exercise explains that band tension changes as the elastic material stretches, so changing the setup can alter the difficulty even when you use the same band.
Change one variable at a time. Adding a stronger band, more sets, and longer holds together makes it difficult to judge what you can recover from.
A stronger band is appropriate only when you can still control both directions of movement. Jerking through the difficult portion or letting the band recoil is not useful progression.
Frequently Asked Questions
Can resistance bands build leg muscle?
Yes. The American College of Sports Medicine recognizes elastic resistance as a useful option for improving muscle size and strength. The important factors include consistent training, sufficient effort, and progression—not simply the type of equipment.
This does not mean every light-band routine provides the same stimulus as a demanding resistance-training program.
Are mini-bands enough for a complete leg workout?
Mini-bands work well for movements such as lateral walks, clamshells, and some curls. However, the squat, deadlift, and split squat described here use longer handled tubing.
Different band placements create different resistance directions. An above-knee loop does not replace the downward pull of a band running from your feet to your hands.
Which exercises emphasize the quads and hamstrings?
The squat, split squat, and seated knee extension emphasize the quads. The deadlift and prone hamstring curl emphasize the hamstrings in different ways: the deadlift involves hip movement, while the curl involves knee bending.
Including both patterns gives you more varied hamstring work than relying on curls alone. The American Academy of Orthopaedic Surgeons also includes separate strengthening exercises for the major muscle groups surrounding the knee.
Can you train your legs with bands every day?
Start with the two nonconsecutive sessions in the sample routine rather than daily hard leg workouts. This provides a straightforward way to practice the exercises and monitor recovery.
More frequent training is not automatically better. The American College of Sports Medicine emphasizes consistency and an individualized program rather than unnecessary complexity.
Why does a band exercise feel harder near the end?
The American Council on Exercise explains that elastic resistance generally increases as the band stretches. This often makes the more stretched portion of a repetition feel harder.
Choose resistance that allows you to control that portion without compensating. Do not use momentum simply to reach the endpoint.
Build a Routine You Can Repeat
Start with five exercises, use manageable resistance, and record your repetitions and band setup. Keep the movement controlled before making it harder.
A repeatable workout with gradual progression will serve you better than completing all 11 exercises once and making the session too demanding to maintain.
This content is for informational purposes only and is not a substitute for medical advice.
References
- American College of Sports Medicine — Resistance Training Guidelines
Best overall reference for resistance training, progression, frequency, strength, and hypertrophy. - Lopes et al. — Elastic Resistance vs Conventional Resistance Training
Systematic review and meta-analysis supporting elastic resistance as an effective strength-training method. - Meng et al. — Elastic Band Resistance Training for Lower-Limb Strength
Highly relevant to your topic because it specifically examines elastic-band training and lower-body strength. - Youdas et al. — Muscle Activation During Resisted Lateral Band Walking
Useful support for the lateral band walk and glute/hip muscle involvement. - Cambridge et al. — Resistance Band Placement and Gluteal Activation
Especially useful for explaining why band placement matters during lower-body resistance-band exercises.