
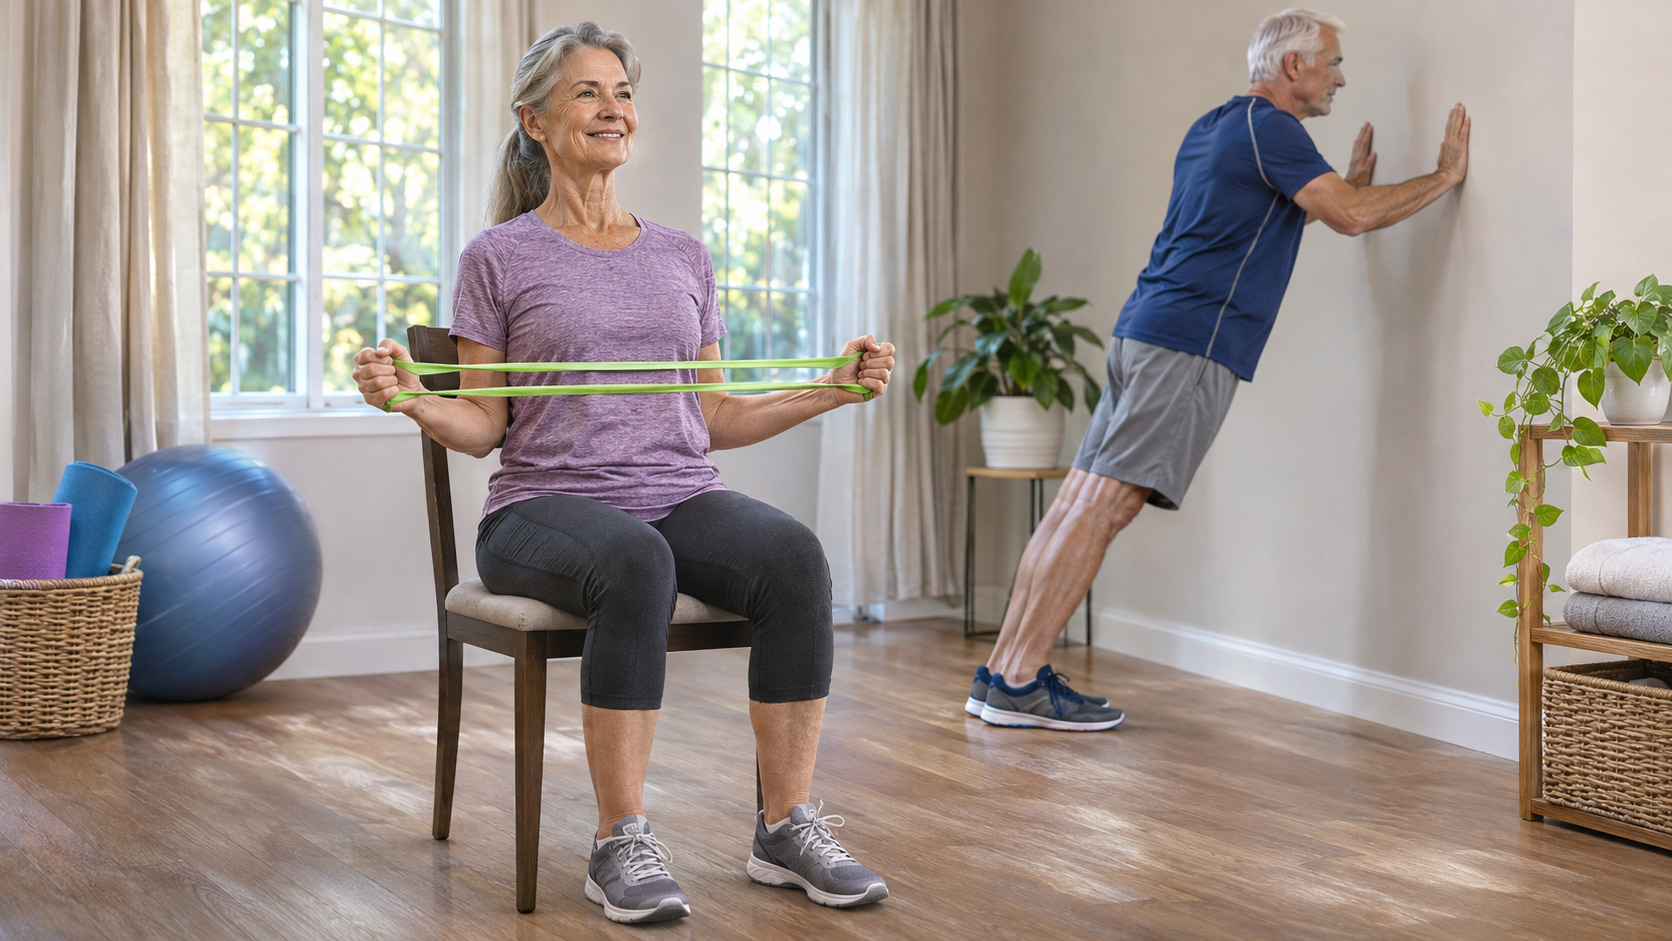
Useful shoulder exercises for seniors include supported mobility movements, resistance-band exercises, controlled arm raises, and wall push-ups. Start with a few movements that match your strength, balance, and comfort—you do not need to perform all eight or lift weights overhead.
The exercises below combine seated and standing options without requiring you to get onto the floor. You’ll also find a starter routine, ways to adjust the movements, and clear guidance on when to increase the challenge.
Before You Start: Choose Your Position, Range, and Resistance
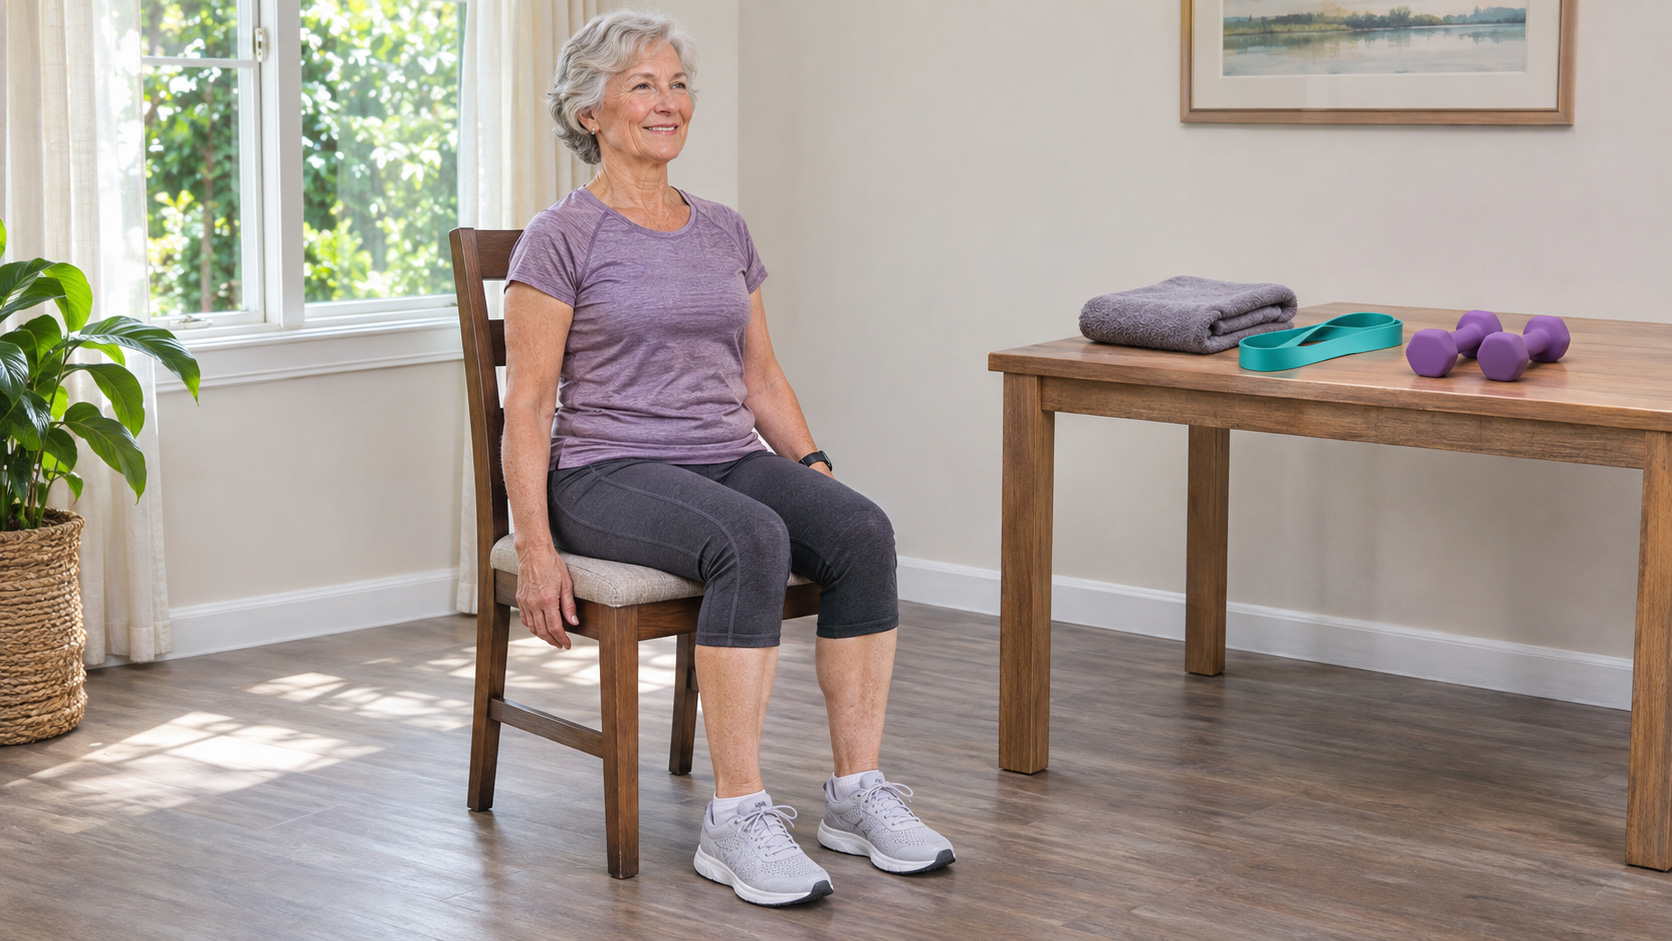
Combine Mobility with Strength
Shoulder rolls, table slides, and stretches help you practice comfortable movement. Resistance exercises challenge your muscles to produce force. Both have a place, but gentle shoulder circles are not a substitute for progressively challenging strength work.
The deltoids help raise your arms, the rotator cuff helps control and stabilize the shoulder joint, and the muscles around your shoulder blades support coordinated arm movement. That is why this guide includes pulling, pushing, rotating, and raising movements rather than several nearly identical arm lifts.
Resistance training can improve strength and physical function in older adults. The National Strength and Conditioning Association’s position statement emphasizes adapting training to the individual and progressing it over time—not assuming that everyone above a certain age needs the same light weights.
Use Support That Helps You Move Well
Choose a firm, stable chair without wheels. Your feet should rest securely on the floor, and the chair should leave enough room for your arms to move. A backrest is particularly useful for the overhead press.
Seated exercise is a practical option when balance or standing tolerance is a concern. Standing is not automatically better; choose the position that lets you concentrate on the shoulder movement.
Depending on your selections, you’ll need a table, towel, wall, light resistance band, suitable band anchor, and optional dumbbells.
Inspect resistance bands before each use, especially near their attachment points. Replace bands with cracks, tears, or other damage, and follow the manufacturer’s anchoring and eye-protection instructions. For example, THERABAND recommends protective eyewear when using its professional latex bands.
Keep the Routine Within Its Intended Scope
These exercises are for general fitness, not a personalized treatment plan. Recent shoulder surgery, an injury, substantial weakness, or persistent shoulder pain may require different movements or restrictions. Follow your clinician’s instructions rather than substituting this routine for rehabilitation.
Stop for sharp pain, numbness, dizziness, or other concerning symptoms and seek appropriate medical advice. Sudden severe shoulder pain, an inability to move the arm, or a visibly changed shoulder after an injury needs prompt assessment. Chest pain or pressure, especially with shortness of breath, sweating, or lightheadedness, warrants emergency help.
8 Shoulder Exercises for Seniors
Treat this list as an exercise menu, not a single workout. The suggested amounts are starting examples; use the routine later in this guide to combine a manageable selection.
For strengthening exercises, start with one set and rest approximately 60–120 seconds between sets or exercises. During your first sessions, focus on learning the movement. As you become comfortable, choose resistance that makes the final repetitions challenging while leaving about two or three controlled repetitions available. You do not need to reach muscular failure to benefit.
1. Seated Backward Shoulder Rolls
Best use: Gentle movement preparation before the strengthening exercises.
Equipment: A stable chair.
How to do it:
- Sit upright with your feet supported and your arms resting beside your body.
- Gently lift your shoulders, then move them backward and down.
- Continue the circle smoothly, keeping your head relatively still. Finish by letting your shoulders relax.
Starting amount: 5–10 slow backward circles.
Technique check: Move your shoulders, not your neck. Avoid throwing your head backward or forcing an exaggerated circle. A smaller, comfortable movement is enough.
This is mobility practice rather than a major strengthening exercise. Leeds Community Healthcare’s guidance similarly describes slow backward shoulder circles from a comfortable seated or standing position.
2. Seated Forward Table Slides
Best use: Supported practice reaching forward when lifting the arms without support feels difficult.
Equipment: A stable chair, table, and small towel.
How to do it:
- Sit facing a table with your feet flat. Place both hands on a towel, palms down, with your elbows comfortably bent.
- Slide the towel forward while gently hinging at your hips. Let your arms straighten as far as comfortable without forcing the reach.
- Pause for 3–5 seconds, then slide your hands back as you return upright.
Starting amount: 5–10 repetitions.
Technique check: Let the table support your arms. Avoid pushing into a painful stretch or rounding your back to chase a longer reach.
Adjustment: Shorten the slide when needed. If palms-down positioning is uncomfortable, try resting the little-finger sides of your hands on the towel with your palms facing each other, as described in Arthritis UK’s shoulder-exercise guidance.
3. Seated Band External Rotation
Best use: Strengthening the muscles that rotate the upper arms outward, including the back of the rotator cuff.
Equipment: A light resistance band and chair. No fixed anchor is needed.
How to do it:
- Sit upright and hold the band between both hands, with your thumbs pointing up. Bend your elbows approximately 90 degrees and keep your upper arms beside your torso.
- Rotate your forearms outward so your hands move apart. Keep your wrists straight and your elbows close to your sides.
- Slowly return your hands toward the starting position without allowing the band to snap inward.
Starting amount: 1 set of 8–12 repetitions.
Technique check: Your elbows should not drift outward or pull behind you. This is a rotation exercise, not a straight-arm band pull-apart or a row.
Adjustment: Use a lighter band or a smaller movement if you cannot keep your elbows still. Practicing without resistance can help you learn the motion before adding the band. The linked demonstration provides the elbow, wrist, and controlled-return cues.
4. Standing Single-Arm Resistance-Band Row
Best use: Strengthening the back and shoulder-blade muscles with a controlled pulling movement.
Equipment: A resistance band and a suitable fixed anchor; a handle is optional.
How to do it:
- Secure the band according to its manufacturer’s instructions, around the height of your elbow when your upper arm rests beside you. Face the anchor and hold the band or handle in one hand, palm inward.
- Stand with comfortable footing and a slight bend in your knees. Pull your elbow backward close to your side, bringing your hand toward your lower ribs.
- Slowly extend your arm toward the anchor. Keep your chest facing forward, then repeat on the other side.
Starting amount: 1 set of 8–12 repetitions per arm.
Technique check: Avoid twisting your torso, leaning backward, or flaring your elbow outward to move the band. Reduce the resistance if those compensations appear.
Seated option: Perform the same movement from a stable chair, adjusting the anchor to your seated elbow height. Make sure the chair cannot slide toward the anchor. This is a seated adaptation of the standing movement.
5. Seated Thumbs-Up Scaption Raise
Best use: Practicing controlled arm lifting without requiring an overhead press.
Equipment: A chair and optional light dumbbells.
Scaption means lifting your arms diagonally—between straight ahead and directly out to your sides.
How to do it:
- Sit upright with your feet supported and your arms beside you. Begin without weights or hold light dumbbells.
- Point your thumbs upward and lift both arms diagonally forward and outward, approximately 30–45 degrees forward of directly sideways.
- Stop at shoulder height or a lower comfortable point, then lower your arms slowly.
Starting amount: 1 set of 8–12 repetitions.
Technique check: Avoid leaning backward or using a sudden shrug to force your hands higher. Reduce the height or resistance when you cannot control the movement.
Adjustment: Start with a shorter, unloaded raise. Add light weights only after you can repeat the movement smoothly.
The Chartered Society of Physiotherapy’s scaption instructions support the thumbs-up position, diagonal arm path, and controlled return; this version uses a seated setup.
6. Standing Wall Push-Up
Best use: Strengthening the chest, front of the shoulders, and arms without getting onto the floor.
Equipment: A clear wall and stable, nonslip footing.
How to do it:
- Face the wall and place your hands approximately shoulder-width apart at about shoulder height. Step back far enough to create a gentle body lean.
- Bend your elbows and bring your chest toward the wall. Keep your body aligned rather than bending only at your hips, and let your elbows travel below shoulder level.
- Press through your hands to straighten your arms and return under control.
Starting amount: 1 set of 8–12 repetitions.
Technique check: Move your body toward the wall as a unit. Avoid reaching your chin forward while leaving your chest behind. The basic movement is described in the North Tees and Hartlepool NHS standing-exercise guide.
Adjustment: Stand closer to the wall or bend your elbows less to make it easier. Gradually move your feet farther away when the exercise becomes comfortable and your footing remains secure.
7. Seated Dumbbell Overhead Press
Best use: Building overhead pressing strength when that movement is already comfortable.
Equipment: Light dumbbells and a sturdy chair or bench with back support.
This exercise is optional. Do not force overhead movement to complete the list. Use the scaption raise instead when it better matches your current ability.
How to do it:
- Sit with your back supported and feet firmly planted. Bring the dumbbells to shoulder level with your palms facing forward, wrists straight, and elbows slightly forward of your torso.
- Exhale as you press both weights upward through a comfortable range. Keep your torso steady rather than leaning backward to finish.
- Inhale as you slowly lower the weights to the starting position.
Starting amount: 1 set of 8–12 repetitions with a load you can position and control comfortably.
Technique check: Keep your wrists aligned over your forearms and avoid excessive lower-back arching. The weights do not need to touch at the top.
Adjustment: Rehearse the movement without weights first. If reaching overhead remains uncomfortable, leave this exercise out rather than trying to press through symptoms. The supported setup and controlled pressing technique are consistent with ACE’s seated overhead press guidance.
8. Seated Cross-Body Shoulder Stretch
Best use: A gentle stretch for the back of the shoulder.
Equipment: A chair.
How to do it:
- Sit upright and bring one arm across your chest.
- Use your opposite hand to support the upper arm above the elbow. Gently draw it closer until you feel a mild stretch at the back of the shoulder.
- Hold while breathing normally, release slowly, and repeat on the other side.
Starting amount: 1–2 holds of 15–30 seconds per side.
Technique check: Keep your chest facing forward rather than turning with the arm. Do not press directly on the elbow or pull until the shoulder hurts.
The AAOS crossover stretch instructions specifically recommend supporting the upper arm and avoiding pressure on the elbow.
How to Build and Progress Your Shoulder Routine
Start with a Manageable Selection
A useful starting session can include two mobility exercises, three strengthening exercises, and one stretch. The example below avoids overhead pressing and uses one set of each strength movement.
Begin with about five minutes of easy walking or another comfortable low-impact activity before the shoulder exercises.
| Order | Exercise | Starting Amount |
|---|---|---|
| 1 | Seated backward shoulder rolls | 5–10 slow circles |
| 2 | Seated forward table slides | 5–10 repetitions, pausing 3–5 seconds |
| 3 | Standing single-arm band row | 1 set of 8–12 repetitions per arm |
| 4 | Standing wall push-up | 1 set of 8–12 repetitions |
| 5 | Seated band external rotation | 1 set of 8–12 repetitions |
| 6 | Seated cross-body shoulder stretch | 1–2 holds of 15–30 seconds per side |
Rest: Allow 60–120 seconds between strength exercises. Take 30–60 seconds between arms during the row, or longer when needed to recover and reset your position.
Frequency: Start with two nonconsecutive days each week, such as Monday and Thursday. Gentle mobility practice can be used on other days when it feels comfortable.
Effort: Finish each strengthening set while you can still perform approximately two or three repetitions with the same technique. Shorten a set if your movement becomes rushed or uncontrolled.
Time: Allow roughly 15–25 minutes, including the warm-up, rest, transitions, and both arms. Adding second sets will extend the session.
This is an illustrative starting routine, not a universal prescription. The CDC recommends muscle-strengthening activity on at least two days per week, covering all major muscle groups. A shoulder session is only one part of a complete program that also includes aerobic and balance activity.
Adapt the Routine Without Adding Unnecessary Exercises
For a fully seated session, use the seated row adaptation and replace the wall push-up with the seated scaption raise. That changes the muscle emphasis, but keeps the session manageable without requiring standing.
To practice overhead strength, consider replacing the wall push-up with the seated overhead press once you can perform the press comfortably and with control. You do not need to add both the press and scaption raise on top of the starter routine.
Without a resistance band, the rolls, table slides, wall push-ups, scaption raises, and cross-body stretch remain available. However, unresisted shoulder movements do not provide the same training challenge as a loaded row or band rotation.
Increase the Challenge Gradually
Use the following progression as a practical starting approach:
- Build controlled repetitions. Work toward 12 repetitions without changing your posture, speeding up, or forcing the range.
- Add a second set when ready. Keep the same resistance and allow enough rest to maintain your technique.
- Then increase resistance slightly. Once both sets feel manageable at 12 repetitions, try a small weight or band increase and return toward eight repetitions.
Progress one exercise at a time. You may need a much lighter resistance for external rotations or scaption raises than for rows. Keep shoulder rolls and stretches gentle rather than trying to make every movement harder.
This approach follows the broader principles of individualized, progressive resistance training. It does not require maximal lifting or training to failure.
If an exercise repeatedly leaves your shoulder more painful afterward, reduce the load, range, or amount of work and seek guidance if symptoms continue. Do not use increasing pain as evidence that the exercise is working.
Your Next Step
Choose the starter routine or a seated version, use manageable resistance, and record how many controlled repetitions you complete. Build from repeatable technique and comfortable movement—not from doing every exercise or using the heaviest weight available.
References
- National Strength and Conditioning Association: Resistance Training for Older Adults
- American College of Sports Medicine: Resistance Training Prescription for Healthy Adults
- CDC: Older Adult Activity Guidelines
- AAOS: Rotator Cuff and Shoulder Conditioning Program
- Arthritis UK: Exercises for the Shoulders
- Chartered Society of Physiotherapy: Shoulder Exercise Instructions
- ACE Exercise Library: Seated Overhead Press
- Cleveland Clinic: Chair Exercises and Seated Setup
- NHS exercise guidance: Shoulder rolls and wall push-ups
- Equipment guidance: Bodylastics standing single-arm row and THERABAND safety precautions
- Safety guidance: NHS shoulder pain and American Heart Association heart attack warning signs
This content is for informational purposes only and is not a substitute for medical advice.