
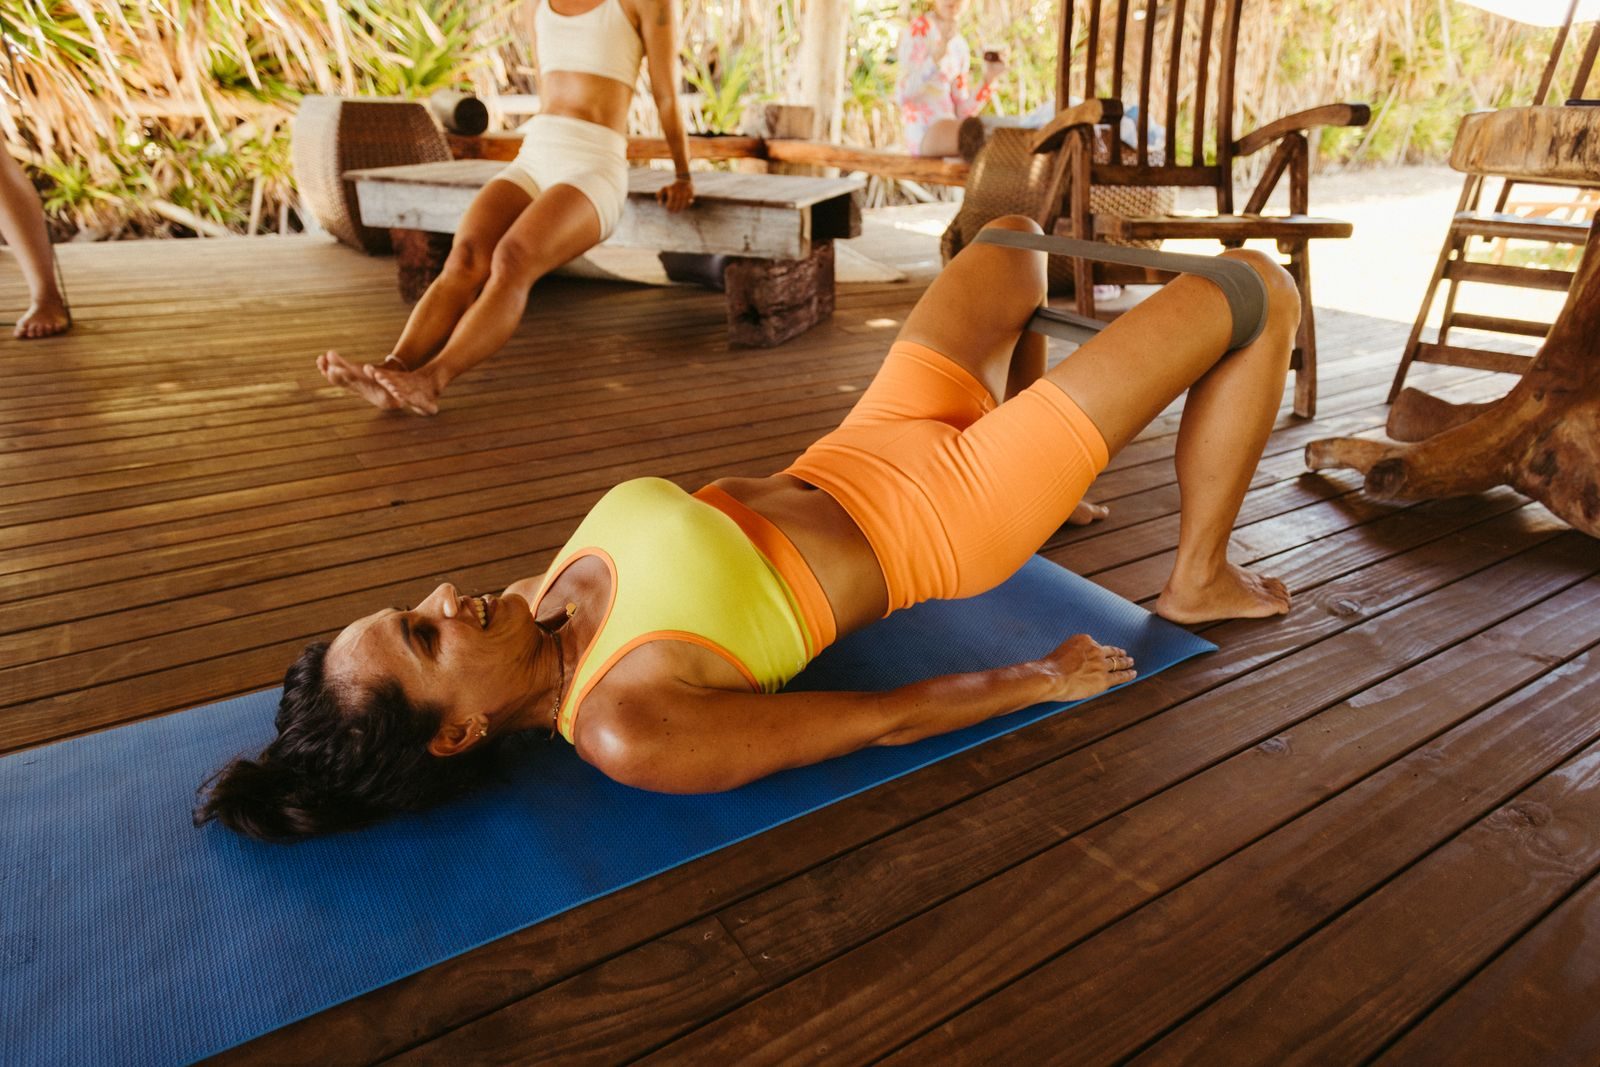
Resistance band exercises for lower back pain can be used to gradually strengthen your hips, legs, and trunk when the movements are appropriate for your symptoms. Exercise is part of recommended care for persistent lower back pain, but the right selection and difficulty should be individualized—not prescribed from a universal list, according to the Academy of Orthopaedic Physical Therapy.
The seven options below include floor exercises, standing movements, and a more challenging trunk-control progression. Learn the setups, choose a few manageable exercises, and increase resistance only when you are ready.
Before You Start
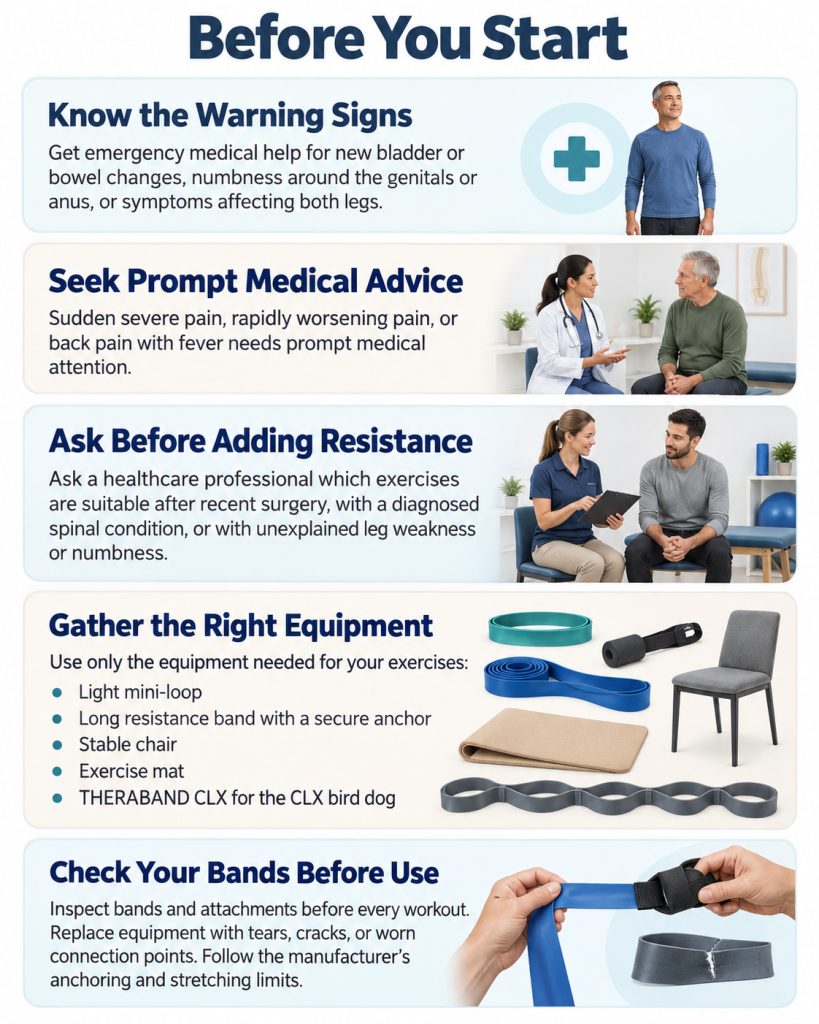
Get medical help rather than exercising through warning signs. Back pain with new bladder or bowel changes, numbness around the genitals or anus, or symptoms affecting both legs requires emergency assessment. Sudden severe pain, rapidly worsening pain, or back pain with fever also needs prompt attention, according to the NHS.
For recent surgery, a diagnosed spinal condition, or unexplained pain with leg weakness or numbness, ask a healthcare professional which movements are suitable before adding resistance.
You only need the equipment for the exercises you choose: a light mini-loop, a long resistance band with an appropriate anchor, a stable chair, or a mat. The final exercise specifically uses a THERABAND CLX consecutive-loop band, not an ordinary mini-loop.
Inspect bands and attachments before use. Replace equipment with tears, cracks, or worn connection points, and follow the manufacturer’s attachment and stretching limits. Performance Health provides band-specific inspection and safety guidance.
7 Resistance Band Exercises for Lower Back Pain
These exercises train different combinations of hip strength, leg strength, and trunk control. Treat them as a menu—not a circuit you must complete.
Suggested starting approach: Choose three tolerable movements and begin with one set of the repetitions listed. Rest 60–90 seconds between exercises or sets. These are conservative starting suggestions, not an individualized rehabilitation prescription.
1. Mini-Loop Glute Bridge
Best for: Combining a controlled hip lift with outward resistance at the knees.
Muscles worked: Glutes and hamstrings, with the trunk muscles helping maintain position.
Equipment: Light mini-loop above the knees and an exercise mat.
Starting repetitions: 6–10.
How to Do It
- Place the mini-loop around your thighs, just above the knees. Lie on your back with your knees bent and feet flat, approximately hip-width apart.
- Keep your arms beside you and apply gentle outward pressure against the band.
- Press through your feet and lift your hips, keeping the movement controlled rather than forcing extra height through your lower back.
- Lower your hips slowly while maintaining light outward band tension.
This lift-and-lower pattern with continuous outward tension follows mini-band bridge guidance from the University of Wisconsin–Green Bay.
Common mistakes: Arching aggressively at the top, letting the knees collapse inward, or turning the movement into repeated knee-opening pulses.
Make it easier: Use a lighter band or a smaller comfortable lift.
The loop resists the outward movement of your thighs; it does not directly load the upward hip lift like a weight placed across your pelvis.
2. Resistance-Band Clamshell
Best for: Practicing hip rotation while keeping the pelvis steady.
Muscles worked: Gluteal muscles and other hip external rotators.
Equipment: Light resistance band looped around the thighs and a mat.
Starting repetitions: 8–10 per side.
How to Do It
- Position the band just above your knees. Lie on your side with your knees bent, hips stacked, and feet together.
- Support your head comfortably and gently engage your abdominal muscles.
- Open the top knee while keeping your feet touching. Stop before your pelvis rolls backward.
- Slowly lower the knee, resisting the band’s pull. Complete your repetitions, then change sides.
Common mistakes: Rolling backward to lift the knee farther, separating the feet, or letting the band snap the knee down.
Make it easier: Reduce the resistance or use a smaller opening range.
The accompanying instructions from Sports Injury Physio emphasize stacked hips, feet together, and a controlled lowering phase. A large knee opening is not the goal if it requires moving your whole pelvis.
3. Standing Hip Abduction With an Anchored Band
Best for: Training the muscles at the side of the hip without getting onto the floor.
Muscles worked: Hip abductors, particularly the gluteus medius, with the standing leg and trunk assisting balance.
Equipment: Long resistance band attached to a secure low anchor.
Starting repetitions: 6–10 per side.
How to Do It
- Secure the band to a low anchor beside you and position the working end around the ankle farthest from the anchor.
- Stand upright with the working leg straight, without forcing the knee backward.
- Move that leg slowly out to the side while keeping your torso steady.
- Return under control. Reposition the band and your body to train the other side.
The anchor belongs on the opposite side from the working leg, as described in Ask Doctor Jo’s standing hip exercise instructions. This is not an ankle-to-ankle mini-loop exercise.
Common mistakes: Leaning sideways, hiking the pelvis, or swinging the leg to create a larger movement.
Make it easier: Use less resistance. Add stable hand support as a balance modification when needed.
4. Standing Hip Extension With an Anchored Band
Best for: Practicing a backward leg movement from the hip in a standing position.
Muscles worked: Gluteus maximus and assisting hamstrings; the trunk helps maintain an upright position.
Equipment: Long resistance band and a secure low anchor.
Starting repetitions: 6–10 per side.
How to Do It
- Face the anchor with the working end of the band positioned around one ankle.
- Stand upright and keep the working leg straight.
- Move the leg a short distance behind you without leaning forward or increasing your lower-back arch.
- Return slowly to the starting position, then repeat on the other side.
The documented Ask Doctor Jo variation uses an anchor in front of you, so the band resists the backward movement.
Common mistakes: Trying to kick high, moving the torso instead of the hip, or allowing the band to pull the leg forward abruptly.
Make it easier: Shorten the backward movement and reduce band resistance. Stable hand support can be added for balance.
5. Door-Anchored Resistance Band Pallof Press
Best for: Training the trunk to resist turning while the arms move.
Muscles worked: Abdominals, obliques, and back muscles, with assistance from the shoulders and glutes.
Equipment: Long resistance band and a secure, manufacturer-permitted door attachment.
Starting repetitions: 5–8 with the door on each side.
How to Do It
- For this variation, secure the band around the handle on the opposite side of a closed door. Stand on the side where the door opens away from you.
- Turn sideways to the door. Hold one band end in each hand, with your hands together in front of your belly.
- Step sideways until you feel manageable resistance.
- Extend your arms forward without letting the band turn your torso toward the door.
- Return your hands to your belly under control.
These instructions follow the Hinge Health Pallof press setup, which starts at belly level rather than using a sternum-height anchor.
Common mistakes: Rotating toward the anchor, leaning away, or using more tension than you can control.
Make it easier: Use lighter resistance or shorten the press.
Safety: Omit this exercise if the door attachment is not approved for your band or cannot be secured reliably.
6. Mini-Loop Sit-to-Stand
Best for: Practicing a controlled chair rise with additional outward resistance at the thighs.
Muscles worked: Quadriceps and gluteus maximus, with the side-hip muscles working against the loop.
Equipment: Light mini-loop and a stable chair without wheels.
Starting repetitions: 6–8.
How to Do It
- Sit on the chair with the band around your thighs above the knees and your feet flat on the floor.
- Maintain gentle outward pressure against the band as you bring your torso forward over your feet.
- Press through your feet to stand, finishing upright without leaning backward.
- Lower slowly back to the chair while keeping tension on the band.
Common mistakes: Dropping onto the seat, allowing the knees to pull inward, or rocking repeatedly to build momentum.
Make it easier: Use a higher stable seat or less band resistance. Hand assistance is another modification when needed.
BSR Physical Therapy describes this movement with continuous band tension and a slow, controlled chair rise. Its instructions support the exercise technique; they do not establish a lower-back-pain treatment protocol.
7. THERABAND CLX Bird Dog
Best for: A more challenging progression that combines opposite-arm-and-leg movement with trunk control.
Muscles worked: Back extensors, glutes, and abdominal stabilizers, with the shoulders supporting the upper body.
Equipment: THERABAND CLX consecutive-loop band and an exercise mat.
Starting repetitions: 3–5 per side.
How to Do It
- Place each foot into one of the center CLX loops and hold an end loop in each hand.
- Begin on your hands and knees, with your shoulders over your hands and hips over your knees.
- Extend one arm and the opposite leg together, reaching toward a position parallel to the floor without twisting or sagging.
- Return slowly, then repeat with the other arm and leg.
The loop arrangement and opposite-limb movement follow the manufacturer’s CLX bird-dog instructions.
Common mistakes: Lifting the leg too high, rotating the pelvis, holding your breath, or struggling with a band that is too strong.
Make it easier: Remove the band and establish control first. The American Academy of Orthopaedic Surgeons includes an unbanded bird dog in its spine-conditioning guidance. The CLX version is optional—not a required starting exercise.
A Simple Starting Routine
Begin with two nonconsecutive sessions per week. Before each session, warm up with 5–10 minutes of comfortable walking or another low-impact activity, consistent with American Academy of Orthopaedic Surgeons preparation guidance.
Choose three exercises from this example. Add the fourth only when the shorter session feels manageable.
| Exercise | Starting amount | Rest |
|---|---|---|
| Mini-loop sit-to-stand | 1 set of 6–8 | 60–90 seconds |
| Mini-loop glute bridge | 1 set of 6–10 | 60–90 seconds |
| Resistance-band clamshell | 1 set of 8 per side | 60–90 seconds |
| Pallof press, optional | 1 set of 5–8 per side | 60–90 seconds |
Use light resistance and finish each set while you could still perform several controlled repetitions. Do not aim for exhaustion.
Prefer standing exercises? Replace the bridge and clamshell with standing hip extension and hip abduction, provided you can manage the balance and anchor setups.
This is an example, not a requirement to perform all four movements. NHS Dynamic Health similarly recommends choosing a small number of manageable exercises, allowing recovery, and progressing when the exercises become easier.
How to Progress
Increase only one variable at a time. First, add one or two repetitions within the suggested range. Once that amount is consistently comfortable, try a second set. Later, consider a slightly stronger band and return to the lower end of the repetition range.
Keep a brief note of the exercise, band used, repetitions, and how you felt afterward. Progress should mean better tolerance and control—not simply using the strongest band available.
How to Respond to Discomfort
Aim for manageable muscular effort rather than increasing pain. Do not assume that pain means an exercise is “working.”
Stop an exercise if it causes new pain or makes your symptoms worse. NHS Inform advises stopping movements that worsen symptoms and seeking guidance when back pain deteriorates.
For an exercise that feels too demanding without causing warning symptoms, reduce the resistance, repetitions, or movement range. Also consider how you feel afterward: a session that significantly disrupts sleep or everyday activity needs adjustment.
Stop and seek professional help for sharp pain, new numbness, dizziness, or unusual symptoms. Chest pain requires urgent medical assessment.
Frequently Asked Questions
Can Resistance Bands Actually Help Lower Back Pain?
They can be one way to perform strengthening exercises within a broader plan. The World Health Organization recommends exercise programs as part of individualized care for chronic primary lower back pain. That recommendation does not establish this seven-exercise routine as a proven treatment or show that bands are better than other equipment.
Can I Do This With Only a Mini-Loop?
You can select the bridge, clamshell, and sit-to-stand when your loop fits comfortably and provides manageable resistance. The standing hip exercises and Pallof press use external anchors, while the bird dog uses a consecutive-loop CLX band. Do not improvise those setups with a short mini-loop.
Are These Exercises Suitable for Sciatica or a Herniated Disc?
Not automatically. Exercise selection should account for your symptoms and assessment, particularly when pain travels into the leg or is accompanied by weakness or numbness. Physical therapy guidelines distinguish several lower-back-pain presentations rather than recommending the same exercises for everyone.
How Soon Should I Expect Improvement?
There is no reliable timetable for this particular routine. Look for practical changes, such as completing your chosen repetitions more comfortably or finding daily activities easier. Seek assessment if pain continues to limit everyday activities, worsens, or does not improve after a few weeks of self-care.
Conclusion
Start with three manageable exercises, light resistance, and controlled repetitions. Keep the band setup consistent, record your response, and progress gradually.
The goal is a routine you can tolerate and repeat—not completing all seven movements or forcing your back through discomfort. When symptoms make exercise selection uncertain, get help tailoring the plan.
This content is for informational purposes only and is not a substitute for medical advice.
References
- World Health Organization — WHO Guideline for Chronic Primary Low Back Pain
Supports the use of individualized exercise programs as part of care for chronic primary low back pain. - Journal of Orthopaedic & Sports Physical Therapy — Low Back Pain Clinical Practice Guideline
Highly relevant for trunk strengthening, endurance, movement-control exercise, and general exercise recommendations for low back pain. - Cochrane — Exercise Therapy for Chronic Low Back Pain
A major systematic review evaluating exercise therapy for chronic nonspecific low back pain. - PubMed — Resistance Training and Chronic Nonspecific Low Back Pain
Especially relevant because it examines resistance training and its effects on pain, disability, and quality of life in people with chronic nonspecific low back pain. - PubMed — Posterior-Chain Resistance Training for Chronic Low Back Pain
Useful support for strengthening the glutes, hip extensors, hamstrings, and other posterior-chain muscles included in your exercise selection. - American Academy of Orthopaedic Surgeons — Spine Conditioning Program
Provides practical guidance on spine-strengthening exercises, controlled movement, warm-up, and exercises such as the bird dog.