
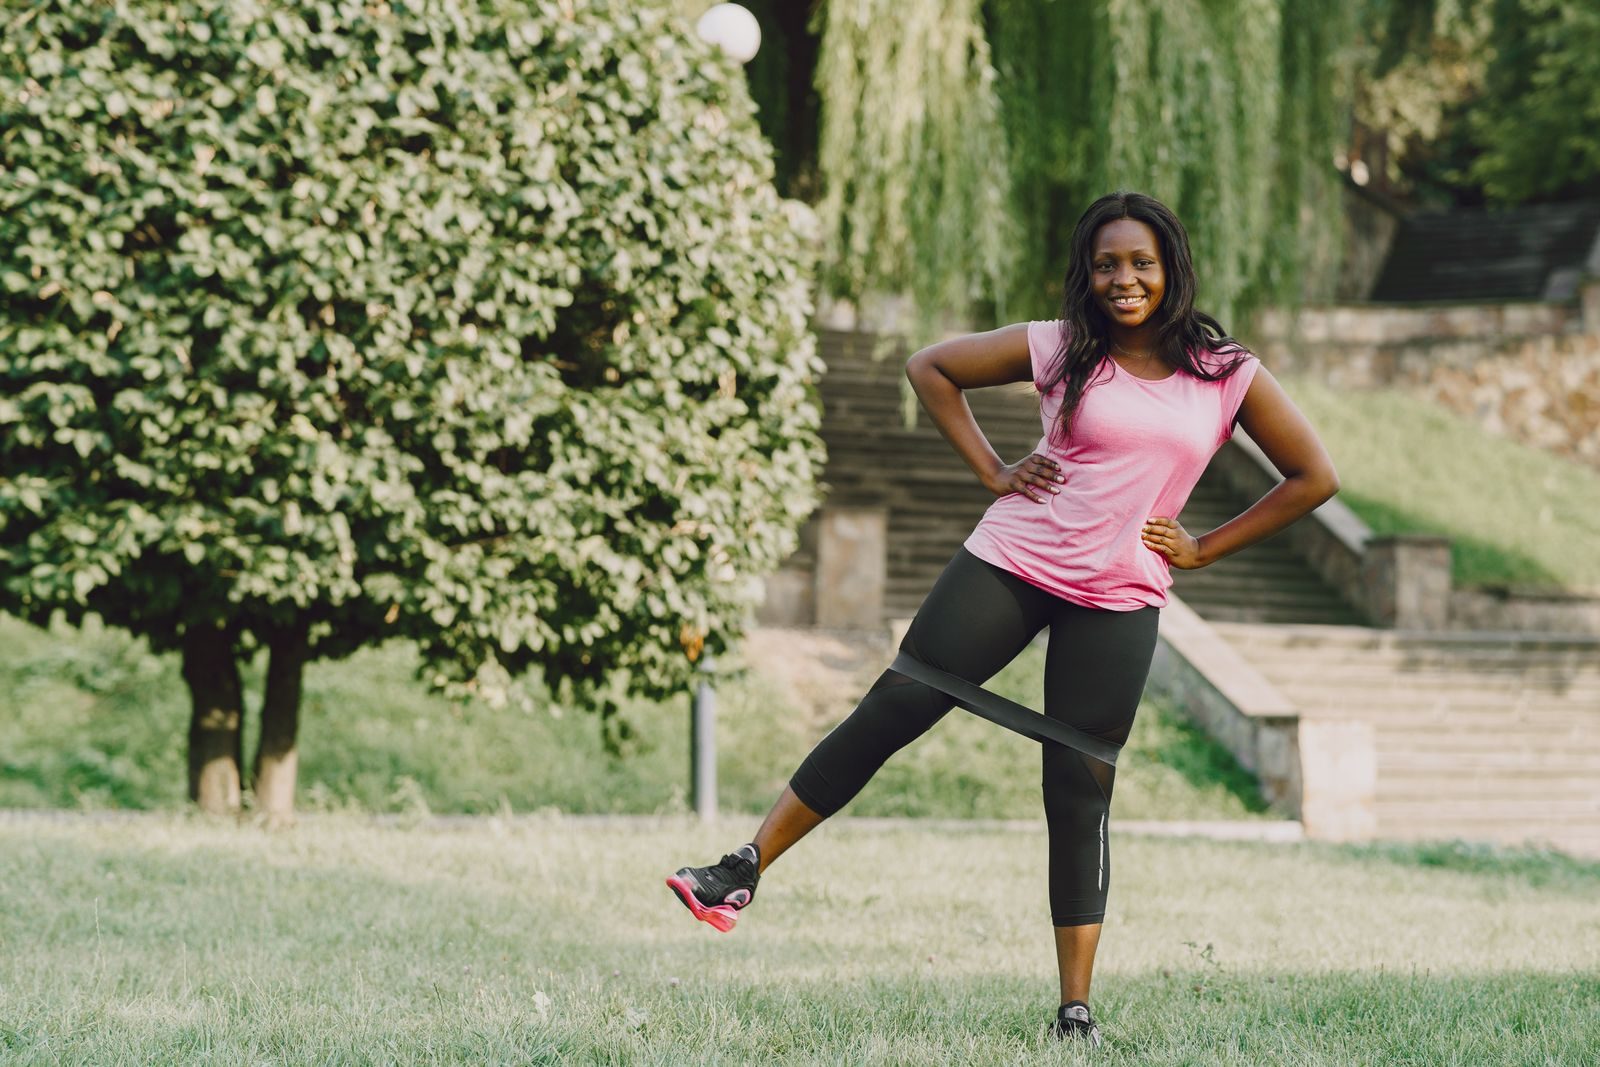
Resistance band exercises for glutes can strengthen your buttocks and outer hips at home using squats, hip hinges, bridges, and sideways leg movements. Combining different movement patterns gives you more training options than repeating one band exercise.
The American College of Sports Medicine recognizes elastic-band and home-based resistance training as effective approaches for improving strength and other muscular fitness outcomes.
Below, you’ll find 11 exercises with specific band setups, clear instructions, and practical ways to adjust the difficulty. Choose a manageable selection—not all 11—and use the sample workout to get started.
Before You Start
You’ll need a mini-loop band for the bridges and hip exercises, plus a long-loop resistance band for squats, Romanian deadlifts, and split squats. Have an exercise mat and a stable chair or countertop available.
Inspect your bands before each session. Replace any band with cuts, cracks, tears, or damaged connections. The American Council on Exercise also advises against releasing a stretched band or exceeding its manufacturer’s stretching limit.
Warm up with 5–10 minutes of easy walking or another comfortable activity, as recommended by the American Academy of Orthopaedic Surgeons. Follow with a few easy practice repetitions of your first exercise.
Stop exercising and seek professional advice for sharp pain, numbness, dizziness, chest pain, or other unusual symptoms. Do not push through these symptoms to finish a set. Follow any existing restrictions related to an injury or recent surgery.
11 Resistance Band Exercises for Glutes
These exercises include standing, floor-based, and seated options. The sets below are suggestions for the exercises you choose, not instructions to complete the entire list.
1. Mini-Band Glute Bridge
Best for: Learning controlled hip extension with support from the floor.
Muscles worked: Gluteus maximus and hamstrings; the outer hip muscles help maintain knee position.
Equipment: Mini-loop band above the knees and a mat.
Sets, reps, and rest: 2–3 sets of 12–20 repetitions; rest 45–60 seconds.
How to do it:
- Lie on your back with your knees bent, feet flat and approximately hip-width apart, and arms beside you. Place the band around your thighs just above your knees.
- Gently brace your abdomen and maintain enough outward pressure to keep your knees aligned with your feet.
- Press your feet into the floor and raise your hips until your shoulders, hips, and knees form a roughly straight line.
- Lower your hips with control without letting your knees collapse inward.
Common mistakes: Arching your lower back to lift higher, pushing your knees excessively wide, or rushing the lowering phase.
Make it easier: Use a lighter band or practice without resistance.
Important distinction: The thigh band challenges outward knee control. It does not add downward resistance across your hips, so a stronger thigh band is not equivalent to loading the bridge directly over the pelvis. This distinction is also reflected in the setup used by the Elite Performance Institute.
2. Long-Band Front Squat
Best for: Training the glutes and thighs together with resistance that increases as you stand.
Muscles worked: Gluteus maximus and quadriceps, with the trunk muscles stabilizing your body.
Equipment: Long-loop resistance band.
Sets, reps, and rest: 2–3 sets of 8–12 repetitions; rest 90–120 seconds.
How to do it:
- Stand on the bottom of the band with both feet approximately shoulder-width apart. Secure it beneath the middle of your feet.
- Hold the upper portion at the front of your shoulders with your palms facing upward and elbows bent. Keep the band away from your neck.
- Bend your hips and knees together, lowering into a squat while keeping your feet planted and knees tracking in the direction of your toes.
- Stop at a depth you can control, then press through your feet to stand. Keep your hands at shoulder level throughout.
Common mistakes: Letting the band slip toward your toes, allowing your heels to rise, or using more resistance than you can hold securely.
Make it easier: Use a lighter band and a shallower squat while learning the movement. The under-foot, shoulder-level setup follows the front-squat approach described by Performance Health.
3. Resistance Band Romanian Deadlift
Best for: Training the glutes and hamstrings through a hip hinge.
Muscles worked: Gluteus maximus and hamstrings; the back, abdominal muscles, and grip provide support.
Equipment: Long-loop resistance band.
Sets, reps, and rest: 2–3 sets of 10–15 repetitions; rest 90–120 seconds.
How to do it:
- Stand on the band with your feet about hip-width apart. Grasp the band beside your legs, with your arms extending downward.
- Soften your knees and brace your abdomen.
- Push your hips backward as your torso tips forward. Keep your arms long, the band close to your legs, and your back comfortably straight.
- Stop before your back rounds or you lose control of the hinge.
- Press through your feet and bring your hips forward to stand tall without leaning backward.
Common mistakes: Turning the movement into a deep squat, reaching toward the floor by rounding your back, or bending your elbows to pull the band.
Make it easier: Practice the hip hinge without the band, then add light resistance. Girls Gone Strong emphasizes maintaining the hinge rather than chasing extra depth.
4. Resistance Band Split Squat
Best for: Giving each leg its own working sets while keeping both feet on the floor.
Muscles worked: Gluteus maximus and quadriceps, with the hip and trunk muscles helping control balance.
Equipment: Long-loop resistance band.
Sets, reps, and rest: 2 sets of 8–12 repetitions per side; rest 90 seconds after both sides, or sooner when needed.
How to do it:
- Secure the band beneath your front foot and hold its upper portion at shoulder level.
- Step the other foot backward into a stationary split stance. Keep some width between your feet rather than placing them on one narrow line.
- Raise your rear heel and bend both knees, lowering your body between your feet. Keep your front foot planted.
- Descend only as far as you can maintain balance and control, then push through your front foot to rise.
- Finish the repetitions before changing legs.
Common mistakes: Allowing the front knee to collapse inward, bouncing at the bottom, or repeatedly shifting your feet during the set.
Make it easier: Remove the band and use a stable support while learning the stance. Keep the rear foot on the floor; this is not a rear-foot-elevated split squat.
5. Lateral Band Walk
Best for: Training the outer hips while moving sideways in a standing position.
Muscles worked: Hip abductors, including the gluteus medius and minimus; the thighs help maintain the lowered stance.
Equipment: Mini-loop band above the knees.
Sets, reps, and rest: 2 sets of 8–12 steps in each direction; rest 45–60 seconds.
How to do it:
- Place the band around your thighs just above your knees and stand with your feet hip-width apart.
- Bend your hips and knees slightly into a shallow squat.
- Take a small step sideways, then bring the trailing foot across without letting your feet come together.
- Keep your hips level and maintain the same shallow squat as you complete the steps.
- Reverse direction with the same control.
Common mistakes: Taking oversized steps, rocking your torso, letting your knees collapse inward, or allowing the trailing foot to snap back.
Coaching cue: Keep your steps small enough that your hips stay steady.
This above-knee setup follows the lateral band walk described by Hospital for Special Surgery.
6. Standing Mini-Band Kickback
Best for: Practicing hip extension without getting down on the floor.
Muscles worked: Primarily gluteus maximus, with assistance from the hamstrings.
Equipment: Mini-loop band around the ankles and a stable support.
Sets, reps, and rest: 2 sets of 12–20 repetitions per side; rest 45–60 seconds.
How to do it:
- Stand facing a stable countertop or chair and hold it for balance. Position the band around your ankles.
- Shift your weight onto one leg, keeping that knee slightly soft.
- Move the other leg backward against the band while keeping the working knee mostly straight and your pelvis facing forward.
- Stop before your lower back arches or your torso tips forward.
- Return slowly and complete the repetitions before switching sides.
Common mistakes: Swinging the leg, twisting the pelvis, or mistaking a higher foot position for better hip extension.
Make it easier: Use a lighter band and a smaller backward movement. The goal is controlled movement at the hip, not a large kick.
7. Standing Band Hip Abduction
Best for: Training the outer hips with hand support available for balance.
Muscles worked: Gluteus medius and minimus, with other hip and trunk stabilizers assisting.
Equipment: Mini-loop band around the ankles and a stable support.
Sets, reps, and rest: 2 sets of 12–20 repetitions per side; rest 45–60 seconds.
How to do it:
- Stand beside a stable support with the band around your ankles.
- Shift your weight onto the supporting leg and keep your pelvis level.
- Move the other leg directly sideways, keeping your knee mostly straight and toes facing forward.
- Stop before you need to lean your torso or lift one side of your pelvis.
- Bring the leg back slowly and repeat before switching sides.
Common mistakes: Turning the movement into a forward leg raise, rotating the toes upward, or leaning away from the working leg.
Make it easier: Reduce the resistance rather than removing useful hand support. Balance should not prevent you from controlling the exercise.
8. Banded Clamshell
Best for: Practicing controlled hip rotation while lying on your side.
Muscles worked: Gluteus medius and other hip external rotators.
Equipment: Mini-loop band above the knees and a mat.
Sets, reps, and rest: 2 sets of 12–20 repetitions per side; rest 45–60 seconds.
How to do it:
- Lie on your side with your hips and knees bent, knees stacked, and the band above your knees.
- Support your head with your lower arm and place your upper hand on the floor for balance.
- Keep your feet together as you open the upper knee against the band.
- Stop before your pelvis rolls backward, then lower the knee slowly.
Common mistakes: Separating the feet, rolling onto your back, or opening the knee farther by twisting your torso.
Make it easier: Use a lighter band or practice without one until you can keep your pelvis still. The National Academy of Sports Medicine emphasizes keeping the feet together and avoiding backward hip rotation.
9. Side-Lying Hip Abduction With an Ankle Band
Best for: Training sideways leg movement without standing-balance demands.
Muscles worked: Gluteus medius and minimus, with assistance from other hip abductors.
Equipment: Mini-loop band around the ankles or lower legs and a mat.
Sets, reps, and rest: 2 sets of 10–15 repetitions per side; rest 45–60 seconds.
How to do it:
- Lie on your side with your legs straight and the band positioned around your lower legs, just above the ankles.
- Support your head and align your shoulders, hips, knees, and feet.
- Lift the upper leg away from the lower leg while keeping your pelvis stacked.
- Stop before you roll backward or hike your hip, then lower with control.
- Complete the repetitions and change sides.
Common mistakes: Moving the leg forward, rotating your entire body, or using momentum.
Make it easier: Choose a lighter band. This ankle-band version follows the placement described by Peak Physio; it should not be confused with an above-knee variation.
10. Mini-Band Fire Hydrant
Best for: Training sideways hip movement while controlling the trunk on hands and knees.
Muscles worked: Gluteal muscles and other hip abductors; the abdominal muscles help stabilize the torso.
Equipment: Mini-loop band above the knees and a mat.
Sets, reps, and rest: 2 sets of 10–15 repetitions per side; rest 45–60 seconds.
How to do it:
- Place the band above your knees and begin on all fours, with hands under shoulders and knees under hips.
- Gently brace your abdomen and keep your back in a comfortable, steady position.
- Lift one bent knee sideways while keeping the knee bent.
- Stop before your pelvis twists or your torso shifts substantially.
- Lower the knee slowly, complete the repetitions, and switch sides.
Common mistakes: Trying to lift the knee to an arbitrary height, bending the elbows to create movement, or rotating the whole body.
Make it easier: Reduce the band resistance or lifting range. This is a bent-knee lift—not a sideways kick followed by knee extension. The exercise setup is consistent with the mini-band fire hydrant described by UW–Green Bay.
11. Seated Band Hip Abduction
Best for: A seated outer-hip exercise with minimal balance demands.
Muscles worked: Hip abductors, including the gluteal muscles.
Equipment: Mini-loop band above the knees and a firm, stable chair.
Sets, reps, and rest: 2 sets of 15–25 repetitions; rest 45–60 seconds.
How to do it:
- Sit upright with your feet flat on the floor, approximately hip-width apart.
- Position the band around your thighs just above your knees.
- Move your knees outward against the band while keeping your torso steady and feet supported.
- Pause briefly, then return slowly toward the starting position.
Common mistakes: Rocking backward, lifting the feet, or letting the band pull the knees inward abruptly.
Make it harder: Increase resistance gradually while preserving the same controlled movement. Peak Physio describes this upright, feet-supported setup.
How to Build an At-Home Glute Workout
The glutes contribute to hip extension, sideways leg movement, rotation, and pelvic control. That is why a useful workout includes more than several versions of the same outer-hip exercise.
Use a squat or split squat, a hip hinge, a bridge, and one sideways movement as your starting combination.
A Simple Four-Exercise Routine
Perform the exercises in this order, completing the sets for one exercise before moving to the next.
| Exercise | Sets | Repetitions | Rest between sets |
|---|---|---|---|
| Long-band front squat | 2 | 8–12 | 90–120 seconds |
| Resistance band Romanian deadlift | 2 | 10–15 | 90–120 seconds |
| Mini-band glute bridge | 2 | 12–20 | 60 seconds |
| Lateral band walk | 2 | 8–12 steps each direction | 45–60 seconds |
Frequency: Start with two nonconsecutive sessions per week. Mayo Clinic recommends allowing recovery between sessions that train the same muscles.
Effort: Choose resistance that makes the final repetitions challenging while leaving approximately two or three additional controlled repetitions possible. Stop earlier when your technique starts to change.
Beginner adjustment: Start with one set per exercise while learning the movements, then build to two.
For more experienced exercisers: Replace the front squat with the split squat when you want more single-leg emphasis. You can also add a third set to the first one or two exercises once you recover comfortably from the existing workload.
The other exercises are alternatives, not mandatory additions. For example, replace the lateral walk with a clamshell or seated abduction rather than stacking every outer-hip exercise into the same session.
Keep this workout within a broader program that also trains your other major muscle groups.
How to Progress Without Losing Form
Add Repetitions Before More Resistance
Keep your band placement, stance, and movement range consistent. When you can complete the upper end of the suggested repetition range in every set for two sessions without losing control, try the next manageable resistance level.
Return to the lower end of the repetition range after increasing resistance. This gives you room to build back up.
Record the Setup, Not Just the Band Color
Note the band you used, its placement, your grip position, and your repetitions. Band force changes with elongation, so changing how far you stretch it can change the exercise’s resistance. Performance Health explains this relationship between band stretch and force.
Do not compensate for an easy band by stretching it beyond its safe limit.
Keep Challenging Sets Different From Warm-Up Sets
An easy preparation set can help you rehearse technique. Your working sets should provide a greater challenge, but they do not need to end in complete muscular failure.
The American College of Sports Medicine recognizes elastic-band and home-based training as effective resistance-training options. It also emphasizes consistency and notes that training to failure is not consistently necessary for the average healthy adult.
Frequently Asked Questions
Can resistance bands build bigger glutes?
Yes, resistance-band training can support muscle growth when the exercises provide sufficient challenge and you progress consistently. However, an easy mini-band routine may eventually become insufficient for your goals. Add more suitable resistance rather than assuming more repetitions will always solve the problem.
Which band resistance should beginners use?
Start with a band that allows you to complete the lower end of the suggested repetition range without swinging, twisting, or shortening the movement unintentionally. Different exercises may require different bands; the resistance you use for a squat may be too much for a clamshell.
Should the band go above the knees or around the ankles?
Use the placement specified for the exercise. In this guide, bridges, clamshells, lateral walks, fire hydrants, and seated abductions use an above-knee band. Standing kickbacks and the straight-leg abduction exercises use ankle or lower-leg placement.
Changing placement changes the setup, so do not move the band lower simply to make every exercise harder.
Why do I feel squats in my thighs and deadlifts in my hamstrings?
Those muscles are supposed to contribute. Squats train the quadriceps alongside the glutes, while Romanian deadlifts train the hamstrings and glutes together. You do not need to feel an exercise exclusively in your buttocks.
Pain is different from muscular effort. Reduce the resistance or stop when discomfort affects your movement, and get professional guidance for persistent symptoms.
Can I start with only a mini-band?
Yes. Begin with a glute bridge, standing kickback, and one outer-hip exercise such as the clamshell or seated abduction. Use the suggested sets and repetitions above.
A long-loop band expands your options by allowing the under-foot squat, Romanian deadlift, and split-squat setups described in this guide.
Final Takeaway
Start with a small selection you can perform well. Keep your band placement consistent, control both directions of every repetition, and record your progress.
For your next session, try the four-exercise routine with manageable resistance. Build repetitions and resistance gradually instead of rushing through all 11 exercises.
This content is for informational purposes only and is not a substitute for medical advice.
References
- American College of Sports Medicine — Resistance Training Guidelines
Best overall source for resistance-band training, strength development, training frequency, progression, and home-based resistance exercise.
ACSM Resistance Training Guidelines - Krause Neto W, Krause TLV, Gama EF. — The Impact of Resistance Training on Gluteus Maximus Hypertrophy: A Systematic Review and Meta-Analysis
Highly relevant for supporting resistance training, glute development, squats, hip-extension movements, and muscle growth.
PubMed: Gluteus Maximus Hypertrophy Systematic Review - Lopes JSS, Machado AF, Micheletti JK, et al. — Elastic Resistance vs Conventional Resistance Training: Systematic Review and Meta-Analysis
Strong evidence supporting elastic resistance bands as an effective method for improving muscular strength.
Elastic Resistance Training Meta-Analysis - American Council on Exercise — Strength Training the Glutes: An Evidence-Based Approach
Useful for glute anatomy, exercise selection, squats, lunges, bridges, hip extension, and training multiple glute movement patterns.
ACE: Strength Training the Glutes - American Academy of Orthopaedic Surgeons — Hip Conditioning Program
Strong practical reference for hip and glute strengthening, warm-up recommendations, exercise technique, and safe progression.
AAOS Hip Conditioning Program - Hospital for Special Surgery — Hip Strengthening Exercises
Especially useful for lateral band walks, hip abduction, glute strengthening, and proper lower-body exercise technique.
HSS Hip Strengthening Exercises - National Academy of Sports Medicine — The Banded Clamshell
Directly supports the banded clamshell in your article, including band placement, gluteus medius involvement, and common form errors.
NASM Banded Clamshell Guide