
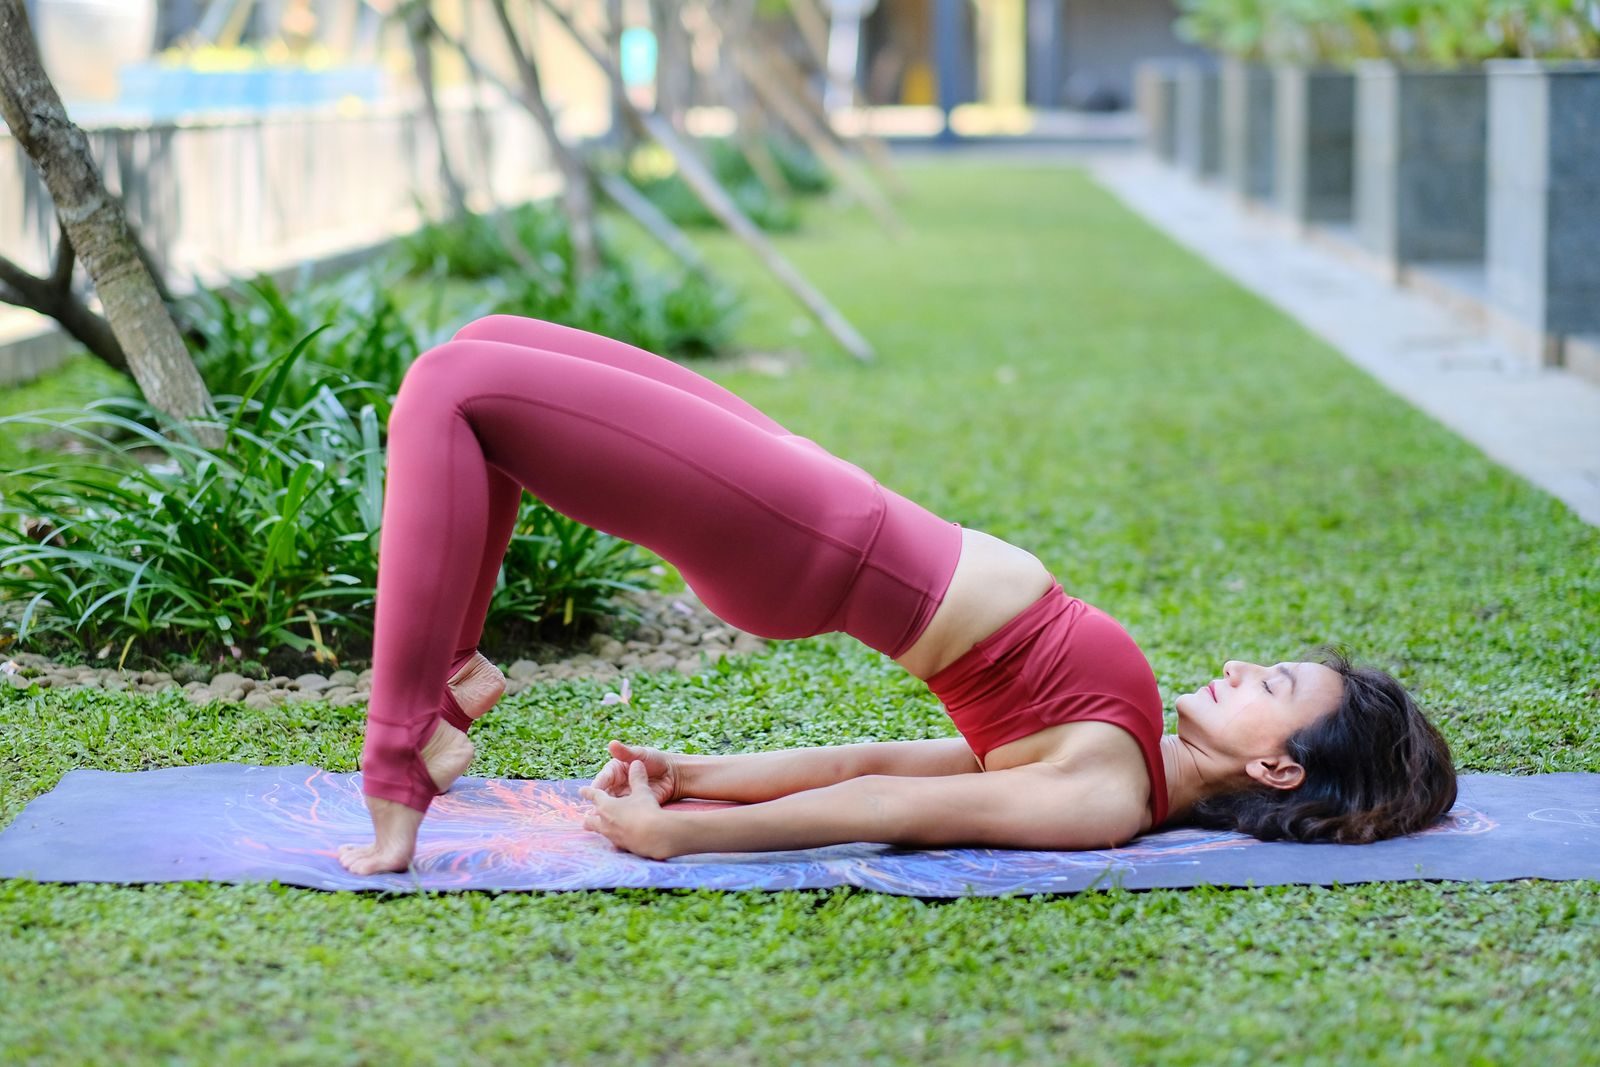
Glute bridges, chair sit-to-stands, and low step-ups are practical places to start when you want stronger glutes. They let you learn basic movements before adding more resistance.
The glute exercises for beginners below include standing movements, floor exercises, and one hip-hinge technique drill. You do not need to perform all eight in one workout. Start with a few you can control, then use the simple routine below to build consistency.
How to Prepare for These Exercises
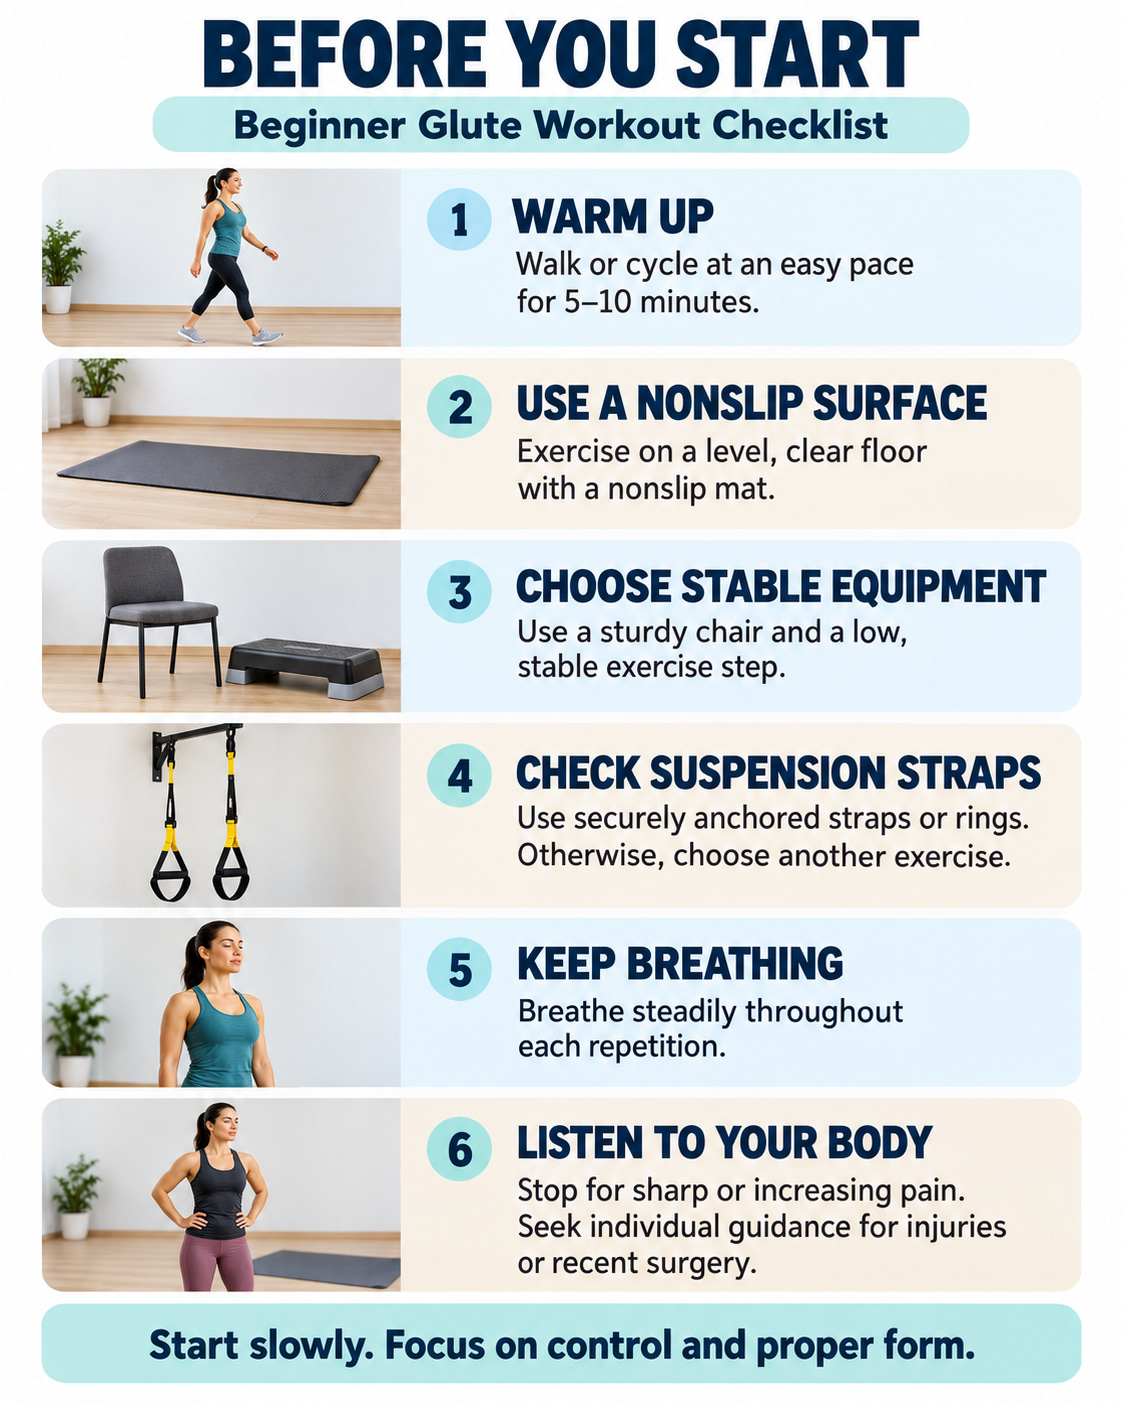
Warm up with 5–10 minutes of easy walking or cycling, as recommended by the American Academy of Orthopaedic Surgeons.
Use a nonslip surface, a stable chair, and a low step that will not move. One exercise uses securely anchored suspension straps or rings; you can choose the other movements if you do not have them.
Breathe throughout each repetition. Stop any exercise that causes sharp, increasing, or joint pain. If you have an injury, recent surgery, or restrictions on exercise, get individualized guidance before starting.
8 Best Glute Exercises for Beginners
These exercises cover hip extension, squatting, stepping, and outer-hip control. The hip hinge is included to teach technique before you progress to a more challenging hinge exercise.
Starting guideline: Begin with one set of each selected strengthening exercise, then build toward two. Rest about 60–120 seconds between sets, taking longer if needed to recover your breathing and balance. The ranges below are starting options, not targets to force through poor form.
1. Bodyweight Glute Bridge
- Best for: Learning to extend your hips with your upper body supported.
- Muscles worked: Gluteus maximus, with help from the hamstrings.
- Equipment: Exercise mat.
- Starting amount: 1–2 sets of 8–12 repetitions.
How to Do It
- Lie on your back with your knees bent and your feet flat, about hip-width apart. Rest your arms beside you.
- Gently tighten your abdomen, press through your feet, and squeeze your glutes to lift your hips.
- Keep your knees aligned with your feet. Raise your hips only as far as you can without arching your lower back.
- Pause briefly, then lower slowly to the floor.
Common mistake: Pushing the hips as high as possible. The American Council on Exercise emphasizes controlling the abdomen and avoiding excessive lower-back arching.
Make it easier: Use a smaller hip lift.
Progress: Add repetitions within the range or a two-second pause at the top.
2. Chair Sit-to-Stand
- Best for: Practicing the squat pattern and getting up from a chair.
- Muscles worked: Glutes and quadriceps.
- Equipment: Sturdy, nonrolling chair.
- Starting amount: 1–2 sets of 8–12 repetitions; begin with fewer if needed.
The NHS recommends a solid chair that will not slip and lets you place your feet flat on the floor.
How to Do It
- Sit near the front of the chair with both feet planted about hip-width apart.
- Lean forward from your hips until your shoulders move over your feet.
- Press through both feet and straighten your hips and knees to stand upright.
- Bend your hips and knees and lower slowly onto the seat. Settle before repeating.
Common mistake: Rocking repeatedly to stand or dropping onto the chair.
Make it easier: Use a higher stable seat or light hand assistance.
Progress: Reduce hand assistance, then gradually add repetitions while keeping the descent controlled.
3. Bodyweight Hip Hinge With a Dowel
- Best for: Learning to move through the hips before adding resistance.
- Muscles involved: Glutes and hamstrings, with trunk muscles maintaining position.
- Equipment: Lightweight dowel or broomstick.
- Starting amount: 1 set of 6–10 slow practice repetitions.
This is primarily a technique drill. The American Council on Exercise presents the dowel hip hinge as preparation for resisted deadlifts. Treat it as movement practice rather than a demanding glute-strength set.
How to Do It
- Stand with your feet about shoulder-width apart and knees slightly bent. Hold the dowel vertically behind you, touching the back of your head, upper back, and sacrum.
- Push your hips backward as your torso tips forward. Keep your neck aligned with your torso.
- Maintain all three contact points and only a small knee bend. Stop before your back rounds or the dowel loses contact.
- Bring your hips forward to return to standing without leaning backward.
Common mistake: Bending deeply at the knees or rounding the back to reach lower.
Make it easier: Shorten the movement.
Progress: Once the pattern is consistent, learn a light dumbbell Romanian deadlift as a separate exercise.
4. Low Bodyweight Step-Up
- Best for: Building strength and control while stepping onto a raised surface.
- Muscles worked: Glutes and quadriceps, with the hamstrings assisting.
- Equipment: Low, stable step; handrail if needed.
- Starting amount: 1–2 sets of 6–10 repetitions per leg.
How to Do It
- Stand facing the step. Place your whole right foot on it, including your heel.
- Keep your right knee aligned with your toes and gently brace your abdomen.
- Push mainly through your right foot to stand on the step, bringing your left foot up.
- Step backward to the floor under control. Repeat, changing the lead leg so both sides work.
Common mistake: Using a high step and pushing hard from the trailing foot. Mayo Clinic advises whole-foot contact, controlled movement, and starting with a low step when appropriate.
Make it easier: Use a lower step and a secure handrail.
Progress: Add controlled repetitions before increasing height or resistance. Change one variable at a time.
5. Supported Static Split Squat With TRX or Rings
- Best for: Practicing a split squat with adjustable arm assistance.
- Muscles worked: Glutes and quadriceps.
- Equipment: Securely anchored suspension straps or rings.
- Starting amount: 1–2 sets of 6–10 repetitions per leg.
How to Do It
- Hold the handles and take a staggered stance with some space between your feet from side to side. Keep your front foot flat and your rear heel raised.
- Bend both knees and lower your hips through a comfortable range, using your arms for assistance.
- Keep your torso upright and your front knee aligned with your toes. Press through your front foot and use the handles to help you rise.
- Keep both feet in place throughout the repetitions. Switch your stance and repeat on the other side.
Common mistake: Letting the front heel lift or taking such a narrow stance that balance limits the movement.
Make it easier: Use a shallower descent and more arm assistance.
Progress: Gradually reduce arm assistance while keeping the same controlled movement.
6. Side-Lying Hip Abduction
- Best for: Training the outer hips without standing on one leg.
- Muscles worked: Hip abductors, including the gluteus medius.
- Equipment: Exercise mat.
- Starting amount: 1–2 sets of 8–12 repetitions per side.
How to Do It
- Lie on your side with your head supported. Bend your lower knee and keep your top leg straight, roughly in line with your torso.
- Stack your hips and shoulders, and gently tighten your abdomen.
- Lift the top leg through a small, controlled range, leading with your heel. Keep your toes facing forward.
- Lower slowly, finish your repetitions, then switch sides.
Common mistake: Rolling backward or turning the toes toward the ceiling to lift higher.
Make it easier: Reduce the height of the lift.
Progress: Add repetitions or a brief pause while keeping your pelvis still.
7. Bodyweight Clamshell
- Best for: Practicing outward hip rotation with the body supported.
- Muscles worked: Gluteal muscles and other hip external rotators.
- Equipment: Exercise mat.
- Starting amount: 1–2 sets of 10–15 repetitions per side.
How to Do It
- Lie on your side with your knees bent and your heels roughly in line with your hips.
- Stack your shoulders and hips, keeping your feet together.
- Open the top knee only as far as you can without rolling your pelvis backward.
- Lower slowly to the starting position. Complete your repetitions, then change sides.
Common mistake: Moving the whole pelvis to open the knee farther. South Tees Hospitals NHS Foundation Trust emphasizes keeping the pelvis steady during the clam exercise.
Make it easier: Use a smaller opening.
Progress: Add a brief pause, then consider a light mini-loop above the knees once bodyweight repetitions become easy.
8. Donkey Kick
- Best for: Practicing hip extension while keeping the trunk steady.
- Muscles worked: Gluteus maximus, with abdominal muscles stabilizing the trunk.
- Equipment: Exercise mat.
- Starting amount: 1–2 sets of 8–12 repetitions per side.
How to Do It
- Start on your hands and knees, with your hands beneath your shoulders and knees beneath your hips.
- Gently brace your abdomen and keep your spine neutral. Bend the working knee to about 90 degrees.
- Lift that thigh backward and upward only as far as you can without arching your back or twisting your pelvis.
- Hold for about two seconds, lower slowly, then repeat with the opposite leg.
Common mistake: Lifting higher by arching the lower back. The American Council on Exercise advises limiting leg height to the range you can control without lower-back movement.
Make it easier: Use a smaller lift.
Progress: Add controlled repetitions while maintaining the pause and steady trunk position.
A Simple Beginner Glute Workout
Train on two nonconsecutive days, such as Monday and Thursday. Mayo Clinic recommends allowing one full day between sessions that train the same muscle group.
After your warm-up, practice 6–10 dowel hip hinges if you are learning that movement. Then choose the appropriate session below.
| Session A | Session B |
|---|---|
| Chair sit-to-stand: 1–2 sets of 8–12 | Low step-up or supported split squat: 1–2 sets of 6–10 per leg |
| Glute bridge: 1–2 sets of 8–12 | Donkey kick: 1–2 sets of 8–12 per side |
| Side-lying hip abduction: 1–2 sets of 8–12 per side | Clamshell: 1–2 sets of 10–15 per side |
Start with one set of each exercise. Add a second when you can maintain your technique and recover comfortably before the next workout. Keep the same standing choice in Session B for several sessions while you learn it.
For strengthening exercises, aim to finish with roughly two or three good repetitions still possible. Technique practice can feel easier. Rest 60–120 seconds between sets and briefly between sides when needed.
This is the glute portion of a broader strength routine. The CDC recommends strengthening all major muscle groups at least twice weekly and notes that a single set can provide benefits, with additional sets offering more.
How to Progress Without Losing Form
Progress when the current version becomes consistently manageable.
- Make the repetitions repeatable. Use a comfortable range and control both the lifting and lowering phases.
- Build repetitions within the range. For example, work from eight controlled bridges toward 12.
- Add one challenge. Add a second set, reduce assistance, or introduce a small amount of resistance.
- Recheck your technique. If you begin twisting, rushing, or arching your back, reduce the difficulty.
A practical checkpoint is reaching the top of the repetition range with a few good repetitions left in two consecutive sessions. This is a useful progression rule, not a requirement to advance on a fixed schedule.
As your strength improves, consider learning loaded squats, bridges, or Romanian deadlifts. The dowel hinge should remain a technique drill rather than something you perform to exhaustion.
Common Questions
Can beginners build glutes without weights?
Yes, when bodyweight exercises provide enough challenge. The American College of Sports Medicine recognizes bodyweight and home-based resistance training as effective options. As an exercise becomes easy, you may need more resistance or a harder variation to keep progressing.
Should I feel only my glutes working?
No. Sit-to-stands, step-ups, and split squats also involve the thigh muscles, and several floor exercises require your abdominal muscles to stabilize your body.
Check your setup and movement control rather than chasing a strong burning sensation. If you feel pain in your back or joints, stop and reassess the exercise.
How long does it take to see results?
There is no reliable timetable that applies to everyone. Your starting strength, training consistency, exercise difficulty, recovery, and nutrition all matter.
Track practical changes first: smoother repetitions, less assistance, more controlled range, and greater resistance. Visible changes may take longer than improvements in how the exercises feel.
Start With a Routine You Can Repeat
Begin with a chair sit-to-stand, glute bridge, and side-lying hip abduction. Learn the movements, keep the first sessions manageable, and gradually make them more challenging. A consistent routine gives you something to build on.
Informational and educational only; not a substitute for medical advice.
References
- American College of Sports Medicine (ACSM), 2026 — Resistance Training Prescription for Muscle Function, Hypertrophy, and Physical Performance
Supports beginner strength training, muscle development, exercise frequency, and progressive resistance. - Macadam et al., 2015 — Gluteal Muscle Activity During Hip Abduction and External Rotation: A Systematic Review
Supports gluteus maximus and medius activation during hip abduction and external rotation exercises. - American Academy of Orthopaedic Surgeons (AAOS) — Hip Conditioning Program
Supports side-lying hip abduction, clamshells, proper exercise form, warm-ups, and gradual progression. - Mayo Clinic — Step-Up Exercise: Proper Form and Technique
Supports correct step-up technique, foot positioning, controlled movement, and beginner modifications. - National Health Service (NHS) — Strength Exercises
Supports chair sit-to-stands, beginner-friendly home exercises, and gradual increases in repetitions. - American Council on Exercise (ACE) — Hip Hinge Exercise Guide
Supports proper hip-hinge mechanics, dowel positioning, spinal alignment, and controlled hip movement.