
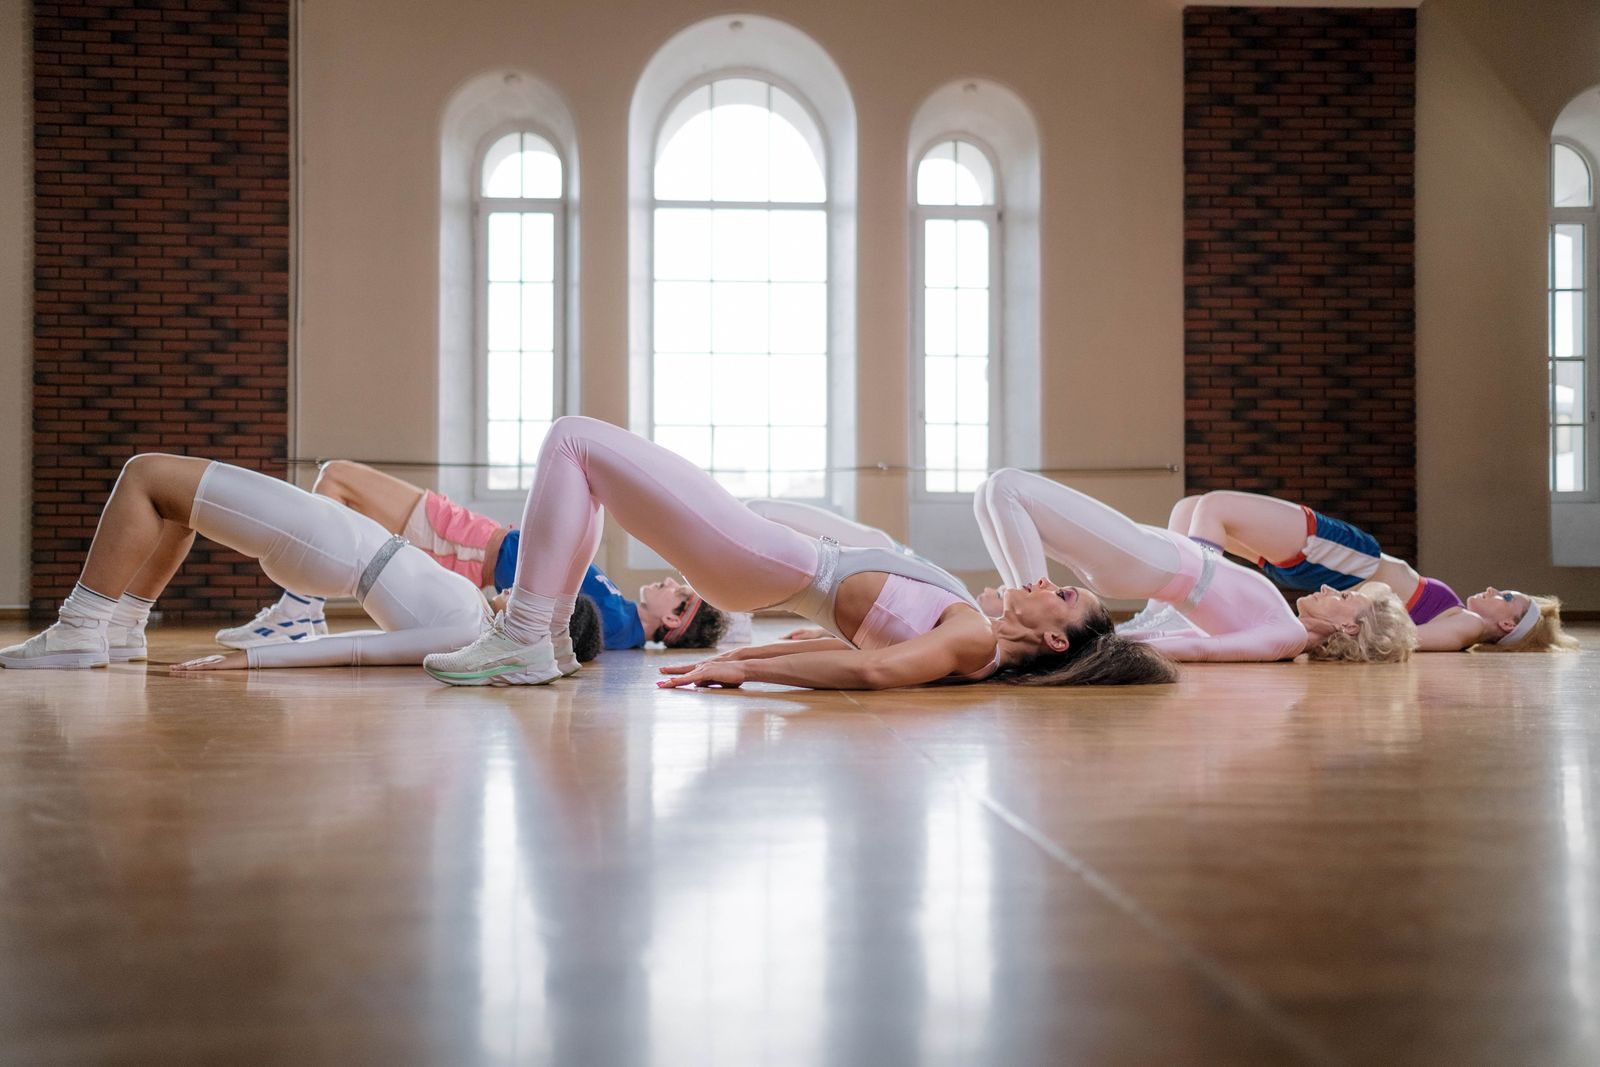
The glute bridge exercise strengthens your glutes by lifting your hips off the floor while keeping your feet and upper back supported. It also engages your hamstrings and core, making it a useful exercise for building lower-body strength and improving hip control.
You can perform glute bridges at home without equipment or add resistance as you get stronger. This guide explains the correct technique, muscles worked, benefits, common mistakes, and ways to progress safely.
What Is the Glute Bridge Exercise?
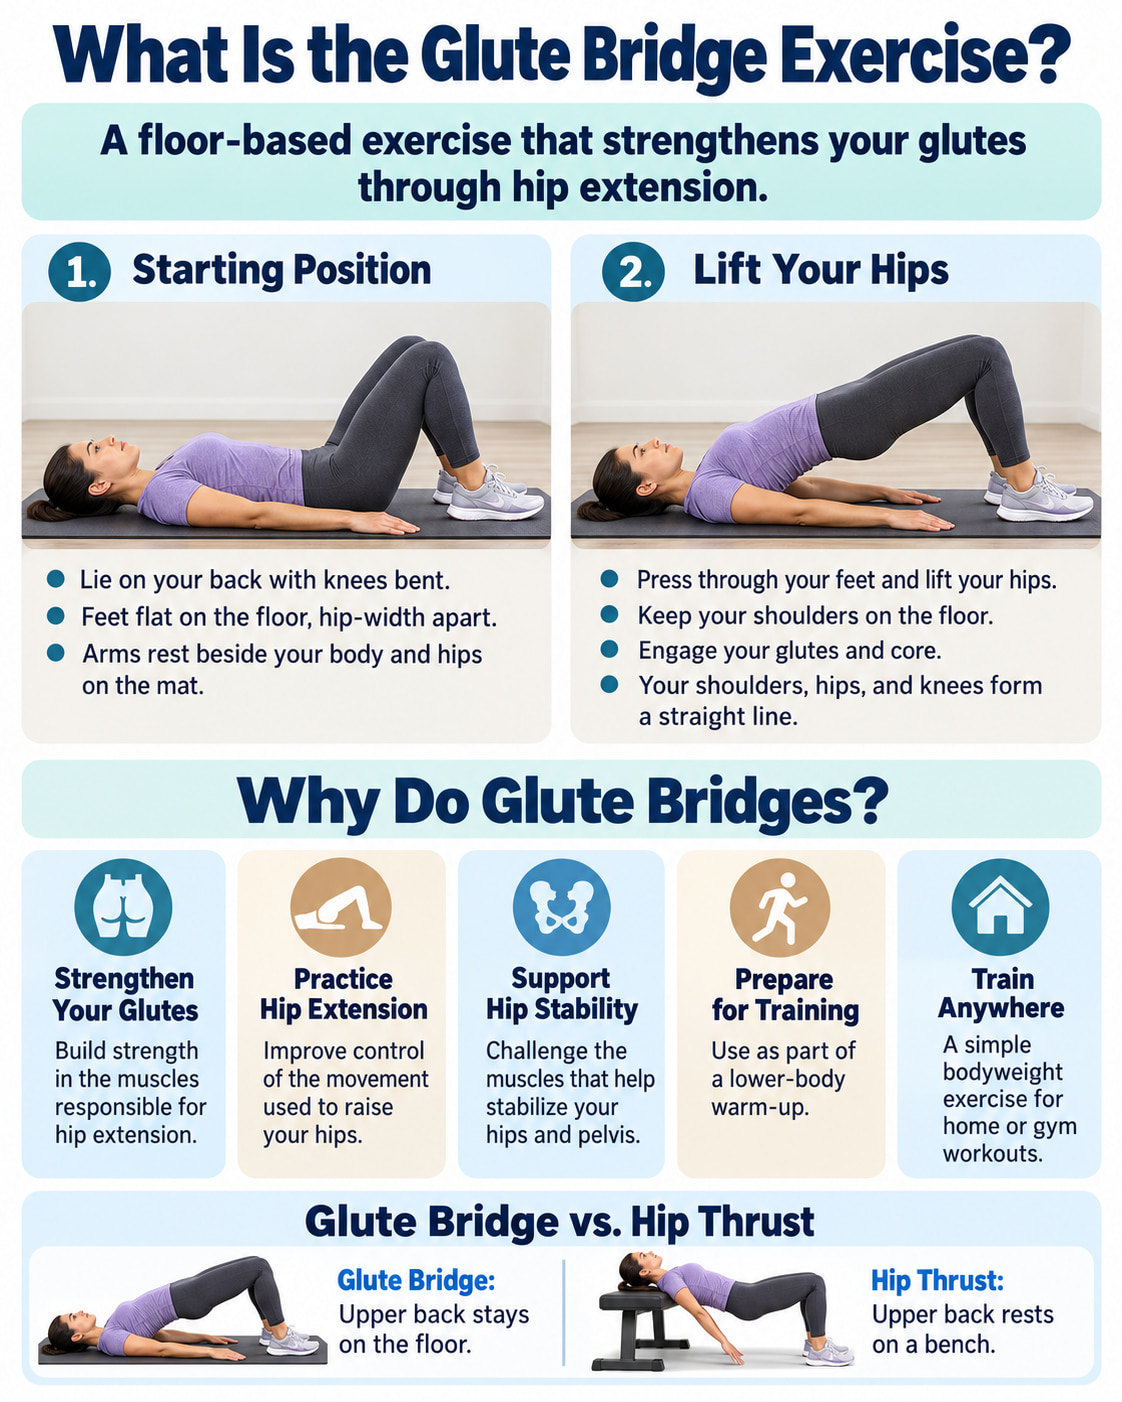
The glute bridge is a floor-based strength exercise that involves lying on your back with bent knees and raising your hips by contracting your glutes.
The main movement is hip extension, which occurs when your thighs and torso move toward a straight line.
Glute bridges are commonly used for:
- Strengthening the gluteal muscles.
- Practicing controlled hip extension.
- Improving hip and pelvic stability.
- Preparing the lower body for strength training.
- Adding glute-focused work to home or gym workouts.
Unlike a hip thrust, the standard glute bridge keeps your upper back on the floor throughout the movement.
How to Do the Glute Bridge Exercise Correctly
The standard bodyweight glute bridge is the best starting point for learning proper technique.
Muscles worked: Gluteus maximus, hamstrings, and core stabilizers.
Sets, reps, and rest: Start with 2 sets of 10–15 controlled repetitions. Rest for 45–60 seconds between sets.
How to Do It
- Lie on your back. Bend your knees and place your feet flat on the floor, approximately hip-width apart.
- Position your feet. Keep your toes pointing forward and place your heels comfortably close to your glutes. Your shins should be approximately vertical at the top.
- Prepare your upper body. Rest your arms beside you, relax your shoulders, and keep your head supported on the floor.
- Engage your core and glutes. Gently brace your abdominal muscles without holding your breath.
- Lift your hips. Exhale and press through your feet while squeezing your glutes. Raise your hips until your shoulders, hips, and knees form approximately a straight diagonal line.
- Pause at the top. Hold briefly without pushing your hips excessively high or arching your lower back.
- Lower slowly. Inhale as you lower your hips with control, then repeat.
Important Form Tips
Keep your ribs controlled. Avoid flaring your rib cage or exaggerating the arch in your lower back.
Push through your whole foot. Keep your heels grounded and maintain stable pressure through your feet.
Move through your hips. Think about squeezing your glutes to raise your pelvis rather than pushing your stomach upward.
Control the lowering phase. Avoid dropping your hips quickly or bouncing off the floor.
The American Council on Exercise (ACE) emphasizes abdominal engagement, glute contraction, and avoiding excessive spinal extension during the bridge.
Beginner tip: If you cannot lift your hips into full alignment without arching your back, use a smaller, comfortable range of motion until your control improves.
Glute Bridge Muscles Worked
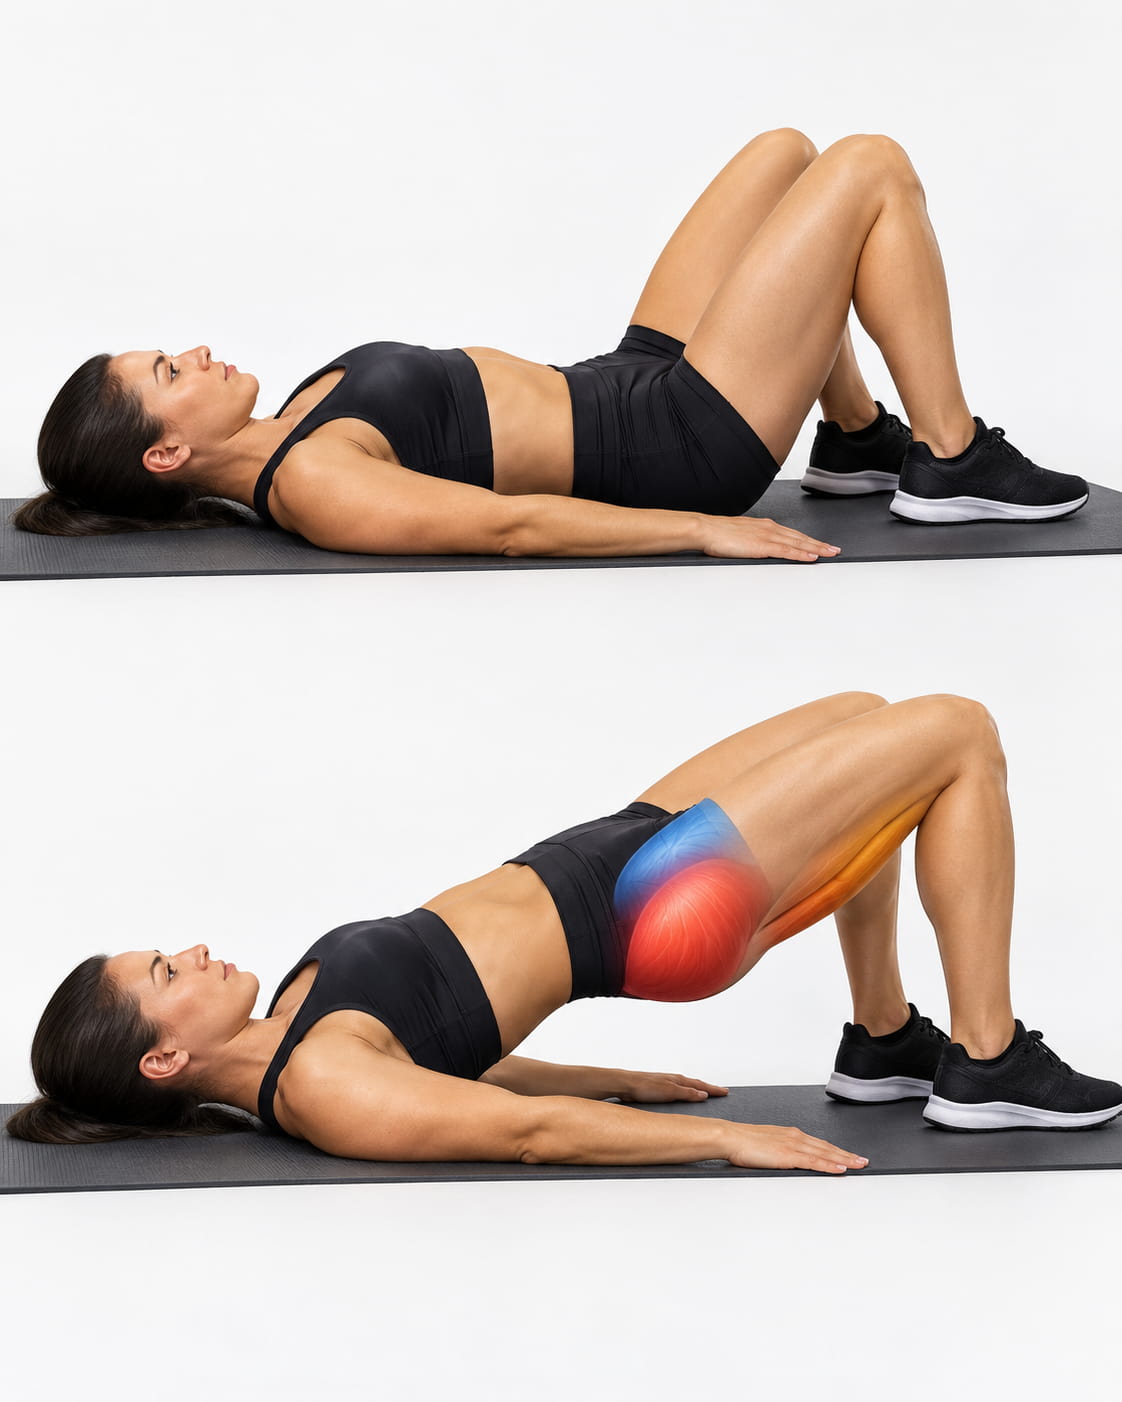
The glute bridge primarily targets the gluteus maximus, but several other muscles contribute to the movement and help stabilize your body.
| Muscle | Role During the Glute Bridge |
|---|---|
| Gluteus maximus | Primary muscle responsible for extending the hips and lifting the pelvis. |
| Hamstrings | Assist the glutes during hip extension. |
| Gluteus medius and minimus | Help control hip and pelvic alignment, particularly during single-leg variations. |
| Rectus abdominis and obliques | Stabilize the trunk and help limit excessive spinal movement. |
| Erector spinae | Help stabilize the spine throughout the exercise. |
| Hip adductors | Provide additional assistance and stabilization. |
Does the Glute Bridge Work the Glutes or Hamstrings More?
The gluteus maximus is the main target of the standard glute bridge.
Your hamstrings also contribute because they assist with hip extension. However, their involvement can change depending on your foot placement, technique, and the variation you perform.
If you mainly feel your hamstrings rather than your glutes, try bringing your feet slightly closer to your hips while keeping your knees comfortable.
The National Academy of Sports Medicine (NASM) floor bridge guide identifies the glutes as primary movers and the hamstrings, core, and other muscles as supporting contributors.
Benefits of the Glute Bridge Exercise
1. Strengthens the Glutes
The gluteus maximus plays a major role in extending your hips.
Glute bridges strengthen this movement pattern and can help improve your ability to produce force through your hips.
For continued strength development, you can gradually increase repetitions or add external resistance.
2. Supports Hip and Pelvic Stability
Your abdominal muscles and hip stabilizers help maintain alignment as your pelvis moves away from the floor.
Marching and single-leg bridges create additional stability demands because one leg supports more of your body weight.
3. Builds Strength for Everyday Movements
Strong hip extensors contribute to activities such as standing from a chair, walking uphill, and climbing stairs.
Glute bridges strengthen muscles involved in these movements, although building overall functional strength also requires practicing other lower-body movement patterns.
4. Requires Little Equipment
A standard glute bridge only requires enough floor space to lie down comfortably.
This makes it practical for beginners, home workouts, and people who want an accessible lower-body exercise.
5. Offers Several Ways to Progress
Once bodyweight repetitions become easy, you can increase the challenge by:
- Holding the raised position longer.
- Adding a mini resistance band.
- Placing a dumbbell across your hips.
- Performing alternating-leg movements.
- Progressing to a single-leg bridge.
According to Cleveland Clinic’s glute bridge guidance, the exercise can support lower-body strength, hip stability, and movements used in daily life.
Common Glute Bridge Mistakes and How to Fix Them
Good technique matters more than lifting your hips as high as possible.
Here are the most common problems and their practical solutions.
| Common Mistake | How to Fix It |
|---|---|
| Arching your lower back | Brace your abdomen and stop lifting when your hips reach comfortable alignment with your shoulders and knees. |
| Placing your feet too far away | Move your heels slightly closer to your glutes to reduce excessive hamstring involvement. |
| Lifting your heels | Keep your feet grounded and distribute pressure through the heel and midfoot. |
| Allowing your knees to collapse inward | Keep your knees tracking approximately in line with your feet. |
| Pushing your hips excessively high | Finish the movement by extending your hips rather than arching your spine. |
| Rushing repetitions | Pause briefly at the top and lower your hips slowly. |
| Straining your neck | Keep your head and upper back supported without pushing through your neck. |
Why Do My Hamstrings Cramp During Glute Bridges?
Hamstring cramping can occur when your hamstrings are working harder than they can comfortably tolerate.
Foot positioning may contribute, especially when your heels are too far from your hips.
Try these adjustments:
- Move your heels slightly closer to your glutes.
- Reduce the height of your bridge.
- Focus on gently contracting your glutes before lifting.
- Use fewer repetitions if fatigue causes cramping.
If the cramping continues, stop the exercise rather than forcing more repetitions.
Why Do I Feel Glute Bridges in My Lower Back?
Feeling some muscular effort in your lower-back stabilizers can be normal, but the exercise should not cause pain.
Excessive lower-back arching is a common technique problem.
Try keeping your ribs controlled, bracing your abdomen, and lifting only as high as you can without losing pelvic control.
If discomfort continues despite adjusting your technique, stop and seek advice from a qualified professional.
Glute Bridge Variations and Progressions
Once you can perform the standard glute bridge comfortably, these five variations offer different ways to develop strength, muscular control, and stability.
Choose a variation based on your ability and training goals rather than attempting all five in one workout.
1. Paused Glute Bridge
Best for: Improving glute control and maintaining a stable position at the top.
Muscles worked: Gluteus maximus, hamstrings, and core stabilizers.
Equipment needed: Exercise mat (optional).
Sets, reps, and rest: 2 sets of 8–12 repetitions with a 2–3-second hold. Rest 45–60 seconds.
How to Do It
- Lie on your back with your knees bent and heels supported on the floor.
- Lift your toes slightly, matching the demonstrated heel-supported variation.
- Brace your abdomen and squeeze your glutes.
- Press through your heels to raise your hips into a controlled bridge.
- Hold the top position for 2–3 seconds while breathing normally.
- Slowly lower your hips and repeat.
Common mistakes: Avoid arching your back during the pause, holding your breath, or letting your hips drop before completing the hold.
Progression tip: Gradually increase the hold to 4–5 seconds when shorter pauses become easy. If keeping your toes raised causes cramping or discomfort, return to the standard feet-flat bridge.
2. Banded Glute Bridge
Best for: Adding resistance to hip abduction while practicing stable knee alignment.
Muscles worked: Gluteus maximus, gluteus medius, hamstrings, and core stabilizers.
Equipment needed: Mini-loop resistance band.
Sets, reps, and rest: 2–3 sets of 10–15 repetitions. Rest 45–60 seconds.
How to Do It
- Place a light mini-loop band around your thighs, just above your knees.
- Lie on your back with your knees bent and feet flat, approximately hip-width apart.
- Bend your elbows and press your upper arms lightly into the floor for stability.
- Maintain gentle outward pressure against the band so your knees stay aligned with your feet.
- Squeeze your glutes and lift your hips without arching your lower back.
- Slowly lower while maintaining knee alignment.
Common mistakes: Avoid allowing the band to pull your knees inward or forcing your knees excessively far apart.
Coaching tip: A band above the knees adds resistance to outward knee movement. It does not provide the same direct hip-extension loading as placing a weight across your pelvis.
3. Dumbbell Glute Bridge
Best for: Increasing resistance to develop glute strength and muscle size.
Muscles worked: Gluteus maximus, hamstrings, and core stabilizers.
Equipment needed: One dumbbell, an optional pad, and an exercise mat.
Sets, reps, and rest: 2–3 sets of 8–12 repetitions. Rest 60–90 seconds.
How to Do It
- Sit on the floor with your knees bent and feet flat.
- Position a manageable dumbbell securely across the front of your pelvis, using padding if needed.
- Lie back and hold the dumbbell firmly with both hands to prevent it from rolling.
- Brace your abdomen and squeeze your glutes.
- Press through your feet to lift your hips until your shoulders, hips, and knees approximately align.
- Pause briefly before lowering slowly to the starting position.
Common mistakes: Avoid using a weight that causes your lower back to arch or makes the dumbbell difficult to control.
Progression tip: When you can complete every repetition with good technique and several more repetitions feel possible, increase the dumbbell weight gradually.
4. Glute Bridge March
Best for: Improving pelvic control and single-leg stability.
Muscles worked: Gluteus maximus, hamstrings, abdominal muscles, and hip stabilizers.
Equipment needed: Exercise mat (optional).
Sets, reps, and rest: 2 sets of 6–10 repetitions per side. Rest 45–60 seconds.
How to Do It
- Lie on your back with your knees bent and feet flat.
- Lift your hips into a standard glute bridge.
- Brace your abdomen and keep your pelvis level.
- Slowly lift one foot off the floor, bringing that knee slightly toward your chest.
- Return your foot to the floor without dropping your hips.
- Repeat with the opposite leg, alternating sides.
Common mistakes: Avoid twisting your pelvis, lifting your knee too high, or allowing your hips to sag between repetitions.
Regression: If you cannot maintain a steady bridge while lifting a foot, return to a two-foot bridge hold until your control improves.
5. Single-Leg Glute Bridge
Best for: Increasing the strength and stability demands on one leg.
Muscles worked: Gluteus maximus, hamstrings, gluteus medius, and core stabilizers.
Equipment needed: Exercise mat (optional).
Sets, reps, and rest: 2 sets of 6–10 repetitions per leg. Rest 60–90 seconds.
How to Do It
- Lie on your back with your knees bent and both feet flat.
- Lift one leg and extend it comfortably toward the ceiling.
- Brace your abdomen and keep your hips level.
- Press through your planted foot and squeeze that side’s glutes to raise your pelvis.
- Stop when your supporting knee, hips, and shoulders approximately align.
- Slowly lower your hips without allowing your pelvis to twist.
- Complete your repetitions before switching legs.
Common mistakes: Avoid rotating your hips, pushing excessively through your lower back, or lifting higher than you can control.
Progression tip: Begin with fewer repetitions and prioritize consistent hip alignment before adding volume.
How Many Glute Bridges Should You Do?
The right number depends on whether you are practicing technique, preparing for a workout, or building strength.
| Training Goal | Sets | Repetitions | Rest |
|---|---|---|---|
| Beginner technique | 2 | 8–12 | 45–60 seconds |
| Glute activation or warm-up | 1–2 | 10–15 | 30–60 seconds |
| General glute strength | 2–3 | 8–15 | 60–90 seconds |
| Weighted glute bridges | 2–3 | 8–12 | 60–120 seconds |
| Single-leg stability | 2 | 6–10 per leg | 60–90 seconds |
These are practical starting ranges, not rigid rules.
For strength-focused training, choose a difficulty that allows you to finish most sets with approximately 2–3 good repetitions still possible.
How Often Should You Do Glute Bridges?
For most beginners, performing glute bridges 2–3 times per week is a reasonable starting point.
Allow recovery between challenging sessions, especially when using added weights or single-leg variations.
The 2026 ACSM resistance training position stand supports progressive resistance training at least twice weekly for healthy adults, with exercise difficulty and volume adjusted to individual goals.
When Should You Make Glute Bridges Harder?
Consider progressing when you can:
- Complete all planned repetitions with controlled movement.
- Keep your knees and pelvis aligned.
- Avoid excessive lower-back arching.
- Finish each set without significant technique breakdown.
- Perform the current variation comfortably across several sessions.
Increase only one variable at a time, such as repetitions, resistance, or exercise difficulty.
Simple Glute Bridge Workout
This short routine can fit into a lower-body training session.
Beginner Glute Bridge Routine
| Exercise | Sets | Reps | Rest |
|---|---|---|---|
| Standard Bodyweight Glute Bridge | 2 | 10–12 | 60 seconds |
| Paused Glute Bridge | 1–2 | 8–10 | 60 seconds |
Frequency: Twice per week, with at least one recovery day between sessions.
Effort: Finish each set while you can still perform approximately 2–3 additional repetitions with good technique.
Progression: Gradually work toward 15 controlled standard bridges and longer pauses before increasing difficulty.
Intermediate Glute Bridge Routine
| Exercise | Sets | Reps | Rest |
|---|---|---|---|
| Standard Glute Bridge (Warm-Up) | 1 | 10 | 30 seconds |
| Dumbbell Glute Bridge | 2–3 | 8–12 | 60–90 seconds |
| Glute Bridge March | 1–2 | 6–8 per side | 60 seconds |
Frequency: Twice per week as part of a balanced lower-body program.
Effort: Use manageable resistance and avoid reaching muscular failure if it causes your technique to deteriorate.
Progression: Increase dumbbell resistance gradually when the current weight becomes easy while maintaining proper form.
You do not need to perform every bridge variation in the same workout. Choose the movements that suit your strength and stability goals.
Glute Bridge vs. Hip Thrust: What’s the Difference?
Glute bridges and hip thrusts both train hip extension, but their setup and available movement range differ.
| Feature | Glute Bridge | Hip Thrust |
|---|---|---|
| Upper-body position | Upper back supported on the floor | Upper back supported on a bench or elevated surface |
| Main muscles | Glutes and assisting hip extensors | Glutes and assisting hip extensors |
| Range of motion | Generally shorter | Generally longer |
| Equipment | None required | Requires a stable elevated support |
| Added resistance | Can use dumbbells, barbells, or bands | Commonly performed with external weights |
| Best use | Learning hip extension, home workouts, and glute strength | Progressive glute training through a larger range |
Which Exercise Should You Choose?
Choose glute bridges if you are a beginner, prefer floor-based training, or want a simple movement that is easy to set up.
Choose hip thrusts if you have suitable equipment and want another option for challenging your glutes through a generally greater range of motion.
Both exercises can support glute strength and muscle development when appropriately loaded and progressed.
Neither is automatically superior for every person or training goal.
Glute Bridge Exercise FAQs
1. Can Glute Bridges Build Bigger Glutes?
Yes. Glute bridges can help build glute muscle when the exercise provides sufficient resistance and is progressed over time.
Bodyweight bridges are a useful starting point, but eventually you may need dumbbells, barbells, or more challenging variations to continue increasing the training stimulus.
2. Are Glute Bridges Good for Beginners?
Yes. The standard bodyweight glute bridge is beginner-friendly because it requires no equipment and provides substantial support from the floor.
Start with a comfortable range of motion, controlled repetitions, and moderate effort.
3. Should You Feel Glute Bridges in Your Hamstrings?
Some hamstring effort is normal because these muscles assist with hip extension.
However, if your hamstrings repeatedly cramp or dominate the movement, check your foot placement and try moving your heels slightly closer to your glutes.
4. How Long Should You Hold a Glute Bridge?
For standard repetitions, a brief 1–2-second pause at the top is sufficient for practicing control.
You can gradually increase the hold to 3–5 seconds if your goal is improving muscular endurance and positional stability.
Maintain normal breathing throughout the hold.
5. Can Glute Bridges Help Strengthen the Lower Back?
Glute bridges strengthen the glutes and challenge muscles that stabilize the trunk and spine.
They can contribute to a balanced strength program, but they should not be treated as a guaranteed solution for lower-back pain.
If the exercise causes pain, stop and seek professional guidance.
The Bottom Line
The glute bridge exercise is a simple way to strengthen your glutes, practice hip extension, and develop better control of your hips and pelvis.
For the best results, keep your feet stable, engage your core, lift through your glutes, and avoid excessive lower-back arching.
Start with bodyweight repetitions and gradually progress to paused, banded, weighted, or single-leg variations as your strength improves.
Consistent, controlled training matters more than performing as many repetitions as possible.
References
- American Council on Exercise (ACE) — Glute Bridge Exercise Guide
- National Academy of Sports Medicine (NASM) — Floor Bridge Exercise
- Cleveland Clinic — Glute Bridges: How to Do Them and Form Tips
- NASM — Why the Glute Bridge Belongs in Almost Every Client Program
- NASM — Gluteus Medius Exercises, Including Single-Leg Bridges
- American College of Sports Medicine — Resistance Training Prescription for Muscle Function, Hypertrophy, and Physical Performance (2026)
This content is for informational purposes only and is not a substitute for medical advice.