
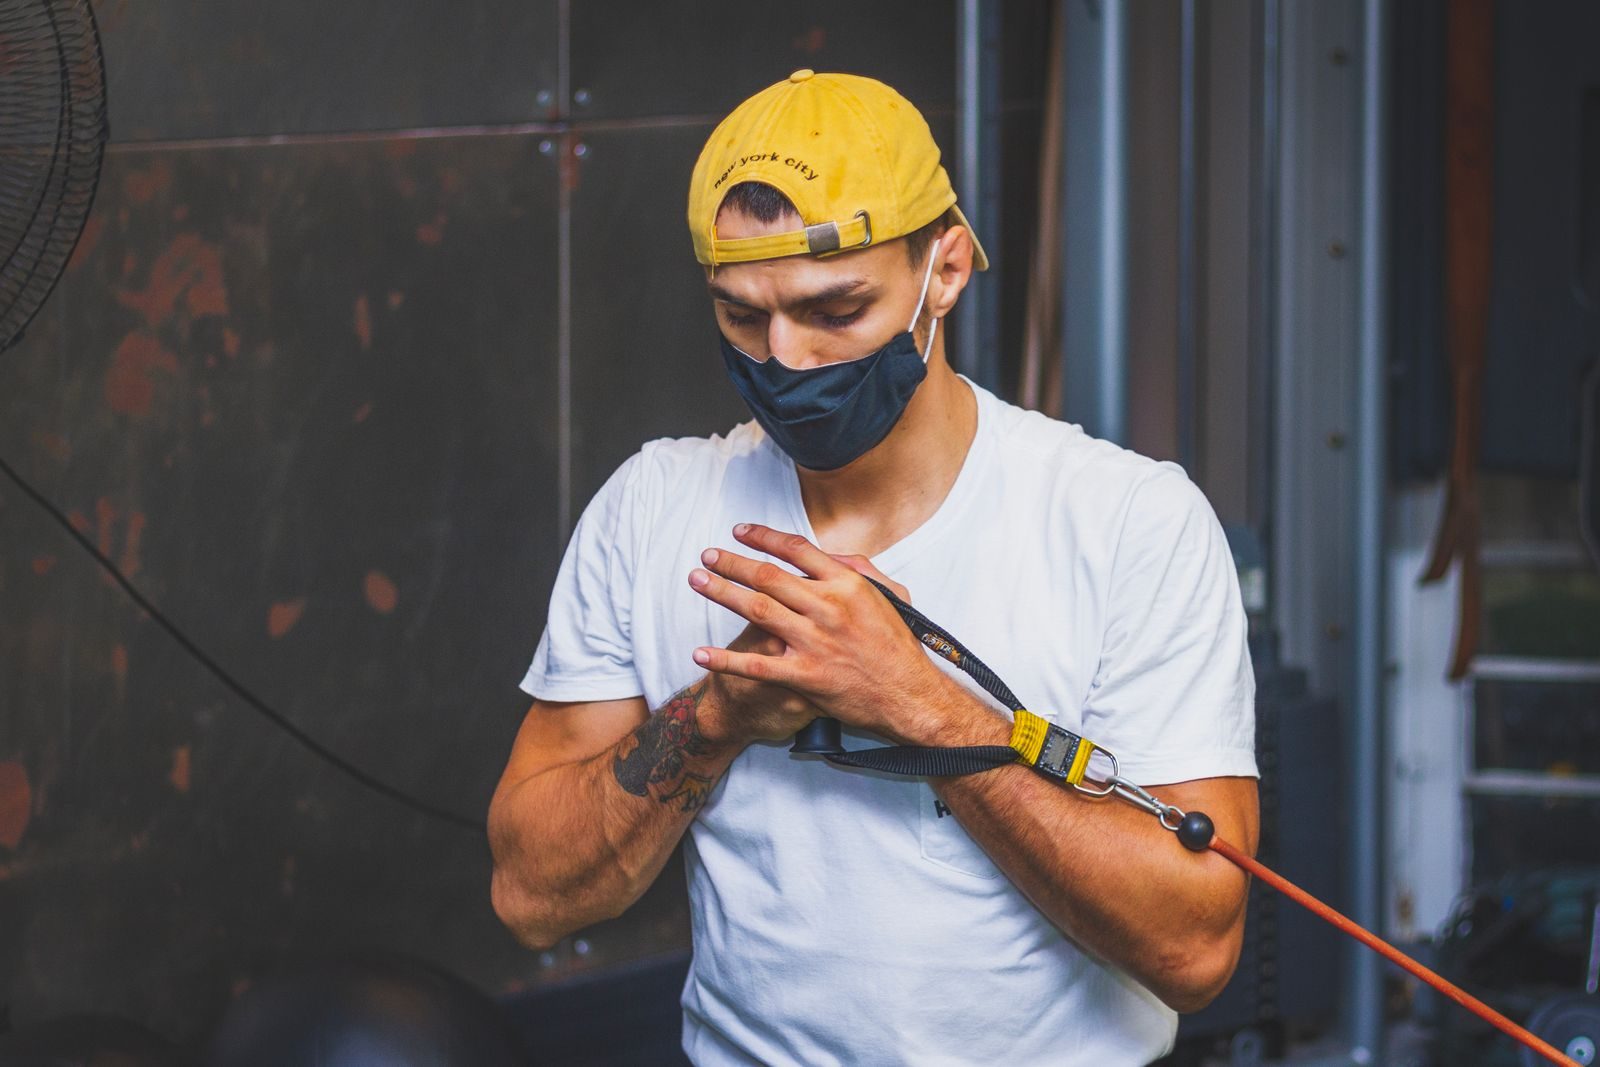
Resistance band core exercises can help strengthen your abs and improve trunk control without heavy gym equipment. The most useful options challenge you to keep your torso steady, control your limb movements, or move your trunk deliberately against resistance—not simply complete more repetitions.
Below, you’ll find standing and floor-based exercises, clear equipment setups, practical modifications, and a manageable workout. Choose a few movements that fit your equipment and ability rather than performing the entire list.
Before You Start: Choose the Right Band
These exercises use different band types. They are not interchangeable in every setup.
| Equipment | Used for |
|---|---|
| Long resistance band with a secure anchor | Pallof presses, band-resisted dead bugs, and banded alphabets |
| THERABAND CLX with built-in consecutive loops | Bird dogs, bicycles, and standing oblique crunches |
| Mini-loop band and a stable exercise bench | Supine banded plank marches |
For the CLX exercises, retain the manufacturer’s hand-and-foot or hand-and-thigh loop arrangement. Do not improvise by slipping ordinary resistance-tube handles over your feet. The American Council on Exercise cautions that handles can slip and recommends inspecting bands, handles, and attachment points before use, securing anchors properly, following manufacturer stretch limits, and controlling the return rather than allowing the band to snap back.
Warm up with approximately 5–10 minutes of easy walking or another low-impact activity, then practice your first exercise with light resistance. The American Academy of Orthopaedic Surgeons uses this general warm-up approach before strengthening exercise.
Stop if an exercise causes sharp pain, numbness, dizziness, chest pain, or unusual symptoms, and seek appropriate professional help.
Resistance Band Core Exercises: Form and Programming
Use the following sets and repetitions as starting suggestions, not targets you must reach at the expense of technique. Begin at the lower end of each range, keep breathing, and finish the set when you can no longer control the movement.
1. Standing Resistance Band Pallof Press
Best for: Learning to resist a sideways pull without twisting.
Muscles worked: Abdominals and obliques, with the shoulders and hips helping maintain position.
Equipment: Long resistance band anchored at sternum height.
Suggested sets, reps, and rest: 2 sets of 8–10 repetitions per side; rest 60 seconds.
How to Do It
- Stand sideways to the anchor with your feet approximately hip-width apart and knees slightly bent.
- Hold the band with both hands in front of your chest. Establish light tension without leaning away from the anchor.
- Brace your midsection and press your hands directly forward.
- Keep your shoulders level and your chest facing ahead as the band tries to turn you.
- Bring your hands back under control. Complete the set, then turn around to train the other side.
Common mistakes: Shrugging, leaning sideways, or rotating the shoulders during the press. These movements reduce your control of the intended anti-rotation task.
Make it easier: Use a lighter band. Progress the resistance only when you can press and return without changing your torso position. Girls Gone Strong emphasizes establishing the basic square-stance Pallof press before moving to more difficult variations.
2. Upper-Body Band-Resisted Dead Bug
Best for: Practicing abdominal control while extending one leg.
Muscles worked: Abdominals stabilize the trunk while the lats maintain band tension and the legs move.
Equipment: Long band secured to a rack or suitable anchor beyond your head; exercise mat.
Suggested sets, reps, and rest: 2 sets of 6–8 repetitions per side; rest 60–90 seconds.
How to Do It
- Lie on your back with your head toward the anchor. Hold the band with both hands and reach your arms toward the ceiling.
- Lift your legs so your hips and knees are each bent approximately 90 degrees.
- With your elbows straight, pull against the band to establish tension. Keep your ribs controlled rather than lifting your chest.
- Exhale as you extend one leg away from your body.
- Return the leg to the starting position and alternate sides, keeping your trunk steady.
Common mistakes: Lowering the leg farther than you can control, arching the lower back, or holding your breath. A longer leg reach is not useful when your back position changes.
Make it easier: Shorten the leg extension or practice without the band before combining both demands. Muscle & Strength recommends keeping the movement controlled and avoiding excessive lower-back extension.
3. THERABAND CLX Bird Dog
Best for: Coordinating an opposite-arm-and-leg reach while maintaining trunk stability.
Muscles worked: Abdominals and spinal stabilizers, with the glutes and shoulder muscles contributing to the reach.
Equipment: THERABAND CLX and a mat.
Suggested sets, reps, and rest: 1–2 sets of 6–8 repetitions per side; rest 60 seconds.
How to Do It
- Place each foot into a middle CLX loop and hold an end loop in each hand.
- Move onto your hands and knees, with your hands beneath your shoulders and knees beneath your hips.
- Brace gently, keeping your back in a comfortable neutral position.
- Reach your right arm forward and your left leg backward until they are approximately parallel to the floor.
- Return slowly, then perform the opposite-arm-and-leg reach.
The Performance Health THERABAND guidance specifies using the CLX loops for the hands and feet in this exercise.
Common mistakes: Lifting the leg too high, letting the pelvis rotate, or shifting most of your weight onto the supporting shoulder. Think about reaching long rather than reaching high.
Make it easier: Remove the band and establish a controlled bodyweight reach first. Add resistance only when you can maintain the same trunk position.
4. THERABAND CLX Bicycle
Best for: Combining an alternating leg extension with a controlled elbow-to-opposite-knee movement.
Muscles worked: Abdominals and obliques, with the hip flexors assisting the leg movement.
Equipment: THERABAND CLX and a mat.
Suggested sets, reps, and rest: 1–2 sets of 6–10 repetitions per side; rest 60 seconds.
How to Do It
- Position the middle CLX loops around your thighs, above your knees, and place one hand in each end loop.
- Lie on your back.
- Bring your right elbow toward your left knee while extending your right leg.
- Return to the center, then bring your left elbow toward your right knee while extending your left leg.
The Performance Health exercise instructions use the CLX loops above the knees for this variation rather than positioning the band around the ankles or feet.
Common mistakes: Racing through the movement or forcing the elbow and knee to touch. Use a range you can control; contact between them is not the goal.
Make it easier: Use lighter resistance and a shorter leg reach. Treat this as a controlled abdominal exercise rather than a fast cycling drill.
5. Standing Banded Alphabet
Best for: Progressing from a basic Pallof press to a more demanding moving-arm stability exercise.
Muscles worked: Abdominals and obliques resist trunk movement while the shoulders guide the hands.
Equipment: Long band anchored at chest height.
Suggested sets, reps, and rest: 1–2 sets of 5–8 slowly drawn letters per side; rest 60–90 seconds.
How to Do It
- Stand sideways to the anchor with your feet slightly wider than shoulder-width and your knees softly bent.
- Hold the band with an overlapping, two-handed grip.
- Press your hands forward until your arms are extended.
- Slowly trace letters in the air with your hands, allowing the movement to come mainly from your shoulders.
- Keep your torso facing ahead. Bring your hands back, turn around, and repeat against the pull from the other side.
Common mistakes: Drawing oversized letters, swaying with the band, or holding your breath throughout the set.
Make it easier: Draw fewer, smaller letters or return to the standard Pallof press. You do not need to complete the entire alphabet. Muscle & Strength presents the band alphabet as a core-stability exercise that can be used as a progression from simpler anti-rotation work.
6. Resistance Band Pallof Press in a Held Squat
Best for: Combining anti-rotation control with the ability to maintain a squat position.
Muscles worked: Abdominals and obliques stabilize the trunk; the quadriceps and glutes help hold the squat.
Equipment: Long resistance band anchored at approximately standing waist height.
Suggested sets, reps, and rest: 1–2 sets of 6–8 presses per side; rest 60–90 seconds.
How to Do It
- Stand sideways to the anchor and hold the band with both hands at your chest.
- Establish tension, then lower into the bottom of a squat you can control.
- Hold the squat position while pressing your hands forward until your arms straighten.
- Return your hands to your chest without moving your torso.
- Finish the presses, stand up under control, and switch sides.
This variation holds the squat while the arms move. It is not a repeated squat performed with the hands held forward.
Common mistakes: Standing up with each press, turning toward the anchor, or losing the squat position because the band is too strong.
Make it easier: Choose the standing Pallof press until you can hold the squat comfortably. Catalyst Athletics describes this variation as maintaining the squat while the arms press forward and return.
7. THERABAND CLX Standing Oblique Crunch
Best for: A standing option combining a side-body movement with a knee lift.
Muscles worked: Obliques control the trunk movement; the hip flexors lift the knee and the shoulders maintain the arm position.
Equipment: THERABAND CLX.
Suggested sets, reps, and rest: 1–2 sets of 6–10 repetitions per side; rest 60 seconds.
How to Do It
- Place each foot in a middle loop and hold an end loop in each hand.
- Raise your hands above your head with your elbows bent and upper arms around shoulder height.
- Balance on your left foot while bringing your right knee and right elbow toward each other.
- Return to standing under control. Complete the repetitions, then change sides.
The Performance Health THERABAND instructions use a same-side elbow-and-knee movement for this exercise rather than a cross-body standing bicycle.
Common mistakes: Swinging the leg, rushing the balance transition, or pulling the shoulder forcefully downward.
Make it easier: Use lighter resistance and a smaller knee lift. Choose another exercise when maintaining balance becomes the main challenge.
8. Supine Banded Plank March
Best for: An advanced hip-and-trunk stability challenge without an external band anchor.
Muscles worked: Abdominals stabilize the trunk, the glutes and hamstrings support the raised body, and the hip flexors lift the knee.
Equipment: Mini-loop band and a stable exercise bench.
Suggested sets, reps, and rest: 1–2 sets of 4–6 controlled marches per side; rest 60–90 seconds.
How to Do It
- Place the mini-band around your feet.
- Support your upper back on the bench and place your heels on the floor.
- Raise your hips to establish a straight, face-up plank position.
- Maintain that position while lifting one knee against the band.
- Return the heel to the floor and alternate legs without letting your hips drop.
This is the bench-supported variation described by Catalyst Athletics, rather than a floor bridge or a forearm plank.
Common mistakes: Allowing the hips to sag, arching the back to lift higher, or choosing a bench that shifts during the exercise.
Make it easier: First establish the stationary position without marching. Keep this exercise out of your routine until the setup and body position feel controlled.
What These Exercises Actually Train
Your abdominal muscles do more than curl your torso forward. They also help control movement between your rib cage and pelvis while your arms and legs move.
The Pallof press and banded alphabet emphasize resisting rotation. Dead bugs and bird dogs emphasize maintaining trunk position during limb movement. The bicycle adds a controlled moving-trunk option. The American Council on Exercise recommends considering different types of abdominal exercises rather than relying on one movement for every core-training purpose.
Adding a band also does not automatically mean the abdominal muscles receive more direct resistance. In several exercises here, the band loads the arms or legs while the abs work to stabilize the trunk. The held-squat Pallof press and bench-supported march are combined exercises rather than abdominal isolation movements.
A Simple Resistance Band Core Workout
Start with two nonconsecutive sessions per week. Use a long anchored band and a CLX band for this example.
| Exercise | Starting amount | Rest |
|---|---|---|
| Standing Pallof press | 2 sets of 8 reps per side | 60 seconds |
| Band-resisted dead bug | 2 sets of 6 reps per side | 60–90 seconds |
| CLX bird dog | 1–2 sets of 6 reps per side | 60 seconds |
During your first session, one practice set of each may be enough. Choose resistance that leaves approximately two or three technically sound repetitions available rather than finishing with uncontrolled movements.
The American College of Sports Medicine recognizes elastic resistance as a useful strength-training option and emphasizes consistency, individualization, and regularly training the major muscle groups. This core session should complement your other strength training rather than replace a balanced whole-body program.
Adjust the Routine Without Adding More Exercises
Once the starting routine feels manageable, replace one movement rather than making every session longer.
For example, use the held-squat Pallof press instead of the standing press, or choose the CLX bicycle instead of the bird dog when you want a moving-trunk exercise. Keep the advanced bench-supported march optional.
The aim is a repeatable workout you can perform well—not a checklist of every variation.
How to Progress Without Losing Form
Track the band used, anchor height, starting distance, and completed repetitions. That makes the next workout easier to compare with the previous one.
A practical progression rule is to reach the upper end of your repetition range with consistent technique for two sessions, then change one variable: add a small amount of resistance or another set. Return to the lower end of the repetition range after increasing resistance.
Do not use extra distance from the anchor as an unlimited progression method. Stay within the band manufacturer’s recommended stretch limits.
For dead bugs and bird dogs, prioritize a controlled reach before adding more resistance. For Pallof variations, prioritize a steady torso before making the arm movement or stance more demanding.
Frequently Asked Questions
Can resistance bands really strengthen your abs?
Yes. Bands can provide external resistance, and core exercises can use that resistance to challenge trunk movement or stabilization. Results depend on appropriate difficulty, regular training, and gradual progression—not simply on using a resistance band.
Which exercise should a beginner start with?
The standing Pallof press is a practical first option because its resistance can be adjusted without adding complicated leg movements. Start light and focus on keeping your torso facing forward while the hands move away from and back toward your chest.
Can I train my core without a door anchor?
Yes. The CLX bird dog, bicycle, and standing oblique crunch use the band’s built-in loops rather than an external anchor. The supine banded plank march also does not require an external band anchor, although it does require a stable bench and more body control.
Will these exercises burn belly fat?
Do not rely on abdominal exercises to remove fat specifically from your stomach. A randomized study indexed by PubMed found improved abdominal endurance after six weeks of abdominal exercise without significant reductions in abdominal fat or abdominal circumference. Building stronger abdominal muscles and reducing body fat are different goals.
Should I feel dead bugs in my lower back?
You should not push through back pain to finish the set. Shorten the leg reach, reduce resistance, and check whether your back begins to arch as your leg extends. Stop the exercise if you cannot perform it comfortably or if pain persists.
Build Control Before Adding Resistance
Choose three exercises that match your equipment, start with manageable resistance, and record your repetitions. Keep the movements controlled and progress only when the same setup becomes easier without a change in technique.
A consistent, well-performed routine is more useful than collecting harder variations you cannot yet control.
This content is for informational purposes only and is not a substitute for medical advice.