
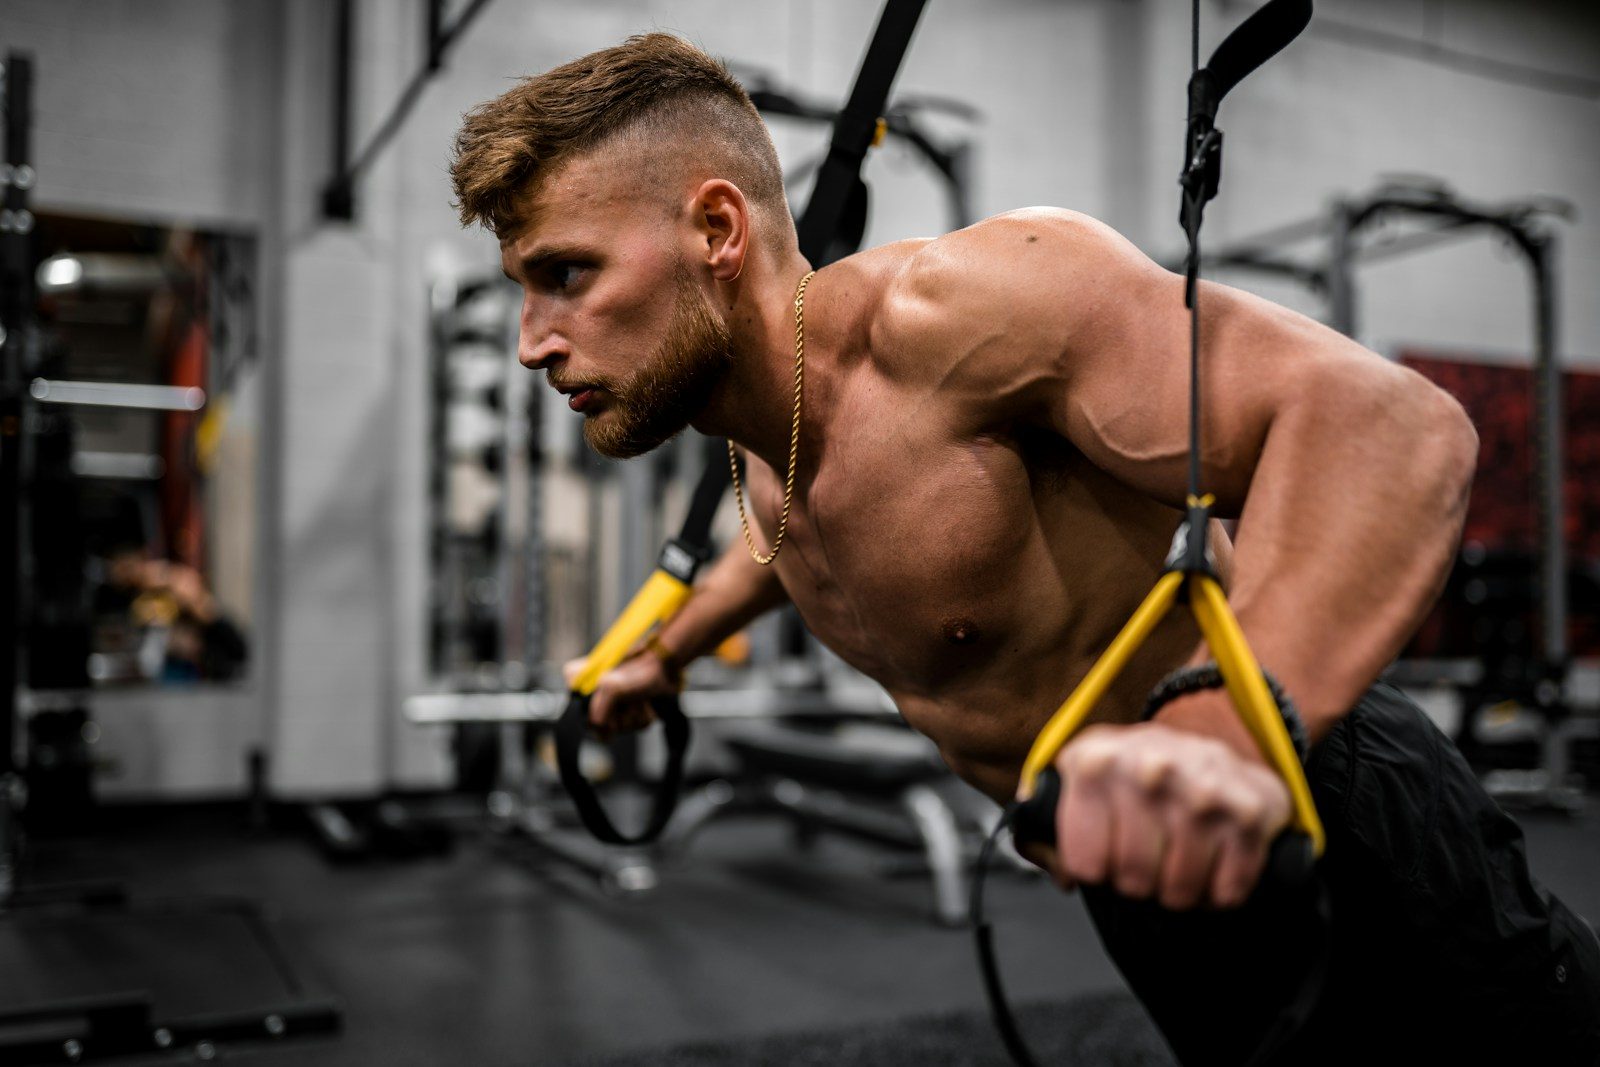
Resistance band exercises for men can build strength and muscle while training the legs, chest, back, shoulders, arms, and core without a full gym setup. The American College of Sports Medicine recognizes elastic bands and home-based resistance training as effective options—not simply substitutes for “real” strength training.
The exercises below cover the main movement patterns you need for a balanced workout. Learn the setup and form first, then use the sample routine to choose your sets, repetitions, and rest periods.
Before You Start
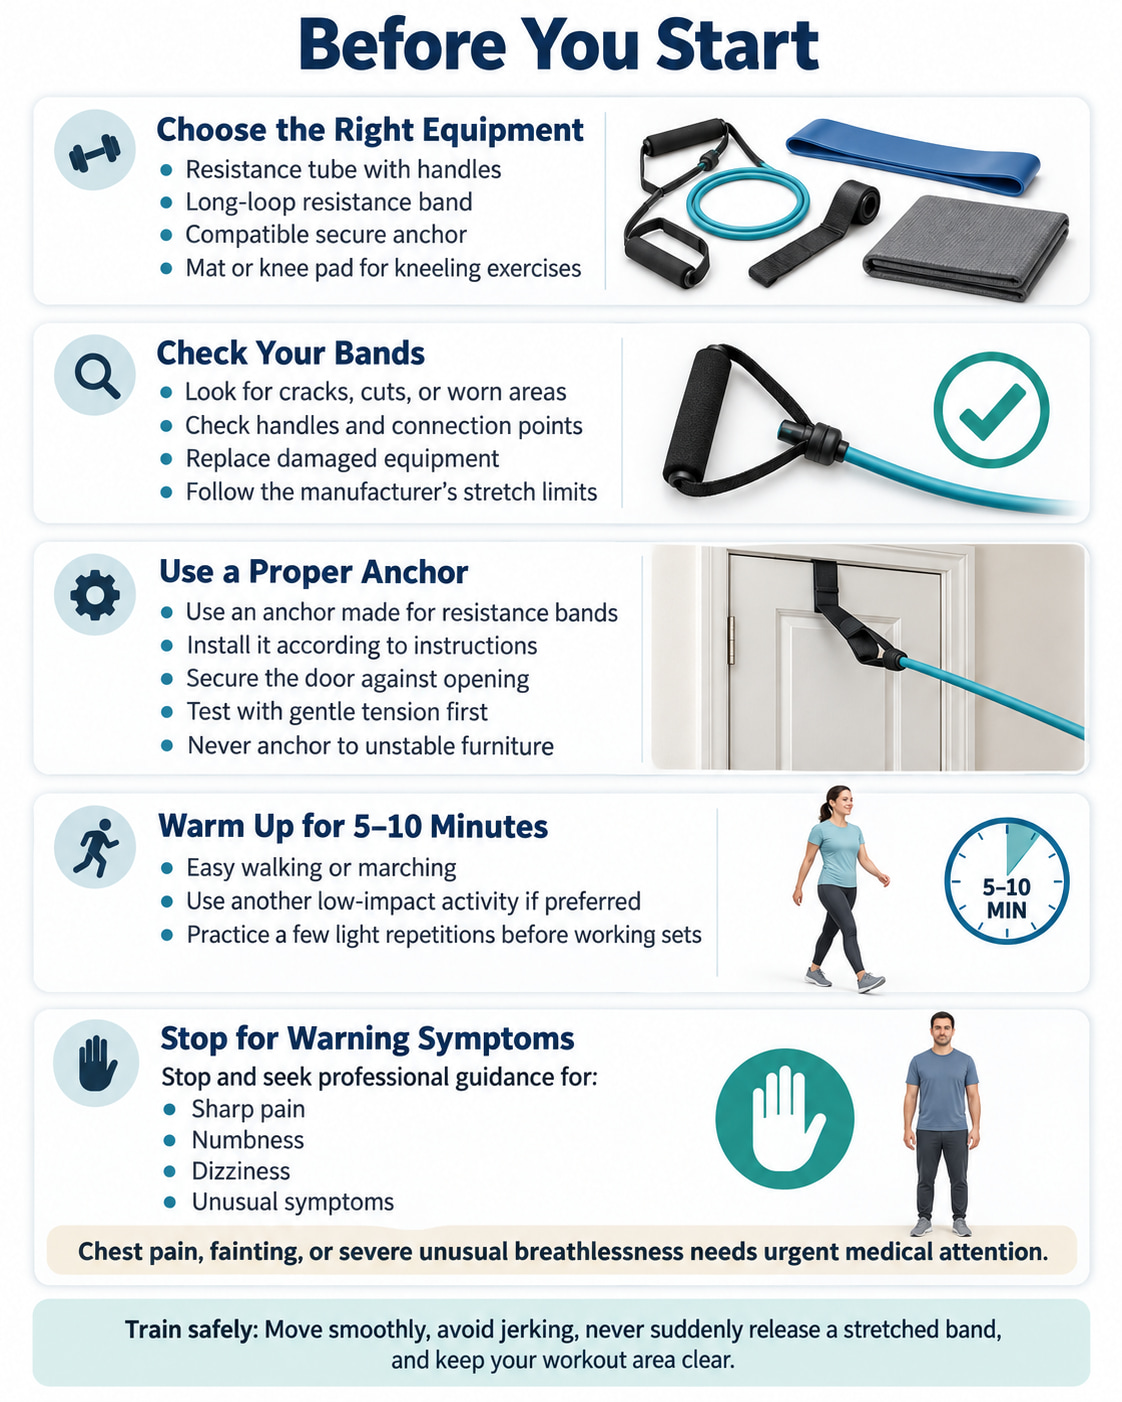
You will need resistance tubes with handles, a long-loop resistance band, and a compatible anchoring system for the chest press, lat pulldown, triceps pressdown, and Pallof press. A mat or knee pad is useful for kneeling.
Inspect the bands, handles, and connections before every workout. Discard damaged equipment, follow the manufacturer’s stretching limits, and never release a stretched band suddenly. The American Council on Exercise also advises avoiding jerking movements and checking handle attachment points carefully.
Use an anchor designed for resistance-band training and install it according to its instructions. Secure the door against opening when using a door anchor, test the attachment with gentle tension, and keep the surrounding area clear. Do not improvise with furniture that can move or tip.
Warm up with 5–10 minutes of easy walking, marching, or another low-impact activity, consistent with AAOS conditioning guidance. Follow that with a few easy practice repetitions of your first exercises.
Stop exercising and seek professional guidance for sharp pain, numbness, dizziness, or unusual symptoms. Chest pain, fainting, or severe unusual breathlessness warrants urgent medical attention.
10 Resistance Band Exercises for Men
These exercises combine lower-body training, upper-body pushing and pulling, direct arm work, and core control.
Use the workout table after the exercise instructions for sets, repetitions, and rest. Start with light resistance while learning each movement.
1. Resistance Band Squat
Best for: A main lower-body exercise that trains the squat pattern.
Muscles worked: Quadriceps and glutes, with the trunk muscles helping maintain position.
Equipment: Resistance tube with handles.
How to do it:
- Stand on the middle of the tube with your feet about shoulder-width apart. Hold one handle beside each shoulder, palms facing forward.
- Brace your abdomen and keep your feet firmly planted. Bend your hips and knees to lower into a squat.
- Keep your knees tracking in the same direction as your toes. Descend only as far as you can control without your heels lifting or your back rounding.
- Push through your whole feet and straighten your hips and knees to stand. Keep the handles beside your shoulders rather than pressing them overhead.
Common mistakes: Letting the knees collapse inward, lifting the heels, or using a band that pulls you out of position. Your depth should reflect your current control—not a requirement to reach the floor.
Make it easier: Use a lighter tube and a shallower, controlled squat before increasing depth.
2. Resistance Band Romanian Deadlift
Best for: Training the hip hinge and strengthening the back of the legs.
Muscles worked: Hamstrings and glutes, with the back, abdominal muscles, and grip supporting the movement.
Equipment: Long-loop resistance band.
How to do it:
- Stand on the band beneath the middle of both feet, approximately hip-width apart. Grasp the band securely with both hands beside your legs.
- Soften your knees and brace your abdomen. Keep your arms long and your neck aligned with your back.
- Push your hips backward as your torso tips forward. Maintain a small knee bend rather than lowering into a squat.
- Stop when you feel a mild hamstring stretch or before your back begins rounding. Push through your feet and bring your hips forward to stand tall.
The Girls Gone Strong Romanian deadlift guide emphasizes maintaining a neutral spine rather than chasing a lower hand position.
Common mistakes: Bending the knees excessively, rounding the back, looking upward, or leaning backward at the top.
Coaching cue: Send your hips backward; do not reach your hands toward the floor.
3. Resistance Band Split Squat
Best for: Adding split-stance leg work without repeatedly stepping forward and backward.
Muscles worked: Quadriceps and glutes, with the hip and trunk muscles helping stabilize your position.
Equipment: Resistance tube with handles.
How to do it:
- Place the middle of the tube beneath your front foot. Step your other foot backward, leaving some side-to-side space between your feet.
- Hold the handles beside your shoulders with your elbows pointing downward. Keep your front foot flat and your rear heel raised.
- Bend both knees to lower your body under control. Keep your front knee tracking with your toes and stop before the rear knee touches the floor.
- Push through your front foot to rise. Keep both feet in their starting positions for the entire set, then switch sides.
Performance Health describes this front-foot band placement and stationary split-stance movement.
Common mistakes: Standing as though your feet are on a tightrope, bouncing off the floor, or letting the front knee collapse inward.
Make it easier: Reduce the band resistance and depth. Establish a stable stance before adding more tension.
4. Resistance Band Bent-Over Row
Best for: Horizontal pulling and training the back alongside your pressing exercises.
Muscles worked: Lats, rhomboids, middle trapezius, and rear shoulders; the biceps assist.
Equipment: Resistance tube with handles.
How to do it:
- Stand on the center of the tube with both feet approximately shoulder-width apart. Hold the handles with your palms facing each other.
- Bend your knees slightly and hinge forward from your hips. Keep your back neutral and let your arms extend toward the floor.
- Pull your elbows backward close to your sides, bringing the handles toward your lower ribs without lifting your torso.
- Lower the handles slowly until your arms are extended again.
Mayo Clinic emphasizes a neutral back, elbows close to the body, and smooth movement during the resistance-tubing row.
Common mistakes: Rounding the back, shrugging, or standing more upright with each pull. Reduce the resistance when you cannot keep your torso steady.
5. Standing Resistance Band Chest Press
Best for: Training the chest and pressing muscles without a bench.
Muscles worked: Pectorals, front shoulders, and triceps; the abdominal muscles help resist unwanted movement.
Equipment: Resistance tube with handles and a secure chest-height anchor.
How to do it:
- Attach the tube to the anchor behind you. Face away from it and take a staggered stance, holding one handle in each hand.
- Bring your hands beside your chest with your palms facing downward. Keep your elbows slightly below shoulder height rather than flared straight sideways.
- Brace your abdomen and press both handles forward until your arms are straight, without forcefully locking your elbows.
- Bend your elbows to return slowly. Stop when your hands reach the starting position instead of letting the band pull your arms far behind you.
The American Council on Exercise includes the standing, chest-height anchored band press among its chest-training options.
Common mistakes: Arching the lower back, pushing with your whole body, or losing control of the return. Keep your stance steady throughout the set.
6. Standing Resistance Band Overhead Press
Best for: Adding an overhead pushing movement.
Muscles worked: Deltoids and triceps, with the trunk muscles helping keep the body upright.
Equipment: Resistance tube with handles.
How to do it:
- Stand on the middle of the tube with both feet securely planted. Hold the handles near shoulder height with your palms facing forward.
- Keep your knees relaxed and your abdomen braced. Position your elbows slightly in front of your torso.
- Press the handles overhead until your arms are comfortably extended, keeping your ribs from lifting and your lower back from arching.
- Lower the handles under control to shoulder height.
Performance Health’s resistance-tubing guidance uses this general standing press setup.
Common mistakes: Leaning backward to finish the repetition, bending the knees to bounce the handles upward, or using a tube that is too short for the overhead range.
Make it easier: Use a lighter, appropriately sized tube. Do not force an overhead position that causes pain.
7. Kneeling Resistance Band Lat Pulldown
Best for: Adding a vertical pull to complement the bent-over row.
Muscles worked: Latissimus dorsi, with the biceps and muscles around the shoulder blades assisting.
Equipment: Resistance tube with handles, secure overhead anchor, and optional knee padding.
How to do it:
- Secure the tube above your head. Kneel on both knees facing the anchor, with your torso upright and hips extended.
- Hold the handles with your palms facing forward and your hands slightly wider than shoulder-width apart. Begin with your arms extended upward and slightly forward.
- Pull your elbows down, bringing the handles toward shoulder or upper-chest level without leaning backward.
- Slowly extend your arms upward again, maintaining control rather than allowing the band to pull you suddenly toward the anchor.
Common mistakes: Pulling behind the neck, swinging the torso, or turning the movement into a backward-leaning row. The purpose is a controlled downward pull.
Setup check: Position yourself so there is light starting tension without approaching the band’s stretching limit.
8. Standing Resistance Band Biceps Curl
Best for: Direct arm training after your larger pulling exercises.
Muscles worked: Biceps, with other elbow flexors assisting and the trunk helping stabilize your stance.
Equipment: Resistance tube with handles.
How to do it:
- Stand on the center of the tube with both feet. Hold one handle in each hand, arms beside your body and palms facing forward.
- Keep your elbows close to your sides and your wrists straight.
- Bend both elbows to curl the handles toward your shoulders without moving your upper arms forward.
- Lower slowly until your elbows are comfortably extended. Keep control as the band shortens.
Common mistakes: Swinging the handles, leaning backward, or bending the wrists to finish a repetition. Mayo Clinic specifically highlights steady elbows and straight wrists during tubing curls.
Coaching cue: Move your forearms—not your entire body.
9. Resistance Band Triceps Pressdown
Best for: Direct triceps work without an overhead arm position.
Muscles worked: Triceps.
Equipment: Resistance tube with handles and a secure high anchor.
How to do it:
- Face the anchor with your feet about hip-width apart and knees slightly bent. Hold one handle in each hand with your palms facing downward.
- Bring your elbows close to your sides. Start with your elbows bent and your torso steady.
- Straighten your elbows to press the handles toward the sides of your thighs. Keep your upper arms nearly still.
- Bend your elbows slowly to return, stopping before your elbows begin moving forward or away from your sides.
Common mistakes: Using your shoulders to drive the handles downward, repeatedly bending forward, or forcefully snapping the elbows straight.
Use less tension when you cannot complete the movement through elbow extension alone. This is an arm exercise, not a whole-body push.
10. Standing Resistance Band Pallof Press
Best for: Training the core to resist rotation rather than repeatedly twisting the torso.
Muscles worked: Abdominal muscles, including the obliques, with the hips and shoulders helping maintain position.
Equipment: Long-loop resistance band and a secure chest-height anchor.
How to do it:
- Stand sideways to the anchor with your feet approximately hip-width apart. Hold the free portion of the band with both hands just in front of your chest.
- Step away enough to create manageable tension. Keep your shoulders and hips facing straight ahead.
- Press your hands directly forward without allowing the band to rotate or tilt your torso. Pause briefly with your arms extended.
- Bring your hands back toward your chest under control. Complete the set, then turn around to train the other side.
The Girls Gone Strong Pallof press guide emphasizes a sternum-height band and resisting rotation throughout the press.
Common mistakes: Twisting toward the anchor, leaning away from it, or shrugging. Reduce the tension until you can remain steady.
A Full-Body Resistance Band Workout
Start with two nonconsecutive sessions per week, such as Monday and Thursday. This provides a repeatable schedule for training the major muscle groups, consistent with ACSM’s emphasis on at least twice-weekly resistance training.
For your first few workouts, perform one set of each exercise while learning the setup. Progress toward the sets below when you can maintain technique and recover comfortably.
| Exercise | Working sets | Repetitions | Rest between sets |
|---|---|---|---|
| Resistance band squat | 2 | 8–15 | 90–120 seconds |
| Standing chest press | 2 | 8–15 | 60–90 seconds |
| Bent-over row | 2 | 10–15 | 60–90 seconds |
| Romanian deadlift | 2 | 8–15 | 90–120 seconds |
| Overhead press | 1–2 | 8–12 | 60–90 seconds |
| Kneeling lat pulldown | 1–2 | 10–15 | 60–90 seconds |
| Split squat | 1–2 | 8–12 per leg | 90–120 seconds after both legs |
| Biceps curl | 1–2 | 10–15 | 60 seconds |
| Triceps pressdown | 1–2 | 10–15 | 60 seconds |
| Pallof press | 1–2 | 8–12 per side | 45–60 seconds after both sides |
These are practical starting ranges, not a requirement to complete every exercise at maximum volume.
Effort: Aim to finish most sets with about two or three good repetitions still possible. The final repetitions should feel challenging, but your posture, movement, and range should remain consistent.
Workout structure: Complete the prescribed sets of one exercise before moving on. Take additional rest whenever your breathing or technique has not recovered. Between sides of the split squat and Pallof press, allow enough time to reset safely.
Breathing: Breathe throughout the movement. A simple starting approach is to exhale during the press, pull, or rise and inhale during the controlled return.
Do not add a third weekly session simply because the equipment feels light. First establish consistent technique, appropriate effort, and recovery.
How to Progress Without Sacrificing Form
Add Repetitions Before Increasing Resistance
Use the same band and setup until you can reach the top of the repetition range with control.
For example, build your squat from two sets of 10 toward two sets of 15. When you complete both sets confidently across two workouts, try a slightly stronger band and return toward the lower end of the range.
This is one practical progression method—not a rule that every exercise must advance at the same speed.
Record Your Setup
Write down the band used, repetitions completed, and relevant foot or anchor position. Changing your stance width or distance from the anchor can change the resistance even when you use the same band.
Band tension increases as the band stretches, so the hardest part of a repetition may occur near the end of the movement. Choose resistance that you can control through the entire intended range.
Increase One Variable at a Time
Add repetitions, increase band resistance, or add a set—not all three in the same workout. Keep the change small enough that you can judge how it affects your technique and recovery.
Do not create extra resistance by exceeding the manufacturer’s stretching limit or adopting an unstable stance.
Frequently Asked Questions
Can Men Build Muscle With Resistance Bands?
Yes. ACSM’s updated guidance recognizes elastic resistance as a valid way to develop muscle and strength. You still need progressively challenging training; repeatedly using a band that feels easy is not the same as progressing your workout.
Bands are useful tools, but they do not guarantee a particular amount or speed of muscle growth.
Do Men Need Extra-Heavy Resistance Bands?
Not automatically. Choose resistance according to the exercise, your current strength, and your ability to maintain control—not the word “men” on the packaging.
Your squat and curl may need very different resistance levels. ACSM emphasizes individualizing training rather than applying one prescription to everyone.
Can I Do This Workout Without a Door Anchor?
The squat, Romanian deadlift, split squat, bent-over row, overhead press, and biceps curl do not require an external anchor in the versions described here.
The chest press, lat pulldown, triceps pressdown, and Pallof press do. Leave those exercises out until you have a suitable attachment rather than improvising an unsafe setup.
Are Resistance Bands Better Than Dumbbells?
Neither is automatically better. Bands provide portable resistance and allow different pulling directions, while dumbbells provide a different loading option.
ACE presents bands as an effective choice—not as universally superior equipment. Choose the tools you can use safely, consistently, and progressively, or combine them within your training.
Build a Routine You Can Repeat
A useful full-body resistance band workout includes more than arm exercises. Combine squats and hip hinges with presses, rows, a pulldown, and controlled core work.
Begin with light practice sets, train twice weekly, and record your repetitions. Increase the challenge only when you can keep the same steady technique from the first repetition to the last.
This content is for informational purposes only and is not a substitute for medical advice.
References
- American College of Sports Medicine — Resistance Training Prescription for Muscle Function, Hypertrophy, and Physical Performance
- Lopes et al. — Effects of Elastic Resistance vs. Conventional Resistance on Muscular Strength
- American Council on Exercise — Resistance Band Workout Design and Safety
- Mayo Clinic — Bent-Over Row With Resistance Tubing
- American Academy of Orthopaedic Surgeons — Spine Conditioning Program