
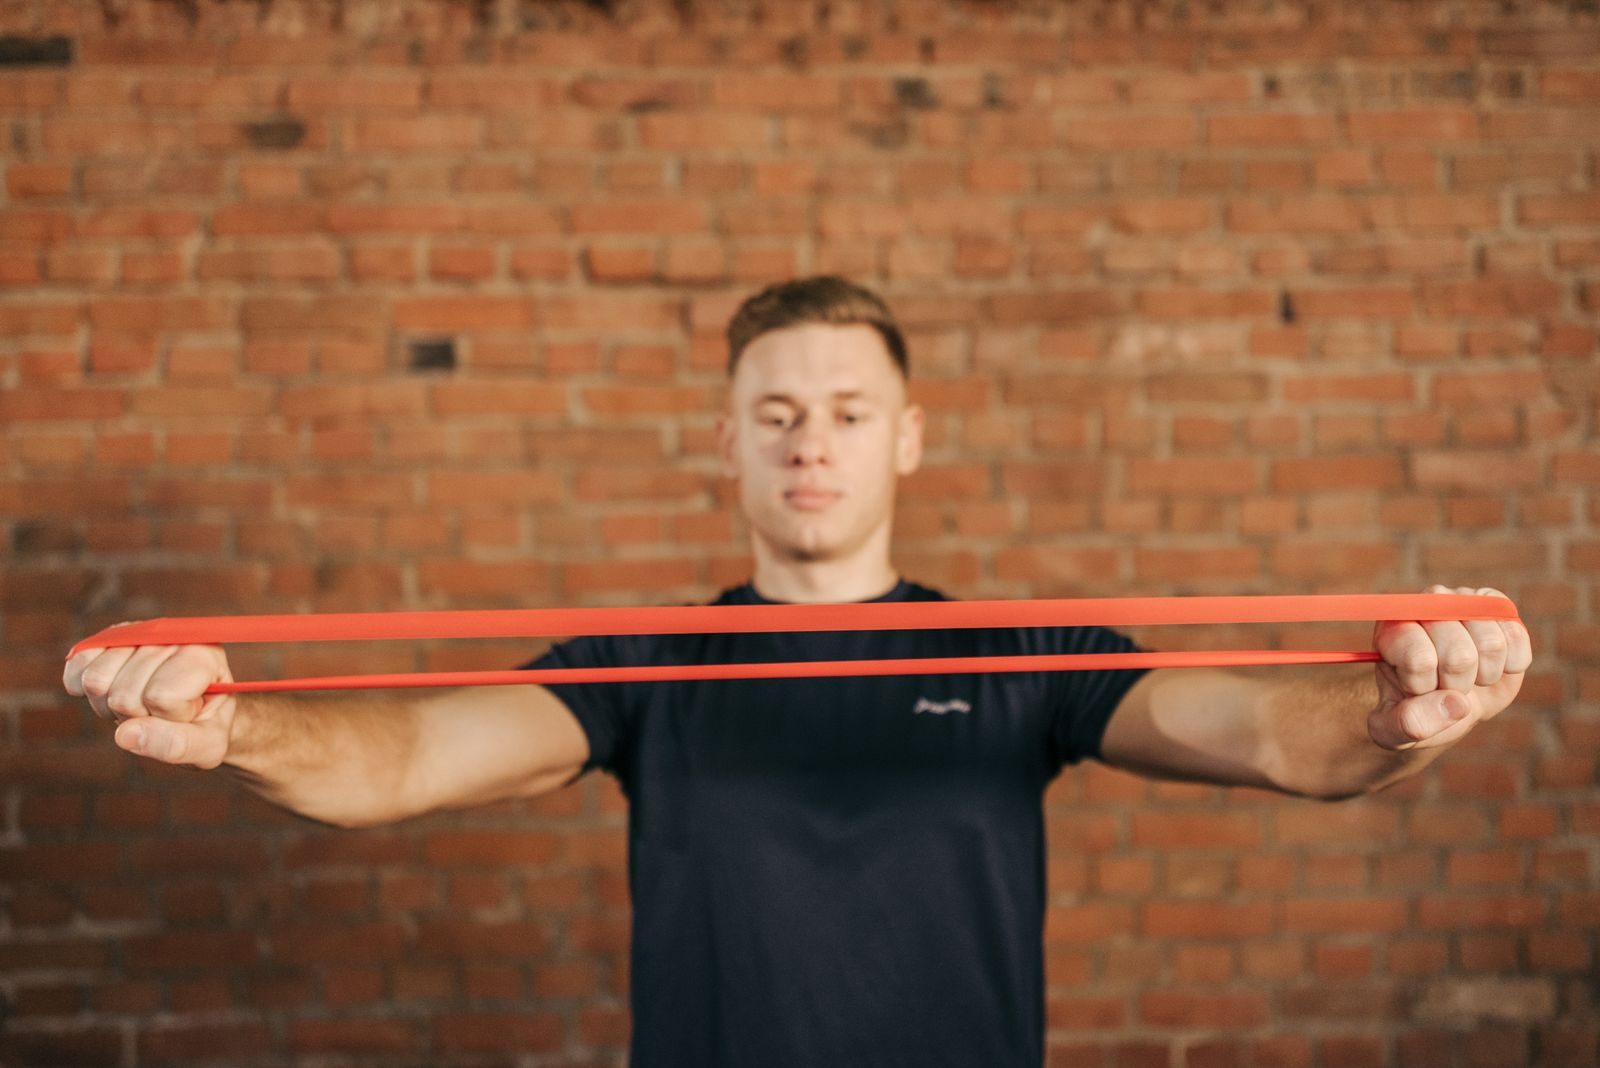
Resistance band exercises for arms can strengthen your biceps, triceps, and forearms without requiring dumbbells or a gym. The key is choosing manageable resistance, keeping the intended joints moving, and making your workouts gradually more challenging. The American College of Sports Medicine recognizes elastic bands as an effective resistance-training option.
Below are 11 exercises with clear setups, technique tips, and practical workout options. Choose a few exercises that suit your equipment and experience—you do not need to perform all 11 in one session.
Before You Start
This exercise selection uses a resistance tube with handles, an elastic mini-loop, and a long flat band. The triceps pressdown also requires a compatible high anchor. You only need the equipment for the movements you choose.
Inspect bands, handles, and attachments before each workout. Replace damaged equipment, follow the manufacturer’s stretching limits, and never release a stretched band suddenly. The American Council on Exercise also warns against placing ordinary handles over your feet because they can slip off. For foot-anchored exercises, secure the band itself beneath your shoe.
Warm up with 5–10 minutes of easy walking or marching, followed by a light practice set of your first exercise. This follows the general warm-up approach used by the American Academy of Orthopaedic Surgeons.
Use a comfortable range of motion and keep breathing. Stop and seek medical guidance for sharp pain, numbness, dizziness, or unusual symptoms. Chest pain, fainting, or severe unexplained breathlessness warrants urgent medical attention.
11 Best Resistance Band Exercises for Arms
The first four exercises train your elbow-flexing muscles, the next four focus on your triceps, and the final three add pressing and direct forearm work.
For a starting point, use 1–2 sets per selected exercise, resting 60–90 seconds between sets. The repetition ranges below are practical suggestions, not requirements to force through poor technique.
1. Standing Resistance Tube Biceps Curl
Best for: Learning a straightforward two-arm curl.
Muscles worked: Biceps, with assistance from the brachialis and brachioradialis.
Equipment: Resistance tube with handles.
Suggested reps: 10–15.
How to do it:
- Stand on the middle of the tube with both feet approximately shoulder-width apart.
- Hold one handle in each hand, palms facing forward. Keep your arms down, wrists straight, and elbows beside your torso.
- Bend both elbows to bring the handles toward your shoulders without leaning backward.
- Lower slowly until your arms return to the starting position.
Keep your upper arms relatively still rather than pushing your elbows forward to finish the repetition. Mayo Clinic emphasizes straight wrists, controlled movement, and avoiding arm or elbow swinging during tubing curls.
Common mistakes: Rocking backward, curling the wrists, shrugging, and letting the band pull the arms down abruptly.
Make it easier: Use a lighter tube instead of shortening the movement.
2. Resistance Tube Hammer Curl
Best for: Training the elbow flexors with a palms-in grip.
Muscles worked: Biceps, brachialis, and brachioradialis.
Equipment: Resistance tube with handles.
Suggested reps: 10–15.
How to do it:
- Secure the tube beneath both feet and stand upright.
- Hold the handles beside your thighs with your palms facing each other and thumbs pointing forward.
- Bend your elbows to raise the handles, keeping the palms facing inward throughout.
- Lower under control until your arms return beside your thighs.
This is a handled-tube variation, not a handle-free long-loop curl. FITTR describes the movement using handles and a neutral grip.
Common mistakes: Rotating into a palms-up curl, bending the wrists sideways, and moving the shoulders forward.
Workout tip: Use this as an alternative to the standard curl rather than automatically adding both to every beginner workout.
3. Resistance Tube Reverse Curl
Best for: Adding a palms-down curl variation.
Muscles worked: Brachialis and brachioradialis, with assistance from the biceps; wrist muscles help maintain the grip.
Equipment: A light resistance tube with handles.
Suggested reps: 10–15.
How to do it:
- Stand with feet hip-width apart on the center of the tube.
- Hold the handles with an overhand grip. Your palms face backward at the starting position, with thumbs pointing toward each other.
- Keep your elbows beside your torso and bend them to raise the handles.
- Lower slowly without allowing your wrists to fold forward or backward.
The foot anchor, overhand grip, and stationary elbows follow Vissco guidance for the resistance-tube reverse curl.
Common mistakes: Using the same resistance as a stronger palms-up curl, lifting the elbows, and extending the wrists to help raise the handles.
Make it easier: Start with very light resistance. Prioritize a straight wrist over how high you lift.
4. Self-Anchored Mini-Band Biceps Curl
Best for: One-arm curling without a foot or external anchor.
Muscles worked: Biceps and other elbow flexors; the opposite arm holds the anchor steady.
Equipment: A light elastic mini-loop.
Suggested reps: 10–15 per arm.
How to do it:
- Stand with your feet shoulder-width apart and hold opposite sides of the mini-band in your hands.
- Position both hands near your thighs, with your arms extended comfortably.
- Keep one hand stationary while bending the opposite elbow to raise the working hand.
- Lower slowly, complete the set, and switch arms.
The essential feature is a stationary anchoring hand, as described in FITTR’s mini-band curl instructions.
Common mistakes: Raising both hands, twisting the torso, or using a short, stiff loop that prevents a useful curling motion.
Equipment tip: Choose a stretchy exercise loop suitable for upper-body movements, not a heavy fabric hip band that restricts the motion.
5. High-Anchored Resistance Tube Triceps Pressdown
Best for: Direct triceps training without lifting the upper arms overhead.
Muscles worked: Triceps.
Equipment: Resistance tube with handles and a compatible high anchor.
Suggested reps: 10–15.
How to do it:
- Install the anchor above head height according to its instructions. Face the anchor and take one handle in each hand.
- Bend your knees slightly and lean forward a little from the hips. Keep your elbows close to your sides.
- Straighten your elbows to move the handles toward your thighs without swinging your upper arms.
- Bend your elbows to return the handles, keeping the same torso position.
The high anchor, two-handle setup, and forward-inclined stance follow FITTR’s resistance-tube pressdown guidance.
Common mistakes: Turning the movement into a whole-arm downward pull, rocking the torso, or snapping the elbows straight.
Safety note: Do not improvise an anchor using an unsecured door handle, lightweight furniture, or a sharp-edged object.
6. Single-Arm Resistance Tube Overhead Triceps Extension
Best for: Training the triceps with the upper arm overhead.
Muscles worked: Triceps; shoulder and trunk muscles help stabilize the position.
Equipment: A sufficiently long resistance tube with a handle.
Suggested reps: 10–15 per arm.
How to do it:
- Secure the tubing beneath your right foot, leaving enough working length for an overhead movement. Stand with feet shoulder-width apart.
- Hold the working handle in your right hand and carefully position that arm overhead, palm facing forward.
- Keep your upper arm near your ear as you bend your elbow, lowering the hand behind your head within a comfortable range.
- Straighten the elbow without arching your lower back. Complete the set, release tension carefully, and switch sides.
This uses the same-side foot and hand, rather than a two-arm or rear-foot split-stance setup, following FITTR’s instructions for this single-arm variation.
Common mistakes: Flaring the ribs, moving the entire upper arm, and forcing the hand too far behind the head.
Choose another option when needed: Use a pressdown instead when you cannot maintain a comfortable overhead position.
7. Foot-Anchored Resistance Tube Triceps Kickback
Best for: One-arm triceps work without an external anchor.
Muscles worked: Triceps; trunk muscles help hold the hip hinge.
Equipment: Resistance tube with a handle.
Suggested reps: 10–15 per arm.
How to do it:
- Secure the tubing beneath your foot and hold the working handle with your palm facing down.
- Hinge forward from your hips, keeping a neutral spine and your abdomen gently braced.
- Position your bent elbow near your torso. Keeping the upper arm steady, straighten the elbow so the hand moves backward.
- Bend the elbow to return slowly without moving the shoulder back and forth.
This foot-anchored setup and controlled elbow-extension movement follow Mayo Clinic guidance for a tubing triceps kickback.
Common mistakes: Swinging the entire arm, rounding the back, bending the wrist, and using momentum to finish.
Coaching cue: Move at the elbow—not by repeatedly sweeping the whole arm behind you.
8. Self-Anchored Mini-Band Triceps Pressdown
Best for: Direct triceps work without a door or wall anchor.
Muscles worked: Triceps; the opposite arm stabilizes the band.
Equipment: A light elastic mini-loop.
Suggested reps: 10–15 per arm.
How to do it:
- Stand upright with feet approximately shoulder-width apart.
- Hold one side of the loop in your left hand and position that hand at your right shoulder.
- Grasp the other side with your right hand, palm facing down. Keep the right upper arm near your torso.
- Straighten your right elbow to press the hand downward, then return slowly. Complete the set before changing sides.
The opposite hand at the working-side shoulder is the defining setup in FITTR’s mini-band pressdown instructions.
Common mistakes: Letting the anchoring hand drop, pulling with the shoulder, and leaning sideways.
Make it easier: Use a lighter, more flexible loop. Do not compensate for excessive tension by shortening every repetition.
9. Resistance Band Floor Chest Press
Best for: Adding a compound pressing movement alongside direct arm exercises.
Muscles worked: Chest, triceps, and front shoulders.
Equipment: A long flat resistance band and an exercise mat.
Suggested reps: 8–15.
How to do it:
- Position the band across your upper back, below your neck, and lie on your back.
- Bend your knees, place your feet flat, and hold one end of the band in each hand.
- Begin with elbows bent and forearms pointing upward. Press your hands toward the ceiling above your chest until your elbows straighten comfortably.
- Lower under control until your upper arms return gently to the floor.
This is a floor press, not a standing anchored chest press. The floor position, band behind the chest, bent knees, and upward pressing motion follow FITTR’s band chest-press instructions.
Common mistakes: Bouncing the arms off the floor, bending the wrists backward, and allowing the band to slide toward the neck.
Workout tip: Perform this before isolation exercises when it is the most demanding movement in your session.
10. Seated Self-Anchored Resistance Band Wrist Curl
Best for: Direct wrist-flexor training.
Muscles worked: Forearm muscles that bend the wrist toward the palm.
Equipment: A light flat band and a stable chair with an armrest.
Suggested reps: 12–20 per side.
How to do it:
- Sit with your working forearm supported on the armrest and your hand extending beyond its edge, palm facing upward.
- Hold one end of the band in that hand. Hold the other end directly below it with your opposite hand.
- Keep the lower hand still and curl your working wrist upward through a comfortable range.
- Lower slowly without lifting the forearm or moving the elbow. Switch sides after the set.
This variation is anchored by the opposite hand, not the foot, matching Vissco guidance for wrist flexion with a resistance band.
Common mistakes: Moving the whole forearm, twisting the wrist, and raising the anchoring hand.
Start light: The goal is controlled wrist movement, not a large pulling motion.
11. Seated Self-Anchored Resistance Band Wrist Extension
Best for: Training the wrist extensors alongside the wrist flexors.
Muscles worked: Forearm muscles that lift the back of the hand toward the forearm.
Equipment: A light flat band and a stable chair with an armrest.
Suggested reps: 12–20 per side.
How to do it:
- Support your forearm on the armrest with your hand beyond its edge and palm facing down.
- Hold one end of the band in the working hand and secure the other end below it with your opposite hand.
- Keep your forearm still while lifting the back of your hand upward against the resistance.
- Return slowly through a comfortable range, keeping the lower hand stationary. Repeat on the other side.
The supported forearm, palms-down position, and opposite-hand anchor follow Vissco’s wrist-extension guidance.
Common mistakes: Lifting the elbow, pulling from the shoulder, and bending the wrist sideways instead of extending it.
Make it easier: Reduce the band tension rather than jerking through a small movement.
How to Build a Resistance Band Arm Workout
Start with one curl and one triceps exercise. Add forearm work or a compound press according to your goals and available time.
The routines below are suggested starting structures—not separately tested programs. Keep them within a broader plan that trains your legs, back, chest, shoulders, and trunk. The American College of Sports Medicine recommends training all major muscle groups at least twice weekly; an arm-only routine does not cover that recommendation by itself.
Beginner Workout: No External Anchor
| Exercise | Sets | Repetitions |
|---|---|---|
| Standing resistance tube biceps curl | 1–2 | 10–15 |
| Self-anchored mini-band triceps pressdown | 1–2 | 10–15 per arm |
| Seated wrist curl | 1 | 12–20 per side |
| Seated wrist extension | 1 | 12–20 per side |
Perform this twice weekly, leaving at least one day between sessions.
Rest 60–90 seconds between upper-arm sets and approximately 45–60 seconds between wrist-exercise sets. Finish with the feeling that you could perform another two or three controlled repetitions.
Start with one set when the exercises are unfamiliar. Add the second set after the movements feel comfortable and recovery is manageable.
Intermediate Workout: Pressing, Biceps, and Triceps
| Exercise | Sets | Repetitions |
|---|---|---|
| Resistance band floor chest press | 2–3 | 8–15 |
| Resistance tube hammer curl | 2–3 | 10–15 |
| High-anchored triceps pressdown | 2–3 | 10–15 |
| Resistance tube reverse curl | 1–2 | 10–15 |
Use this once or twice weekly, depending on how much pressing, pulling, and direct arm work is already in your program.
Rest 60–120 seconds between sets, taking the longer rest when breathing or muscle fatigue would otherwise disrupt your technique. Choose resistance that leaves approximately one to three good repetitions in reserve.
For variety, replace the pressdown with the overhead extension in another session rather than continually adding more exercises.
How to Progress Without Sacrificing Form
Progress by making the same exercise more demanding—not by changing the setup randomly.
Record the band used, repetitions, sets, and anchoring position. For anchored movements, also note where you stand. Band tension changes with stretch, so a different starting position can change the resistance even when the band stays the same.
Use this progression rule:
- Select a repetition range, such as 10–15.
- Keep the same setup while gradually adding controlled repetitions.
- When you reach the top of the range in every set for two workouts without swinging or shortening the movement, increase resistance slightly.
- Return toward the lower end of the repetition range and build again.
That two-workout rule is a practical tracking method, not a mandatory scientific threshold.
More experienced lifters can add a set to a priority exercise when recovery allows. They do not need every variation, an increasingly complicated routine, or failure on every set. ACSM’s updated guidance does not identify training to complete muscular failure as a consistent requirement for the average healthy adult.
Common Questions About Resistance Band Arm Training
Can resistance bands build arm muscle?
Yes. Bands can provide resistance that supports muscle growth when training is sufficiently challenging and repeated consistently. ACSM includes elastic resistance among effective training options. However, that does not mean every band, exercise, or workout produces identical results.
Which exercises should a beginner choose first?
A standing biceps curl and a self-anchored mini-band triceps pressdown make a straightforward starting pair. Add light wrist work after learning those movements. Use the simplest setup you can control instead of beginning with every curl and extension in the list.
Do I need a door anchor?
No. Only the high-anchored pressdown in this selection requires an external anchor. The other exercises use your feet, opposite hand, or upper back to secure the band.
Do not recreate an anchored exercise using an unsecured household object. Choose one of the no-anchor options instead.
Should I train my arms every day?
Daily hard arm workouts are unnecessary for this plan. Begin with two sessions separated by recovery days. Also account for the arm work you perform during other training: pressing and pulling exercises can add substantially to your weekly workload.
Why do my wrists bend during curls?
The resistance may exceed what you can control with a stable grip, or you may be trying to lift the handles using wrist movement. Reduce the tension and keep your knuckles aligned with your forearms. Mayo Clinic recommends keeping the wrist straight during resistance-tubing curls. Persistent discomfort is a reason to stop and seek guidance, not push harder.
Put These Exercises Into Practice
Choose one curl, one triceps movement, and optional forearm work for your next session. Start with manageable resistance, keep the setup consistent, and record your repetitions.
The most useful resistance band arm workout is one you can perform correctly, recover from, and gradually progress—not the one with the longest exercise list.
This content is for informational purposes only and is not a substitute for medical advice.
References
- American College of Sports Medicine (2026) — Resistance Training Prescription for Muscle Function, Hypertrophy, and Physical Performance
https://pubmed.ncbi.nlm.nih.gov/41843416/ - Lopes JSS, et al. (2019) — Effects of Training With Elastic Resistance Versus Conventional Resistance on Muscular Strength: A Systematic Review and Meta-Analysis
https://pubmed.ncbi.nlm.nih.gov/30815258/ - de Oliveira PA, et al. (2017) — Effects of Elastic Resistance Exercise on Muscle Strength and Functional Performance in Healthy Adults: A Systematic Review and Meta-Analysis
https://pubmed.ncbi.nlm.nih.gov/28032811/ - Refalo MC, et al. (2023) — Influence of Resistance Training Proximity-to-Failure on Skeletal Muscle Hypertrophy: A Systematic Review With Meta-Analysis
https://pubmed.ncbi.nlm.nih.gov/36334240/ - Robinson ZP, et al. (2024) — Resistance Training Proximity to Failure, Strength Gain, and Muscle Hypertrophy
https://pubmed.ncbi.nlm.nih.gov/38970765/