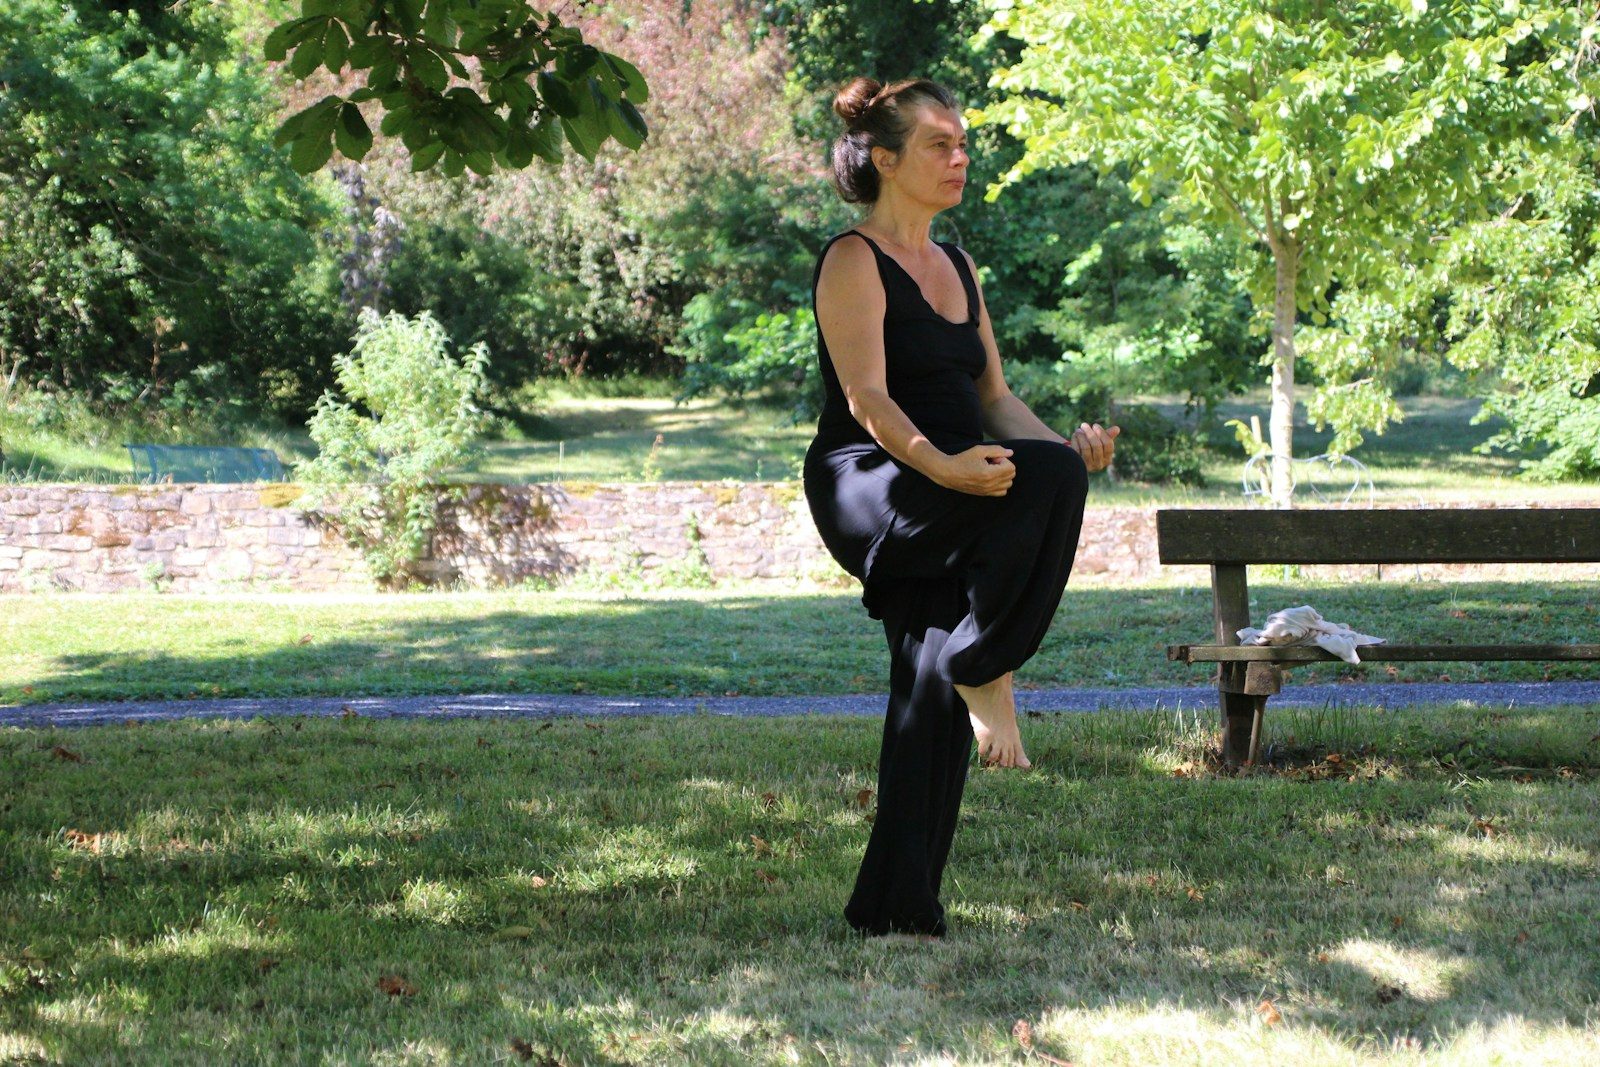
The most practical leg exercises for seniors include sit-to-stands, supported squats, knee extensions, calf raises, hip exercises, marching, and low step-ups. Together, these movements strengthen the major muscles used for standing, walking, climbing stairs, and completing everyday activities.
Most exercises in this guide require only a solid chair. Each one includes a beginner-friendly option, form instructions, and a safe way to progress.
The CDC recommends that older adults perform muscle-strengthening activity on at least two days each week, alongside aerobic and balance activities. Home training can count: the American College of Sports Medicine reports that bodyweight exercises, resistance bands, and home-based routines can improve strength and physical function.
Why Leg Strength Matters for Older Adults
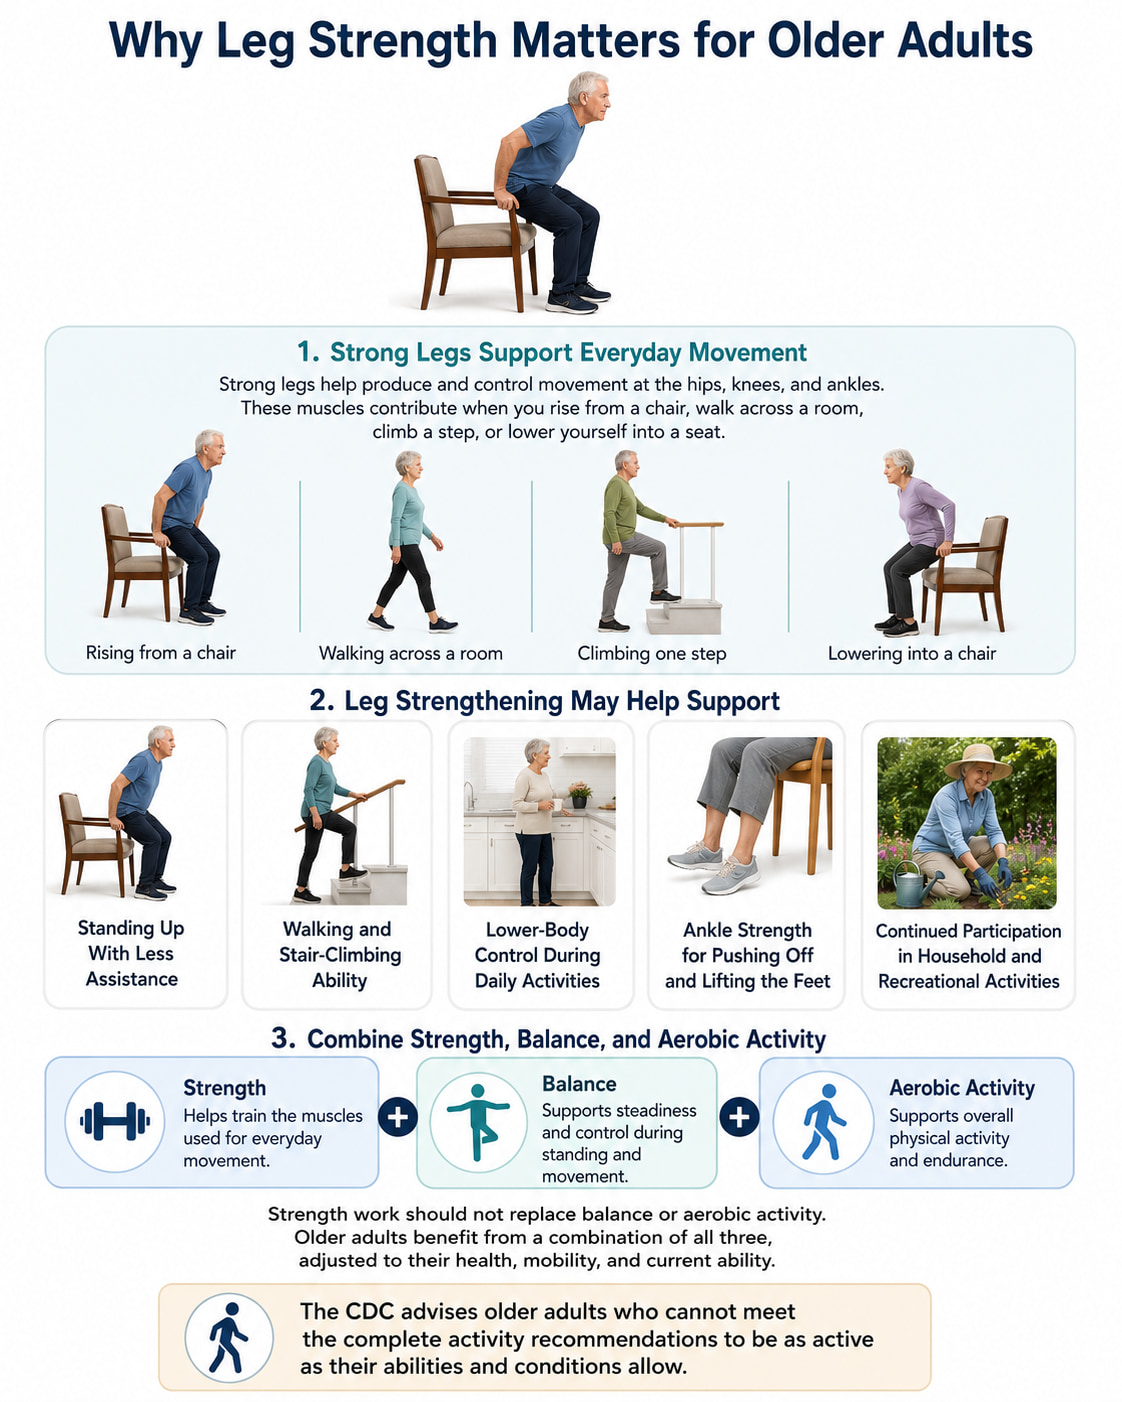
Strong legs help produce and control movement at the hips, knees, and ankles. These muscles contribute when you rise from a chair, walk across a room, climb a step, or lower yourself into a seat.
Leg strengthening may help support:
- Standing up with less assistance
- Walking and stair-climbing ability
- Lower-body control during daily activities
- Ankle strength for pushing off and lifting the feet
- Continued participation in household and recreational activities
Strength work should not replace balance or aerobic activity. Older adults benefit from a combination of all three, adjusted to their health, mobility, and current ability. The CDC also advises people who cannot meet the complete activity recommendations to be as active as their abilities and conditions allow.
What You Need Before Starting
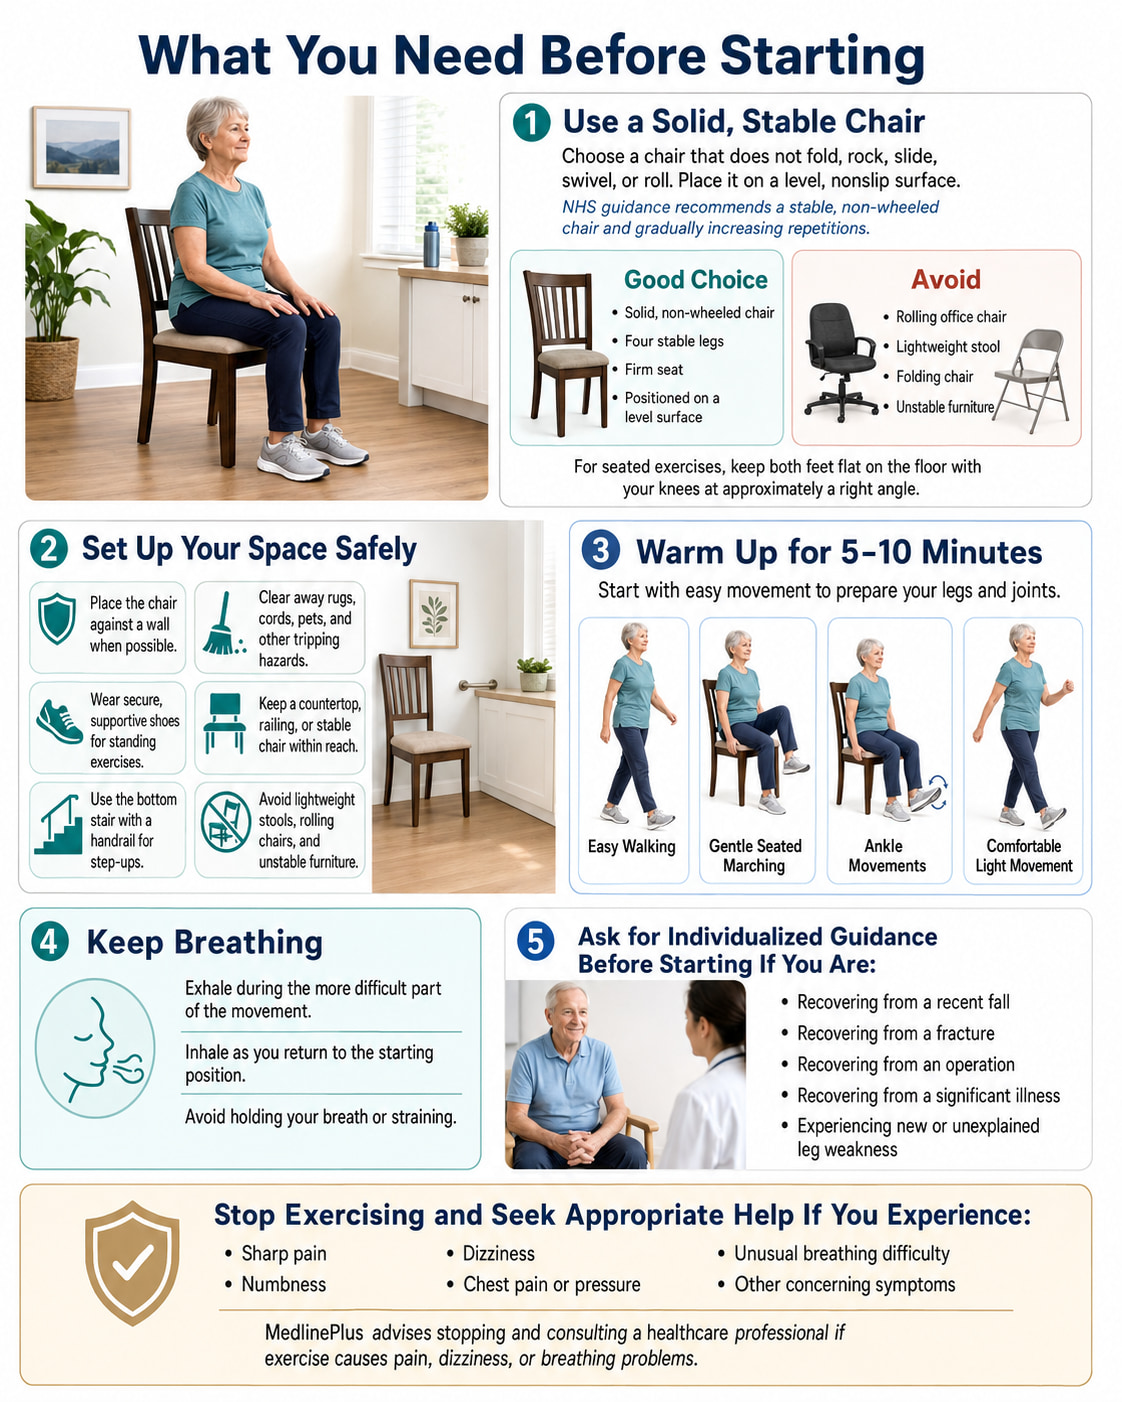
Choose a solid chair that does not fold, rock, slide, swivel, or roll. Place it on a level, nonslip surface. For seated exercises, your feet should rest flat on the floor with your knees at approximately a right angle.
The NHS recommends using a stable, non-wheeled chair for its home strength exercises and increasing repetitions gradually.
Before exercising:
- Place the chair against a wall when possible.
- Clear away rugs, cords, pets, and other tripping hazards.
- Wear secure, supportive shoes for standing exercises.
- Keep a countertop, railing, or stable chair within reach.
- Use the bottom stair with a handrail for step-ups.
- Avoid using a lightweight stool, rolling chair, or unstable furniture for support.
Warm up for 5–10 minutes with easy walking, gentle seated marching, ankle movements, or another comfortable activity.
Breathe throughout every repetition. Exhale during the more difficult part of the movement and avoid holding your breath.
Get individualized guidance before starting when recovering from a recent fall, fracture, operation, or significant illness, or when you have new or unexplained leg weakness. MedlinePlus advises stopping and consulting a healthcare professional if exercise causes pain, dizziness, or breathing problems.
Stop exercising if you experience sharp pain, numbness, dizziness, chest pain or pressure, unusual breathing difficulty, or other concerning symptoms.
10 Best Leg Exercises for Seniors at Home
The exercises below include movements commonly used in NHS, MedlinePlus, and other clinical home-exercise guidance. The goal is to train the hips, thighs, calves, and ankles while keeping the movements practical enough for home use.
You do not need to perform all 10 exercises in one workout. Most beginners can select five to seven movements and build from there.
1. Sit-to-Stand
Best for: Building strength for getting out of a chair, rising from the toilet, and standing from other seated positions.
Muscles worked: Quadriceps and gluteus maximus, with assistance from the hamstrings, inner thighs, calves, and core.
Equipment needed: A solid chair.
Sets, reps, and rest: Start with 1 set of 5 repetitions. Progress toward 2 sets of 8–12 repetitions, resting 60–90 seconds.
How to do it:
- Sit near the front of the chair with your feet approximately hip-width apart.
- Position your feet flat on the floor, slightly behind your knees.
- Lean your torso forward slightly while keeping your back comfortably straight.
- Press through both feet and stand up without using momentum.
- Pause in a tall, stable position.
- Reach your hips toward the chair and sit down slowly.
Common mistakes: Avoid rocking several times before standing, allowing the knees to collapse inward, looking down throughout the movement, or dropping quickly onto the seat.
Progression or regression: Use the armrests or place your hands on your thighs if you need help. A firm cushion can raise the seat and shorten the movement. To progress, use less hand assistance, lower for three seconds, or hold one light weight close to your chest.
Coaching cue: Bring your chest forward, then push the floor away.
The NHS recommends leaning forward slightly, standing with the legs rather than the arms when possible, and returning to the chair slowly.
2. Chair-Supported Mini Squat
Best for: Strengthening the squat pattern while using a chair for stability.
Muscles worked: Quadriceps, glutes, inner thighs, calves, and core.
Equipment needed: A solid chair or secure countertop.
Sets, reps, and rest: Perform 1–2 sets of 5–10 repetitions. Rest for 60–90 seconds.
How to do it:
- Stand behind the chair with your feet about hip-width apart.
- Rest both hands lightly on the chair back.
- Keep your chest lifted and shift your hips slightly backward.
- Bend your hips and knees only as far as feels comfortable.
- Keep your heels down and your knees pointing in the same general direction as your toes.
- Press through your feet and return to standing.
Common mistakes: Do not pull yourself up with your arms, let your heels rise, push the knees inward, or descend farther than you can control.
Progression or regression: Begin with a very shallow bend. Gradually increase the comfortable range before adding resistance. When the movement feels stable, hold a light weight at your chest while continuing to use the chair for balance.
Coaching cue: Sit back slightly, then stand tall.
The NHS mini-squat uses chair support, a comfortable knee bend, and a controlled return to standing.
3. Seated Knee Extension
Best for: Directly strengthening the quadriceps on the front of the thighs.
Muscles worked: Primarily the quadriceps.
Equipment needed: A solid chair; an ankle weight or resistance band is optional.
Sets, reps, and rest: Start with 1 set of 6–10 repetitions per leg. Build toward 2 sets of 10–15, resting 45–75 seconds.
How to do it:
- Sit tall with both feet flat on the floor.
- Keep your hips centered on the chair and your thighs supported.
- Slowly straighten one knee.
- Pause briefly without forcefully locking the joint.
- Lower the foot under control.
- Complete the repetitions before changing legs.
Common mistakes: Avoid kicking the foot upward, leaning far backward, holding your breath, or letting the leg drop quickly.
Progression or regression: Use a shorter range if fully straightening the knee is uncomfortable. Progress by holding the top position for two or three seconds, adding a light ankle weight, or using a resistance band.
Coaching cue: Lift smoothly and lower even more slowly.
MedlinePlus includes seated leg extensions as an exercise for strengthening the thigh muscles.
4. Standing Hamstring Curl
Best for: Strengthening the back of the thighs while practicing controlled single-leg movement.
Muscles worked: Hamstrings, with assistance from the calf muscles and glutes.
Equipment needed: A chair or countertop; ankle weights are optional.
Sets, reps, and rest: Perform 1–2 sets of 6–12 repetitions per leg. Rest 45–75 seconds.
How to do it:
- Stand tall while holding a solid support with both hands.
- Keep your thighs approximately beside each other.
- Bend one knee and move your heel toward the back of your thigh.
- Stop before your pelvis tilts or your torso moves.
- Lower the foot slowly to the floor.
- Complete the repetitions and change sides.
Common mistakes: Avoid moving the working knee far forward, arching your lower back, swinging the leg, or bending at the waist.
Progression or regression: Begin with a small knee bend. Progress by adding a light ankle weight or resistance band. Adding resistance while keeping stable hand support is usually more appropriate than turning the exercise into a balance challenge.
Coaching cue: Keep your thighs still as your heel moves.
MedlinePlus recommends holding a solid support and lowering the working leg slowly during supported knee-curl exercises.
5. Chair-Supported Calf Raise
Best for: Strengthening the calves for walking, stair climbing, and pushing through the feet.
Muscles worked: Gastrocnemius and soleus.
Equipment needed: A chair or secure countertop.
Sets, reps, and rest: Start with 1 set of 8–12 repetitions. Progress toward 2 sets of 12–15, resting 45–75 seconds.
How to do it:
- Stand behind the chair with your feet about hip-width apart.
- Hold the chair and keep your weight evenly distributed between both feet.
- Slowly lift your heels as high as you can control.
- Pause briefly at the top.
- Lower your heels gently to the floor.
Common mistakes: Avoid bouncing, rolling the ankles outward, shifting all your weight to one side, or leaning heavily onto the chair.
Progression or regression: Perform seated heel raises when standing is not appropriate. To progress, pause longer at the top, lower for three seconds, or perform more of the work with one leg while keeping both hands supported.
Coaching cue: Rise straight upward through the balls of your feet.
The NHS and MedlinePlus both emphasize stable support and a slow, controlled heel raise.
6. Seated Toe Raise
Best for: Strengthening the muscles that lift the front of the foot.
Muscles worked: Primarily the tibialis anterior and other ankle dorsiflexors along the front of the lower leg.
Equipment needed: A chair; a resistance band is optional.
Sets, reps, and rest: Perform 1–2 sets of 10–15 repetitions. Rest 30–60 seconds.
How to do it:
- Sit tall with both feet flat and about hip-width apart.
- Keep your heels in contact with the floor.
- Lift your toes and the front of both feet upward.
- Pause briefly.
- Lower the feet slowly until they are flat again.
You may also alternate feet if lifting both at once is difficult.
Common mistakes: Avoid lifting the heels, rocking your body backward, or moving so quickly that the feet slap the floor.
Progression or regression: Start with a small lift. Increase the pause at the top or place a light resistance band around the front of the foot when more challenge is needed.
Coaching cue: Keep your heels heavy as your toes rise.
University College London Hospitals includes controlled foot tapping or pulling the toes upward in its home strength and balance exercise guidance.
7. Chair-Supported Side Leg Raise
Best for: Strengthening the outer hips and improving control of the pelvis while standing.
Muscles worked: Gluteus medius, gluteus minimus, and tensor fasciae latae.
Equipment needed: A chair or countertop; a loop band is optional.
Sets, reps, and rest: Perform 1–2 sets of 6–12 repetitions per side. Rest 45–75 seconds.
How to do it:
- Stand tall behind a chair and hold it with both hands.
- Keep the supporting knee relaxed rather than rigidly locked.
- Point your hips and toes forward.
- Move one leg a few inches out to the side.
- Keep your torso upright and your pelvis level.
- Return the foot slowly and repeat on the other side.
Common mistakes: Avoid leaning away from the working leg, turning the toes toward the ceiling, swinging, or trying to lift the leg excessively high.
Progression or regression: Reduce the distance the leg travels when needed. To progress, add a light loop band above the knees or around the ankles. Keep using the chair if balance is uncertain.
Coaching cue: Stay tall while your leg moves sideways.
The NHS recommends keeping the back and hips straight and avoiding sideways tilting during supported side leg raises.
8. Chair-Supported Hip Extension
Best for: Strengthening the glutes and practicing controlled backward movement of the hip.
Muscles worked: Gluteus maximus and hamstrings.
Equipment needed: A chair or secure countertop; a resistance band is optional.
Sets, reps, and rest: Perform 1–2 sets of 6–12 repetitions per leg. Rest 45–75 seconds.
How to do it:
- Stand behind a chair with both hands supported.
- Keep your torso upright and lightly brace your abdomen.
- Keep one leg mostly straight, without rigidly locking the knee.
- Move that leg backward a short distance.
- Stop before your lower back begins to arch.
- Lower the foot slowly and repeat on the other side.
Common mistakes: Avoid leaning forward, arching the back, rotating the hips, or using a fast swinging motion.
Progression or regression: Begin by sliding the toes backward without lifting the foot far from the floor. Progress with a longer pause or a light resistance band.
Coaching cue: Move from the hip, not the lower back.
The NHS standing leg-extension movement similarly instructs users to move the leg backward while avoiding excessive back arching.
9. Supported March in Place
Best for: Strengthening the hip flexors while practicing weight shifting, coordination, and supported balance.
Muscles worked: Hip flexors and quadriceps, with the glutes, calves, and core helping stabilize the supporting side.
Equipment needed: A chair or countertop.
Sets, reps, and rest: March for 15–30 seconds or perform 5–10 lifts per leg. Complete 1–3 rounds with 45–75 seconds of rest.
How to do it:
- Stand tall behind a chair with both hands supported.
- Shift your weight onto one leg.
- Lift the opposite knee only as high as you can without leaning.
- Place the foot down quietly.
- Alternate sides at a controlled pace.
- Keep your eyes forward and your chest upright.
Common mistakes: Avoid leaning backward, lifting the knees too high, rushing, stomping, or using a support that can move.
Progression or regression: Perform the exercise seated if standing feels unsteady. Progress by marching slightly longer or pausing for one or two seconds on each lift. Reduce hand support only when balance is reliable.
Coaching cue: Grow tall before lifting each foot.
The NHS sitting-exercise guidance uses a controlled knee lift during seated hip marching to work the hips and thighs. University College London Hospitals also includes seated and supported standing marching options.
10. Low Step-Up
Best for: Developing strength and control for stairs, curbs, and other raised surfaces.
Muscles worked: Quadriceps and gluteus maximus, with assistance from the hamstrings and calves.
Equipment needed: The bottom stair or a low, secure exercise step beside a handrail or wall.
Sets, reps, and rest: Start with 1 set of 3–5 repetitions per leading leg. Progress toward 2 sets of 6–10, resting 60–90 seconds.
How to do it:
- Stand close to the bottom stair and hold the railing.
- Place your entire right foot on the step.
- Press through the right foot and step up.
- Bring the left foot onto the step if space allows.
- Step down slowly while maintaining control.
- Complete the planned repetitions, then lead with the other leg.
Common mistakes: Avoid using a step that is too high, placing only the toes on the step, pushing almost entirely from the lower foot, or allowing the leading knee to collapse inward.
Progression or regression: Begin with alternating toe taps on the step without transferring your full body weight. Progress by adding repetitions or using a slightly higher step. Do not add handheld weight until you can step up confidently while maintaining secure contact with the railing.
Coaching cue: Put your whole foot on the step and stand through it.
The NHS balance-exercise guidance recommends using a step near a railing or wall and performing step-ups slowly and under control.
Beginner At-Home Leg Strengthening Workout
Complete this routine two nonconsecutive days per week. Begin with one set of each exercise. A session may take approximately 15–25 minutes, depending on rest periods.
| Exercise | Starting recommendation |
|---|---|
| Sit-to-stand | 5–8 repetitions |
| Seated knee extension | 6–10 per leg |
| Standing hamstring curl | 6–10 per leg |
| Chair-supported calf raise | 8–12 repetitions |
| Chair-supported side leg raise | 6–10 per leg |
| Supported march | 15–30 seconds |
| Optional low step-up | 3–5 per leg |
Rest approximately 45–90 seconds between exercises. Longer rest is appropriate when breathing has not returned to normal or your legs still feel unsteady.
Use an effort level that feels purposeful but controlled. At the end of a set, you should generally feel capable of completing another two or three good repetitions. The goal is not to exercise until your legs give out.
How to Progress the Workout
Use the following order:
- Improve your control and consistency.
- Add one or two repetitions.
- Work toward the top of the recommended range.
- Add a second set.
- Increase the range of motion slightly.
- Add light resistance.
Change only one variable at a time. For example, add repetitions before adding an ankle weight.
Do not automatically remove chair support to make an exercise harder. When balance is limited, adding light resistance while maintaining hand support may be the more suitable progression.
Common Mistakes to Avoid
Doing All 10 Exercises Immediately
More exercise is not always better. Start with five to seven movements and allow your muscles and joints time to adapt.
Using an Unstable Chair
A rolling or lightweight chair can move unexpectedly. Use a solid chair and place it against a wall when possible.
Moving Too Quickly
Swinging and bouncing reduce muscular control. Lift smoothly, pause when appropriate, and control the lowering portion of each repetition.
Choosing Too Much Range of Motion
A deeper squat or higher leg raise is not automatically more effective. Use the largest range you can perform without pain, loss of balance, or unwanted movement elsewhere in the body.
Holding Your Breath
Breathe normally throughout each repetition. Do not strain while holding your breath.
Removing Support Too Soon
A chair is a safety tool, not a sign that an exercise is ineffective. Continue using it until you can perform every repetition without swaying or grabbing for support.
Exercising Through Sharp Pain
Mild muscular effort is expected, but sharp or increasing joint pain is not a progression target. Stop the exercise and seek appropriate guidance when symptoms persist.
Frequently Asked Questions
How often should seniors do leg-strengthening exercises?
A practical starting schedule is two nonconsecutive days per week. This matches the CDC recommendation that older adults perform muscle-strengthening activities on at least two days each week. More frequent training may be appropriate when sessions are divided into shorter, lower-volume workouts.
Can seniors strengthen weak legs at home?
Many older adults can improve lower-body strength with consistent home exercise. Bodyweight movements, chair exercises, resistance bands, and light external resistance can all be useful when the difficulty is gradually increased. The American College of Sports Medicine notes that traditional gym equipment is not required for meaningful improvements in strength and physical function.
Are seated leg exercises effective for seniors?
Seated exercises can be a useful starting point for strengthening specific muscles with lower balance demands. Knee extensions train the quadriceps, seated marching works the hips and thighs, and toe raises train the muscles along the front of the lower legs.
When appropriate, combine seated exercises with supported standing movements so the new strength can be practiced in positions used during daily life.
What is the best leg exercise for getting out of a chair?
The sit-to-stand is the most specific choice because it directly practices rising from and returning to a chair. The movement can be adjusted with arm assistance, a higher seat, slower lowering, or light resistance.
Is walking enough to strengthen an older adult’s legs?
Walking is valuable for aerobic activity, mobility, and general physical activity, but it may not challenge every major leg muscle enough to continue building strength. A complete weekly plan can include walking, targeted strengthening, and balance exercises rather than relying on one activity alone. The CDC recommends all three activity types for older adults.
Which exercises are suitable for very weak legs?
Useful starting options may include assisted sit-to-stands from a raised chair, seated knee extensions, seated toe raises, seated marching, and seated calf raises. Begin with a few controlled repetitions and obtain professional guidance when weakness is new, severe, noticeably different between the legs, or affecting walking safety.
Can seniors do these exercises with knee discomfort?
The answer depends on the cause and severity of the discomfort. Try shortening the movement range, moving more slowly, or using a seated alternative. Exercise should not produce sharp, worsening, or lingering joint pain. A physical therapist or other qualified healthcare professional can help select suitable movements when knee symptoms limit daily activity.
Conclusion
The best leg exercises for seniors are not necessarily complicated or equipment-heavy. A sturdy chair, controlled movements, and gradual progression are enough to create a useful at-home strengthening routine.
Start with a small number of exercises, train at least twice per week when appropriate, and prioritize steady form over high repetitions. As the movements become easier, add repetitions, a second set, or light resistance rather than rushing into advanced variations.
This content is for informational purposes only and is not a substitute for medical advice.
References
- CDC — Older Adult Activity: An Overview
CDC Older Adult Activity Guidelines - American College of Sports Medicine — Resistance Training Guidelines
ACSM Resistance Training Guidelines - Resistance Training Volume and Physical Function in Older Adults: Systematic Review and Network Meta-Analysis
PubMed — Resistance Training Volume in Older Adults - Chair-Based Exercise and Physical Function in Older Adults: Systematic Review and Meta-Analysis
PubMed — Chair-Based Exercise in Older Adults - Home-Based Exercise Programmes Improve Physical Fitness of Healthy Older Adults: Systematic Review and Meta-Analysis
PubMed — Home-Based Exercise for Older Adults - Unsupervised Home-Based Resistance Training for Community-Dwelling Older Adults: Systematic Review and Meta-Analysis
PubMed — Home-Based Resistance Training