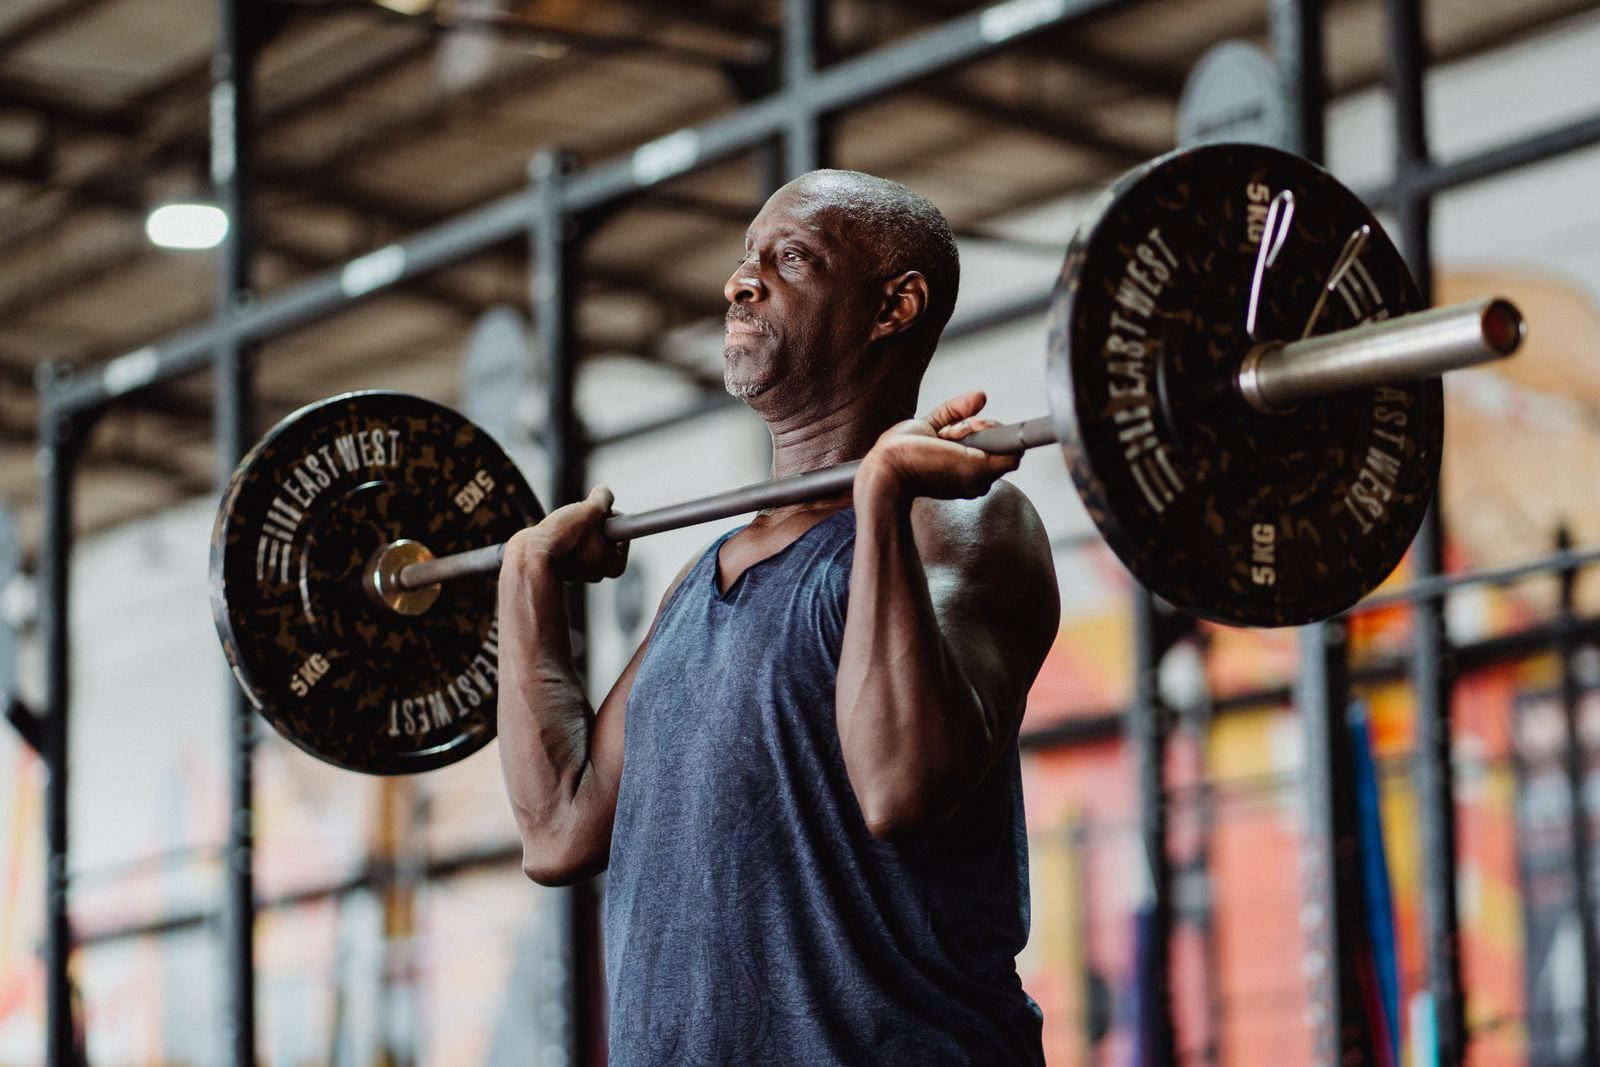
Barbell exercises for seniors can help build strength, improve confidence, and support daily movement when they are started light, set up safely, and progressed gradually. The best options are not always the heaviest or most advanced lifts. For older adults, the safest barbell movements are usually stable, controlled, easy to modify, and easy to stop if form breaks down.
This guide covers the best barbell exercises for seniors, how to perform them, which muscles they work, common mistakes to avoid, and how to use them in a simple strength routine.
Are Barbell Exercises Safe for Seniors?
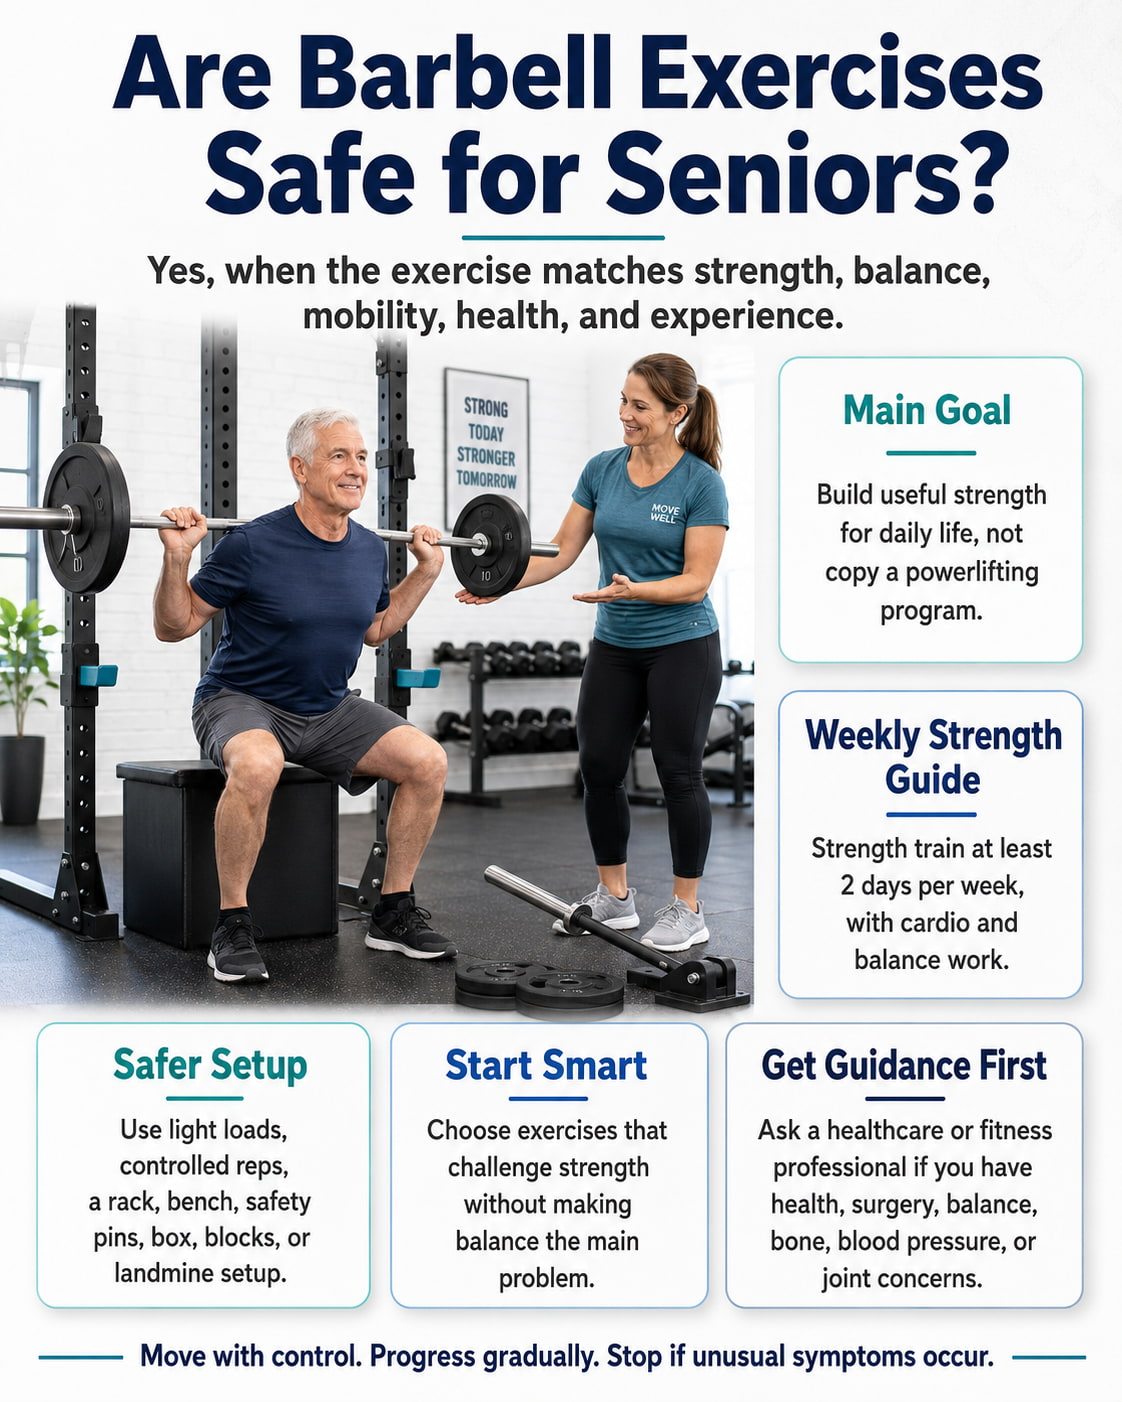
Barbell exercises can be safe for many seniors when the exercise matches the person’s current strength, balance, mobility, health status, and training experience. The goal is not to copy a powerlifting program. The goal is to build useful strength for daily life.
The CDC physical activity guidelines for older adults recommend muscle-strengthening activities at least 2 days per week, along with aerobic activity and balance work. MedlinePlus also lists strength, endurance, balance, and flexibility as important exercise categories for older adults, noting that lifting weights can help build strength.
For seniors, safe barbell training usually means using lighter starting loads, controlled reps, a rack or bench when needed, and exercises that do not challenge balance more than strength. A training bar, fixed barbell, empty Olympic bar, landmine setup, safety pins, box, or blocks can make many exercises easier to learn.
If you have a chronic condition, recent surgery, balance concerns, osteoporosis concerns, uncontrolled blood pressure, or major joint pain, speak with a qualified healthcare professional or fitness professional before starting. Mayo Clinic recommends talking with a healthcare professional before beginning strength training if you have chronic conditions or safety concerns.
How Seniors Should Start Barbell Training
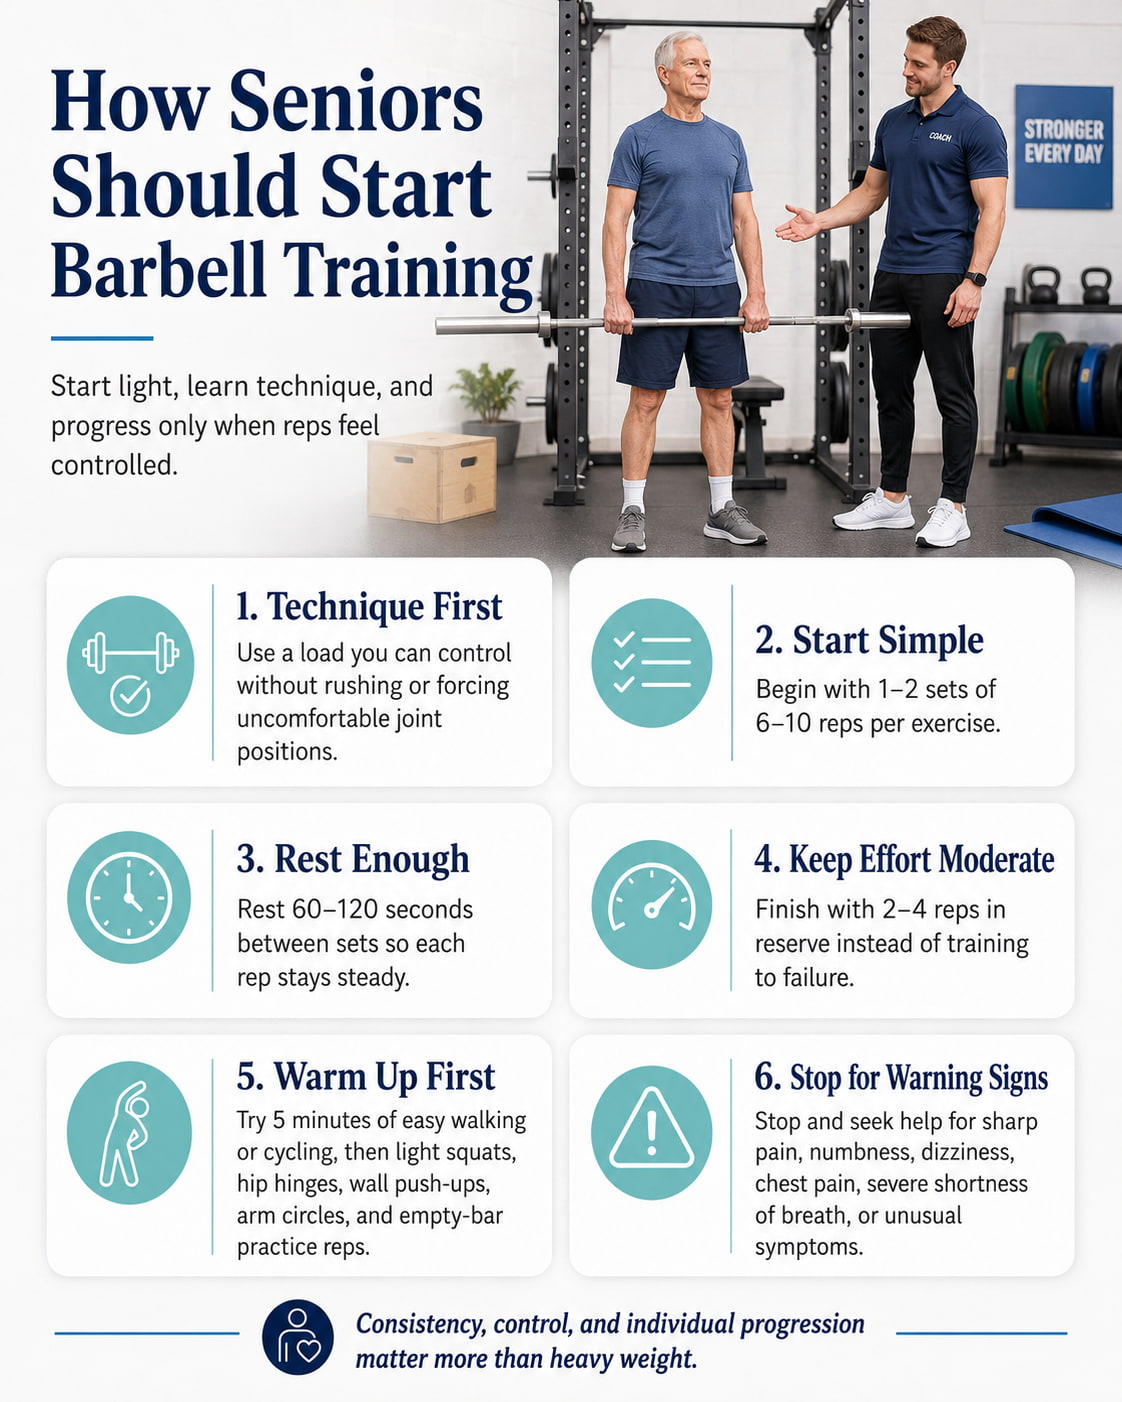
Start with technique first. Use a load you can control without rushing, holding your breath too long, or forcing your joints into uncomfortable positions.
Most beginners should start with 1 to 2 sets of 6 to 10 reps per exercise. Rest 60 to 120 seconds between sets. Keep the effort moderate, around 2 to 4 reps in reserve. That means you finish the set feeling like you could still do a few more good reps if needed.
The ACSM resistance training guidance emphasizes consistency, individualization, and regular participation over complicated routines. The NSCA position statement on resistance training for older adults also supports resistance training as a useful strategy for maintaining strength, function, mobility, independence, and quality of life.
Warm up before lifting. A simple warm-up can include 5 minutes of easy walking or cycling, followed by light bodyweight squats, hip hinges, wall push-ups, arm circles, and a few practice reps with an empty bar.
Stop and seek professional help if an exercise causes sharp pain, numbness, dizziness, chest pain, severe shortness of breath, or unusual symptoms.
11 Safe Barbell Exercises for Seniors
These barbell exercises for seniors focus on major movement patterns: squat, hinge, push, pull, hip extension, lower-leg strength, and arm strength. Start with the easiest version that lets you move smoothly and confidently.
1. Barbell Box Squat
Best for: Lower-body strength, sit-to-stand strength, squat confidence, and controlled depth.
Muscles worked: Quadriceps, glutes, hamstrings, adductors, calves, and core.
Equipment needed: Barbell, squat rack, safety pins, and a sturdy box or bench.
Why it stands out: The box gives seniors a clear depth target and helps reduce fear of “dropping too low.” It also teaches control, balance, and leg drive in a way that carries over to standing up from a chair.
Suggested sets and reps: Start with 1 to 2 sets of 6 to 8 reps. Build toward 2 to 3 sets of 8 to 10 reps as form improves.
Beginners: Use a high box and an empty bar or light training bar. Sit back gently, touch the box with control, then stand without rocking.
Intermediate: Lower the box slightly if mobility and control allow. Add small amounts of weight only when every rep looks steady.
Advanced: Use a moderate load for 3 sets of 6 to 8 reps, but avoid grinding or bouncing off the box.
Rest: Rest 90 to 120 seconds between sets.
How to do it:
- Set a box or bench behind you inside a squat rack.
- Position the bar across your upper back and grip it evenly.
- Stand with your feet about shoulder-width apart.
- Brace your core and keep your chest lifted.
- Bend your hips and knees together as you lower toward the box.
- Lightly touch the box without collapsing your posture.
- Press through your midfoot and heels to stand tall.
Common mistakes: Dropping onto the box, rocking backward to stand, letting the knees cave inward, lifting the heels, or using a box that is too low too soon.
Expert tip: Think “controlled touch, strong stand.” The box is a guide, not a chair for resting.
2. Landmine Squat
Best for: Seniors who need a more upright squat with a stable bar path.
Muscles worked: Quadriceps, glutes, hamstrings, adductors, calves, and core.
Equipment needed: Barbell and landmine attachment or a securely anchored barbell end.
Why it stands out: The landmine squat lets the bar move on an angled path, which often feels more stable than a traditional back squat. Holding the end of the bar in front of the chest can help the torso stay upright.
Suggested sets and reps: Use 2 sets of 8 to 10 reps. Progress to 3 sets when the movement feels natural.
Beginners: Start with the empty barbell in the landmine setup. Keep the range of motion comfortable.
Intermediate: Add small plates and use a controlled 2- to 3-second lowering phase.
Advanced: Use 3 sets of 8 to 12 reps with moderate weight and steady tempo.
Rest: Rest 60 to 120 seconds between sets.
How to do it:
- Stand facing the free end of the barbell.
- Hold the bar close to your chest with both hands.
- Set your feet about shoulder-width apart.
- Brace your core and keep your chest tall.
- Squat down by bending your knees and hips.
- Keep your heels down and knees tracking with your toes.
- Press through your feet to return to standing.
Common mistakes: Holding the bar too far from the body, letting the elbows flare too much, leaning forward excessively, or squatting deeper than you can control.
Expert tip: Keep the bar close to your chest so the movement feels supported instead of pulling you forward.
3. Rack Pull or Block Pull
Best for: Learning the deadlift pattern without pulling from the floor.
Muscles worked: Glutes, hamstrings, spinal erectors, lats, traps, forearms, and core.
Equipment needed: Barbell, squat rack safety pins or lifting blocks.
Why it stands out: A rack pull shortens the range of motion, which can make the hinge pattern easier for seniors who have limited hip mobility or struggle to reach the floor with good posture.
Suggested sets and reps: Start with 1 to 2 sets of 5 to 8 reps. Build toward 2 to 3 sets of 6 to 8 reps.
Beginners: Set the bar just below knee height or around mid-shin height, depending on mobility. Use a light load and focus on posture.
Intermediate: Lower the starting height gradually if you can keep a neutral spine and steady bar path.
Advanced: Use moderate weight for controlled sets of 5 to 6 reps without jerking the bar.
Rest: Rest 90 to 150 seconds between sets.
How to do it:
- Set the bar on rack pins or blocks.
- Stand with the bar close to your legs.
- Place your feet about hip-width apart.
- Grip the bar just outside your legs.
- Hinge your hips back and brace your core.
- Keep your chest proud and shoulders slightly in front of the bar.
- Push through your feet and stand tall.
- Lower the bar back to the pins with control.
Common mistakes: Rounding the back, yanking the bar off the pins, letting the bar drift away from the legs, or leaning back hard at the top.
Expert tip: Think about standing up with the weight, not pulling it with your arms.
4. Barbell Romanian Deadlift
Best for: Hamstring strength, glute strength, hip hinge control, and posterior-chain training.
Muscles worked: Hamstrings, glutes, spinal erectors, lats, forearms, and core.
Equipment needed: Barbell and rack.
Why it stands out: The Romanian deadlift teaches seniors to hinge from the hips while keeping the spine stable. It can support better lifting mechanics for daily tasks such as picking objects up from the floor.
Suggested sets and reps: Use 1 to 2 sets of 6 to 8 reps at first. Progress to 2 to 3 sets of 8 to 10 reps.
Beginners: Start with a very light bar and lower only to the point where you feel a mild hamstring stretch while keeping your back neutral.
Intermediate: Use a 3-second lowering phase and stop around knee to mid-shin level.
Advanced: Add load gradually while keeping every rep smooth and controlled.
Rest: Rest 90 to 120 seconds between sets.
How to do it:
- Hold the bar in front of your thighs.
- Stand tall with your feet about hip-width apart.
- Soften your knees slightly.
- Brace your core and pull your shoulders gently back.
- Push your hips backward as the bar slides down your thighs.
- Lower until you feel a controlled stretch in the hamstrings.
- Drive your hips forward to stand tall again.
Common mistakes: Squatting instead of hinging, rounding the back, locking the knees, lowering too far, or letting the bar drift away from the legs.
Expert tip: Imagine closing a car door with your hips. The hips move back first, while the spine stays long.
5. Barbell Hip Bridge or Hip Thrust
Best for: Glute strength, hip extension, and lower-body support with less balance demand.
Muscles worked: Gluteus maximus, hamstrings, adductors, core, and lower back stabilizers.
Equipment needed: Barbell, pad, mat, and bench if doing hip thrusts.
Why it stands out: Hip bridges and hip thrusts train the glutes without requiring standing balance. This makes them useful for seniors who want to strengthen the hips while keeping the setup stable.
Suggested sets and reps: Start with 2 sets of 8 to 10 reps. Build toward 3 sets of 10 to 12 reps.
Beginners: Start with a bodyweight glute bridge before adding a light barbell.
Intermediate: Use a padded bar and controlled reps with a short pause at the top.
Advanced: Use a moderate load for 3 sets of 8 to 10 reps while keeping the ribs down and hips level.
Rest: Rest 60 to 120 seconds between sets.
How to do it:
- Lie on your back with knees bent and feet flat.
- Place a padded barbell across the hips.
- Hold the bar steady with both hands.
- Brace your core lightly.
- Press through your heels and lift your hips.
- Squeeze your glutes at the top without over-arching your back.
- Lower your hips with control.
Common mistakes: Arching the lower back, pushing through the toes, letting the knees collapse inward, or using too much weight before learning the movement.
Expert tip: Finish with your hips extended, not your lower back arched.
6. Barbell Bench Press
Best for: Upper-body pushing strength, chest strength, and arm strength.
Muscles worked: Chest, front shoulders, triceps, upper back stabilizers, and core.
Equipment needed: Barbell, bench, rack, safety arms, and spotter when possible.
Why it stands out: The bench press builds pushing strength that can carry over to getting up from the floor, pushing doors open, or supporting bodyweight during transfers. For seniors, the setup matters as much as the lift.
Suggested sets and reps: Start with 1 to 2 sets of 6 to 8 reps. Build toward 2 to 3 sets of 8 to 10 reps.
Beginners: Use an empty bar only if it is manageable. A lighter fixed barbell or dumbbell press may be better at first.
Intermediate: Use a controlled touch on the lower chest and press without bouncing.
Advanced: Use moderate weight while keeping 2 to 3 reps in reserve.
Rest: Rest 90 to 150 seconds between sets.
How to do it:
- Lie on a flat bench with your eyes under the bar.
- Place your feet flat on the floor.
- Grip the bar slightly wider than shoulder-width.
- Pull your shoulder blades gently back and down.
- Unrack the bar with control.
- Lower the bar toward the lower chest.
- Press the bar up until your arms are straight but not aggressively locked.
- Re-rack carefully.
Common mistakes: Bouncing the bar, flaring the elbows too wide, lifting the feet, arching excessively, or benching without safety support.
Expert tip: Use safety arms or a spotter. Never assume you can escape a missed rep safely.
7. Barbell Floor Press
Best for: Chest and triceps strength with a shorter, more controlled range of motion.
Muscles worked: Chest, triceps, front shoulders, upper back, and core.
Equipment needed: Barbell, rack, safety pins, and floor space or mat.
Why it stands out: The floor press limits how far the upper arms can travel, which may feel more comfortable for some shoulders than a deep bench press. It is also stable because the body is supported by the floor.
Suggested sets and reps: Use 2 sets of 6 to 10 reps. Progress to 3 sets when technique is consistent.
Beginners: Start with a light bar and set the safety pins so the bar is easy to unrack.
Intermediate: Pause the upper arms lightly on the floor before pressing.
Advanced: Use a controlled 3-second lowering phase for better control.
Rest: Rest 90 to 120 seconds between sets.
How to do it:
- Lie on the floor under a racked barbell.
- Bend your knees and place your feet flat.
- Grip the bar slightly wider than shoulder-width.
- Brace your core and keep your wrists straight.
- Unrack the bar carefully.
- Lower until your upper arms gently touch the floor.
- Press the bar back up with control.
Common mistakes: Crashing the arms into the floor, flaring the elbows, losing wrist position, or setting the rack too high or too low.
Expert tip: Let the floor stop the range of motion, but do not relax at the bottom.
8. Landmine Press
Best for: Shoulder-friendly pressing strength and upper-body control.
Muscles worked: Shoulders, upper chest, triceps, serratus anterior, upper back, and core.
Equipment needed: Barbell and landmine attachment or secure corner setup.
Why it stands out: The landmine press uses an angled pressing path instead of a straight overhead press. This can be easier for seniors who have limited shoulder mobility or do not feel comfortable pressing directly overhead.
Suggested sets and reps: Start with 2 sets of 8 reps per side. Progress to 3 sets of 8 to 10 reps.
Beginners: Use the empty bar and press with both hands first.
Intermediate: Use one-arm presses from a standing or half-kneeling position.
Advanced: Add light weight and keep the ribs stacked over the hips.
Rest: Rest 60 to 120 seconds between sets.
How to do it:
- Stand facing the free end of the barbell.
- Hold the end of the bar at shoulder height.
- Brace your core and keep your ribs down.
- Press the bar up and slightly forward.
- Keep your shoulder controlled at the top.
- Lower the bar back to shoulder height slowly.
- Repeat on the other side if using one arm.
Common mistakes: Leaning back, shrugging the shoulder, pressing too fast, or letting the lower back arch.
Expert tip: Press forward and up, not straight overhead.
9. Landmine Row
Best for: Upper-back strength, posture support, and pulling strength.
Muscles worked: Lats, rhomboids, traps, rear delts, biceps, forearms, and core.
Equipment needed: Barbell, landmine attachment, and handle if available.
Why it stands out: The landmine row is often easier to stabilize than a strict bent-over barbell row. It trains the back and arms while letting seniors use a more supported stance.
Suggested sets and reps: Use 2 sets of 8 to 10 reps. Progress to 3 sets of 8 to 12 reps.
Beginners: Start with the empty bar and a higher torso angle.
Intermediate: Add small plates while keeping the back flat and movement controlled.
Advanced: Use a split stance or chest-supported setup if available for better control.
Rest: Rest 60 to 120 seconds between sets.
How to do it:
- Set one end of the barbell in a landmine attachment.
- Stand over or beside the bar depending on the handle setup.
- Hinge at the hips with a long spine.
- Grip the bar or handle securely.
- Brace your core.
- Pull the bar toward your lower ribs.
- Squeeze your shoulder blade back without twisting.
- Lower with control.
Common mistakes: Rounding the back, jerking the weight, twisting the torso, shrugging the shoulders, or pulling with only the arms.
Expert tip: Start the pull by moving the shoulder blade, then finish with the arm.
10. Barbell Calf Raise in a Rack
Best for: Calf strength, ankle support, and lower-leg training.
Muscles worked: Gastrocnemius, soleus, foot stabilizers, and core.
Equipment needed: Barbell, squat rack, and safety pins.
Why it stands out: Calf strength supports walking, stair climbing, and balance. Doing calf raises in a rack gives seniors a safer setup than trying to balance freely with a heavy bar.
Suggested sets and reps: Use 2 sets of 10 to 15 reps. Progress to 3 sets when control improves.
Beginners: Start with bodyweight calf raises while holding the rack.
Intermediate: Use an empty bar or light barbell on the back.
Advanced: Add small amounts of weight and pause at the top of each rep.
Rest: Rest 60 to 90 seconds between sets.
How to do it:
- Set the bar in a squat rack at upper-back height.
- Position the bar across your upper back.
- Stand tall with feet about hip-width apart.
- Hold the bar and brace your core.
- Rise onto the balls of your feet.
- Pause briefly at the top.
- Lower your heels with control.
Common mistakes: Bouncing, rolling the ankles outward, rushing reps, or using weight before balance is steady.
Expert tip: Move slowly and control the lowering phase. The bottom half of the rep matters.
11. Barbell Biceps Curl or EZ-Bar Curl
Best for: Arm strength, grip support, and simple accessory training.
Muscles worked: Biceps, brachialis, brachioradialis, forearms, and grip muscles.
Equipment needed: Straight barbell or EZ-bar.
Why it stands out: Curls are simple, easy to learn, and useful for maintaining arm strength for carrying groceries, lifting bags, and daily pulling tasks. An EZ-bar may feel more comfortable on the wrists than a straight bar.
Suggested sets and reps: Use 1 to 2 sets of 8 to 12 reps. Build toward 2 to 3 sets if recovery is good.
Beginners: Use a light fixed barbell or EZ-bar. Keep the elbows close to the body.
Intermediate: Use slow lowering and avoid swinging.
Advanced: Use strict curls with a moderate load and full control.
Rest: Rest 60 to 90 seconds between sets.
How to do it:
- Stand tall with the bar in front of your thighs.
- Hold the bar with palms facing up.
- Keep your elbows close to your sides.
- Brace your core lightly.
- Curl the bar toward your chest.
- Squeeze the biceps briefly.
- Lower the bar slowly to the start.
Common mistakes: Swinging the hips, leaning back, lifting the elbows too far forward, bending the wrists, or using a bar that is too heavy.
Expert tip: Keep the body still. If the hips move, the weight is probably too heavy.
Beginner Barbell Workout for Seniors
This simple routine uses safe barbell exercises for seniors without overloading the joints or balance system. Do it 2 days per week with at least one rest day between sessions.
| Exercise | Sets | Reps | Rest |
|---|---|---|---|
| Barbell Box Squat | 2 | 6–8 | 90 sec |
| Rack Pull or Block Pull | 2 | 5–8 | 120 sec |
| Barbell Floor Press | 2 | 6–10 | 90 sec |
| Landmine Row | 2 | 8–10 | 90 sec |
| Barbell Hip Bridge | 2 | 8–12 | 90 sec |
| Barbell Calf Raise in a Rack | 2 | 10–15 | 60 sec |
Keep the first 2 to 4 weeks light and technical. The goal is to finish every session feeling better at the movements, not exhausted.
Progress by adding reps first. For example, if you can do 2 sets of 8 box squats with steady form, work toward 2 sets of 10 before adding weight. When you add weight, use the smallest increase available.
How Often Should Seniors Do Barbell Exercises?
Most seniors can start with 2 barbell strength sessions per week. This matches the general recommendation to train major muscle groups at least twice weekly.
A good weekly plan might include two strength days, two or more walking or low-impact cardio days, and short balance or mobility work on most days. The exact plan should match your recovery, schedule, and health status.
More is not always better. If joints feel irritated, sleep gets worse, or soreness lasts several days, reduce the load, sets, or exercise difficulty.
Common Mistakes Seniors Should Avoid
The biggest mistake is starting too heavy. A barbell makes it easy to add weight, but the body needs time to adapt. Use light loads until the movement pattern is consistent.
Another mistake is choosing advanced lifts too early. Full deadlifts from the floor, heavy back squats, overhead presses, walking lunges, cleans, snatches, and good mornings may be fine for experienced lifters, but they are not the best starting point for most seniors.
Do not ignore balance. If standing exercises feel unstable, choose supported versions, a landmine setup, seated options, or exercises done in a rack.
Do not train through warning signs. Muscle effort is normal. Sharp pain, numbness, dizziness, chest pain, or unusual symptoms are not normal.
Finally, avoid rushing the lowering phase. Controlled lowering builds better technique and reduces the chance of losing position.
Tips to Make Barbell Training Safer for Seniors
Use a rack whenever possible. Safety pins are especially helpful for squats, bench press, and rack pulls.
Choose a lighter bar if a standard Olympic bar is too heavy. Some gyms have fixed barbells, short barbells, women’s Olympic bars, or training bars.
Use a box, bench, or blocks to shorten the range of motion when needed. You can increase the range later as strength and mobility improve.
Keep most sets at a moderate effort level. You do not need to max out or train to failure to build strength. ACSM notes that advanced techniques and training to momentary failure are often optional for general health and fitness outcomes in average healthy adults.
Breathe with control. Exhale as you lift or pass the hardest part of the rep. Avoid long breath-holds unless a qualified professional has taught you how and it is appropriate for your health status.
FAQs About Barbell Exercises for Seniors
Are barbell exercises safe for seniors?
Yes, barbell exercises can be safe for many seniors when the exercises are selected carefully and performed with proper technique. The safest choices are usually stable, controlled, and easy to modify. Seniors with medical concerns should get professional guidance before starting.
What weight should seniors start with?
Start with the lightest load that allows perfect control. This may be a training bar, fixed barbell, empty Olympic bar, or even a bodyweight version before adding the bar. The first goal is clean movement, not heavy weight.
Should seniors do barbell squats?
Some seniors can do barbell squats safely, but a box squat or landmine squat is usually a better starting point than a heavy free back squat. These versions make depth, balance, and control easier to manage.
Should seniors deadlift?
Seniors can train the deadlift pattern, but pulling from the floor is not required at first. Rack pulls, block pulls, kettlebell deadlifts, and Romanian deadlifts are often better starting points because they are easier to set up and control.
Are machines safer than barbells for seniors?
Machines can be helpful because they provide support and guide the movement. Barbells can also be safe when the exercise is appropriate and the setup is controlled. The best choice depends on the person’s strength, balance, mobility, equipment access, and confidence.
How many barbell exercises should seniors do in one workout?
Most seniors do well with 4 to 6 exercises per workout. A good session should train the legs, hips, back, chest or shoulders, and core without causing excessive fatigue.
What barbell exercises should seniors avoid?
Most beginners should avoid heavy max lifts, Olympic lifts, fast explosive lifts, behind-the-neck presses, heavy good mornings, and any movement that causes pain or feels unstable. These exercises may be appropriate for some experienced lifters, but they are not necessary for general strength and function.
Conclusion
Barbell exercises for seniors can be an effective way to build strength when the program is simple, controlled, and matched to the person’s ability. Start with safer variations such as box squats, rack pulls, floor presses, landmine presses, landmine rows, and hip bridges.
Use light loads, focus on smooth reps, rest enough between sets, and progress slowly. The best barbell program is not the hardest one. It is the one you can perform consistently, safely, and confidently.
This content is for informational purposes only and is not a substitute for professional medical advice.
1 thought on “11 Safe Barbell Exercises for Seniors to Build Strength”