
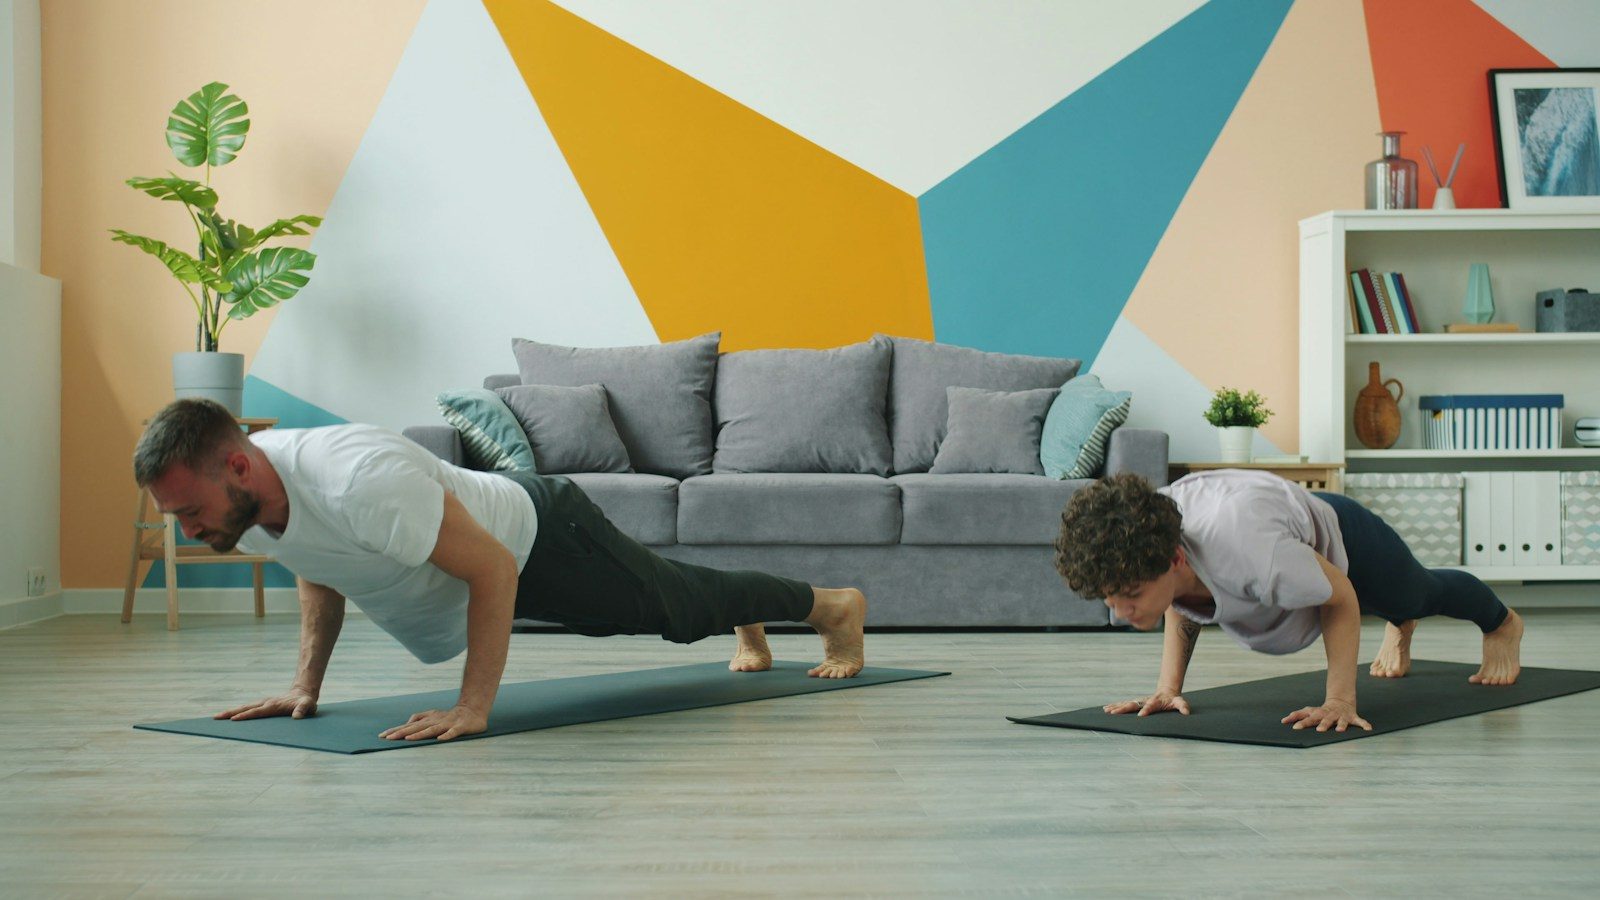
Push-ups and dumbbell floor exercises can build chest strength and muscle without a weight bench. These chest exercises at home include easier starting options, harder variations, and a simple routine that helps you use them without doing every exercise on the list.
How to Choose Chest Exercises at Home
Your pectoralis major, the large muscle across your chest, does much of the work during these movements. Pressing exercises also involve your triceps and the fronts of your shoulders. During push-ups, your abdominal muscles help keep your torso steady.
Home training does not have to be a temporary substitute for the gym. In a small eight-week study involving 18 young men, push-ups and low-load bench presses produced similar improvements in chest muscle thickness and strength when the training loads were matched. That supports push-ups as a useful training option, although one small study does not establish that every home routine will produce the same results.
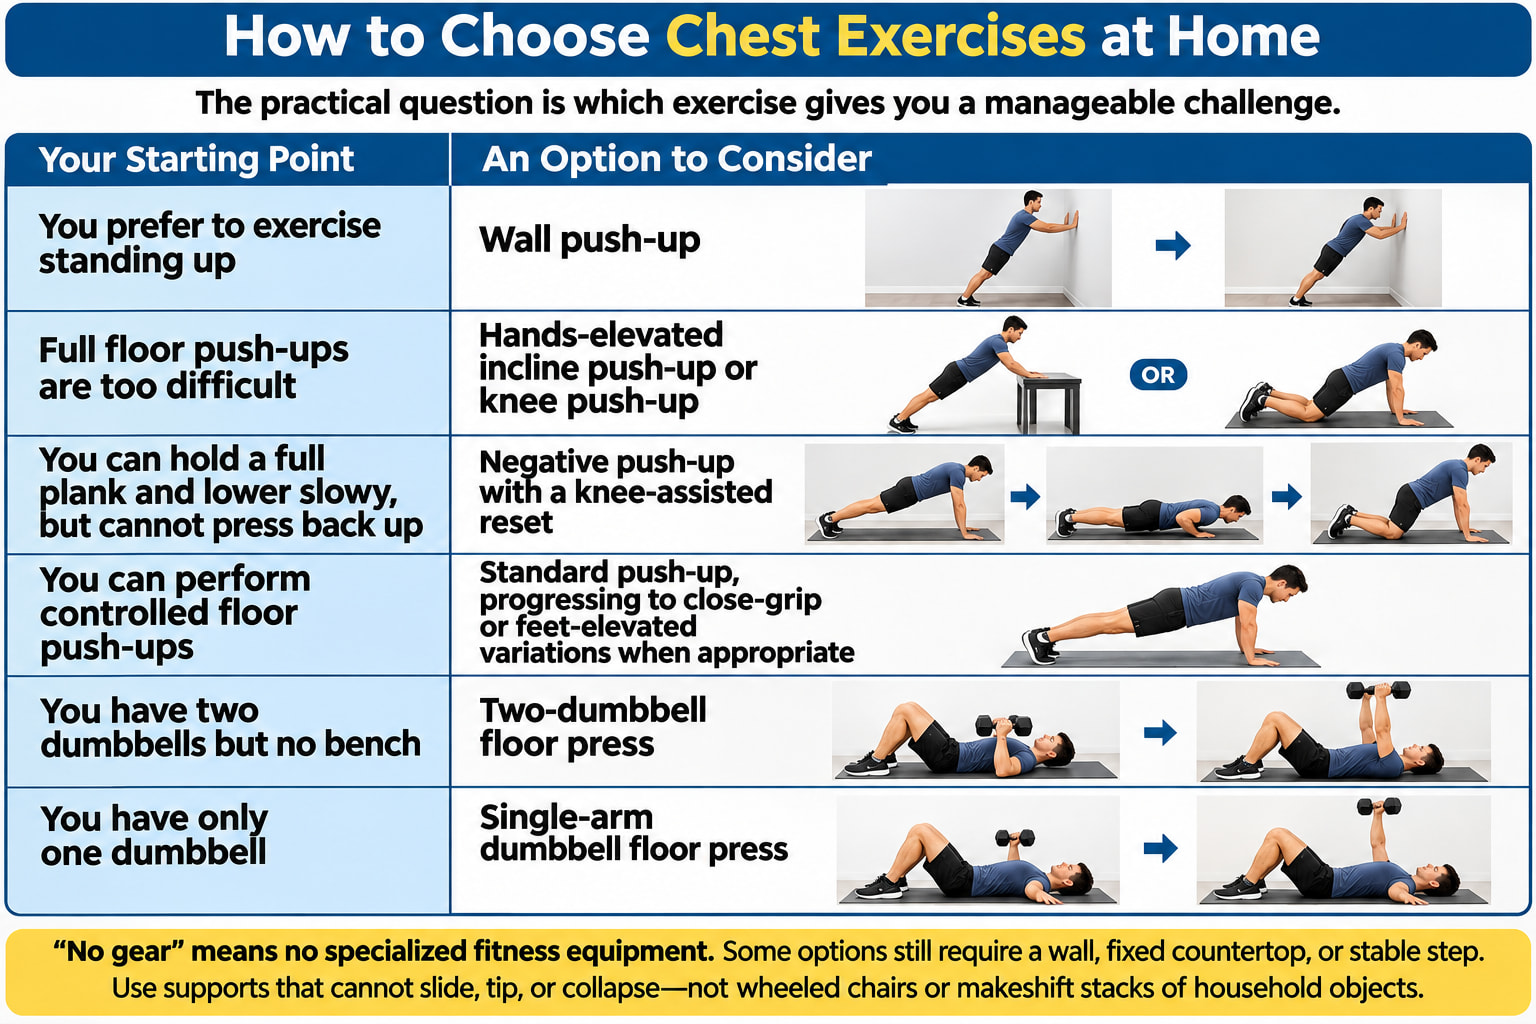
The practical question is which exercise gives you a manageable challenge.
| Your starting point | An option to consider |
|---|---|
| You prefer to exercise standing up | Wall push-up |
| Full floor push-ups are too difficult | Hands-elevated incline push-up or knee push-up |
| You can hold a full plank and lower slowly, but cannot press back up | Negative push-up with a knee-assisted reset |
| You can perform controlled floor push-ups | Standard push-up, progressing to close-grip or feet-elevated variations when appropriate |
| You have two dumbbells but no bench | Two-dumbbell floor press |
| You have only one dumbbell | Single-arm dumbbell floor press |
Here, “no gear” means no specialized fitness equipment. Some options still require a wall, fixed countertop, or stable step. Use supports that cannot slide, tip, or collapse—not wheeled chairs or makeshift stacks of household objects.
Choose Your Difficulty Before Adding More Exercises
Start with one main pressing exercise. The wall, incline, knee, and standard push-ups are alternatives, not four exercises you need to complete together. The single-arm floor press also replaces the two-dumbbell version rather than automatically adding to it.
The repetition ranges below are starting examples. For each exercise you select, begin with two sets, resting 90–180 seconds between sets. Choose a difficulty that lets you finish most sets with roughly two or three controlled repetitions still possible. You do not need to reach complete muscular failure to benefit from resistance training.
For negative push-ups, use the separate instructions below: stop when you can no longer control the descent.
Chest Exercises at Home Without Weights
1. Wall Push-Up
A wall push-up is a useful starting option when you want to practice pressing without getting onto the floor. You need a clear wall and enough space to step backward.
How to do it:
- Face the wall and place your palms against it around chest height, approximately shoulder-width apart.
- Step your feet back until your straight arms support some of your weight. Keep your head, trunk, and hips aligned.
- Bend your elbows to move your chest toward the wall. Let your elbows angle slightly downward rather than flare straight sideways.
- Press through your palms to straighten your arms and return to the starting position.
Starting target: Two sets of 8–15 repetitions.
Main correction: Move your whole body toward the wall. Avoid reaching forward with your head while your chest stays behind.
Stand closer to make the exercise easier. Once the movement becomes comfortable, try a hands-elevated push-up on a secure countertop.
2. Hands-Elevated Incline Push-Up
Elevating your hands makes a push-up more manageable while preserving the straight-body position used in a floor push-up.
How to do it:
- Place your palms slightly wider than shoulder-width on a fixed countertop or another secure raised surface.
- Walk your feet back until your body forms a straight line from head to heels.
- Bend your elbows and lower your chest toward the support. Keep your elbows angled back and your hips in line with your torso.
- Press away from the surface until your arms straighten.
Starting target: Two sets of 8–15 repetitions.
Main correction: Do not lead with your chin or let your hips sag. Raise the hand support if you cannot maintain alignment.
A higher support is generally easier; a lower support makes you handle more of your body weight. Change the height gradually rather than jumping straight from a countertop to the floor.
3. Knee Push-Up
The knee push-up provides a floor-based alternative when a full push-up is too demanding and a suitable elevated surface is unavailable.
How to do it:
- Place your knees on the floor or a thin mat, with your palms approximately shoulder-width apart.
- Move into a position where your head, torso, and thighs form one line. Your hips should not remain directly above your knees.
- Bend your elbows and lower your chest toward the floor without folding at your hips.
- Press back up, raising your chest and hips together.
Starting target: Two sets of 8–15 repetitions.
Main correction: Avoid turning the movement into a small arm bend from an all-fours position. Keep your body extended from your knees through your shoulders.
An incline push-up is an equally useful alternative. Choose the version that lets you control the movement rather than feeling obligated to progress through both.
4. Negative Push-Up With a Knee-Assisted Reset
A “negative” repetition emphasizes the lowering phase. This version lets you practice lowering from your toes without requiring you to press back up from that position.
How to do it:
- Start in a full high plank with your palms on the floor, legs extended, and body aligned from head to heels.
- Bend your elbows and lower your body toward the floor over approximately 3–5 seconds. Keep your chest and hips moving together.
- At the bottom, place your knees down and use a knee push-up to return to straight arms.
- Lift your knees and reestablish the full plank before beginning the next descent.
Starting target: Two sets of 3–5 controlled repetitions, resting 90–180 seconds between sets.
Main correction: Do not lower slowly for the first few inches and then collapse. End the set when you lose control.
ACE includes this knee-assisted reset in its push-up progression guidance. It is an optional practice tool, not a mandatory step before learning full push-ups.
5. Standard Floor Push-Up
The standard push-up is a practical main exercise when you can maintain your body position through both the lowering and pressing phases.
How to do it:
- Place your palms approximately shoulder-width or slightly wider on the floor. Extend your legs and support yourself on your toes.
- Tighten your abdomen and glutes so your head, torso, and legs stay aligned.
- Bend your elbows and lower your chest toward the floor through a range you can control. Let your elbows travel diagonally back rather than directly sideways.
- Press the floor away until your arms straighten, raising your chest and hips together.
Starting target: Two sets of 8–15 repetitions. Use an incline variation when that range is not yet manageable.
Main correction: Do not reach your chin toward the floor to make the repetition look deeper. Keep your neck aligned with your spine and move your chest.
Make the exercise easier by elevating your hands. Once your working sets become consistently manageable, consider a harder variation rather than simply rushing through more repetitions.
6. Close-Grip Push-Up
This variation keeps the chest involved while giving the triceps a greater role. Your hands do not need to touch or form a diamond.
How to do it:
- Begin in a high plank with your palms just inside shoulder-width and your fingers pointing forward.
- Brace your abdomen and keep your body straight.
- Bend your elbows, allowing them to travel back close to your sides as your chest lowers.
- Press through your palms to return to straight arms without letting your hips sag.
Starting target: Two sets of 6–12 repetitions.
Main correction: Do not force your hands into an extremely narrow position. Use a spacing that allows comfortable wrists and controlled elbow movement.
Treat this as an alternative to your regular push-up, not a required extra exercise. Return to standard hand spacing or an incline push-up when the narrower position prevents you from controlling the movement.
7. Feet-Elevated Decline Push-Up
Elevating your feet provides a harder bodyweight pressing option. Begin with a low support rather than trying to make the exercise as steep as possible.
Setup guide: NASM’s decline push-up instructions.
How to do it:
- Place your toes on a low, stable step or platform. Around 6–12 inches is a reasonable starting elevation.
- Position your palms slightly wider than shoulder-width on the floor and establish a straight line through your head, torso, and legs.
- Bend your elbows to lower your chest toward the floor, keeping your hips aligned with your torso.
- Press back up under control without pushing your hips into the air.
Starting target: Two sets of 6–12 repetitions.
Main correction: A raised-hip position changes the movement. Lower the support or return to standard push-ups if you cannot keep a straight body.
Use this variation after you can perform controlled standard push-ups. More elevation is not automatically a better choice.
Dumbbell Chest Exercises at Home Without a Bench
The floor provides the support for these three exercises. It also limits how far your upper arms can travel behind your torso compared with using a bench. Do not try to create extra depth by lifting or twisting your body.
Choose weights you can get into position and set down under control. A thin mat is optional; leave enough clear space around you for the dumbbells.
8. Two-Dumbbell Floor Press
The two-dumbbell floor press is the main weighted pressing option in this list. Both arms work at the same time, and no bench is needed.
How to do it:
- Sit on the floor with the dumbbells held close to your body, then lie back under control. Bend your knees and plant your feet.
- Position your upper arms on the floor, angled somewhat away from your torso. Keep your elbows bent, forearms upright, and palms facing toward your feet.
- Brace your abdomen and press both dumbbells simultaneously above your chest until your arms straighten. Keep your wrists aligned with your forearms.
- Lower slowly until the backs of your upper arms gently meet the floor. Pause without bouncing, then repeat.
Starting target: Two sets of 8–15 repetitions.
Main correction: Do not bounce your arms off the floor or bang the dumbbells together at the top.
Keep your hips down throughout the set. After the final repetition, lower the weights and bring them close to your body before setting them down securely.
9. Single-Arm Dumbbell Floor Press
This version is useful when you have only one dumbbell. Complete one side at a time while keeping your torso steady.
Setup guide: Muscle & Fitness’s one-arm floor press instructions.
How to do it:
- Lie on your back with your knees bent and both feet planted. Use both hands to help position the dumbbell when needed.
- Hold it in one hand with your palm facing toward your feet. Place your free arm out to the side, palm against the floor.
- Brace your abdomen and press the dumbbell above the working side of your chest. Keep both shoulders and your hips steady.
- Lower until your upper arm gently meets the floor. Finish your repetitions, then securely reposition the weight before changing sides.
Starting target: Two sets of 8–15 repetitions per side.
Main correction: Avoid rolling toward or away from the weight. Use a lighter dumbbell if you cannot keep your torso still.
Do not pass the dumbbell between hands above your face. Lower it and use both hands to manage the changeover.
10. Dumbbell Floor Fly
The floor fly is an optional accessory that moves your arms in an arc rather than using a pressing motion. Use lighter weights than you would for a floor press.
How to do it:
- Lie on your back with your knees bent and feet planted. Hold the dumbbells above your chest with your palms facing each other.
- Keep a small bend in your elbows and maintain that bend throughout the repetition.
- Slowly open your arms outward in an arc. Stop with your elbows just above the floor, or sooner if that is the limit of your comfortable range.
- Bring the dumbbells back together above your chest along the same arc.
Starting target: Two sets of 10–15 repetitions.
Main correction: If you have to bend your elbows substantially to lift the weights, the movement is turning into a press. Reduce the load rather than forcing the fly.
Skip this exercise when your available dumbbells are too heavy to control. A fly is not essential to an effective home chest session.
How to Build a Home Chest Workout
Use the following template as a starting example, not a requirement to complete a certain amount of work regardless of your ability.
Train your chest on two nonconsecutive days, such as Monday and Thursday. Regular resistance training matters more than collecting variations, and the American College of Sports Medicine recommends training all major muscle groups at least twice weekly.
Start With One Main Exercise
Warm up with about five minutes of brisk walking, marching, or similar easy movement. Then perform one comfortable practice set of your chosen press using an easier variation or lighter weight. Do not count this as a working set.
| Order | Exercise choice | Sets and repetitions | Rest |
|---|---|---|---|
| 1. Main press | Choose one suitable push-up variation, the two-dumbbell floor press, or the single-arm floor press | 2 sets of 8–15 reps; use 6–12 for close-grip or decline push-ups | 90–180 seconds |
| 2. Optional second exercise | With dumbbells: floor fly. Without dumbbells: an easier push-up variation you can still control | 2 sets of 10–15 for flyes, or 8–15 for an easier push-up | 90–180 seconds |
Begin with the main exercise alone for your first few sessions. Add the optional second exercise when you are recovering comfortably and maintaining your technique.
For example, a bodyweight session could use standard push-ups followed by hands-elevated push-ups. A dumbbell session could use floor presses followed by light floor flyes. You do not need to do both the one-arm and two-arm presses.
For single-arm presses: Complete the repetitions on one side, allow enough time to reposition safely—often around 15–30 seconds—then complete the other side. Rest 90–180 seconds after both sides. Two sets means two sets per arm.
For negative push-ups: Replace the main press with two sets of 3–5 repetitions using a 3–5-second descent. Skip the optional second exercise initially rather than adding negatives on top of an already demanding session.
Keep this chest work within a balanced program that also trains your back, legs, and other major muscle groups. More pressing is not a substitute for training the rest of your body.
How to Progress With Limited Equipment
Add Repetitions Before Making the Exercise Harder
Record the exercise, support height or dumbbell weight, and repetitions you complete.
A practical progression rule is to increase the challenge after you reach the top of your repetition range in both sets for two workouts, while still finishing with about two controlled repetitions available. This is a coaching guideline, not a test you must pass on a fixed schedule.
For example, once two sets of 15 incline push-ups become manageable, lower your hand support slightly and work back up through the range. For dumbbell presses, increase the weight by the smallest available increment and accept that your repetitions may drop.
Change One Variable at a Time
With push-ups, progress by lowering your hand support, moving from a modified version to a full push-up, or introducing modest foot elevation. Do not change the variation, add sets, and shorten your rest periods all at once.
With dumbbells, prioritize controlled repetitions before increasing the load. If the next available weight is too heavy, stay with the lighter weight while improving consistency. Do not compensate by bouncing off the floor or shortening each repetition.
Add Sets When You Need More Work—and Recover From It
After you can comfortably manage two exercises for two sets each, twice weekly, adding a third set to the main exercise would bring the total to 10 working sets per week.
ACSM identifies higher weekly volume, around 10 sets per muscle group, as useful for optimizing muscle growth. That is not a minimum every beginner must reach immediately. Start with less, track your progress, and add work gradually rather than treating soreness or exhaustion as the goal.
Keep the Session Controlled
Breathe in as you lower and out as you press or bring the weights together. Avoid holding your breath through an entire set, and end the set when you can no longer maintain your technique.
Stop for sharp pain, numbness, dizziness, chest pain, or other concerning symptoms and seek appropriate medical help. Chest pain, fainting, or severe difficulty breathing warrants urgent attention. Do not try to solve persistent symptoms by forcing more repetitions.
Start with one exercise that fits your strength and equipment, practice it twice weekly, and record your repetitions. Add difficulty or a second movement when your technique and recovery support it—not simply because the list contains 10 options.
References
- American College of Sports Medicine: Updated resistance training recommendations.
- Kikuchi and Nakazato: Low-load bench press and push-up induce similar muscle hypertrophy and strength gain.
- American Council on Exercise: Standard push-up, bent-knee push-up, and push-up progressions.
- National Academy of Sports Medicine: Incline push-up and decline push-up.
- Hinge Health: Wall push-up guidance.
- Muscle & Fitness: Dumbbell floor press and one-arm floor press.
- PureGym: Dumbbell floor fly instructions.
- Mayo Clinic: Weight training: Do’s and don’ts of proper technique.