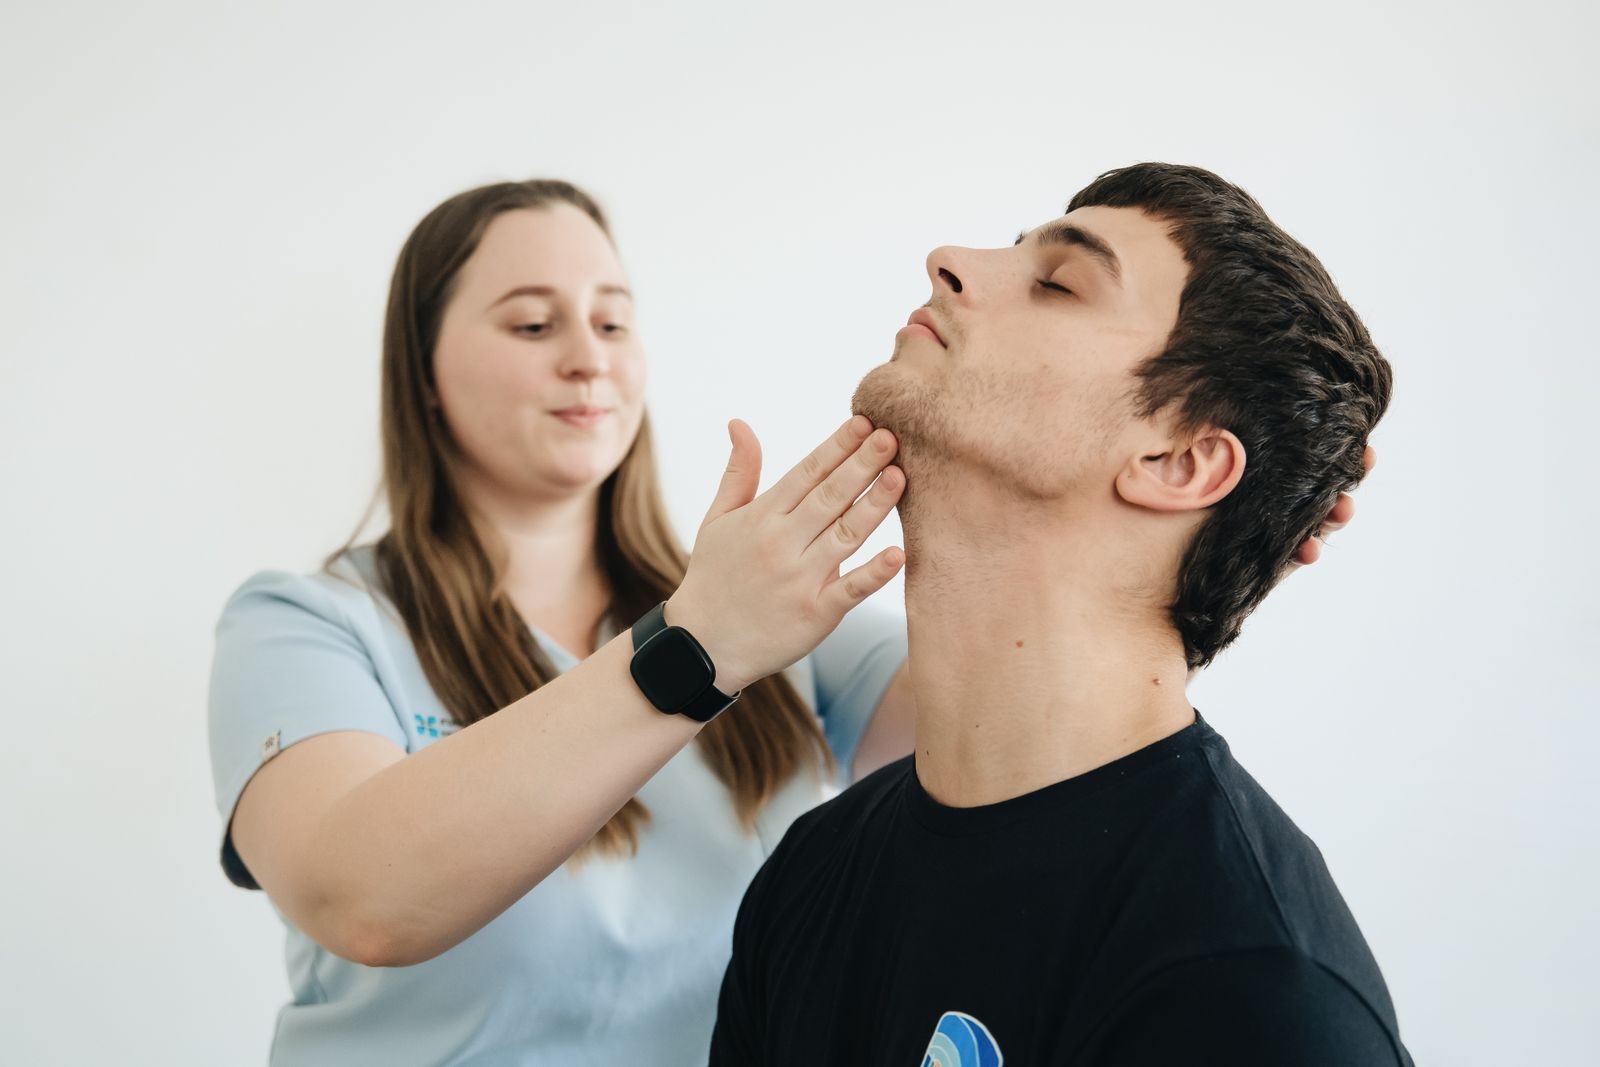
Neck exercises can help train strength and head control through gentle resistance, supported movements, and steady holds. For beginners, the goal is controlled practice—not pushing hard, forcing a stretch, or adding heavy weights. Kaiser Permanente includes gentle hand-resisted neck exercises and advises against pressing as hard as possible.
The eight exercises below include simple starting options and two later progressions. Learn the form first, then use the sample routine to choose a manageable amount of work.
Before You Start
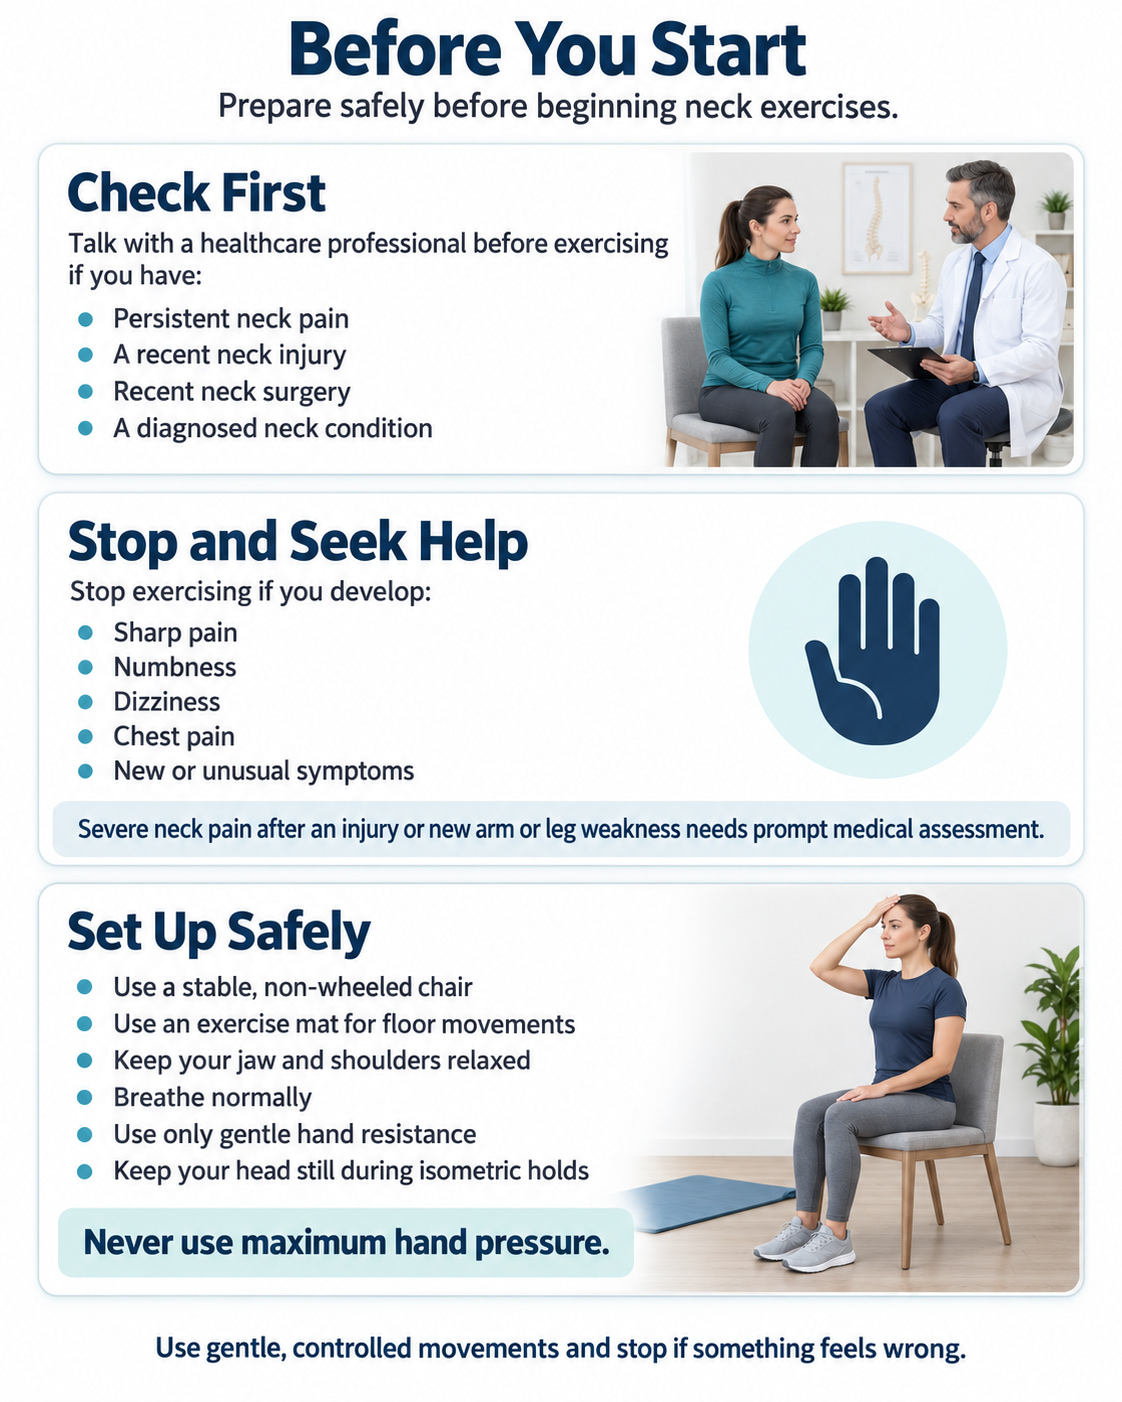
These exercises are general fitness options, not a personalized rehabilitation program. Check with a healthcare professional first if you have persistent neck pain, a recent neck injury or surgery, or a diagnosed neck condition.
Stop and seek professional help if an exercise causes sharp pain, numbness, dizziness, chest pain, or other unusual symptoms. Severe neck pain after an injury or new arm or leg weakness needs prompt medical assessment. The American Academy of Orthopaedic Surgeons explains these warning signs in its neck pain guidance.
Use a stable chair for seated exercises and a mat for floor exercises. Keep your jaw relaxed and breathe normally. During hand-resisted exercises, your hand supplies only enough resistance to keep your head still—never maximum pressure.
8 Best Neck Exercises for Strength and Control
The first two exercises emphasize movement control. Exercises three through six add hand resistance, while the final two introduce an optional hands-and-knees progression.
Starting dosage: The amounts below are conservative practice suggestions, not a treatment prescription. Begin with one set of each selected exercise. Rest about 10–20 seconds between repetitions or holds and 30–60 seconds between exercises, taking longer whenever needed.
1. Seated Chin Tuck
Best for: Learning to move your head backward without tipping it up or down.
Muscles worked: Front-of-neck muscles and other neck stabilizers.
Starting dose: 3–5 repetitions with a gentle 3-second pause.
How to do it:
- Sit comfortably upright with your feet supported and your eyes facing forward.
- Slowly glide your head straight backward. Keep your nose pointing ahead rather than dropping your chin toward your chest.
- Pause briefly without moving your shoulders or torso, then release to a comfortable position.
Cambridge University Hospitals describes chin retraction as drawing the chin inward without tipping the head forward.
Common mistakes: Looking down, lifting the chin, or leaning the whole body backward. Use a smaller glide when you cannot separate the head movement from the torso.
Beginner option: Practice a very small movement with your back supported by the chair.
2. Supine Chin Nod
Best for: Practicing gentle neck control while your head is supported.
Muscles worked: Deep neck flexors, including the longus colli and longus capitis.
Equipment: A mat and a small pillow or folded towel.
Starting dose: 3–5 repetitions with a 3–5-second hold.
How to do it:
- Lie on your back with your knees bent and feet flat. Support your head comfortably.
- Make a tiny “yes” nod, bringing your chin slightly toward your throat while keeping your head resting on the support.
- Breathe normally, pause, then gently return to the starting position.
Whittington Health NHS includes this supported movement in its exercise guidance and emphasizes subtle movement rather than strong tightening through the sides of the neck.
Common mistakes: Lifting the head, pressing it forcefully into the floor, or making an exaggerated nod. This is a small control exercise, not a head lift.
Beginner option: Shorten the hold or reduce the nod until the movement feels easy to control.
3. Isometric Neck Flexion
Isometric means the muscles work without visible movement.
Best for: Applying gentle resistance to the front of the neck.
Muscles worked: Neck flexors, including the sternocleidomastoid and deeper supporting muscles.
Starting dose: 3 holds of 3–5 seconds.
How to do it:
- Sit upright and place one or both palms against your forehead, above your eyebrows.
- Gently attempt to tip your head forward while your hands prevent movement.
- Maintain a steady head position while breathing, then gradually release the pressure.
Keep the resistance gentle rather than pressing as hard as possible.
Common mistakes: Actually bending the head forward, allowing the hands to push it backward, or clenching the jaw.
Beginner option: Use barely noticeable pressure. You should not need to brace your whole body to complete the hold.
4. Isometric Neck Extension
Best for: Resisting backward pressure without looking upward.
Muscles worked: Posterior neck extensors, including the splenius and semispinalis groups.
Starting dose: 3 holds of 3–5 seconds.
How to do it:
- Sit upright, facing forward, and place your hands against the back of your skull.
- Gently press your head backward into your hands while they prevent movement.
- Keep your chin level, continue breathing, then ease off slowly.
The resistance belongs against the head, not directly against the neck. Your head should remain still throughout the hold.
Common mistakes: Tipping the chin upward, arching the back, or using the arms to push the head forward.
Beginner option: Reduce the pressure and shorten the hold. Skip this variation when reaching behind your head causes shoulder discomfort.
5. Isometric Neck Side Bend
Best for: Training resistance to sideways movement on both sides.
Muscles worked: Side-bending muscles, including the scalenes and sternocleidomastoid.
Starting dose: 3 holds of 3–5 seconds per side.
How to do it:
- Sit facing forward and place your right palm against the right side of your head, above the ear.
- Gently attempt to bring your right ear toward your right shoulder while your hand prevents the movement.
- Release completely, then repeat on the left side.
Keep the effort gentle and your face pointing ahead. The head should not visibly tilt.
Common mistakes: Raising the shoulder toward the ear, turning the head, or leaning the torso sideways.
Beginner option: Practice in front of a mirror to check that the head and shoulders remain steady.
6. Isometric Neck Rotation
Best for: Resisting a turning movement rather than a sideways tilt.
Muscles worked: Neck rotators, including the sternocleidomastoid and splenius muscles, with other stabilizers assisting.
Starting dose: 3 holds of 3–5 seconds in each direction.
How to do it:
- Sit upright and place your right palm against the right side of your forehead near the temple.
- Gently attempt to turn your nose to the right while your hand prevents the turn.
- Keep your head level, release the pressure, then repeat to the left.
The Calderdale and Huddersfield NHS Foundation Trust includes hand-resisted rotation in its neck strength and stability guidance.
Common mistakes: Tilting the head instead of attempting to rotate, pressing against the jaw, or using the hand to twist the head.
Coaching cue: Think “turn against the hand,” not “push sideways.”
7. Quadruped Neutral-Neck Hold
Quadruped simply means being on your hands and knees.
Best for: Progressing to head control against gravity.
Muscles worked: Neck extensors and stabilizers; the shoulders and trunk support the position.
Equipment: An exercise mat.
Starting dose: 3 holds of approximately 5 seconds.
How to do it:
- Place your hands beneath your shoulders and your knees beneath your hips.
- Keep a comfortable spinal position and bring your head into line with your trunk.
- Look toward the floor with a gentle chin nod. Hold while breathing, then return to a comfortable resting position.
The key is maintaining head position rather than lifting the head as high as possible.
Common mistakes: Letting the head hang, craning forward to look across the room, or excessively arching the lower back.
Regression: Stay with seated exercises when the floor position is uncomfortable for your wrists, shoulders, or knees.
8. Quadruped Neck Rotation
Best for: Adding controlled movement after you can maintain exercise seven comfortably.
Muscles worked: Neck rotators, with the extensors and other stabilizers maintaining head position.
Equipment: An exercise mat.
Starting dose: 3 slow repetitions per side.
How to do it:
- Begin in the neutral hands-and-knees position from exercise seven.
- Slowly turn your head to the right through a small, comfortable range. Keep your shoulders and hips still.
- Return to the middle, then repeat to the left without letting your head drop.
The NSW State Insurance Regulatory Authority describes this movement in its rehabilitation guidance, emphasizing a gentle chin nod and a head position level with the body. Its recovery-specific advice is not a reason to start this exercise immediately after an injury.
Common mistakes: Rotating the trunk, throwing the head backward, or turning farther than you can control.
Regression: Return to the neutral hold without turning.
What These Exercises Train
Your neck muscles work together to move and support your head. As Cleveland Clinic explains, muscles at the front, sides, and back contribute to head movement and spinal support. No single exercise trains every function equally.
Targeted training can improve neck muscle performance. A small randomized trial involving 30 healthy adults, indexed by PubMed, reported improvements after six weeks of either isometric or velocity-specific neck exercise. However, it did not test this exact routine or establish one universally best exercise.
Use these movements to practice controlled resistance and steadier head positioning—not as a promise to prevent injury, eliminate pain, or permanently change posture.
A Simple Beginner Neck Exercise Routine
Start with two brief sessions on nonconsecutive days, such as Monday and Thursday. This is a cautious introductory example, not a rehabilitation prescription.
Use one set per exercise and very light effort. You should be able to breathe normally throughout.
| Session | Exercise | Starting amount |
|---|---|---|
| A | Seated chin tuck | 3–5 repetitions, pausing for 3 seconds |
| A | Isometric neck flexion | 3 holds of 3–5 seconds |
| A | Isometric neck side bend | 3 holds of 3–5 seconds per side |
| B | Supine chin nod | 3–5 repetitions, holding for 3–5 seconds |
| B | Isometric neck extension | 3 holds of 3–5 seconds |
| B | Isometric neck rotation | 3 holds of 3–5 seconds per direction |
Rest 10–20 seconds between holds and 30–60 seconds between exercises. Begin after your usual easy warm-up, rather than rushing into resistance work.
Leave the quadruped exercises out initially. Later, replace one control drill with the neutral-neck hold. Add quadruped rotation only after that position is comfortable and steady.
How to Progress Without Doing Too Much
Repeat the starting dose until you can complete it with steady positioning, normal breathing, and no exercise-related symptoms during or afterward.
Then change only one element at a time. For example, increase from three holds to four, or extend a three-second hold to five seconds. Do not simultaneously increase pressure, repetitions, and duration.
Keep resistance gentle. For more demanding or sport-specific neck training, get individual guidance rather than moving straight to heavy equipment or maximum-effort holds.
When to Make the Exercise Easier
Reduce the pressure, shorten the hold, or return to a supported position when you cannot maintain the intended form. End the set before you start compensating with your jaw, shoulders, or torso.
Pain is not a cue to push harder. Exercises that repeatedly provoke symptoms need review by a healthcare professional.
Frequently Asked Questions
Is a Chin Tuck the Same as a Chin Nod?
No. A seated chin tuck glides the head backward while the face stays directed forward. A supported chin nod is a small “yes” movement with the head resting on a pillow or towel.
Can I Do Neck Exercises Every Day?
For this beginner routine, start with resisted work on two nonconsecutive days rather than repeating the entire workout daily. A clinician may prescribe a different schedule for a specific rehabilitation need; follow that individual plan instead.
Do I Need Weights to Strengthen My Neck?
Not for the exercises in this guide. Your hands provide resistance for the seated holds, while the floor exercises challenge you to maintain head position against gravity. A chair, mat, and small pillow or towel are sufficient.
Will These Exercises Fix Forward Head Posture?
Do not expect a permanent posture “fix” from one exercise. Practice comfortable head positioning, but avoid holding your neck rigid all day. Changing positions regularly and keeping the neck moving is generally more practical than trying to maintain one rigid posture for long periods.
Build Control Before Adding Resistance
Start with one control drill and two gentle resistance exercises rather than completing all eight at once. Keep your breathing easy, your movements small, and your head steady during holds.
Progress by improving control first. Add work gradually, and seek guidance when symptoms or uncertainty make an exercise difficult to perform comfortably.
This content is for informational purposes only and is not a substitute for medical advice.
References
- Kaiser Permanente — Neck Exercises
- NSW State Insurance Regulatory Authority — Whiplash Neck Exercises and Videos
- Cleveland Clinic — Neck Muscles: Anatomy and Function
- American Academy of Orthopaedic Surgeons — Neck Pain
- Tsang et al., 2021 — Velocity-Specific Versus Isometric Neck Exercise
- Blomgren et al. — Deep Cervical Flexor Training Systematic Review
1 thought on “8 Best Neck Exercises to Strengthen Your Neck Muscles Safely”