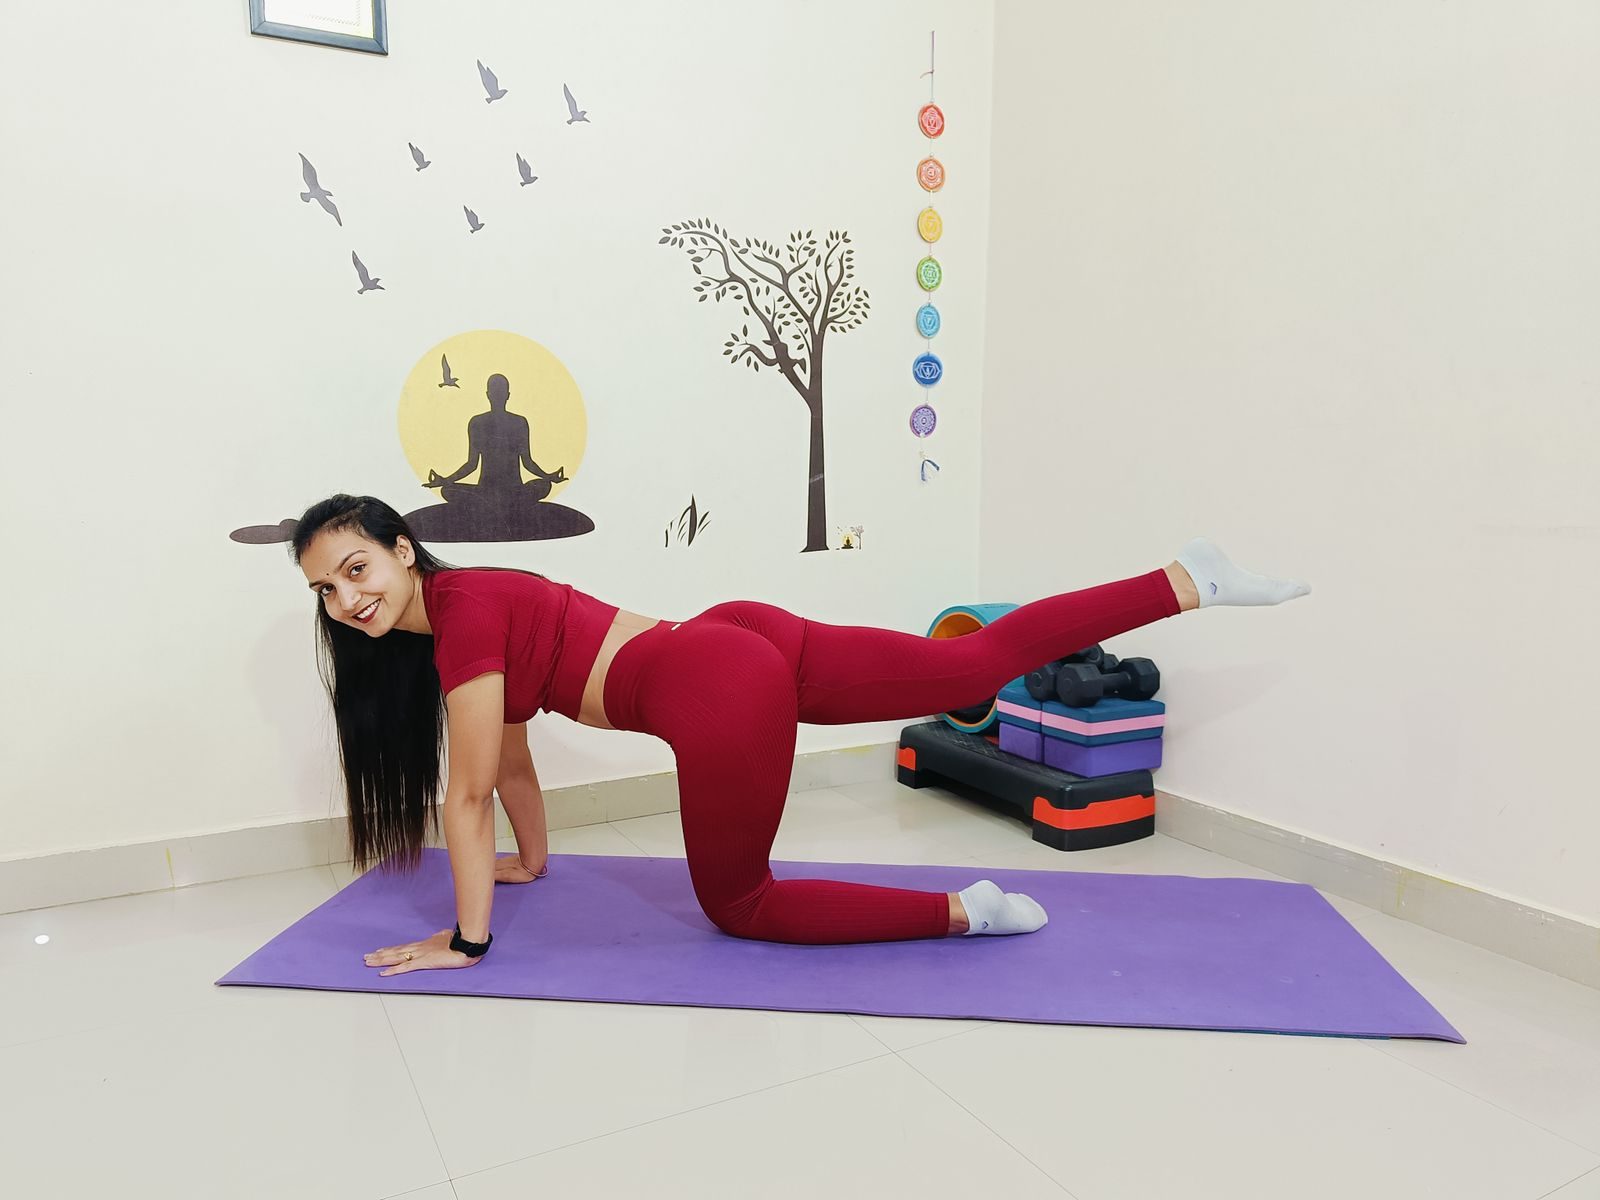
Pilates core exercises can build trunk strength and muscular endurance by teaching your abdominal, back, hip, and pelvic muscles to control movement together. The exercises below require only a mat and train the front, sides, and back of your core rather than focusing only on abdominal curls.
Your core includes the muscles around your abdomen, lower back, hips, and pelvis. These muscles stabilize your trunk while your arms and legs move, making core training useful for exercise and everyday activities. Mayo Clinic explains that coordinated abdominal and back-muscle training can support balance, stability, and physical movement.
Research supports Pilates as a practical core-training option. A systematic review indexed in PubMed found that mat- and equipment-based Pilates performed two or three times per week for five to 12 weeks improved abdominal muscular endurance compared with no exercise. However, Pilates has not been shown to be consistently superior to other well-designed exercise methods, so it is best viewed as one effective option rather than the only way to strengthen your core.
Pilates Core Exercises at a Glance
| Exercise | Main training focus | Level | Starting amount |
|---|---|---|---|
| Pilates Toe Taps | Pelvic stability with leg movement | Beginner | 6–10 per side |
| Shoulder Bridge | Glutes and posterior core | Beginner | 8–12 reps |
| Quadruped Arm and Leg Reach | Anti-rotation and spinal stability | Beginner | 6–8 per side |
| The Hundred | Abdominal endurance and breathing | Beginner–Intermediate | 30–100 pumps |
| Single-Leg Stretch | Dynamic core control | Intermediate | 6–10 per side |
| Double-Leg Stretch | Anti-extension strength | Intermediate | 6–8 reps |
| Criss-Cross | Controlled trunk rotation | Intermediate | 6–10 per side |
| Side Bend Preparation | Lateral core stability | Beginner–Intermediate | 6–10 reps or 15–30 seconds |
| Pilates Swimming | Posterior-core endurance | Beginner–Intermediate | 6–10 per side |
| Roll-Up | Abdominal and spinal control | Intermediate | 4–8 reps |
These are starting ranges, not requirements. Use the easiest variation that lets you breathe normally and maintain control from the first repetition to the last.
Three Form Rules to Follow
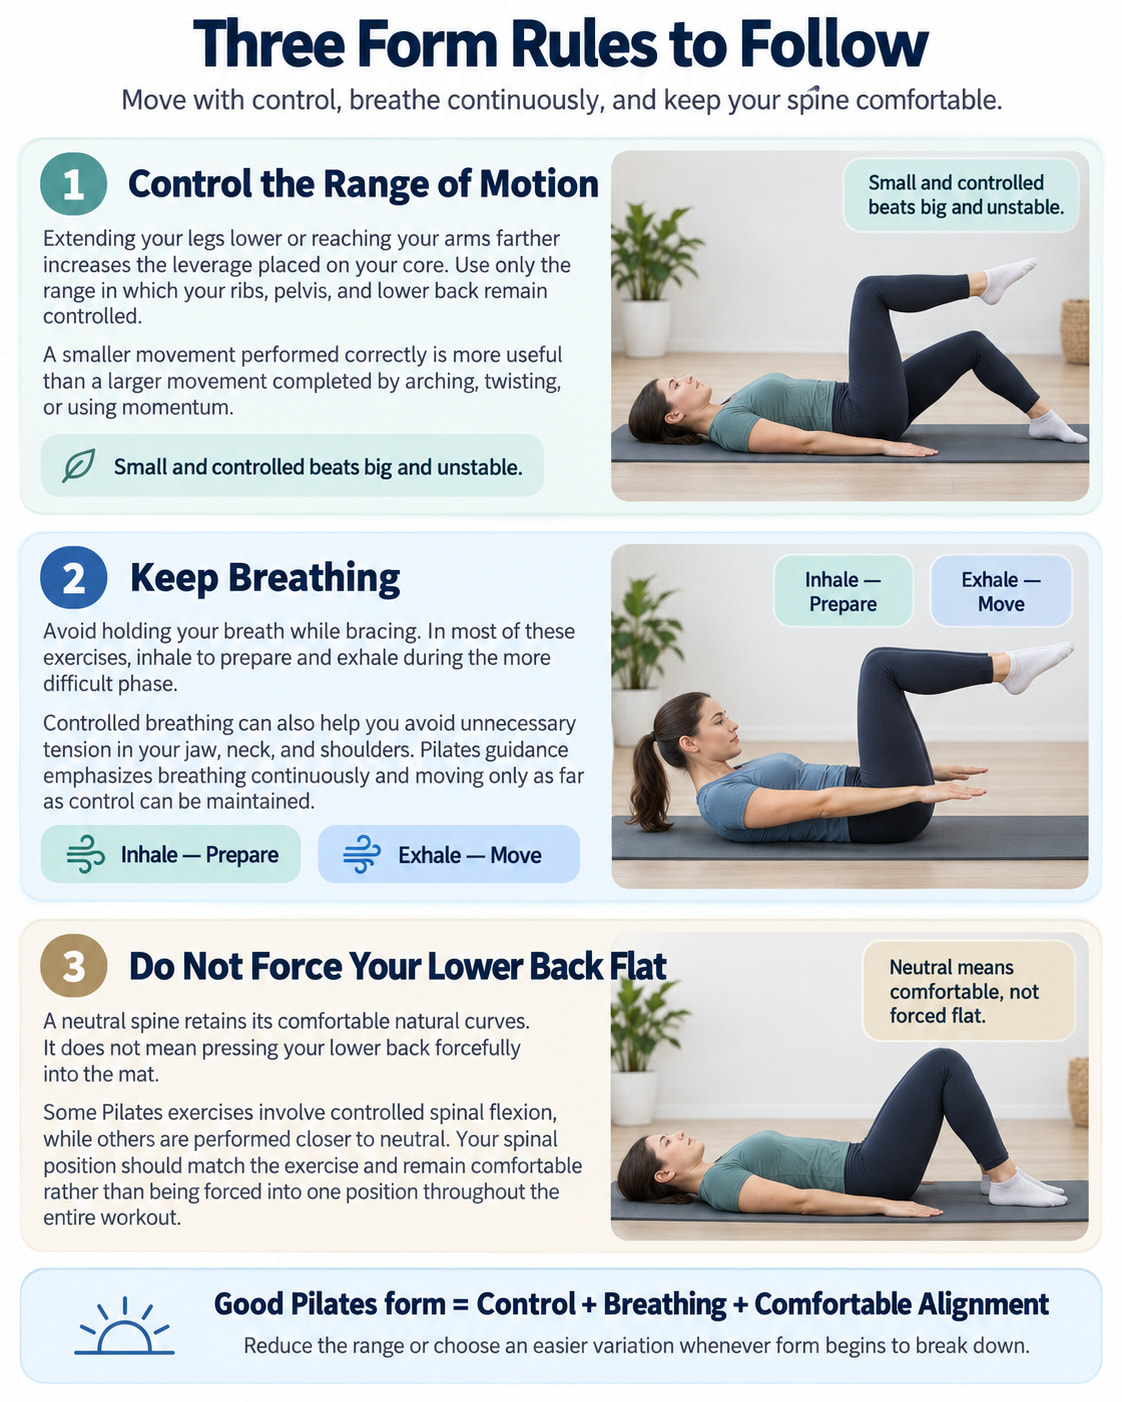
1. Control the Range of Motion
Extending your legs lower or reaching your arms farther increases the leverage placed on your core. Use only the range in which your ribs, pelvis, and lower back remain controlled.
A smaller movement performed correctly is more useful than a larger movement completed by arching, twisting, or using momentum.
2. Keep Breathing
Avoid holding your breath while bracing. In most of these exercises, inhale to prepare and exhale during the more difficult phase.
Controlled breathing can also help you avoid unnecessary tension in your jaw, neck, and shoulders. The Cambridgeshire Children’s Physiotherapy Service Pilates instructions emphasize breathing continuously and moving only as far as control can be maintained.
3. Do Not Force Your Lower Back Flat
A neutral spine retains its comfortable natural curves. It does not mean pressing your lower back forcefully into the mat.
Some Pilates exercises involve controlled spinal flexion, while others are performed closer to neutral. Your spinal position should match the exercise and remain comfortable rather than being forced into one position throughout the entire workout.
10 Best Pilates Core Exercises
The following Pilates core exercises progress from accessible stability drills to more demanding movements. Beginners can start with the first three exercises and the easier modifications before adding the full classical variations.
1. Pilates Toe Taps
Best for: Learning to move one leg without allowing the pelvis or lower back to shift.
Muscles worked: Transverse abdominis, rectus abdominis, internal and external obliques, with assistance from the hip flexors.
Equipment needed: Exercise mat.
Sets, reps, and rest: Perform 2 sets of 6–10 repetitions per side. Rest for 20–30 seconds between sets.
How to Do It
- Lie on your back with your knees bent and feet flat.
- Lift one leg and then the other until your hips and knees are bent at approximately 90 degrees. Your shins should be roughly parallel to the floor.
- Rest your arms beside your body and gently tighten your abdominal wall without holding your breath.
- Exhale as you lower one foot toward the floor.
- Lightly tap your toes down without shifting your pelvis or increasing the arch in your lower back.
- Return the leg to tabletop and alternate sides.
Common mistakes: Lowering the foot too far, pressing the back forcefully into the floor, allowing the pelvis to rock, or moving so quickly that control is lost.
Regression: Keep both feet down and alternate lifting one knee at a time. A heel slide along the mat is another useful starting option.
Progression: Straighten the moving leg slightly, slow the lowering phase, or lower both feet together after mastering single-leg repetitions.
Coaching cue: Imagine your pelvis is a bowl that must remain level as each leg moves.
2. Shoulder Bridge
Best for: Strengthening the glutes and posterior core while maintaining rib and pelvic control.
Muscles worked: Gluteus maximus, hamstrings, deep abdominal muscles, spinal stabilizers, and hip muscles.
Equipment needed: Exercise mat.
Sets, reps, and rest: Perform 2 sets of 8–12 repetitions. Rest for 30 seconds between sets.
How to Do It
- Lie on your back with your knees bent and feet flat, approximately hip-width apart.
- Position your heels close enough that you can press through your whole foot without cramping.
- Keep your ribs relaxed and your pelvis level.
- Exhale and press through your feet to lift your hips.
- Stop when your body forms a comfortable line from your shoulders toward your knees.
- Pause briefly, then lower your hips under control.
Keep the weight across your shoulders and upper back rather than your neck. Mayo Clinic also recommends avoiding excessive back arching or pelvic tilting during the bridge.
Common mistakes: Flaring the ribs, lifting by overextending the lower back, allowing the knees to collapse inward, pushing into the neck, or rising onto the toes.
Regression: Lift the hips only a few inches and gradually increase the range.
Progression: Hold the top position for three to five seconds or perform a bridge march while keeping the pelvis level.
Coaching cue: Lift through your hips, not through an exaggerated back arch.
3. Quadruped Opposite Arm and Leg Reach
This exercise is also called a bird dog or Pilates swimming preparation.
Best for: Training the core to resist rotation while the arms and legs move.
Muscles worked: Multifidus, transverse abdominis, obliques, spinal erectors, glutes, and shoulder stabilizers.
Equipment needed: Exercise mat.
Sets, reps, and rest: Perform 2 sets of 6–8 repetitions per side. Rest for 30 seconds between sets.
How to Do It
- Begin on your hands and knees.
- Place your hands beneath your shoulders and your knees beneath your hips.
- Keep your spine long and your pelvis facing the floor.
- Exhale as you reach one arm forward and the opposite leg backward.
- Stop when the arm and leg are approximately level with your torso.
- Pause briefly, return with control, and repeat on the opposite side.
The American Council on Exercise similarly emphasizes keeping the hips and shoulders parallel to the floor without excessive spinal arching during the bird dog.
Common mistakes: Lifting the leg too high, twisting the pelvis, shifting onto the supporting knee, sagging through the lower back, or shrugging the supporting shoulder.
Regression: Move only one arm or one leg at a time.
Progression: Hold each repetition for three to five seconds or slowly bring the elbow and knee toward each other before extending again.
Coaching cue: Reach long in opposite directions instead of trying to lift higher.
4. The Pilates Hundred
Best for: Developing abdominal endurance while coordinating movement with breathing.
Muscles worked: Rectus abdominis, transverse abdominis, obliques, and hip flexors when the legs are elevated.
Equipment needed: Exercise mat.
Sets, reps, and rest: Complete 1 set of 30–100 arm pumps. Beginners can start with three to five breathing cycles. Rest for 30–45 seconds afterward.
How to Do It
- Lie on your back with your knees bent and feet flat.
- Leave your feet down or bring your legs into tabletop.
- Reach your arms alongside your body with your palms facing down.
- Keep your head down, or lift your head and shoulders only if your neck remains comfortable.
- Pump your arms a few inches up and down using small, controlled movements.
- Inhale for five pumps and exhale for five pumps.
- Continue for three to 10 complete breathing cycles.
One breathing cycle equals 10 arm pumps. Ten cycles produce the traditional 100 pumps, but reaching 100 is not necessary when form begins to deteriorate.
Common mistakes: Holding the breath, pumping from the wrists, forcing the chin toward the chest, lowering the legs until the back arches, or continuing after the neck becomes tired.
Regression: Keep the feet and head on the mat and complete fewer breathing cycles.
Progression: Use tabletop legs, then gradually straighten the legs at a higher angle. Lower them only while the pelvis and ribs remain controlled.
Coaching cue: Reach through your fingertips while keeping the back of your ribs connected to the mat.
5. Single-Leg Stretch
Best for: Maintaining trunk stability while alternating the position of the legs.
Muscles worked: Rectus abdominis, transverse abdominis, obliques, and hip flexors.
Equipment needed: Exercise mat.
Sets, reps, and rest: Perform 2 sets of 6–10 repetitions per side. Rest for 20–30 seconds between sets.
How to Do It
- Lie on your back and bring both knees toward tabletop.
- Lift your head and shoulders into a comfortable abdominal curl, or keep your head down.
- Bring one knee toward your torso and lightly hold the shin.
- Extend the opposite leg diagonally away from your body.
- Exhale as you switch legs smoothly.
- Keep your pelvis steady and your shoulders relaxed throughout the set.
The extended leg does not need to be close to the floor. A higher leg position reduces the demand on the abdominal muscles and makes it easier to prevent lower-back arching.
Common mistakes: Pulling forcefully on the bent knee, cycling the legs too quickly, rocking the pelvis, lowering the straight leg beyond a controllable range, or straining the neck.
Regression: Keep the head down and slide one heel along the mat instead of extending the leg above the floor.
Progression: Lower the extended leg slightly, pause during each switch, or slow the movement to a three-second extension.
Coaching cue: Let the legs switch while the trunk stays quiet.
6. Double-Leg Stretch
Best for: Training the core to resist back arching as both arms and legs move away from the body.
Muscles worked: Rectus abdominis, transverse abdominis, obliques, hip flexors, and shoulder muscles.
Equipment needed: Exercise mat.
Sets, reps, and rest: Perform 2 sets of 6–8 repetitions. Rest for 30–45 seconds between sets.
How to Do It
- Lie on your back with your legs in tabletop.
- Bring your knees toward your chest and place your hands lightly on your shins.
- Lift your head and shoulders if you can keep your neck relaxed.
- Inhale as you reach your arms overhead and extend your legs diagonally.
- Stop before your ribs flare or your lower back arches.
- Exhale as you circle your arms outward and bring your knees back toward your torso.
- Repeat slowly without swinging.
Common mistakes: Reaching too far, allowing the abdominal wall to lose tension, holding the breath, throwing the arms, or using momentum to pull the knees back.
Regression: Keep the head down, move only the arms, or extend one leg at a time.
Progression: Straighten the legs fully, increase the reaching distance, or pause briefly in the extended position.
Coaching cue: Make the movement longer only when you can keep the center of your body controlled.
7. Criss-Cross
Best for: Strengthening the obliques through controlled trunk rotation.
Muscles worked: Internal and external obliques, rectus abdominis, transverse abdominis, and hip flexors.
Equipment needed: Exercise mat.
Sets, reps, and rest: Perform 2 sets of 6–10 repetitions per side. Rest for 30 seconds between sets.
How to Do It
- Lie on your back with your hands supporting the back of your head.
- Bring your legs into tabletop.
- Lift your head and shoulders without pulling on your neck.
- Extend one leg while rotating your rib cage toward the opposite bent knee.
- Return through the center and switch sides.
- Move slowly enough to keep your pelvis from rocking.
The goal is not to touch your elbow to your knee. Focus on rotating your chest and rib cage while keeping the shoulders broad.
Common mistakes: Pulling the head forward, moving only the elbows, rotating the pelvis instead of the trunk, cycling rapidly, or allowing the lower back to arch.
Regression: Keep both feet on the floor and perform a small alternating chest-lift rotation.
Progression: Pause at the end of each rotation or extend the straight leg slightly lower.
Coaching cue: Turn the ribs toward the opposite hip rather than driving the elbow forward.
8. Side Bend Preparation
Best for: Strengthening the side of the core while improving hip and shoulder stability.
Muscles worked: Obliques, quadratus lumborum, gluteus medius, gluteus minimus, and shoulder stabilizers.
Equipment needed: Exercise mat.
Sets, reps, and rest: Perform 2 sets of 6–10 controlled lifts or hold for 15–30 seconds per side. Rest for 30 seconds.
How to Do It
- Lie on your side with your bottom forearm on the mat.
- Place your elbow directly beneath your shoulder.
- Bend both knees and stack them comfortably.
- Keep your head, shoulders, hips, and knees aligned.
- Exhale and lift your hips away from the mat.
- Hold briefly, then lower with control.
- Complete the set before changing sides.
A bent-knee side-plank position reduces the lever length while still challenging the lateral core. American Council on Exercise guidance also recommends bent knees as a regression and emphasizes keeping the shoulder supported over the elbow.
Common mistakes: Collapsing into the supporting shoulder, placing the elbow too far from the body, rotating the chest toward the floor, or leaving the hips behind the shoulders.
Regression: Practice pressing the forearm into the mat without lifting the hips, or use a smaller lift.
Progression: Straighten both legs, lift the top leg, or perform slow repeated hip lifts.
Coaching cue: Press the floor away and lift the underside of your waist.
9. Pilates Swimming
Best for: Training the glutes, back, and posterior core to maintain a long trunk position.
Muscles worked: Spinal erectors, multifidus, gluteus maximus, hamstrings, and posterior shoulder muscles.
Equipment needed: Exercise mat. A folded towel can support the forehead if needed.
Sets, reps, and rest: Perform 2 sets of 6–10 repetitions per side or 20–30 seconds of controlled alternating movement. Rest for 30 seconds.
How to Do It
- Lie facedown with your legs long and your arms extended forward.
- Keep your forehead close to the mat and lengthen through the crown of your head.
- Gently tighten your abdominal wall to support your trunk.
- Lift your right arm and left leg a small distance from the floor.
- Lower them and repeat with your left arm and right leg.
- Continue alternating while keeping your pelvis steady.
Think about length rather than height. The limbs should rise only as far as you can move without compressing the lower back.
Common mistakes: Lifting too high, throwing the arms and legs, holding the breath, tilting the head upward, or allowing the pelvis to rock from side to side.
Regression: Lift one limb at a time or keep the arms beside your body.
Progression: Alternate continuously at a controlled pace or pause each opposite-arm-and-leg lift for two seconds.
Coaching cue: Reach your hands and feet away from each other instead of lifting toward the ceiling.
10. Pilates Roll-Up
Best for: Developing abdominal control through a slow rolling and lowering movement.
Muscles worked: Rectus abdominis, obliques, transverse abdominis, and hip flexors.
Equipment needed: Exercise mat.
Sets, reps, and rest: Perform 1–2 sets of 4–8 repetitions. Rest for 30–45 seconds.
How to Do It
- Lie on your back with your legs extended or your knees slightly bent.
- Reach your arms toward the ceiling.
- Inhale to prepare.
- Exhale as you nod your chin slightly and begin curling your head and shoulders away from the floor.
- Continue rolling upward one controlled section at a time.
- Reach forward over your legs without bouncing or collapsing.
- Reverse the movement and lower slowly until your back returns to the mat.
Common mistakes: Throwing the arms for momentum, allowing the feet to lift, holding the breath, collapsing suddenly during the lowering phase, or forcing the movement when the spine feels uncomfortable.
Regression: Sit upright with your knees bent, hold behind your thighs, and practice a partial roll-back. Gradually increase the range as control improves.
Progression: Extend the legs, slow the lowering phase, or begin with the arms reaching overhead when shoulder mobility allows.
Coaching cue: Make the lowering phase as controlled as the upward phase.
Beginner Pilates Core Workout
Warm up for three to five minutes with easy marching, shoulder circles, gentle trunk movements, and relaxed breathing.
Complete the following routine in order:
| Exercise | Amount |
|---|---|
| Pilates Toe Taps | 8 per side |
| Shoulder Bridge | 10 reps |
| Quadruped Arm and Leg Reach | 6 per side |
| The Hundred | 30–50 pumps |
| Side Bend Preparation | 15–20 seconds per side |
| Pilates Swimming | 6 per side |
Perform 2 rounds.
Rest for approximately 20–40 seconds between exercises and 60–90 seconds between rounds. Train at an effort of about 6–7 out of 10, meaning the exercises feel challenging but you could still complete two or three more controlled repetitions.
Do this workout two or three times per week. On other days, you can walk, practice mobility, or perform resistance training for the rest of your body.
Intermediate Upgrade
After the beginner routine feels controlled, make one or two changes rather than replacing everything at once:
- Replace toe taps with single-leg stretch.
- Add 6 repetitions of double-leg stretch.
- Add criss-cross after the Hundred.
- Replace a partial roll-back with 4–6 full roll-ups.
- Progress the bent-knee side bend to a straight-leg variation.
How to Progress Pilates Core Exercises
Progress when you can complete the planned repetitions while maintaining:
- Steady breathing
- A controlled rib cage and pelvis
- A relaxed neck and jaw
- Smooth transitions
- No swinging or jerking
- No sharp pain or unusual symptoms
Change only one variable at a time. You can add two repetitions, extend a hold by five seconds, slow the lowering phase, lengthen a leg, or reduce external support.
Longer levers and more complex positions are not automatically better. Research published in Frontiers in Physiology comparing novice and experienced Pilates practitioners suggests that experience affects how effectively the trunk muscles coordinate during Pilates exercises, supporting a gradual approach to progression rather than immediately choosing advanced variations.
Common Pilates Core Training Mistakes
Lowering the Legs Too Far
A low leg position creates more resistance, but it is only useful when your pelvis and lower back remain controlled. Raise your legs or bend your knees when your back begins to arch.
Using the Neck Instead of the Abdominals
During curled-up exercises, support your head gently and keep space between your chin and chest. Put your head down when the neck begins to dominate the movement.
Moving Too Quickly
Speed can hide poor control. Slow down enough to notice whether your ribs are flaring, your pelvis is shifting, or your shoulders are tensing.
Holding Your Breath
Breath-holding often creates unnecessary tension. Use a smaller range or easier variation if you cannot breathe steadily.
Training Only the Front of the Core
A complete routine should include flexion, rotation, lateral stability, anti-rotation, and posterior-chain work. That is why this list includes bridges, side bends, quadruped reaches, and swimming alongside traditional abdominal exercises.
Advancing Before Mastering the Basic Version
Adding a lower leg position or longer lever before you can control the easier exercise usually shifts tension toward the hip flexors, neck, or lower back. Progress after your form remains consistent across several sessions.
How Often Should You Do Pilates Core Exercises?
For most beginners, two or three sessions per week is a practical starting point. Sessions do not need to be long; 15–30 focused minutes can be enough when the exercises are performed with control.
Research programs have commonly used Pilates two or three times per week. The systematic review discussed earlier found improvements in abdominal muscular endurance after programs lasting five to 12 weeks, although individual results depend on exercise difficulty, consistency, recovery, and previous training experience.
Pilates can be your primary core workout, but it does not need to replace all other strength training. The American College of Sports Medicine recognizes bodyweight and home-based exercise as effective while also noting that training volume and resistance should match the person’s goals. People seeking maximum strength or substantial muscle growth may benefit from combining Pilates with progressively loaded exercises.
Benefits of Pilates Core Exercises
Improved Core Endurance
Pilates frequently uses controlled repetitions and sustained positions, which can help the trunk muscles maintain force for longer periods.
Better Movement Control
Exercises such as toe taps, quadruped reaches, and single-leg stretches teach you to keep the trunk stable while the limbs move.
More Balanced Core Training
A properly structured Pilates routine works the front, sides, and back of the trunk instead of relying entirely on crunches.
Minimal Equipment
Most of these exercises require only a mat and enough floor space to extend your arms and legs.
Easy-to-Adjust Difficulty
Knee position, leg angle, arm position, range of motion, tempo, and support can all be changed without needing heavier equipment.
The Better Health Channel describes Pilates as a controlled exercise method that emphasizes precise movement, breathing, and the deep core while also training major muscle groups throughout the body.
Safety and Modification Guidelines
These exercises are intended for generally healthy adults and are not designed to diagnose, treat, or rehabilitate a medical condition.
Use an easier variation and stop the set when you cannot maintain control. Stop exercising and seek appropriate professional help if you experience sharp pain, numbness, dizziness, chest pain, or other unusual symptoms.
The NHS recommends seeking professional advice before beginning Pilates when you have an injury, health condition, recent operation, concerning symptoms, pregnancy, or recent childbirth. It also advises stopping immediately if exercise causes pain or makes you feel unwell.
People with osteoporosis or a history of spinal fractures may need to modify roll-ups, criss-crosses, and other movements involving repeated or loaded spinal flexion. The Royal Osteoporosis Society recommends controlled, comfortable movement and individualized advice when fracture risk or previous fractures are a concern.
Frequently Asked Questions
Can Beginners Do Pilates Core Exercises?
Yes. Beginners should start with toe taps, shoulder bridges, single-limb quadruped reaches, and bent-knee side bends. Use fewer repetitions and choose modifications that allow normal breathing and stable body positioning.
Should My Lower Back Stay Flat During Pilates?
Not during every exercise. Neutral-spine movements allow a small natural lower-back curve, while some curl-based exercises involve controlled spinal flexion. Avoid forcefully pressing your back down or allowing it to arch uncontrollably.
Why Do I Feel Pilates Exercises in My Hip Flexors?
The hip flexors assist whenever the legs are held above the floor. They may take over when the legs are too low, the exercise is too difficult, or the set continues beyond your ability to stabilize the pelvis.
Raise your legs, bend your knees, shorten the set, or return to toe taps and heel slides.
What Should I Do if My Neck Hurts During the Hundred?
Put your head and shoulders on the mat and continue the arm pumps from that position. You can also keep your feet down, perform fewer breathing cycles, and avoid pulling your chin tightly toward your chest.
Persistent or sharp neck pain should not be trained through.
Can Pilates Core Exercises Reduce Belly Fat?
Pilates can strengthen the muscles underneath the abdominal area, but it cannot selectively remove fat from one body part. Reducing overall body fat depends on broader factors such as total physical activity, nutrition, sleep, and long-term habits.
How Long Does It Take to Strengthen Your Core With Pilates?
Some research programs have reported improvements in abdominal endurance after approximately five to 12 weeks of Pilates performed two or three times per week. Your progress will depend on consistency, exercise difficulty, recovery, and your starting fitness level.
Conclusion
The best Pilates core exercises are the ones you can perform slowly, breathe through, and control without straining your neck or lower back. Begin with toe taps, bridges, and quadruped reaches, then progress toward the Hundred, double-leg stretch, criss-cross, and roll-up as your stability improves.
Train two or three times per week, progress one variable at a time, and prioritize movement quality over completing the most difficult variation.
This content is for informational purposes only and is not a substitute for medical advice.