Somatic yoga exercises use slow, comfortable movements and focused attention to help you notice how your body feels rather than trying to achieve a perfect pose. This beginner routine combines breathing, body awareness, gentle spinal movement, mobility, and balance exercises that can be practiced at home.
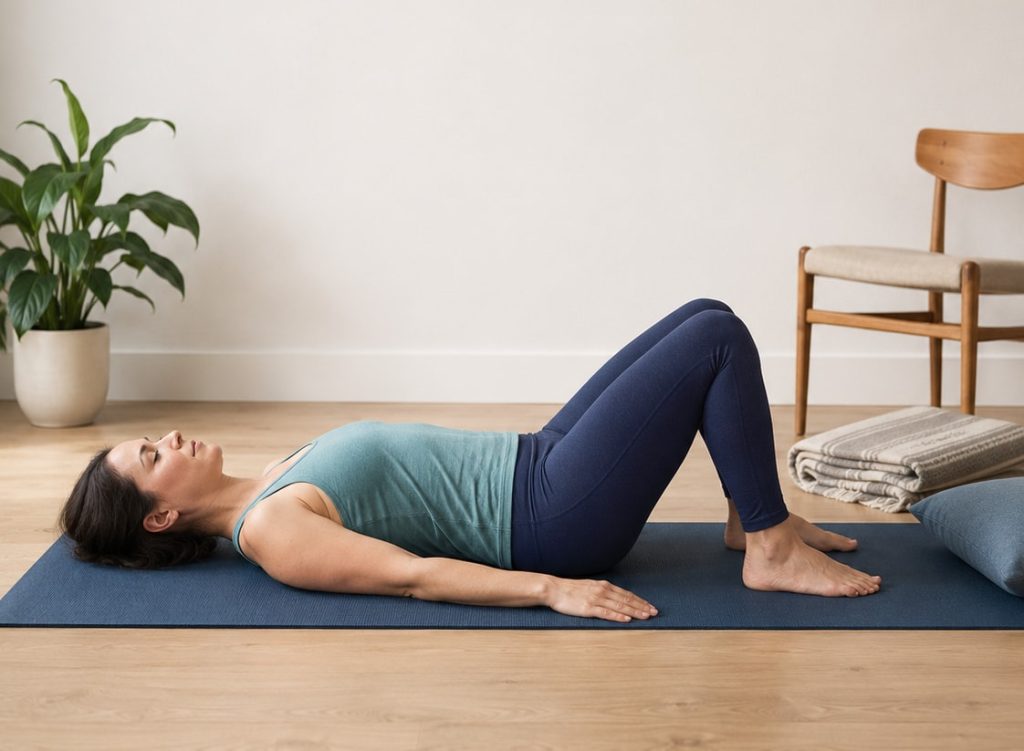
You do not need to be flexible or experienced. Move within a comfortable range, breathe naturally, and pay attention to changes in pressure, tension, balance, and muscular effort.
What Are Somatic Yoga Exercises?
Somatic yoga uses slow, intentional movement and attention to internal sensations. Instead of trying to achieve a perfect pose, you focus on breathing, comfort, balance, muscular effort, and how each movement feels.
A somatic approach usually involves:
- Moving slowly and with control.
- Staying within a comfortable range.
- Breathing naturally.
- Noticing contact with the floor, chair, or mat.
- Comparing how each side of your body feels.
- Pausing briefly to notice changes.
Somatic yoga is not the same as somatic therapy. It may support body awareness and relaxation, but it is not psychotherapy, physical therapy, or medical treatment.
Potential Benefits of Somatic Yoga Exercises
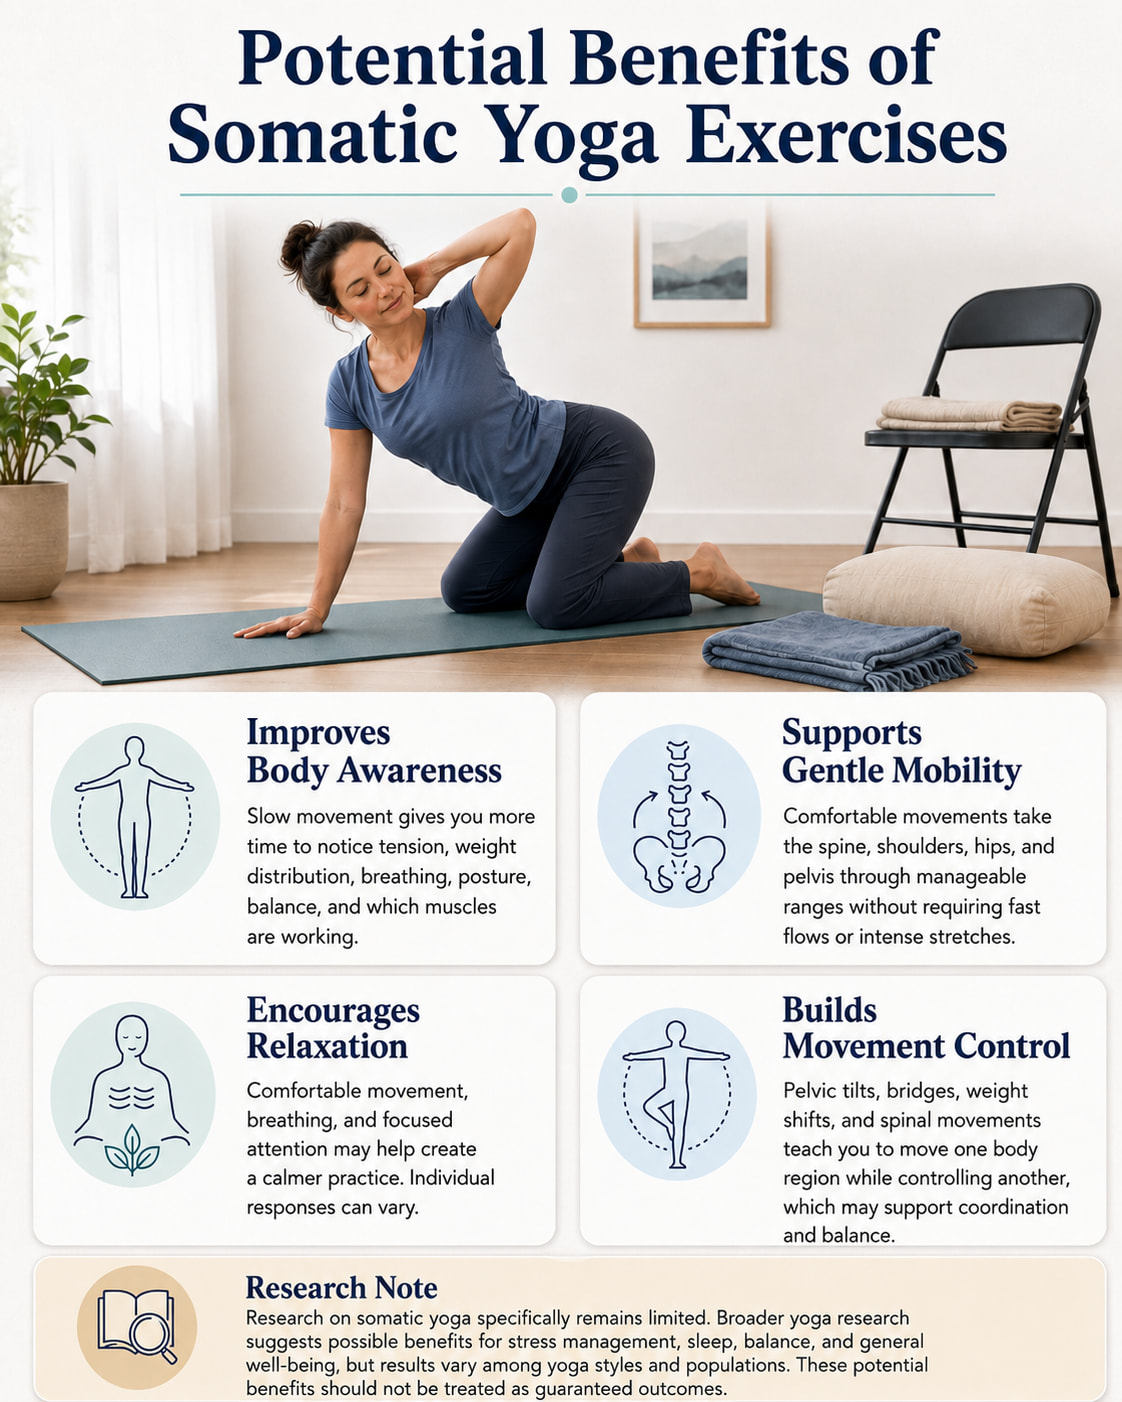
Somatic yoga may help you practice:
- Body awareness: Notice tension, posture, breathing, and weight distribution.
- Gentle mobility: Move the spine, shoulders, hips, and pelvis through comfortable ranges.
- Relaxation: Combine slow movement with focused, natural breathing.
- Movement control: Improve coordination during pelvic tilts, bridges, spinal movements, and balance exercises.
Research on somatic yoga specifically remains limited. Broader yoga research suggests possible benefits for balance, stress management, sleep, and general well-being, but individual results vary.
What You Need to Practice at Home
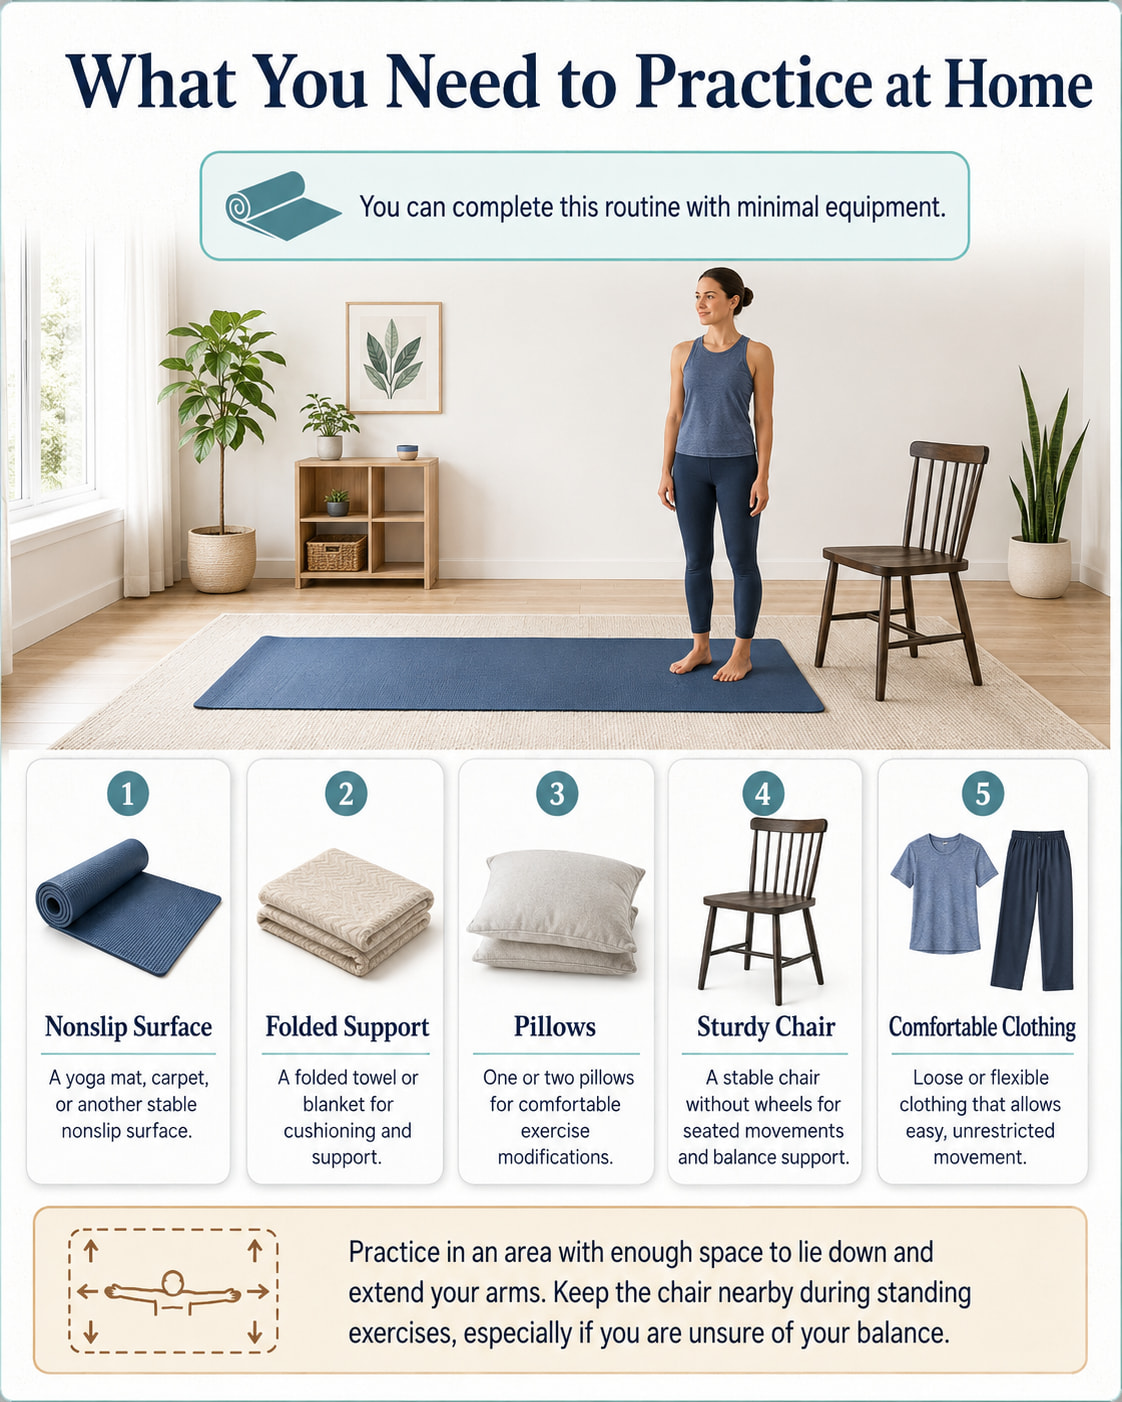
You can complete this routine with minimal equipment:
- A yoga mat, carpet, or another nonslip surface.
- A folded towel or blanket.
- One or two pillows.
- A sturdy chair without wheels.
- Comfortable clothing that allows easy movement.
Practice in an area with enough space to lie down and extend your arms. Keep the chair nearby during standing exercises, especially if you are unsure of your balance.
How to Practice Somatic Yoga
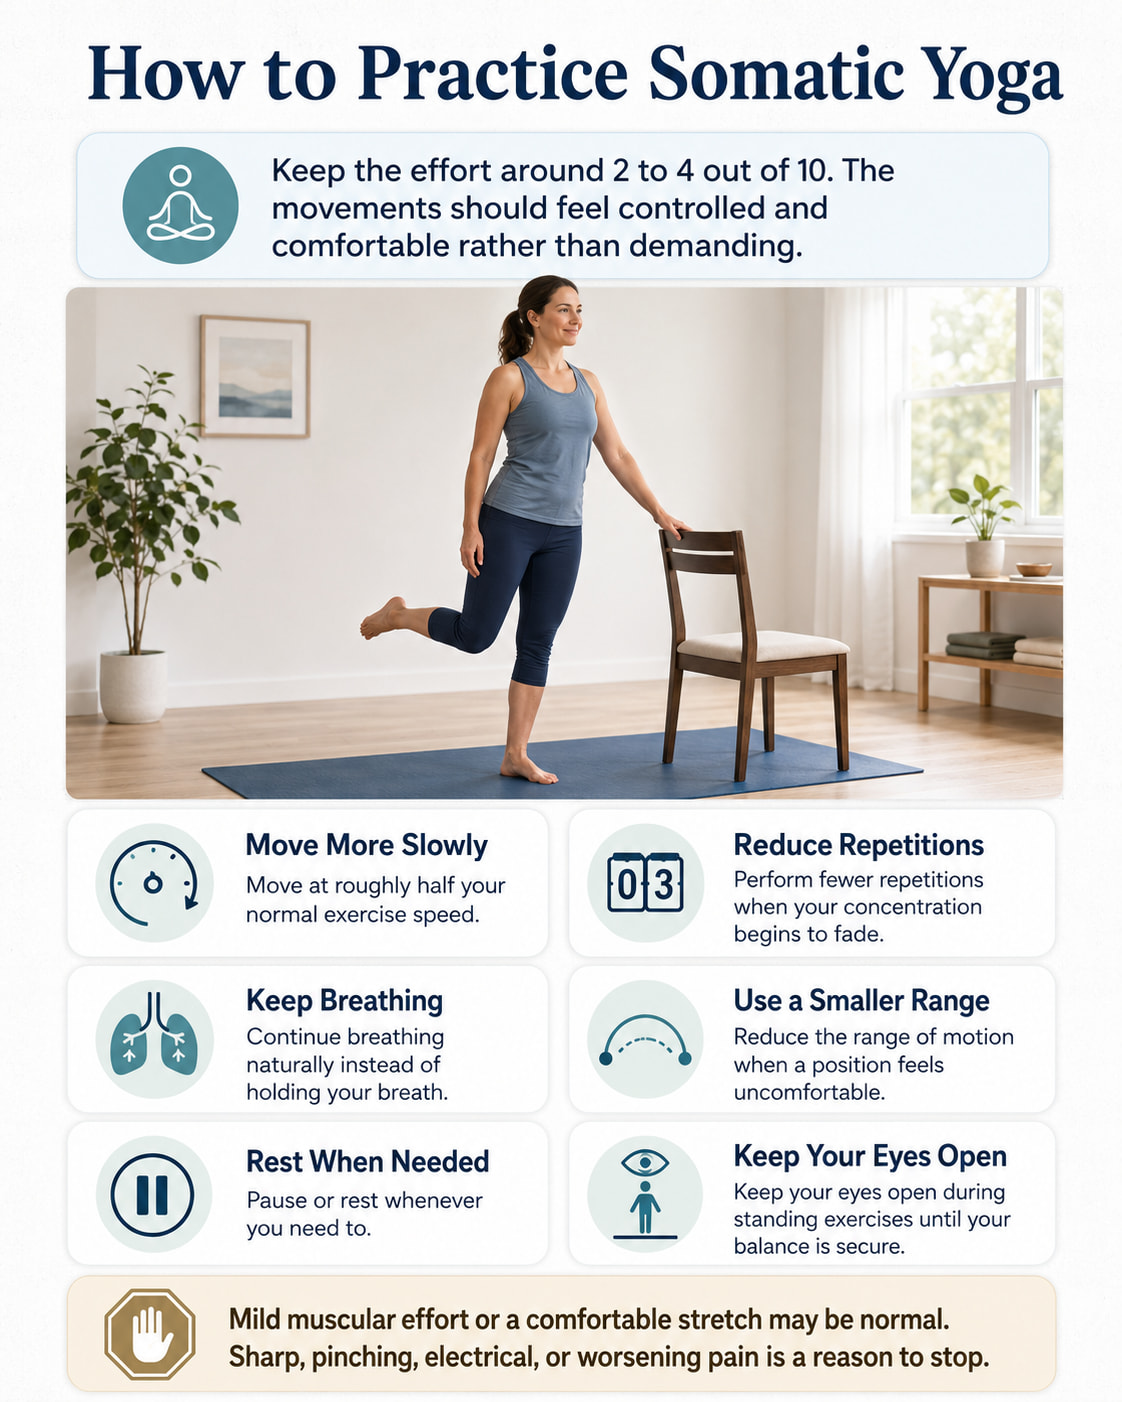
Keep the effort around 2 to 4 out of 10. The movements should feel controlled and comfortable rather than demanding.
Use these guidelines:
- Move at roughly half your normal exercise speed.
- Perform fewer repetitions when your concentration begins to fade.
- Keep breathing instead of holding your breath.
- Use a smaller range when a position feels uncomfortable.
- Rest whenever you need to.
- Keep your eyes open during standing exercises until your balance is secure.
Mild muscular effort or a comfortable stretch may be normal. Sharp, pinching, electrical, or worsening pain is a reason to stop.
10 Somatic Yoga Exercises for Beginners
These 10 somatic yoga exercises use slow, controlled movements to improve body awareness, mobility, breathing, and balance. Beginners can practice them at home with minimal equipment and adjust each movement to a comfortable range.
1. Savasana Body Scan
Best for: Beginning the routine, checking how your body feels, and practicing nonjudgmental awareness.
Areas involved: Whole-body awareness without significant muscular effort.
Equipment needed: Mat and an optional pillow or folded blanket.
Sets, time, and rest: Spend 60 to 90 seconds in the position.
How to do it:
- Lie on your back with your legs extended and arms resting beside you.
- Bend your knees and place your feet on the floor if that feels better for your lower back.
- Notice where your heels, legs, hips, back, arms, and head contact the floor.
- Slowly move your attention from your feet toward your head.
- Observe pressure, warmth, tension, breathing, and other sensations without immediately trying to change them.
What to notice: Compare the left and right sides of your body. One side may feel heavier, tighter, warmer, or more connected to the floor.
Common mistakes: Trying to force yourself to relax, judging every sensation, or turning the scan into a search for something wrong.
Coaching cue: Notice first; adjust only when necessary.
Body scanning and present-moment awareness are commonly included in somatic and mindfulness practices.
2. Diaphragmatic Breathing
Best for: Practicing comfortable breathing and noticing movement through the abdomen and lower ribs.
Muscles worked: Diaphragm and intercostal muscles, with assistance from the abdominal muscles during exhalation.
Equipment needed: Mat and optional head support.
Sets, reps, and rest: Perform 5 to 8 comfortable breaths.
How to do it:
- Lie on your back with your knees bent and feet flat.
- Place one hand on your upper chest and the other below your rib cage.
- Inhale gently through your nose.
- Notice the lower hand rise as the abdomen and lower ribs expand.
- Exhale slowly and allow the abdomen to settle.
- Keep your neck, jaw, and shoulders relaxed.
What to notice: Observe whether the breath moves mostly through your upper chest, lower ribs, abdomen, or a combination of these areas.
Common mistakes: Forcing a very large inhale, aggressively pushing the abdomen outward, lifting the shoulders, or continuing when you feel lightheaded.
Progression or regression: Practice seated in a supported chair when lying down is uncomfortable.
Coaching cue: Let the breath expand; do not force it.
Cleveland Clinic recommends learning diaphragmatic breathing in a supported lying position and using the hands to feel chest and abdominal movement.
3. Supine Pelvic Tilts
Best for: Exploring pelvic position and gentle movement through the lower spine.
Muscles worked: Abdominals and spinal extensors.
Equipment needed: Mat.
Sets, reps, and rest: Perform 6 to 8 slow repetitions. Rest briefly afterward.
How to do it:
- Lie on your back with your knees bent and feet about hip-width apart.
- Begin with the pelvis relaxed and the lower back in a comfortable position.
- Exhale and gently tighten your abdominal muscles.
- Slowly tilt your pelvis so the lower back moves closer to the floor.
- Pause without lifting your hips.
- Inhale as you return to the starting position.
What to notice: Feel how pressure changes across your tailbone, pelvis, and lower back.
Common mistakes: Squeezing excessively, pushing hard through the feet, lifting into a bridge, or forcing the lower back completely flat.
Regression: Make the movement very small. Even a slight change in pressure beneath your lower back is enough.
Coaching cue: Rock the pelvis; do not lift it.
The ACE supine pelvic tilt guide also teaches the movement with bent knees, flat feet, and controlled abdominal engagement.
4. Supine Knee Rocks
Best for: Gentle hip, pelvic, and lower-trunk rotation.
Muscles worked: Obliques, hip rotators, inner thighs, and trunk stabilizers.
Equipment needed: Mat and optional pillows.
Sets, reps, and rest: Perform 5 to 8 repetitions per side.
How to do it:
- Lie on your back with your knees bent and feet flat.
- Place your arms beside you or slightly away from your torso.
- Allow both knees to move a short distance to the right.
- Keep both shoulders comfortably connected to the floor.
- Return slowly to the center.
- Repeat toward the left.
What to notice: Compare how easily your hips and trunk move in each direction. Do not force the more restricted side to match the other.
Common mistakes: Dropping the knees quickly, twisting beyond a comfortable range, holding the breath, or allowing the shoulders to lift.
Regression: Place pillows beside your thighs to limit and support the range of motion.
Coaching cue: Let the knees travel together like windshield wipers.
Hospital for Special Surgery teaches a similar controlled trunk rotation while keeping the shoulders down.
5. Moving Bridge
Best for: Coordinating the hips, spine, feet, glutes, and breathing.
Muscles worked: Gluteus maximus, hamstrings, quadriceps, abdominals, and spinal stabilizers.
Equipment needed: Mat.
Sets, reps, and rest: Perform 5 to 8 repetitions. Rest for 20 to 30 seconds afterward.
How to do it:
- Lie on your back with your knees bent and feet approximately hip-width apart.
- Rest your arms beside your body.
- Exhale and gently press through both feet.
- Lift your hips only as high as you can without discomfort or excessive back arching.
- Pause briefly and notice the pressure through your feet and shoulders.
- Lower slowly until the pelvis returns to the mat.
What to notice: Feel whether you push evenly through both feet and whether one hip rises before the other.
Common mistakes: Chasing maximum height, pushing through the neck, allowing the knees to spread apart, or flaring the ribs.
Regression: Lift the hips only one or two inches.
Progression: Pause for one comfortable breath at the top while keeping the ribs and pelvis controlled.
Coaching cue: Reach the knees forward as the hips rise.
Bridge pose is among the introductory movements recommended in Cleveland Clinic’s somatic yoga guidance.
6. Cat-Cow
Best for: Exploring flexion and extension through the spine.
Muscles worked: Abdominals, spinal extensors, shoulder stabilizers, and muscles surrounding the rib cage.
Equipment needed: Mat or sturdy chair.
Sets, reps, and rest: Perform 5 to 8 slow cycles.
How to do it:
- Begin on your hands and knees with your hands under your shoulders and knees under your hips.
- Inhale as you gently tilt the pelvis backward, allow the abdomen to lower, and lift the chest slightly.
- Keep the neck long rather than throwing the head backward.
- Exhale as you press the floor away, tuck the pelvis, and round the spine.
- Move gradually between the two positions.
- Let the movement follow a comfortable breath instead of forcing the breath to match.
What to notice: Observe which areas of your spine move easily and which remain relatively still.
Common mistakes: Moving too quickly, locking the elbows, collapsing into the shoulders, or concentrating all the movement in the lower back and neck.
Regression: Perform seated cat-cow with both feet planted and your hands resting on your thighs.
Coaching cue: Move the pelvis first and let the spine follow.
Johns Hopkins provides similar beginner cat-cow instructions, while Cleveland Clinic recommends a seated version when an all-fours position is uncomfortable.
7. Supported Child’s Pose
Best for: Resting between movements and noticing expansion through the back and sides of the rib cage.
Areas involved: Back, shoulders, hips, knees, and ankles.
Equipment needed: Mat, pillow, yoga block, or folded blanket.
Sets, time, and rest: Stay for 3 to 5 comfortable breaths.
How to do it:
- Begin on your hands and knees.
- Move your hips slowly toward your heels.
- Keep your knees together or widen them for comfort.
- Extend your arms forward or rest them beside your body.
- Support your forehead on a pillow, block, or folded arms.
- Breathe naturally and notice movement across your back ribs.
What to notice: Observe whether your breathing creates movement through your back, sides, or abdomen.
Common mistakes: Forcing the hips toward the heels, placing too much pressure on the knees, or holding the position despite numbness or discomfort.
Regression: Place a cushion between your hips and heels. You can also sit in a chair and lean forward with your arms supported on a table.
Coaching cue: Bring the support to you rather than forcing your body toward the floor.
Cleveland Clinic recommends supporting the forehead and modifying or avoiding child’s pose when knee or other health concerns make the position unsuitable.
8. Seated Shoulder-Blade Circles
Best for: Exploring shoulder-blade movement and reducing unnecessary neck tension.
Muscles worked: Trapezius, rhomboids, serratus anterior, levator scapulae, and smaller shoulder stabilizers.
Equipment needed: Sturdy chair.
Sets, reps, and rest: Perform 5 circles in each direction.
How to do it:
- Sit near the front of a chair with both feet planted.
- Allow your arms to hang comfortably.
- Slowly move your shoulder blades upward.
- Guide them backward, downward, and forward to complete a circle.
- Make each part of the circle smooth.
- Reverse the direction after five repetitions.
What to notice: Compare the upward, backward, downward, and forward portions of the movement. One direction may feel less coordinated.
Common mistakes: Moving quickly, forcing a large range, pushing the head forward, or turning the exercise into a neck circle.
Regression: Perform smaller circles or move one shoulder at a time.
Coaching cue: Move the shoulder blades around the ribs.
The Hospital for Special Surgery seated-stretch guide recommends controlled shoulder-blade rolls in both directions with the feet supported.
9. Seated Side Bend
Best for: Exploring side-body length and breathing through the rib cage.
Muscles worked: Obliques, latissimus dorsi, quadratus lumborum, intercostal muscles, shoulders, and trunk stabilizers.
Equipment needed: Sturdy chair.
Sets, reps, and rest: Perform 3 to 5 slow repetitions per side.
How to do it:
- Sit tall with both feet planted and your weight balanced across both sitting bones.
- Rest your right hand on the chair.
- Reach your left arm upward if that feels comfortable.
- Slowly lean to the right without rotating your chest toward the floor.
- Pause for one relaxed breath.
- Return to the center and repeat on the other side.
What to notice: Feel how breathing changes through the lengthened and shortened sides of your torso.
Common mistakes: Collapsing through the lower side, lifting one hip from the chair, twisting the torso, or pulling aggressively with the raised arm.
Regression: Keep both hands low and make the side bend smaller.
Coaching cue: Grow upward before moving sideways.
10. Mountain Pose Weight Shifts
Best for: Practicing balance, grounding, and awareness of pressure through the feet.
Muscles worked: Foot muscles, calves, quadriceps, gluteus medius, and trunk stabilizers.
Equipment needed: Sturdy chair for optional support.
Sets, reps, and rest: Perform 5 slow shifts in each direction.
How to do it:
- Stand with your feet approximately hip-width apart.
- Keep your knees relaxed and your head stacked over your torso.
- Shift your weight slightly toward the balls of your feet without lifting your heels.
- Shift back toward your heels without lifting your toes.
- Return to the center.
- Shift gently from left to right while keeping both feet on the floor.
- Use the chair whenever you need support.
What to notice: Observe how pressure moves through the heels, forefoot, inside edges, and outside edges of your feet.
Common mistakes: Moving so far that the feet lift, locking the knees, holding the breath, or closing the eyes before balance is secure.
Progression: Make the movement slightly smaller and slower rather than immediately removing support.
Coaching cue: Explore the edges of balance without losing control.
Grounding and weight-shifting movements are included in the Johns Hopkins somatic self-care resources.
15-Minute Beginner Somatic Yoga Routine
Perform the exercises in this order to reduce unnecessary position changes:
| Exercise | Starting dosage |
|---|---|
| Savasana body scan | 60–90 seconds |
| Diaphragmatic breathing | 5–8 breaths |
| Supine pelvic tilts | 6–8 repetitions |
| Supine knee rocks | 5–8 per side |
| Moving bridge | 5–8 repetitions |
| Cat-cow | 5–8 cycles |
| Supported child’s pose | 3–5 breaths |
| Seated shoulder-blade circles | 5 each direction |
| Seated side bend | 3–5 per side |
| Mountain pose weight shifts | 5 each direction |
Move continuously only when it feels comfortable. You may rest between every exercise.
Common Somatic Yoga Mistakes
Moving Too Quickly
Fast repetitions leave little time to notice how the movement feels. Slow down enough to observe the beginning, middle, and end of each repetition.
Chasing a Perfect Pose
Safe alignment remains important, but you do not need to copy another person’s range. Use the smallest range that allows comfortable, controlled movement.
Forcing Deep Breaths
Breathing should feel natural. Reduce the depth of the breath or return to normal breathing if you feel strained or lightheaded.
Treating Pain as a Release
Pain is not proof that an exercise is working or that your body is “releasing” something. Stop when you experience sharp, pinching, electrical, or increasing discomfort.
Assigning Emotional Meaning to Every Sensation
A tight hip or shoulder does not prove that a particular emotion is stored in that area. Notice sensations without inventing explanations for them.
Using Somatic Yoga as Medical Treatment
These exercises may support movement and awareness, but they should not replace medical care, physical therapy, or mental health treatment when those services are needed.
How Often Should Beginners Practice Somatic Yoga?
Start with a 10- to 15-minute session two to four times per week. A shorter routine containing the body scan, breathing, pelvic tilts, and shoulder circles can also be used when you do not have time for the full sequence.
You do not need to feel completely relaxed after every session. A useful practice may simply help you notice your body more clearly.
How to Progress Safely
Progress does not require forcing deeper stretches. Instead, look for improvements such as:
- Smoother and more controlled repetitions.
- More comfortable breathing.
- Better awareness of weight distribution.
- Less unnecessary tension in the jaw, neck, or shoulders.
- Easier transitions between positions.
- The ability to practice for slightly longer without losing concentration.
Once the routine feels comfortable, add one or two repetitions to selected movements or pause for one additional breath. Change only one variable at a time.
Who Should Modify These Exercises?
Speak with a qualified healthcare professional or yoga instructor before beginning when you have a recent injury, significant balance difficulty, severe osteoporosis, uncontrolled blood pressure, breathing problems, or another condition that affects safe movement.
Pregnant people, older adults, and people with health conditions may need to modify or avoid certain yoga positions. Yoga is generally considered safe when practiced appropriately, but strains and sprains can still occur.
Stop exercising and seek professional help if you experience sharp or worsening pain, numbness, tingling, dizziness, faintness, chest pain, unusual difficulty breathing, or other concerning symptoms.
Frequently Asked Questions
Is somatic yoga suitable for complete beginners?
Yes. Somatic yoga can be beginner-friendly because movements can be small, slow, and easily modified. Start with supported floor or chair exercises and avoid forcing unfamiliar positions.
What is the difference between somatic yoga and regular yoga?
The exercises may look similar. The main difference is the focus. A conventional yoga class may emphasize completing poses or following a sequence, while a somatic approach gives more attention to internal sensation, comfort, breathing, and movement quality.
How slowly should somatic yoga exercises be performed?
Move slowly enough to notice changes in pressure and muscular effort. A complete repetition may take three to five seconds, although breathing exercises and supported positions can be slower.
Should somatic yoga hurt?
No. You may notice mild stretching, gentle muscular effort, or unfamiliar sensations, but sharp, pinching, electrical, or worsening pain is a reason to stop.
Can somatic yoga improve flexibility?
Regular comfortable movement may help improve usable range of motion over time. However, flexibility should not be the only goal. Control, breathing, balance, and body awareness are equally important.
Can somatic yoga release trauma?
Somatic yoga may help some people feel more connected to their bodies, but it should not be presented as a treatment or cure for trauma. Trauma-related concerns should be addressed with an appropriately qualified mental health professional.
When is the best time to practice?
Practice when you can move without rushing. Morning sessions may help you explore how your body feels at the start of the day, while evening sessions may provide a slower transition out of daily activities.
Conclusion
Somatic yoga exercises are most useful when you treat them as opportunities to explore movement rather than tests of flexibility. Start with small ranges, move slowly, and pay attention to breathing, pressure, balance, and muscular effort.
Use the 15-minute sequence two to four times per week and progress by improving control—not by forcing deeper positions.
This content is for informational purposes only and is not a substitute for professional medical advice.
References
- Cleveland Clinic: What Is Somatic Yoga?
- Cleveland Clinic: What Are Somatic Exercises?
- NCCIH: Yoga—Effectiveness and Safety
- Johns Hopkins Medicine: Somatic Self Care
- Cleveland Clinic: Diaphragmatic Breathing
- American Council on Exercise: Supine Pelvic Tilts
- Hospital for Special Surgery: Seated Stretches