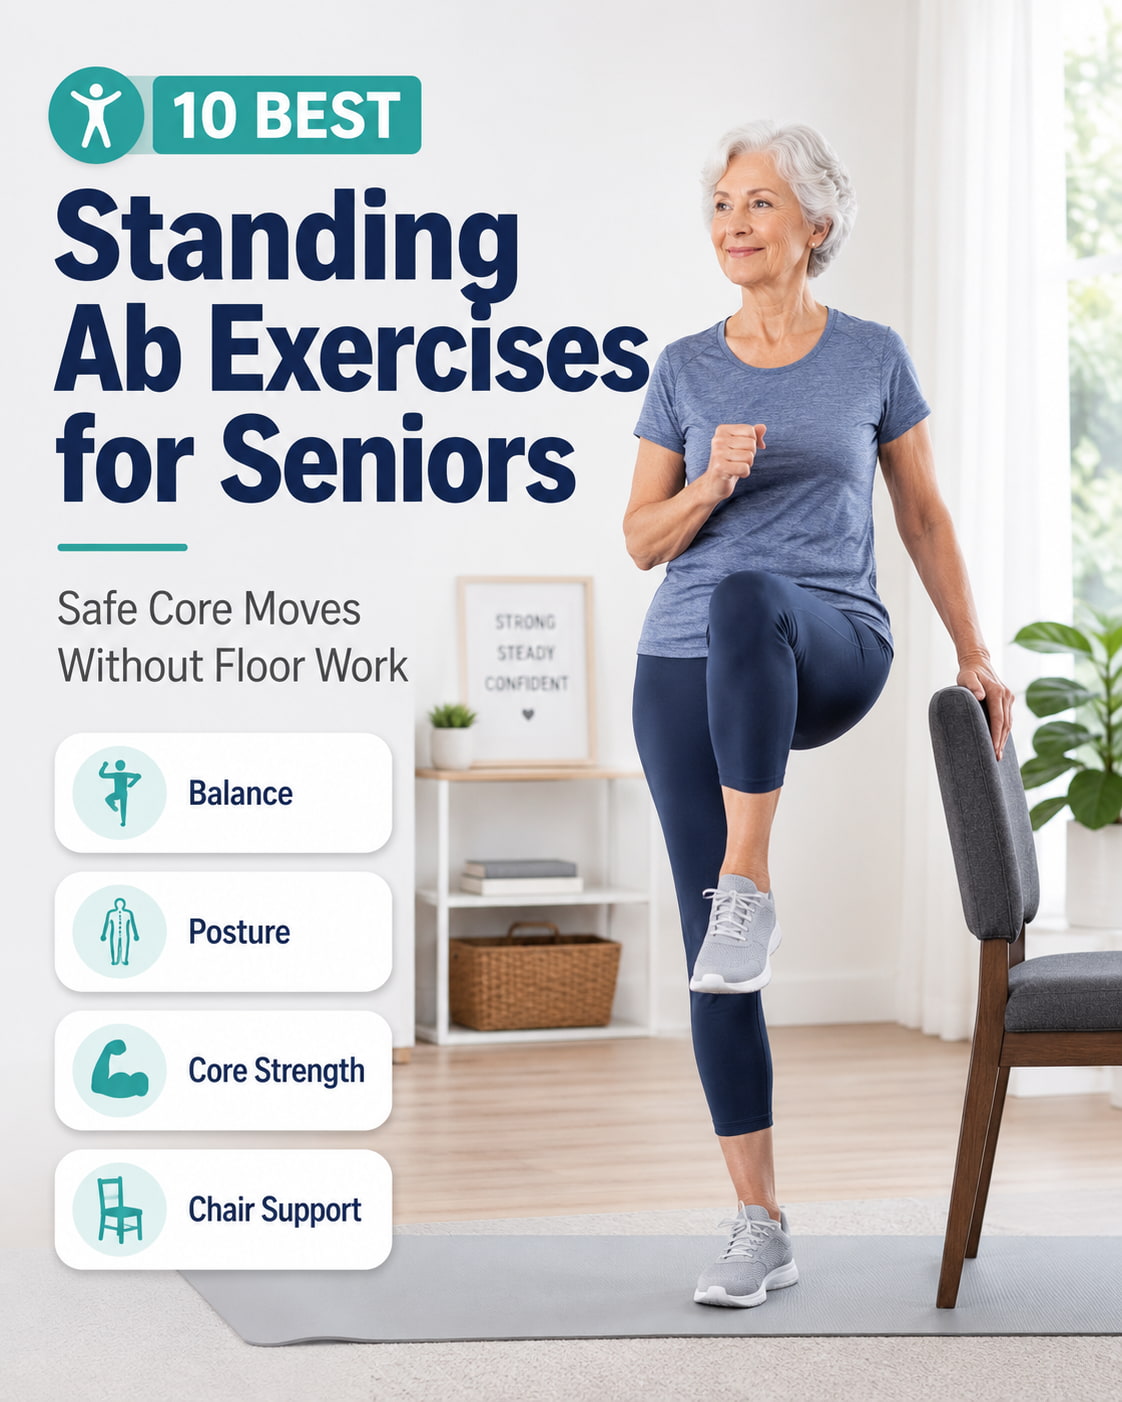
Standing ab exercises for seniors are upright core exercises that help strengthen the abs, obliques, hips, and back without getting down on the floor. They are a practical choice for older adults who want safer core training for balance, posture, walking, reaching, turning, and everyday movement.
The goal is not to chase a hard “ab burn.” The goal is to build controlled core strength while staying stable, breathing normally, and using support when needed. In this guide, you will learn the best standing ab exercises for seniors, how to do each one safely, common mistakes to avoid, and how to build a simple beginner-friendly routine.
What Are Standing Ab Exercises for Seniors?
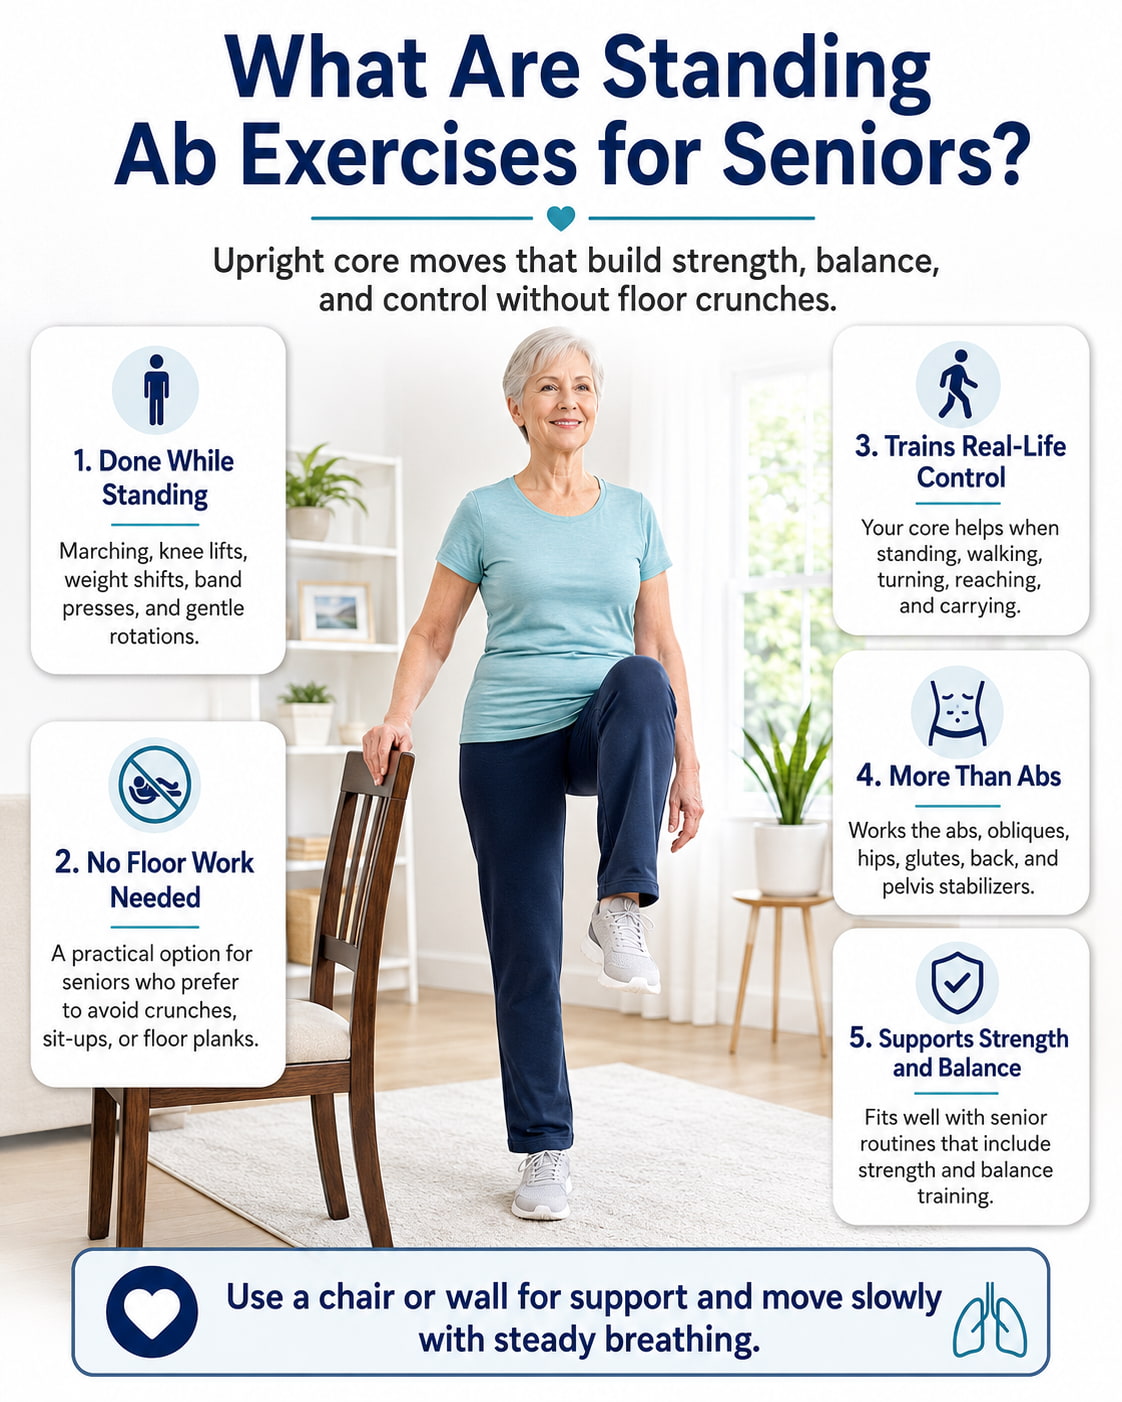
Standing ab exercises are core movements performed while upright instead of lying on the floor for crunches, sit-ups, or planks. They include simple moves such as standing marches, knee lifts, weight shifts, band presses, and gentle rotations.
For seniors, this style of training is practical because it matches daily movement. Your core helps when you stand from a chair, walk, turn, reach, carry groceries, or steady yourself after a small loss of balance.
The core includes more than the front abdominal muscles. A good standing core routine also trains the obliques, hips, glutes, lower back, and deep stabilizers that help support posture and balance.
Benefits of Standing Ab Exercises for Seniors
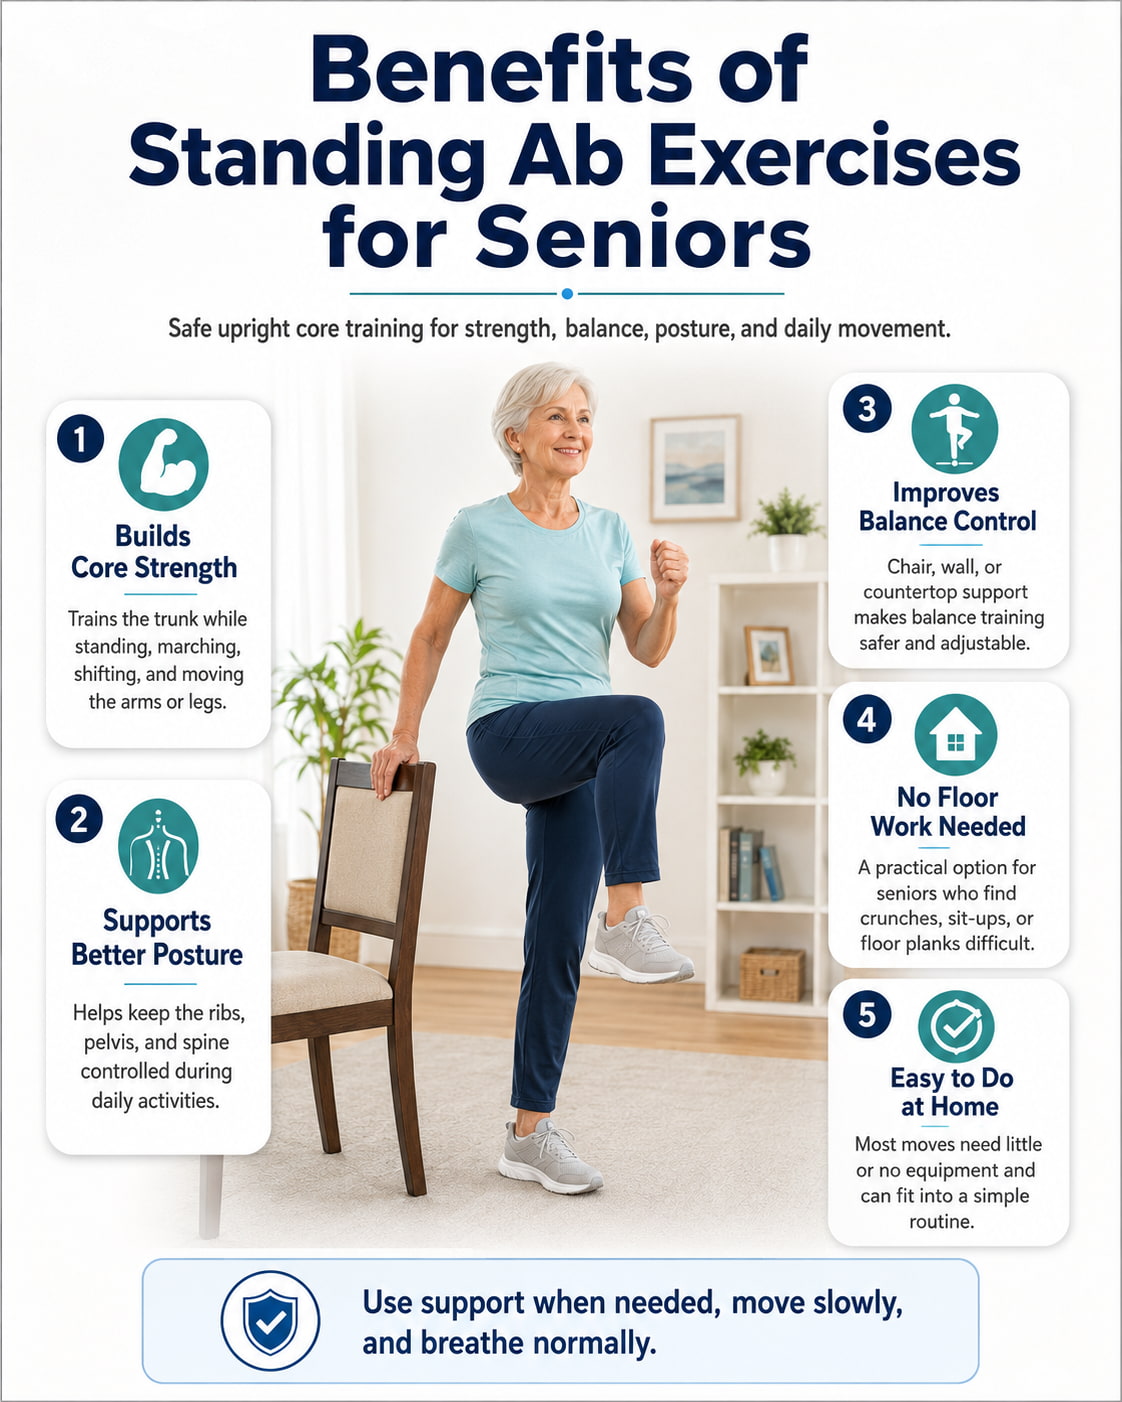
Standing ab exercises help seniors train core strength in a position they use every day. They teach the trunk to stay steady while the arms and legs move.
They may also support better posture, balance, and daily movement control. Using a chair, wall, or countertop makes the exercises safer and easier to adjust for different fitness levels.
Another major benefit is accessibility. Many older adults find floor exercises difficult, so standing ab exercises offer a simple way to train the core at home with little or no equipment.
Muscles Worked During Standing Ab Exercises
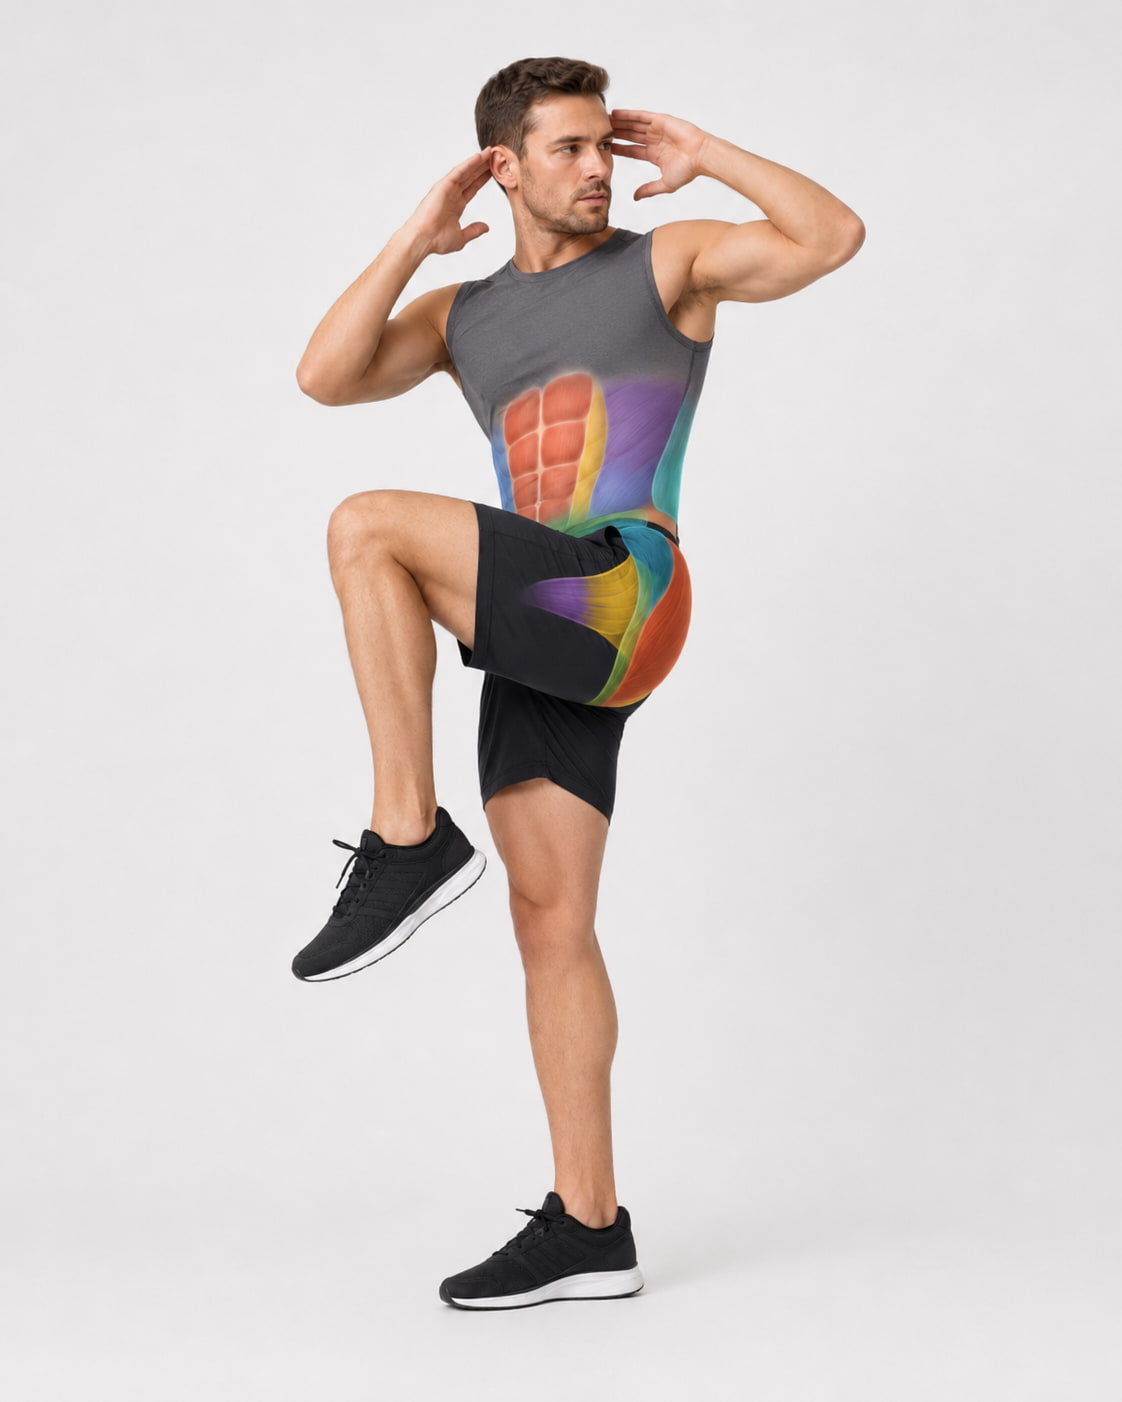
Standing ab exercises mainly train the rectus abdominis, transverse abdominis, and obliques. These muscles help brace the trunk, control rotation, and keep the torso steady.
They also involve the hips, glutes, lower back, and deep stabilizing muscles around the pelvis. These muscles help with balance, walking, knee lifts, weight shifts, and upright posture.
Some exercises, such as wall plank shoulder taps, Pallof presses, and wood chops, also involve the shoulders, upper back, and arms.
Safety Tips Before You Start
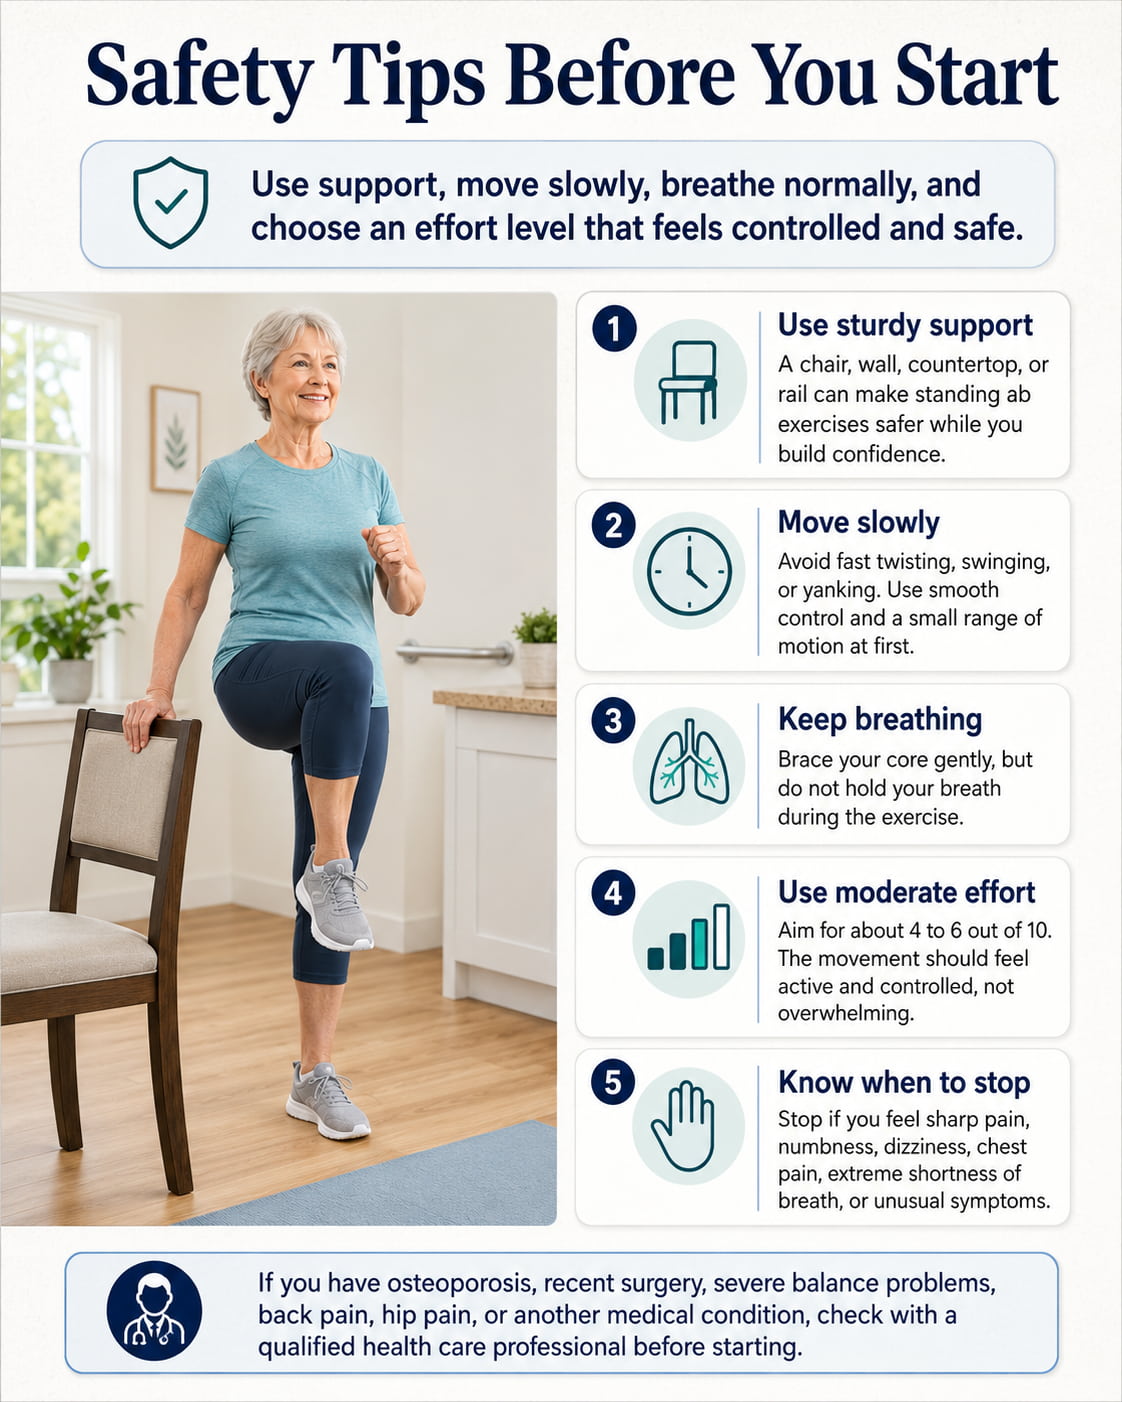
Use a sturdy chair, wall, countertop, or rail if balance is uncertain. Support helps you train safely without turning every exercise into a balance challenge.
Move slowly and avoid fast twisting, swinging, or yanking. Keep your core gently braced, breathe normally, and use a small range of motion at first.
The exercises should feel controlled, not painful or overwhelming. Stop and seek professional help if you feel sharp pain, numbness, dizziness, chest pain, extreme shortness of breath, or unusual symptoms.
How to Choose the Right Standing Ab Exercise
Choose the version that lets you keep good posture. Your chest should stay lifted, shoulders relaxed, ribs controlled, and pelvis steady.
If you wobble, use support. If you hold your breath, reduce the effort. If your lower back arches or your torso leans back, make the movement smaller.
Start with supported bodyweight exercises first. Add reps, longer holds, less hand support, or light resistance only after your form feels steady.
10 Best Standing Ab Exercises for Seniors
These standing ab exercises for seniors focus on safe core strength, balance, posture, and daily movement without getting on the floor. Start with support, move slowly, and choose the variation that lets you stay steady and pain-free.
1. Standing Abdominal Brace
Best for: Learning how to activate the core safely before harder standing ab exercises.
Muscles worked: Transverse abdominis, rectus abdominis, obliques, pelvic floor, deep spinal stabilizers, and lower-back stabilizers.
Equipment needed: A sturdy chair, wall, or countertop for support if needed.
Suggested sets and reps: Perform 1 to 3 sets of 5 to 8 gentle braces. Hold each brace for 3 to 5 seconds.
Rest: Rest 20 to 40 seconds between sets.
How to do it:
- Stand tall with your feet hip-width apart.
- Hold a chair, wall, or countertop if you need balance support.
- Keep your chest lifted and shoulders relaxed.
- Gently tighten your midsection as if preparing for a light cough.
- Keep breathing while holding the brace for 3 to 5 seconds.
- Relax, reset your posture, and repeat.
Common mistakes: Sucking in the stomach too hard, holding the breath, tucking the pelvis aggressively, leaning backward, or squeezing so hard that the shoulders tense up.
Progression or regression: Make it easier by doing the brace seated in a sturdy chair. Make it harder by holding the brace while slowly lifting one heel, shifting weight, or marching in place.
Expert tip: Think “firm but calm.” Your core should feel active, but your face, neck, and shoulders should stay relaxed.
2. Supported Standing March
Best for: Beginners who want to train the core, hip flexors, posture, and balance without floor exercises.
Muscles worked: Rectus abdominis, transverse abdominis, hip flexors, quadriceps, glutes, obliques, and spinal stabilizers.
Equipment needed: A sturdy chair, wall, countertop, or rail.
Suggested sets and reps: Perform 1 to 3 sets of 6 to 12 marches per side.
Rest: Rest 30 to 60 seconds between sets.
How to do it:
- Stand behind a sturdy chair or near a countertop.
- Place your feet hip-width apart and gently brace your core.
- Lift one knee toward hip height or as high as you can control.
- Keep your torso tall and avoid leaning backward.
- Lower the foot slowly and repeat on the other side.
- Continue alternating sides with steady breathing.
Common mistakes: Marching too fast, pulling the knee too high, leaning back, stomping the feet, or letting the hips sway side to side.
Progression or regression: Make it easier by lifting each knee only a few inches or keeping both hands on support. Make it harder by using lighter hand support or pausing briefly at the top of each march.
Expert tip: Lift the knee only as high as your posture allows. A smaller clean march is better than a high sloppy one.
3. Standing Knee Lift With Core Brace
Best for: Training lower-ab control, hip stability, and upright posture.
Muscles worked: Rectus abdominis, transverse abdominis, hip flexors, obliques, quadriceps, glutes, and spinal stabilizers.
Equipment needed: A chair, wall, or countertop for balance support.
Suggested sets and reps: Perform 1 to 3 sets of 6 to 10 reps per side.
Rest: Rest 30 to 60 seconds between sets.
How to do it:
- Stand tall beside a wall, chair, or countertop.
- Brace your core gently and shift your weight into one foot.
- Lift the opposite knee in front of you.
- Pause briefly without leaning backward.
- Lower the foot slowly to the floor.
- Complete all reps on one side, then switch sides.
Common mistakes: Swinging the leg, leaning away from the working side, gripping the support too hard, or using momentum instead of control.
Progression or regression: Make it easier by lifting the heel instead of the whole knee. Make it harder by adding a 2-second pause at the top.
Expert tip: Imagine your ribs and pelvis stacked like two bowls. Keep them lined up as the knee lifts.
4. Supported Standing Side Bend
Best for: Gentle oblique training and side-body awareness.
Muscles worked: Internal obliques, external obliques, quadratus lumborum, transverse abdominis, rectus abdominis, and spinal stabilizers.
Equipment needed: A wall, chair, or countertop for light support.
Suggested sets and reps: Perform 1 to 2 sets of 6 to 10 reps per side.
Rest: Rest 30 to 60 seconds between sides or sets.
How to do it:
- Stand tall with your feet hip-width apart.
- Place one hand on a chair or countertop if needed.
- Brace your core gently.
- Slowly bend a few inches to one side.
- Return to the center with control.
- Repeat, then switch sides.
Common mistakes: Bending too far, twisting the torso, dropping the chest, holding the breath, or using a heavy weight too soon.
Progression or regression: Make it easier by doing the side bend seated in a sturdy chair. Make it harder by slowing the return to center or holding a very light weight.
Expert tip: Keep the movement small. You should feel the side of the waist working without pinching or pulling.
5. Standing Cross-Body Knee Tap
Best for: Gentle rotational control, coordination, and oblique engagement.
Muscles worked: Obliques, rectus abdominis, transverse abdominis, hip flexors, glutes, quadriceps, and spinal stabilizers.
Equipment needed: A wall, chair, or countertop if balance support is needed.
Suggested sets and reps: Perform 1 to 3 sets of 6 to 10 reps per side.
Rest: Rest 30 to 60 seconds between sets.
How to do it:
- Stand tall with your feet hip-width apart.
- Brace your core and keep your shoulders relaxed.
- Lift one knee toward the center of your body.
- Bring the opposite hand toward the knee.
- Tap lightly without rounding your back.
- Lower with control and repeat on the other side.
Common mistakes: Rushing, twisting too far, collapsing the chest, pulling the knee aggressively, or leaning backward.
Progression or regression: Make it easier by tapping the opposite hand to the thigh instead of lifting the knee high. Make it harder by pausing for 1 second when the hand and knee meet.
Expert tip: Think of this as a slow coordination drill, not a fast cardio move.
6. Supported Single-Leg Stand With Core Brace
Best for: Balance, deep core stability, and hip control.
Muscles worked: Transverse abdominis, obliques, gluteus medius, gluteus maximus, hip stabilizers, calves, feet, and spinal stabilizers.
Equipment needed: A sturdy chair, wall, countertop, or rail.
Suggested sets and reps: Perform 1 to 3 sets of 5 to 20 seconds per side.
Rest: Rest 30 to 60 seconds between sides.
How to do it:
- Stand near a sturdy chair, wall, or countertop.
- Brace your core and look straight ahead.
- Shift your weight into one foot.
- Lift the other foot slightly off the floor.
- Hold the position while breathing normally.
- Lower the foot and repeat on the other side.
Common mistakes: Holding too long after form breaks, locking the standing knee, gripping the toes, leaning sideways, or looking down the entire time.
Progression or regression: Make it easier by keeping the toes of the lifted foot lightly touching the floor. Make it harder by using lighter hand support or holding slightly longer with good control.
Expert tip: Keep a soft bend in the standing knee. A relaxed but active leg helps the core and hips work together.
7. Standing Weight Shift With Ab Brace
Best for: Very beginners, balance confidence, and learning controlled weight transfer.
Muscles worked: Transverse abdominis, obliques, glutes, hip stabilizers, calves, quadriceps, and spinal stabilizers.
Equipment needed: A sturdy chair, wall, countertop, or rail.
Suggested sets and reps: Perform 1 to 3 sets of 8 to 12 slow shifts per side.
Rest: Rest 30 to 60 seconds between sets.
How to do it:
- Stand tall with your feet hip-width apart.
- Hold a stable support if needed.
- Gently brace your core.
- Shift your weight slowly toward your right foot.
- Return to the center.
- Shift your weight slowly toward your left foot.
- Continue alternating sides with control.
Common mistakes: Rocking too quickly, letting the hips drop, leaning the shoulders instead of shifting the whole body, or locking the knees.
Progression or regression: Make it easier by using a wider stance and both hands on support. Make it harder by pausing for 2 seconds on each side.
Expert tip: Move like you are transferring weight, not swaying. Your trunk should stay tall and controlled.
8. Wall Plank Shoulder Tap
Best for: Anti-rotation core strength, shoulder stability, and a no-floor plank option.
Muscles worked: Transverse abdominis, rectus abdominis, obliques, shoulders, serratus anterior, chest, triceps, glutes, and spinal stabilizers.
Equipment needed: A sturdy wall.
Suggested sets and reps: Perform 1 to 3 sets of 6 to 10 taps per side.
Rest: Rest 30 to 60 seconds between sets.
How to do it:
- Stand facing a wall.
- Place both hands on the wall at shoulder height.
- Step your feet back slightly and brace your core.
- Keep your body in a straight line from head to heels.
- Lift one hand and tap the opposite shoulder.
- Place the hand back on the wall and repeat on the other side.
Common mistakes: Letting the hips twist, shrugging the shoulders, sagging through the lower back, standing too far from the wall too soon, or rushing the taps.
Progression or regression: Make it easier by standing closer to the wall. Make it harder by stepping slightly farther back or pausing after each tap.
Expert tip: Before each tap, press the supporting hand gently into the wall and tighten your core.
9. Standing Band Pallof Press
Best for: Anti-rotation core strength and deeper abdominal stability.
Muscles worked: Transverse abdominis, internal obliques, external obliques, rectus abdominis, glutes, shoulders, upper back, and spinal stabilizers.
Equipment needed: A light resistance band and a stable anchor point.
Suggested sets and reps: Perform 1 to 3 sets of 6 to 10 reps per side. Hold the arms extended for 1 to 3 seconds.
Rest: Rest 45 to 75 seconds between sides or sets.
How to do it:
- Anchor a light resistance band at chest height.
- Stand sideways to the anchor and hold the band with both hands at your chest.
- Place your feet hip-width apart and bend your knees slightly.
- Brace your core and press the band straight forward.
- Hold briefly without letting your torso rotate.
- Bring your hands back to your chest and repeat.
Common mistakes: Using too much band tension, twisting toward the anchor, leaning away, locking the knees, or letting the shoulders rise.
Progression or regression: Make it easier by standing closer to the anchor or using a lighter band. Make it harder by holding the press longer or stepping slightly farther from the anchor.
Expert tip: The band should try to pull you sideways. Your job is to stay tall, square, and steady.
10. Standing Wood Chop
Best for: Controlled rotation, oblique strength, and functional reaching patterns.
Muscles worked: Obliques, transverse abdominis, rectus abdominis, glutes, hips, shoulders, upper back, and spinal stabilizers.
Equipment needed: A light resistance band, cable machine, or very light medicine ball. A chair or wall may be used nearby for safety.
Suggested sets and reps: Perform 1 to 2 sets of 6 to 8 slow reps per side.
Rest: Rest 45 to 75 seconds between sides.
How to do it:
- Stand tall with your feet about hip-width to shoulder-width apart.
- Hold a light band, cable handle, or small ball with both hands.
- Brace your core and keep your knees slightly bent.
- Move your hands slowly from one side of the body to the opposite side.
- Let your shoulders and hips turn slightly together.
- Return with control and repeat before switching sides.
Common mistakes: Twisting too fast, forcing the lower back to rotate, using heavy resistance, locking the knees, or turning the move into a swinging exercise.
Progression or regression: Make it easier by doing a small diagonal reach without weight. Make it harder by using a light resistance band and pausing briefly at the end of each controlled chop.
Expert tip: Keep the rotation smooth and small. Your hips, ribs, and shoulders should move together instead of yanking from the lower back.
Beginner Standing Ab Workout for Seniors
Use this routine 2 to 3 days per week on nonconsecutive days. Keep the effort around 4 to 6 out of 10. The routine should feel steady and controlled, not exhausting.
| Exercise | Sets and Reps | Rest |
|---|---|---|
| Standing Abdominal Brace | 1 to 2 sets of 5 holds | 20 to 40 seconds |
| Supported Standing March | 1 to 2 sets of 6 to 10 reps per side | 30 to 60 seconds |
| Standing Weight Shift With Ab Brace | 1 to 2 sets of 8 shifts per side | 30 to 60 seconds |
| Supported Single-Leg Stand With Core Brace | 1 to 2 sets of 5 to 15 seconds per side | 30 to 60 seconds |
| Wall Plank Shoulder Tap | 1 to 2 sets of 6 taps per side | 30 to 60 seconds |
Start with one round. When the workout feels easy and your balance stays steady, add a second round. After that, progress by adding a few reps, slightly longer holds, or lighter hand support. Add resistance bands only after bodyweight control feels comfortable.
How Often Should Seniors Do Standing Ab Exercises?
Most seniors can start with standing ab exercises 2 to 3 times per week. This matches the general idea of training strength and balance regularly without needing daily hard workouts.
If the exercises are gentle and low effort, some moves such as standing bracing, weight shifts, and supported marches can be practiced more often. Harder moves such as Pallof presses and wood chops should be treated more like strength training and given recovery time between sessions.
A simple plan is to do 10 to 20 minutes of standing core work after a warm-up or after a short walk. The routine should leave you feeling more stable and alert, not drained.
Common Mistakes to Avoid
The first mistake is moving too fast. Standing ab exercises work best when the core has time to control the movement. Slow reps are usually safer and more effective than rushed reps.
The second mistake is ignoring support. If balance is uncertain, use a chair, wall, or countertop. You can still train the core while holding support.
The third mistake is twisting through the lower back. Rotation should be small and controlled. If a twisting move feels uncomfortable, replace it with a Pallof press, wall plank shoulder tap, or standing brace.
The fourth mistake is holding the breath. A good core brace should still allow steady breathing.
The fifth mistake is doing too much too soon. Start with fewer reps and shorter holds. Add difficulty only when your posture, balance, and breathing stay controlled.
Are Standing Ab Exercises Better Than Crunches for Seniors?
Standing ab exercises are often a better starting point for seniors than crunches because they train the core in a more functional upright position. They also avoid the challenge of getting down to the floor and back up.
Crunches are not automatically bad for everyone, but they are not the only way to train the abs. For many older adults, standing marches, wall planks, Pallof presses, and supported balance drills are more practical and easier to modify.
The best choice depends on the person. If floor exercises feel uncomfortable, unsafe, or difficult to access, standing core exercises are a smart alternative.
FAQ
Are standing ab exercises effective for seniors?
Yes, standing ab exercises can be effective for seniors when they are done with control. They train the core muscles while also challenging posture, balance, hip stability, and coordination. They are especially useful for people who prefer not to get on the floor.
What is the safest standing ab exercise for beginners?
The standing abdominal brace is usually the safest starting point. It teaches core activation without big movement. Supported standing marches and standing weight shifts are also good beginner options when performed near a chair, wall, or countertop.
Can standing ab exercises help with balance?
They may help support balance because the core, hips, and legs work together to keep the body steady. Balance-specific moves such as supported single-leg stands and weight shifts are especially useful when done safely and progressively.
How long should a senior standing ab workout be?
A good starting workout can be 10 to 15 minutes. More experienced seniors may use 15 to 25 minutes depending on fitness level, recovery, and exercise selection. Quality matters more than length.
Should seniors use weights for standing ab exercises?
Not at first. Most seniors should begin with bodyweight movements and support as needed. Light resistance bands or very light weights can be added later if balance, posture, and breathing stay controlled.
What should I do if I feel dizzy during standing ab exercises?
Stop the exercise, sit down, and rest. Do not continue if you feel dizzy, unusually short of breath, faint, or unwell. Seek professional help if symptoms are severe, unusual, or do not go away.
Can seniors do standing ab exercises every day?
Gentle bracing, posture work, and easy balance practice may be done often if they feel good. Harder exercises, especially band presses or wood chops, are better done 2 to 3 days per week with rest between sessions.
Conclusion
Standing ab exercises for seniors are a safe and practical way to train the core without getting on the floor. Start with support, move slowly, breathe normally, and choose exercises that let you keep good posture.
For the best results, begin with simple moves like standing bracing, supported marches, weight shifts, and wall plank shoulder taps. As your control improves, progress to Pallof presses and light wood chops. The goal is stronger, steadier movement you can use in daily life.
This content is for informational purposes only and is not a substitute for professional medical advice.
References
- CDC: Older Adult Activity Guidelines
- NIH MedlinePlus: Exercise and Physical Fitness
- The Community Guide: Home-Based Exercise Interventions for Adults 65 Years and Older
- Mayo Clinic: Balance Exercises
- Mayo Clinic: Exercises to Improve Core Strength
- ACE Fitness: Standing Anti-Rotation Press
- ACE Fitness: Standing Wood Chop
3 thoughts on “10 Best Standing Ab Exercises for Seniors: Gentle Moves”