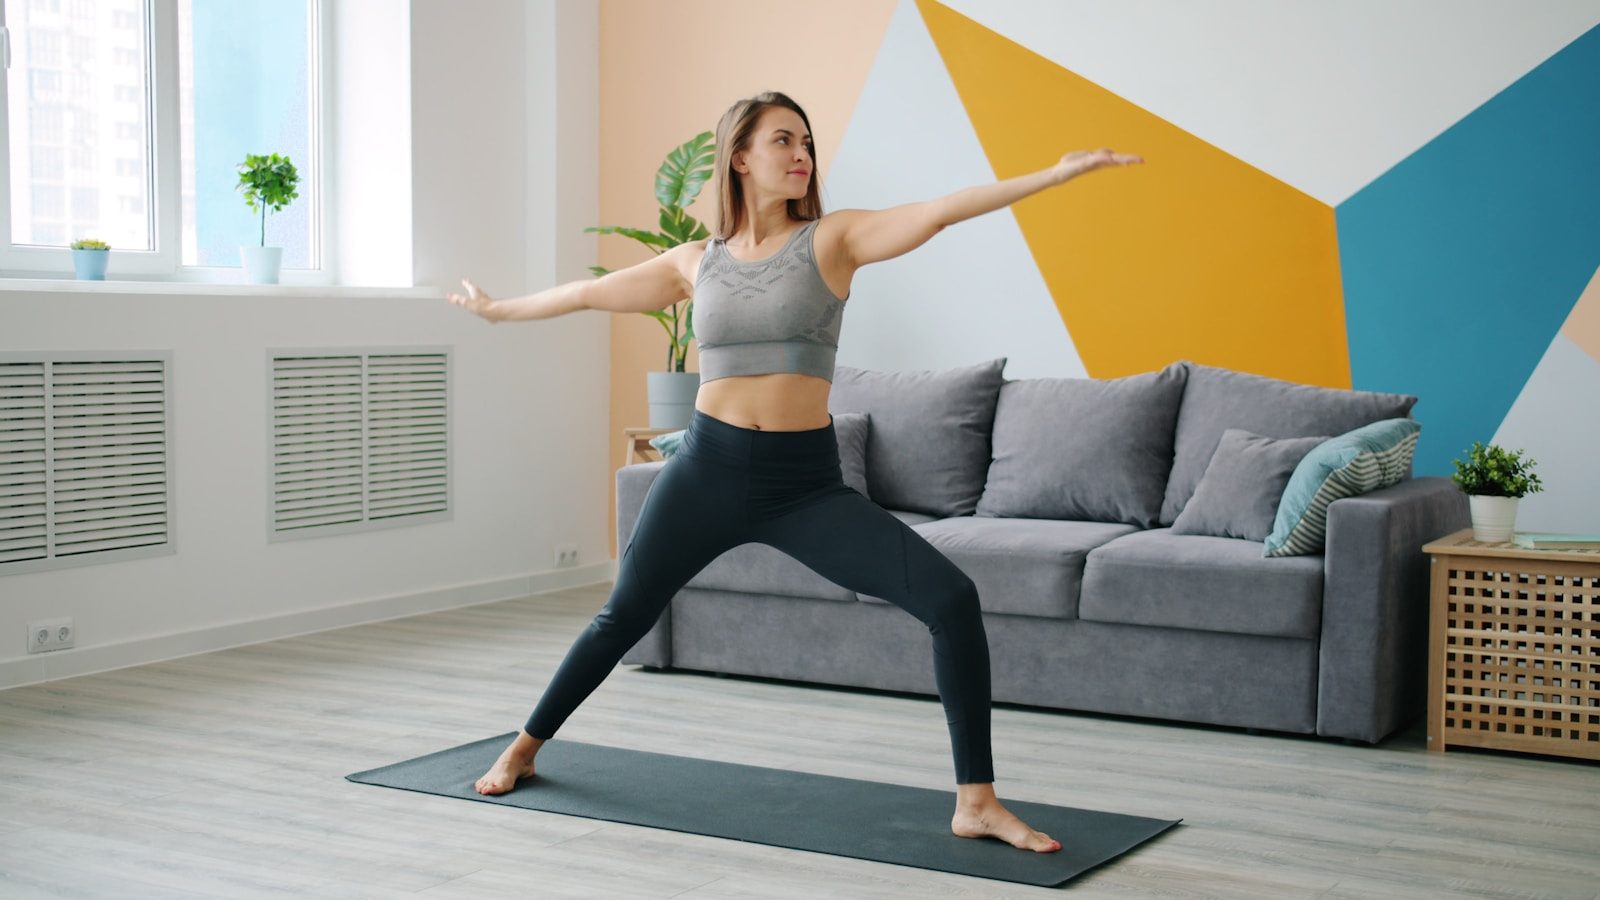
Leg exercises at home can build lower-body strength, muscular endurance, and muscle without dumbbells, resistance bands, or gym machines. The key is to choose movements that train the entire lower body, use controlled form, and make the exercises gradually more challenging.
The 2026 American College of Sports Medicine resistance-training guidelines recognize bodyweight exercises and home-based routines as effective options for improving strength, muscle size, and physical function. You do not need to perform all 10 exercises in one session. Choose five to seven movements that match your ability and progress from there.
Leg Exercises at Home at a Glance
| Exercise | Main muscles | Best for | Starting target |
|---|---|---|---|
| Bodyweight squat | Quadriceps, glutes, adductors | Foundational leg strength | 2 sets of 8–12 reps |
| Reverse lunge | Quadriceps, glutes, hamstrings | Unilateral strength and coordination | 2 sets of 6–10 per side |
| Split squat | Quadriceps, glutes, adductors | Controlled single-leg-focused training | 2 sets of 6–10 per side |
| Lateral lunge | Adductors, glutes, quadriceps | Side-to-side strength | 2 sets of 6–8 per side |
| Glute bridge | Glutes and hamstrings | Hip-extension strength | 2 sets of 10–15 reps |
| Bodyweight good morning | Hamstrings, glutes, back stabilizers | Learning the hip hinge | 2 sets of 10–15 reps |
| Hamstring walkout | Hamstrings and glutes | No-equipment hamstring training | 2 sets of 4–8 reps |
| Wall sit | Quadriceps and glutes | Isometric leg endurance | 2 sets of 20–40 seconds |
| Standing calf raise | Gastrocnemius and soleus | Calf and ankle strength | 2 sets of 12–20 reps |
| Side-lying hip abduction | Gluteus medius and minimus | Lateral hip strength | 2 sets of 10–15 per side |
These are starting recommendations, not fixed requirements. Reduce the repetitions, range of motion, or number of sets when learning a movement.
What You Need Before Starting
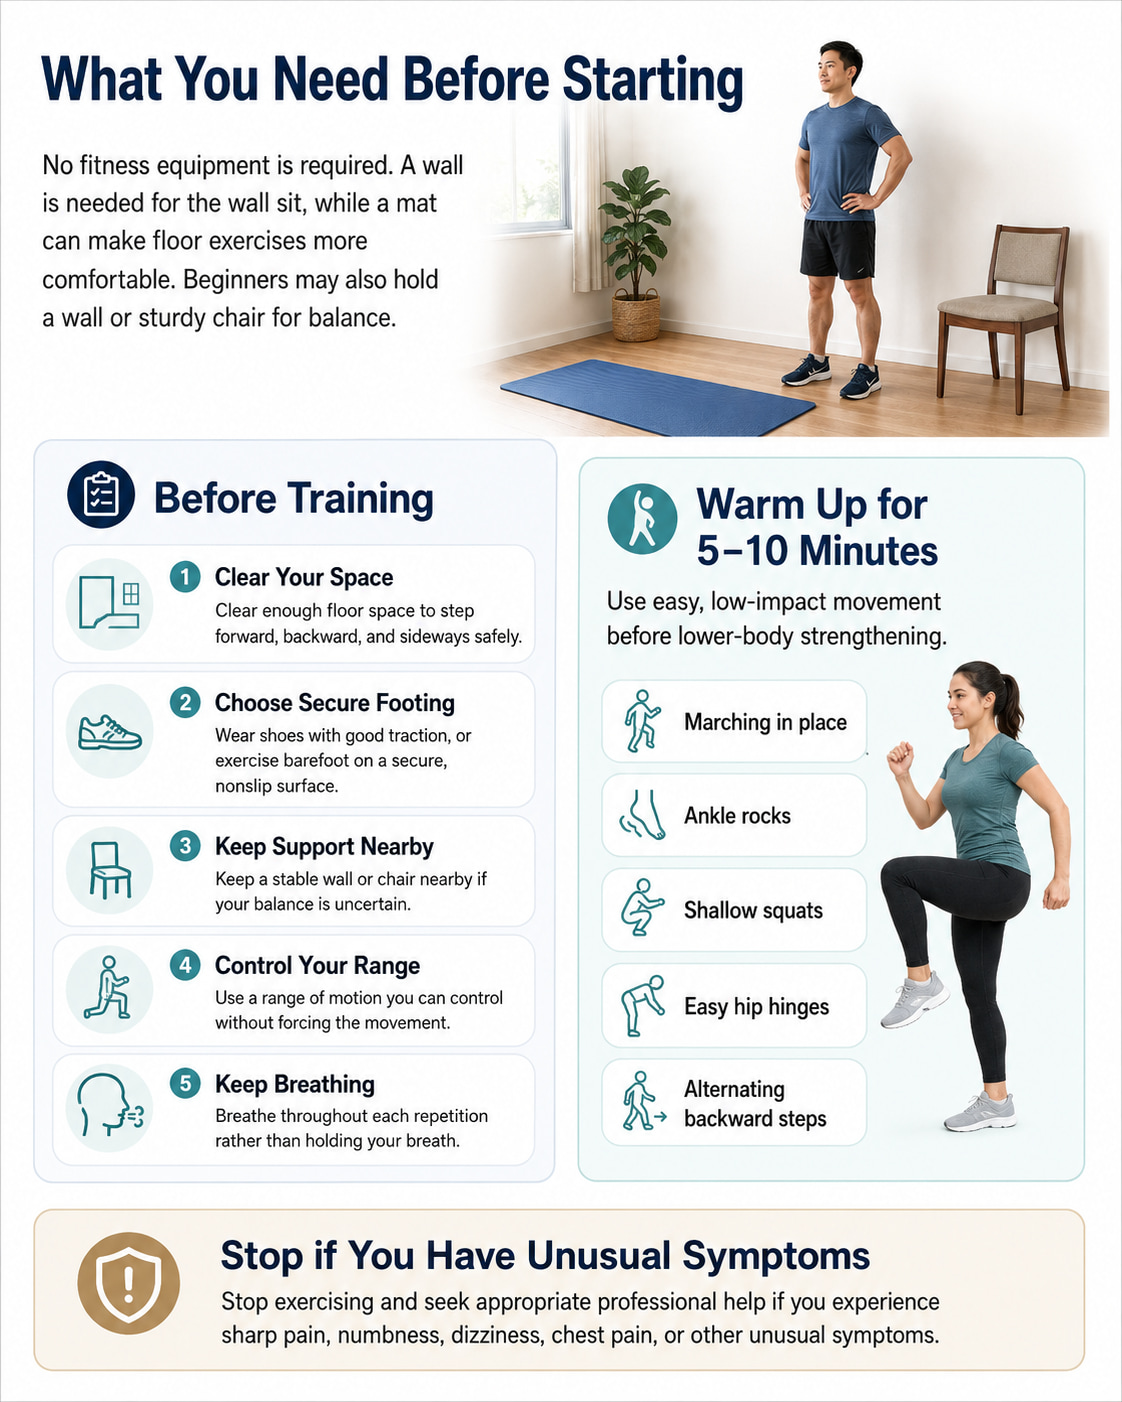
No fitness equipment is required. A wall is needed for the wall sit, while a mat can make floor exercises more comfortable. Beginners may also hold a wall or sturdy chair for balance.
Before training:
- Clear enough floor space to step forward, backward, and sideways safely.
- Wear shoes with good traction, or exercise barefoot on a secure, nonslip surface.
- Keep a stable wall or chair nearby if your balance is uncertain.
- Use a range of motion you can control without forcing the movement.
- Breathe throughout each repetition rather than holding your breath.
Warm up for 5–10 minutes before the workout. The American Academy of Orthopaedic Surgeons recommends low-impact activity before lower-body strengthening. At home, try marching in place, ankle rocks, shallow squats, easy hip hinges, and alternating backward steps.
Stop exercising and seek appropriate professional help if you experience sharp pain, numbness, dizziness, chest pain, or other unusual symptoms.
10 Best Leg Exercises at Home Without Equipment
The following exercises cover knee-dominant, hip-dominant, unilateral, side-to-side, isometric, calf, and lateral hip movements. Together, they train the quadriceps, glutes, hamstrings, inner thighs, calves, and smaller muscles that help control the hips and pelvis. These muscle functions are consistent with lower-limb anatomy resources from the National Library of Medicine.
1. Bodyweight Squat
Best for: Building foundational strength through the thighs and hips.
Muscles worked: Quadriceps and gluteus maximus, with assistance from the adductors, hamstrings, calves, and core.
Equipment needed: None.
Sets, reps, and rest: Start with 2–3 sets of 8–15 repetitions. Rest 60–90 seconds.
How to do it:
- Stand with your feet approximately hip- to shoulder-width apart.
- Turn your toes slightly outward if that feels natural.
- Brace your abdomen and keep your chest comfortably lifted.
- Bend your hips and knees together, lowering as though sitting between your feet.
- Keep your whole foot in contact with the floor.
- Descend only as far as you can without your heels lifting or your lower back rounding.
- Press the floor away and straighten your hips and knees to stand.
Common mistakes: Letting the knees collapse inward, lifting the heels, dropping quickly into the bottom, or forcing a deeper squat than you can control. Your knees should generally move in the same direction as your toes.
Regression: Use a shallower squat or lightly hold a wall for balance.
Progression: Pause for two seconds at the bottom, take three seconds to lower, or perform 1½ repetitions.
Coaching cue: Keep pressure through the heel, base of the big toe, and base of the little toe.
The American Council on Exercise bodyweight squat guide also emphasizes core bracing, stable foot contact, controlled depth, and knee alignment.
2. Reverse Lunge
Best for: Training one leg at a time while developing coordination and balance.
Muscles worked: Quadriceps and glutes, with help from the hamstrings, adductors, calves, and core.
Equipment needed: None; wall support is optional.
Sets, reps, and rest: Perform 2–3 sets of 6–12 repetitions per side. Rest 60–90 seconds.
How to do it:
- Stand tall with your feet about hip-width apart.
- Step one foot backward and land on the ball of that foot.
- Bend both knees as you lower under control.
- Keep most of your pressure through the front foot.
- Lower only as far as you can maintain balance and comfortable alignment.
- Press through the front foot and step forward to the starting position.
- Complete all repetitions on one side or alternate legs.
Common mistakes: Stepping directly behind the front foot like walking on a tightrope, letting the front heel rise, pushing excessively from the rear foot, or dropping the back knee quickly toward the floor.
Regression: Hold a wall and use a shorter backward step with a smaller range of motion.
Progression: Add a slow lowering phase, pause near the bottom, or finish each repetition with a controlled knee drive.
Coaching cue: Let the front leg do most of the work.
3. Split Squat
Best for: Building unilateral leg strength without stepping during every repetition.
Muscles worked: Quadriceps and glutes, assisted by the hamstrings, adductors, calves, and core.
Equipment needed: None; wall support is optional.
Sets, reps, and rest: Perform 2–3 sets of 6–12 repetitions per side. Rest 60–90 seconds.
How to do it:
- Begin in a staggered stance with one foot forward and the other behind you.
- Keep some space between your feet from side to side, rather than standing on one narrow line.
- Raise the heel of your rear foot.
- Keep your torso tall or lean forward slightly from the hips.
- Bend both knees and lower your body straight down.
- Keep the front foot flat and the front knee moving in line with the toes.
- Press through the front foot to rise without bringing your feet together.
Common mistakes: Using a stance that is too short or narrow, losing the front heel, bouncing at the bottom, or allowing the front knee to collapse inward.
Regression: Hold a wall, reduce the depth, or shorten the set.
Progression: Use a three-second lowering phase, pause at the bottom, or perform 1½ repetitions.
Coaching cue: Move down and up rather than lunging forward.
4. Lateral Lunge
Best for: Developing side-to-side strength while training the inner thighs and hips.
Muscles worked: Adductors, quadriceps, gluteus maximus, and gluteus medius.
Equipment needed: None.
Sets, reps, and rest: Perform 2–3 sets of 6–10 repetitions per side. Rest 60–90 seconds.
How to do it:
- Stand with your feet together or approximately hip-width apart.
- Take a controlled step to one side.
- Plant the stepping foot and push your hips backward.
- Bend the knee of the stepping leg while keeping the other leg long.
- Keep the working foot flat and your chest facing forward.
- Descend to a depth you can control without rounding your back.
- Push through the working foot to return to standing.
Common mistakes: Turning the stepping foot too far outward, allowing the knee to collapse inward, shifting onto the toes, rounding the back, or forcing the straight leg into an uncomfortable stretch.
Regression: Begin with a wide stance and practice shifting your hips gently from side to side without stepping.
Progression: Lower more slowly, pause at the bottom, or return to a controlled single-leg balance.
Coaching cue: Sit your hips behind the working foot.
5. Glute Bridge
Best for: Training hip extension without requiring standing balance.
Muscles worked: Primarily the gluteus maximus, with assistance from the hamstrings and trunk muscles.
Equipment needed: None; exercise mat optional.
Sets, reps, and rest: Perform 2–3 sets of 10–20 repetitions. Rest 45–75 seconds.
How to do it:
- Lie on your back with your knees bent and feet flat.
- Position your feet about hip-width apart.
- Gently brace your abdomen.
- Press through your feet and squeeze your glutes to lift your hips.
- Stop when your shoulders, hips, and knees form a comfortable line.
- Pause briefly without arching your lower back.
- Lower your hips slowly to the floor.
Common mistakes: Lifting the hips by overextending the lower back, pushing mainly through the toes, letting the knees spread or collapse, or placing the feet so far away that the hamstrings cramp.
Regression: Lift through a smaller range or hold the top position for short intervals.
Progression: Try bridge marches, a longer top pause, or a single-leg glute bridge.
Coaching cue: Finish the movement by squeezing your glutes, not arching your back.
ACE’s glute bridge guidance similarly recommends abdominal control, heel pressure, and avoiding excessive lower-back extension.
6. Bodyweight Good Morning
Best for: Learning the hip-hinge pattern and training the posterior chain.
Muscles worked: Hamstrings and glutes, with the spinal erectors and core stabilizing the torso.
Equipment needed: None.
Sets, reps, and rest: Perform 2–3 sets of 10–15 repetitions. Rest 45–75 seconds.
How to do it:
- Stand with your feet approximately hip-width apart.
- Place your hands across your chest or lightly behind your head.
- Soften your knees without turning the exercise into a squat.
- Brace your abdomen and push your hips backward.
- Allow your torso to lean forward while keeping your spine neutral.
- Stop when you feel tension through the backs of your thighs or before your back begins to round.
- Squeeze your glutes and bring your hips forward to stand.
Common mistakes: Bending the knees too much, rounding the back, reaching the head forward, forcing a deep hinge, or leaning backward at the top.
Regression: Stand a short distance in front of a wall and practice reaching your hips back until they gently touch it.
Progression: Use a staggered “kickstand” stance or progress to a controlled single-leg hip hinge.
Coaching cue: Close an imaginary car door with your hips.
7. Hamstring Walkout
Best for: Challenging the hamstrings without weights or a resistance band.
Muscles worked: Hamstrings and glutes, with the core helping maintain pelvic position.
Equipment needed: None; exercise mat optional.
Sets, reps, and rest: Start with 2 sets of 4–8 walkouts. Rest 60–90 seconds. One walkout means walking the heels away and returning them.
How to do it:
- Lie on your back with your knees bent and feet flat.
- Lift into a controlled glute bridge.
- Keep your hips raised as you take several small heel steps away from your body.
- Stop before your hips drop or your legs straighten completely.
- Walk your heels back toward your hips using small steps.
- Lower to the floor and reset before the next repetition.
Common mistakes: Taking steps that are too large, allowing the hips to sag, rushing the return, holding the breath, or continuing after hamstring control is lost.
Regression: Hold a regular bridge while pressing your heels firmly into the floor, or take only one small step out and back.
Progression: Walk the heels farther away, slow each step, or pause briefly at the farthest controlled position.
Coaching cue: Keep your belt line level as your feet move.
8. Wall Sit
Best for: Building isometric endurance in the quadriceps and glutes.
Muscles worked: Quadriceps and glutes, with the calves and trunk assisting.
Equipment needed: A clear, stable wall.
Sets, reps, and rest: Perform 2–3 holds of 20–45 seconds. Rest 60–90 seconds.
How to do it:
- Stand with your back against a wall.
- Walk your feet forward far enough that your heels remain down as you lower.
- Slide your back down the wall to a comfortable depth.
- Keep your knees pointing in the same direction as your toes.
- Maintain even pressure through both feet.
- Hold the position while breathing normally.
- Press through your feet and slide upward to finish.
Common mistakes: Starting too low, placing the feet too close to the wall, pushing the knees inward, holding the breath, or pressing the hands into the thighs to reduce the effort.
Regression: Stay higher on the wall and shorten the hold.
Progression: Gradually lower the position, extend the hold to approximately 45–60 seconds, or make small controlled weight shifts between the legs.
Coaching cue: Choose a depth you could leave under control.
9. Standing Calf Raise
Best for: Strengthening the calves and improving controlled ankle movement.
Muscles worked: Gastrocnemius and soleus.
Equipment needed: None; wall support is optional.
Sets, reps, and rest: Perform 2–4 sets of 12–20 repetitions. Rest 45–60 seconds.
How to do it:
- Stand with your feet about hip-width apart.
- Lightly touch a wall if you need help balancing.
- Keep your toes and heels pointing mostly forward.
- Press through the balls of your feet and raise your heels.
- Pause at the top without rolling the ankles outward.
- Lower your heels slowly until they touch the floor.
- Reset your balance before the next repetition.
Common mistakes: Bouncing, rushing the lowering phase, allowing the ankles to roll outward, shifting unevenly between the feet, or using such a small range that the calves are barely challenged.
Regression: Use both legs and hold a wall securely.
Progression: Perform single-leg calf raises, use a three-second lowering phase, or add a bent-knee calf raise to emphasize the soleus.
Coaching cue: Rise straight up through the center of your feet.
10. Side-Lying Hip Abduction
Best for: Strengthening the lateral hip muscles that help control the pelvis and thigh.
Muscles worked: Gluteus medius and gluteus minimus, with assistance from the tensor fasciae latae.
Equipment needed: None; exercise mat optional.
Sets, reps, and rest: Perform 2–3 sets of 10–20 repetitions per side. Rest 30–60 seconds.
How to do it:
- Lie on one side with your hips and shoulders stacked.
- Bend the lower knee for stability and keep the upper leg straight.
- Keep the upper leg in line with your torso or slightly behind it.
- Point the upper toes mostly forward.
- Brace your abdomen and raise the upper leg without rolling backward.
- Stop before your pelvis begins to move.
- Lower the leg slowly.
Common mistakes: Turning the toes toward the ceiling, rolling the pelvis backward, hiking the hip toward the ribs, swinging the leg, or lifting higher than the hip can control.
Regression: Use a smaller lifting range.
Progression: Pause for two seconds at the top, lower for three seconds, or perform additional controlled repetitions.
Coaching cue: Lead with your heel rather than your toes.
Beginner No-Equipment Leg Workout at Home
This routine provides squat, lunge, hip-extension, calf, isometric, and lateral hip work without requiring all 10 exercises.
| Exercise | Sets and reps |
|---|---|
| Bodyweight squat | 2 sets of 8–12 |
| Glute bridge | 2 sets of 10–15 |
| Supported reverse lunge | 2 sets of 6–8 per side |
| Wall sit | 2 sets of 20–30 seconds |
| Standing calf raise | 2 sets of 12–20 |
| Side-lying hip abduction | 2 sets of 10–15 per side |
Rest: Take 45–90 seconds between sets.
Frequency: Complete the workout twice per week to start.
Effort: Finish most sets when you feel you could perform another two or three controlled repetitions. Every set does not need to reach complete muscular failure. ACSM’s current guidance reports that training to momentary failure does not consistently improve outcomes for the average healthy adult.
Progression: When you can complete the highest number of repetitions with stable form for two workouts, add a few repetitions, one additional set, a slower tempo, or a harder variation.
Intermediate No-Equipment Leg Workout
| Exercise | Sets and reps |
|---|---|
| Tempo bodyweight squat | 3 sets of 10–15 |
| Split squat | 3 sets of 8–12 per side |
| Lateral lunge | 3 sets of 8–10 per side |
| Hamstring walkout | 3 sets of 5–8 |
| Single-leg calf raise | 3 sets of 10–15 per side |
| Side-lying hip abduction with pause | 2 sets of 12–20 per side |
Lower for approximately three seconds during the tempo squat. Rest 60–90 seconds between sets and complete the routine two or three times per week, depending on your recovery and other activities.
The Centers for Disease Control and Prevention recommends strengthening all major muscle groups at least twice per week. Its guidance also identifies 8–12 repetitions as a useful general target and notes that bodyweight movements can count as muscle-strengthening activity.
How to Make No-Equipment Leg Exercises Harder
Home leg exercises must become more challenging if you want to continue progressing. Performing the same easy routine indefinitely is unlikely to provide the same training stimulus.
Use one of these methods at a time:
Add Repetitions
Increase repetitions within the recommended range while maintaining the same depth, balance, and tempo.
Add a Set
Move from two sets to three when your current volume feels manageable and your technique remains consistent.
Slow the Lowering Phase
Take approximately three to five seconds to lower during squats, split squats, lunges, bridges, or calf raises.
Add a Pause
Pause in a challenging but controlled position, such as the bottom of a squat or the top of a glute bridge.
Increase the Range of Motion
Gradually use a deeper range when you can do so without losing foot pressure, spinal position, or joint control.
Use More Unilateral Work
Progress from two-leg exercises to staggered-stance or single-leg variations. A split squat is generally more demanding for each leg than a standard squat, while a single-leg bridge is harder than a two-leg bridge.
Choose a Harder Variation
Examples include:
- Squat to pause squat
- Glute bridge to bridge march
- Double-leg calf raise to single-leg calf raise
- Good morning to single-leg hip hinge
- Standard split squat to 1½-rep split squat
Avoid changing every variable at once. Small, measurable progress is easier to control.
Can Bodyweight Leg Exercises Build Muscle?
Bodyweight exercises may help build muscle when the working muscles are challenged sufficiently and the routine progresses over time.
A small eight-week study indexed by PubMed found increases in quadriceps muscle size following both free-weight and body-mass-based resistance programs in healthy adults. The bodyweight program included movements such as squats, lunges, and single-leg Romanian deadlifts. However, this individual study does not prove that every no-equipment routine will produce the same results as weighted training.
Bodyweight training is most likely to remain useful when you:
- Use controlled, challenging repetitions.
- Train consistently.
- Work through an appropriate range of motion.
- Include bilateral and unilateral exercises.
- Progress the movement before it becomes too easy.
- Perform enough weekly sets for your goal.
External resistance may eventually become useful if your main goal is maximizing strength or muscle growth. ACSM reports that heavier resistance is particularly useful for maximizing strength, even though many different resistance-training methods can produce benefits.
Benefits of Leg Exercises at Home
1. They Remove Common Training Barriers
You do not need a gym membership, workout machine, or collection of weights. A bodyweight routine can be performed in a small space and adjusted to different fitness levels.
2. They Train the Entire Lower Body
A balanced routine can strengthen the quadriceps, glutes, hamstrings, adductors, calves, and lateral hip muscles rather than relying only on squats.
3. They Are Easy to Scale
You can change the number of repetitions, range of motion, tempo, pauses, support, and exercise variation without purchasing equipment.
4. They Include Single-Leg Training
Reverse lunges and split squats train each side separately. This makes it easier to notice differences in balance, control, or strength between legs.
5. They Can Support Everyday Movement
Squatting, stepping, rising, balancing, and extending the hips are movement patterns used during everyday activities. Resistance training may support strength and physical function when performed consistently.
Common Home Leg Workout Mistakes
Doing All 10 Exercises Every Time
More exercises do not automatically make a workout better. Five to seven well-chosen movements are usually enough for a focused home session.
Using Only Squat Variations
Squats are useful, but a complete routine should also include hip hinging, hip extension, calves, lateral movement, and lateral hip work.
Rushing the Repetitions
Dropping quickly, bouncing, or using momentum reduces control. Slow down enough to maintain stable foot pressure and joint alignment.
Forcing Range of Motion
Deeper is not always better. Use the largest range you can control without pain, heel lift, loss of balance, or unwanted spinal movement.
Never Progressing
When an exercise becomes easy, change the repetitions, sets, tempo, pause, range, or variation. Simply repeating an unchanged routine makes continued progress less likely.
Taking Every Set to Failure
Hard sets can be useful, but complete failure is not required. Stop a set when your technique begins to change or you can no longer complete another clean repetition.
Frequently Asked Questions
What is the best leg exercise to do at home?
The bodyweight squat is a practical starting exercise because it trains the quadriceps and glutes and can be adjusted through depth, tempo, pauses, and support. However, no single movement trains every lower-body muscle equally. Pair squats with a hinge or bridge, unilateral movement, calf raise, and lateral hip exercise.
How often should I do leg exercises at home?
Most beginners can start with two leg workouts per week. Intermediate exercisers may train two or three times weekly, provided their performance and recovery remain good. Your total weekly activity and workout difficulty also matter.
How many leg exercises should I do in one workout?
Choose approximately five to seven exercises. Include at least one squat or lunge, one hip-dominant movement, one calf exercise, and one lateral or hip-abduction exercise.
Can I train my legs every day?
Light movement and technique practice may be performed frequently, but hard strength workouts do not need to happen every day. Avoid another demanding leg session when soreness, fatigue, or reduced control would interfere with your form.
How long should a home leg workout take?
A focused routine of five to seven exercises usually takes approximately 20–35 minutes, depending on the number of sets and rest periods. A shorter workout performed consistently is more useful than an overly long routine you cannot maintain.
What should I do if lunges hurt my knees?
Stop the movement rather than training through sharp or increasing pain. Check that your front foot remains flat, your knee follows the direction of your toes, and your range is controlled. Try a shallower supported split squat or bodyweight squat. Persistent or recurring pain should be assessed by an appropriate healthcare professional.
When should I add weights?
Consider external resistance when you can comfortably perform the harder bodyweight variations for high-quality repetitions and can no longer make the movement meaningfully challenging through tempo, pauses, range, or unilateral progressions.
Conclusion
Leg exercises at home can provide an effective lower-body workout without specialized equipment. Start with a squat, glute bridge, supported lunge, calf raise, and lateral hip movement. Practice them twice per week, prioritize controlled form, and make one small progression when the current routine becomes manageable.
You do not need the most complicated workout. You need a balanced routine that challenges you appropriately and can be repeated consistently.
This content is for informational purposes only and is not a substitute for medical advice.
References
- American College of Sports Medicine (ACSM) — Resistance Training Prescription for Muscle Function, Hypertrophy, and Physical Performance in Healthy Adults
View the ACSM Position Stand on PubMed - Centers for Disease Control and Prevention (CDC) — Physical Activity Guidelines for Adults
View CDC Physical Activity Guidelines - American Academy of Orthopaedic Surgeons (AAOS) — Knee Conditioning Program
View the AAOS Knee Conditioning Program - American Council on Exercise (ACE) — Exercise Library
View the ACE Exercise Library - Hospital for Special Surgery (HSS) — Exercises to Strengthen the Knees
View HSS Lower-Body Exercise Guidance - NCBI Bookshelf — Anatomy of the Thigh Muscles
View NCBI Thigh Muscle Anatomy - Ogawa et al. — Effects of Free-Weight and Body-Mass-Based Resistance Training on Thigh Muscle Size and Strength
View the Study on PubMed