
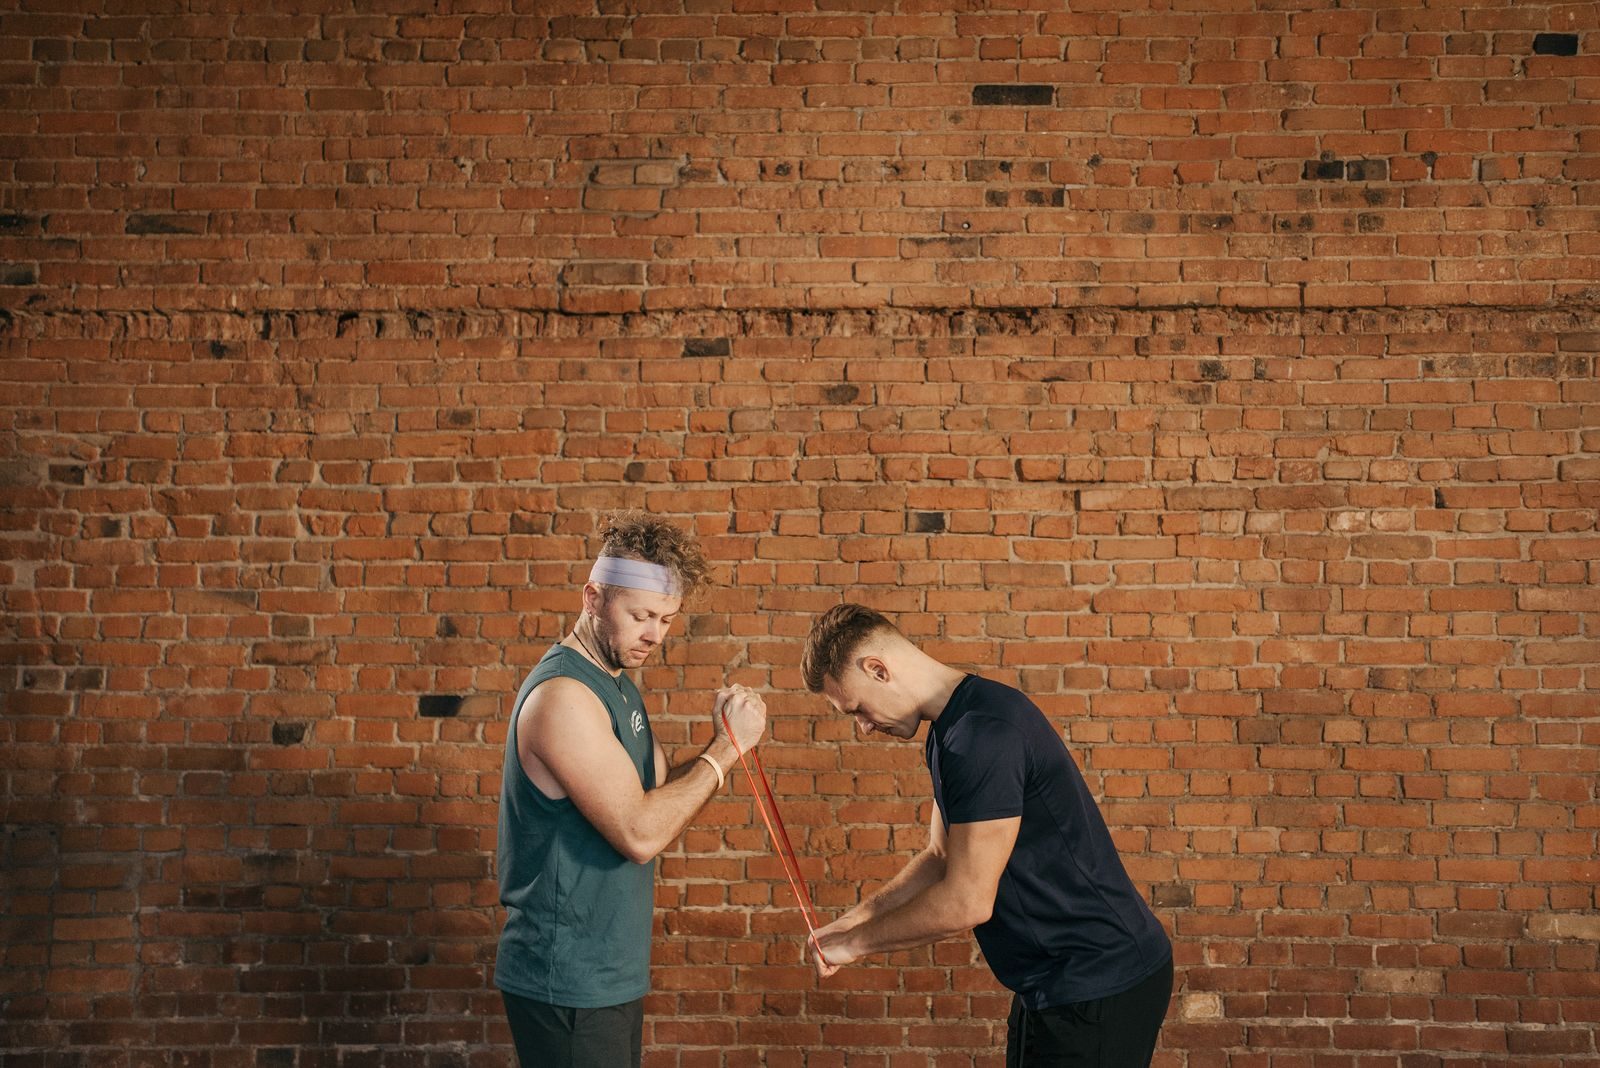
Resistance band exercises for triceps can help you build stronger upper arms through pressdowns, overhead extensions, kickbacks, and pressing movements. The key is choosing a setup you can control and gradually increasing the challenge.
Below are nine options with clear instructions, common mistakes, and ways to adjust the difficulty. Choose two complementary exercises to start; you do not need to perform the entire list in one workout.
What to Know Before You Begin
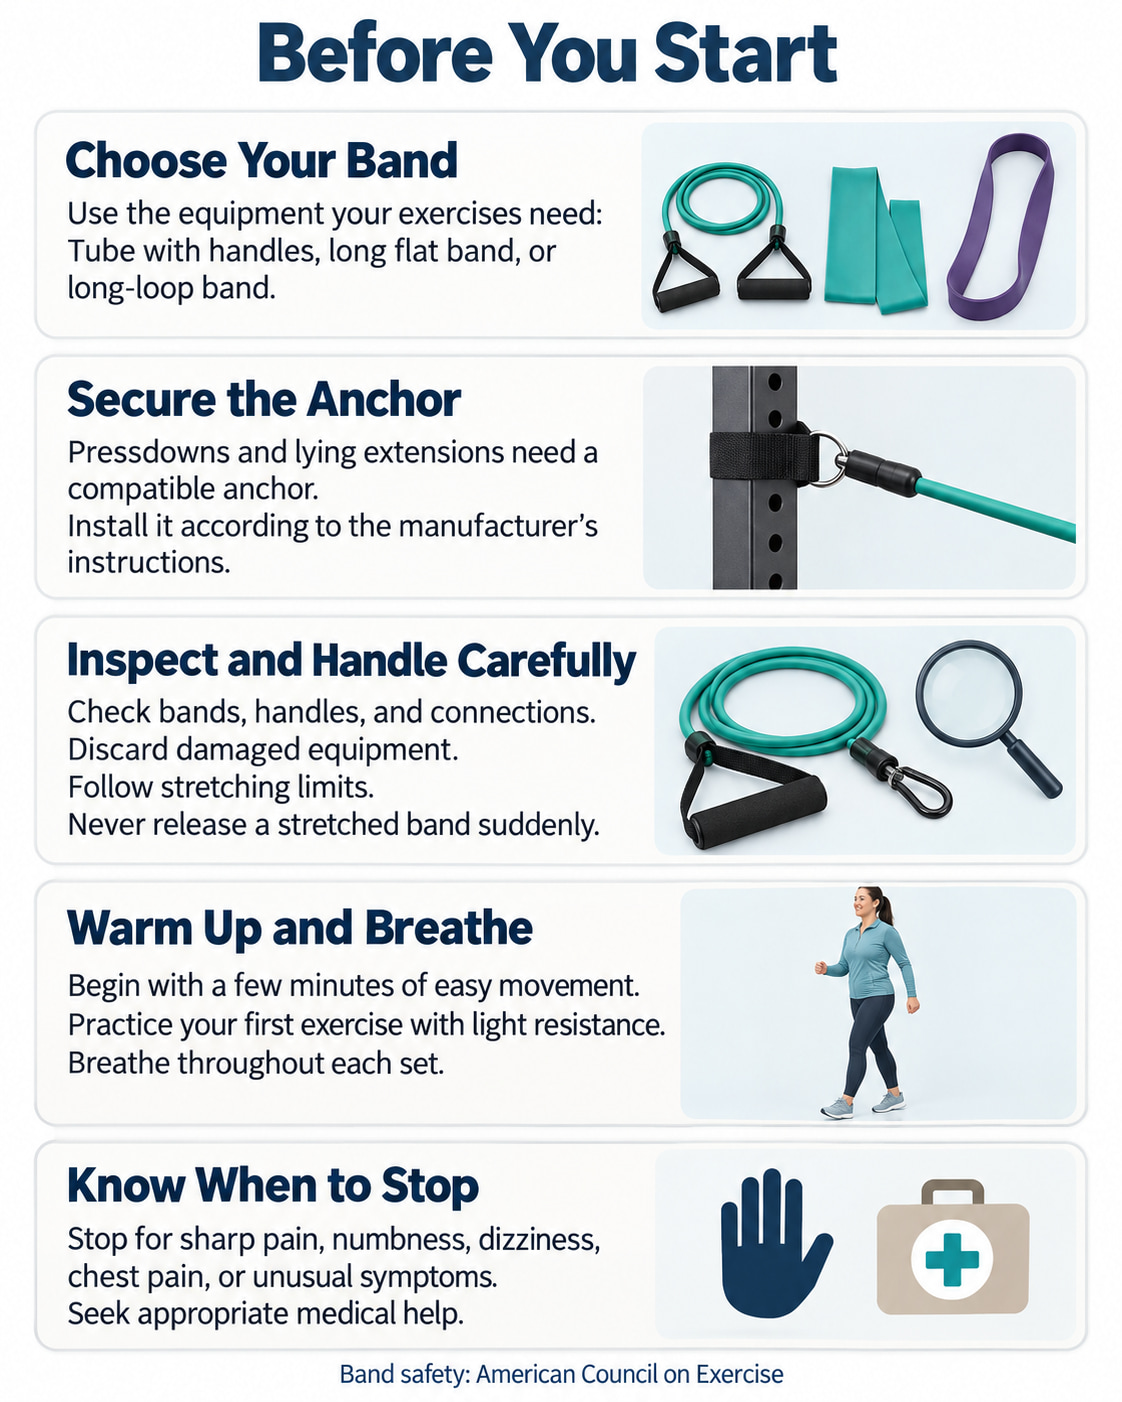
You only need the equipment for your chosen exercises: a resistance tube with handles, a long flat band, or a long-loop band. Pressdowns and lying extensions also require a compatible anchor installed according to its manufacturer’s instructions.
The American Council on Exercise recommends checking bands, handles, and connections before use and discarding damaged equipment. Follow the band’s stretching limits and never release it suddenly under tension.
Warm up with a few minutes of easy movement, then practice your first exercise with light resistance. Breathe throughout each set. Stop for sharp pain, numbness, dizziness, chest pain, or unusual symptoms and seek appropriate medical help.
9 Resistance Band Exercises for Triceps
These exercises offer different arm positions and equipment setups for training at home.
Use the instructions to choose suitable movements, then follow the workout guidance below.
The extension and kickback variations primarily train the triceps, the muscles that straighten your elbows. The floor press and push-up also involve your chest and front shoulders.
Starting dose for exercises 1–7: Perform 1–2 sets of 10–15 repetitions, per arm when applicable, resting 60–90 seconds between sets. Use the separate pressing ranges in the workout section for exercises 8 and 9.
1. Standing Band Triceps Pressdown
Best for: A straightforward exercise that trains both arms together.
Equipment: Resistance tube with handles and a compatible high anchor.
How to do it:
- Secure the tube above head height. Face the anchor and hold one handle in each hand, palms facing inward.
- Stand with feet about hip-width apart, knees soft, and elbows beside your ribs. Begin with elbows bent roughly 90 degrees and light tension in the tube.
- Keep your upper arms steady as you straighten your elbows, moving the handles toward your thighs.
- Finish with your arms straight without snapping your elbows backward. Slowly bend your elbows to return.
Common mistakes: Leaning your body weight onto the handles, bending your wrists, or swinging your elbows behind you. Keeping the upper arms steady is also emphasized in the American Council on Exercise exercise library.
Adjust the difficulty: Use a lighter tube if you cannot straighten your arms without leaning or shrugging.
2. Single-Arm Band Triceps Pressdown
Best for: Giving each arm its own manageable resistance and controlled repetitions.
Equipment: Long flat band and a compatible high anchor.
How to do it:
- Secure one end of the band above head height. Face the anchor and firmly grip the free end with one hand, palm facing inward.
- Hold the working elbow beside your ribs, bent roughly 90 degrees. Rest your other hand on your hip.
- Straighten the working elbow, bringing your hand toward the outside of your thigh while keeping your torso still.
- Return slowly to the starting bend. Complete your repetitions, then switch arms.
Common mistakes: Twisting toward the working side or pulling the whole upper arm backward.
Training tip: Start with the less capable side and match its controlled repetitions with the other arm. Adjust the band’s resistance if needed.
3. Two-Arm Overhead Band Triceps Extension
Best for: Training with your arms overhead without an external anchor.
Equipment: Long-loop resistance band with enough length for the full movement.
How to do it:
- Take a staggered stance and secure one end of the loop beneath the middle of your rear shoe. Keep that foot firmly planted.
- Bring the opposite end behind your head and grip it with both hands, palms facing each other.
- Position your upper arms comfortably beside your head. Bend your elbows so your hands are behind your head, keeping your ribs over your pelvis.
- Straighten your elbows to raise your hands overhead, then slowly return to the starting bend.
Common mistakes: Arching your lower back, pushing your head forward, or using a band too short to allow controlled movement.
Make it easier: Choose a lighter or longer suitable band. Never force your arms overhead to accommodate the equipment.
4. Single-Arm Overhead Band Triceps Extension
Best for: Adjusting overhead resistance separately for each arm.
Equipment: Long flat resistance band.
How to do it:
- Place your right foot behind your left and secure one end of the band beneath the middle of your right shoe.
- Hold the free end in your right hand. Raise your upper arm beside your head, palm facing inward, then bend your elbow so your hand is behind your head.
- Keep your upper arm steady as you straighten your elbow and reach upward.
- Lower your hand under control. Finish the set, then reverse the setup for your left arm.
Common mistakes: Side-bending, flaring your ribs, or forcing the elbow into a position that feels uncomfortable.
Make it easier: Reduce the resistance and work within a comfortable range. The American Council on Exercise describes this foot-anchored overhead movement.
5. Bent-Over Band Triceps Kickback
Best for: Training elbow extension while maintaining a steady hip hinge.
Equipment: Resistance tube with handles.
How to do it:
- Stand on the middle of the tube with both feet about hip-width apart. Hold one handle in each hand, palms facing inward.
- Soften your knees and push your hips back, inclining your torso forward with a comfortable neutral spine.
- Bring your upper arms alongside your torso and bend your elbows roughly 90 degrees.
- Keep your upper arms still as you straighten your elbows, moving the handles backward.
- Slowly return to the bent-elbow position without standing up or letting your shoulders drop forward.
Common mistakes: Turning the movement into a row, rounding your back, or flicking your wrists to finish each repetition.
Technique priority: Use light resistance and keep the movement smooth. Mayo Clinic emphasizes steady wrists, abdominal control, and smooth movement in its resistance-tubing kickback guidance.
6. Standing Self-Anchored Triceps Extension
Best for: A simple standing option when you have a flat band and no external anchor.
Equipment: Long flat resistance band.
How to do it:
- Stand comfortably with feet hip-width apart. Use your left hand to hold one section of the band firmly against your right hip.
- Grip another section with your right hand just behind your hip, with your elbow bent and pointing backward.
- Keep your left hand fixed and your right upper arm steady as you straighten your right elbow, moving your hand behind you.
- Slowly return to the starting position. Complete the set, then switch sides.
Common mistakes: Letting the anchoring hand move, arching your back, or swinging the entire arm backward.
Make it easier: Leave more band length between your hands or use a lighter band. The British Heart Foundation demonstrates this hand-anchored setup in its home exercise guidance.
7. Lying Band Triceps Extension
Best for: Training with your back supported by the floor.
Equipment: Exercise mat, resistance tube with handles, and a compatible low anchor.
How to do it:
- Secure the tube near floor level. Lie on your back with your head toward the anchor, knees bent, and feet flat.
- Hold one handle in each hand, palms facing inward. Position your upper arms above your shoulders with enough distance from the anchor to maintain light tension.
- Keeping your upper arms steady, bend your elbows and bring your hands toward the sides of your head. Stop around a right-angle elbow bend or sooner if needed for comfort.
- Straighten your elbows to bring the handles above your shoulders, then repeat slowly.
Common mistakes: Swinging your upper arms, bringing the handles against your face, or using an anchor that can move under tension.
Setup priority: Test the attachment with gentle tension before lying down. Use another exercise if you cannot create a secure low anchor.
8. Close-Grip Band Floor Press
Best for: Combining triceps work with chest and shoulder pressing.
Muscles worked: Triceps, chest, and front shoulders.
Equipment: Long flat resistance band and a mat.
How to do it:
- Place the band across your upper back, below your neck, and bring its ends forward beneath your arms. Grip one end in each hand.
- Lie on your back with knees bent and feet flat. Keep your hands beside your lower chest, palms facing each other, and elbows close to your torso.
- Press upward until your arms are straight above your chest, keeping your wrists stacked over your forearms.
- Lower slowly until your upper arms lightly touch the floor, then press again. Keep your hips down throughout.
Common mistakes: Bouncing your elbows off the floor, bending your wrists backward, or turning the exercise into a hip bridge.
Grip tip: Keep your hands approximately shoulder-width apart at the top. They do not need to touch.
9. Band-Resisted Close-Grip Push-Up
Best for: Experienced exercisers who can already perform controlled bodyweight push-ups.
Muscles worked: Triceps, chest, and front shoulders; the trunk muscles help maintain alignment.
Equipment: Long-loop resistance band and a nonslip floor.
How to do it:
- From a kneeling position, arrange the band across your upper back, below your neck, and hold it securely beneath each palm.
- Place your hands about shoulder-width apart or slightly narrower. Extend your legs into a plank with your head, torso, and hips aligned.
- Bend your elbows back at a comfortable angle, keeping them relatively close to your sides as you lower your chest toward the floor.
- Press the floor away to return to straight arms, keeping your body moving as one unit.
Common mistakes: Sagging your hips, craning your neck, forcing a very narrow diamond hand position, or letting the band slide upward.
Make it easier: Remove the band. Add resistance only when you can maintain the same controlled range and body position.
Build a Simple Triceps Workout at Home
Start with two sessions per week on nonconsecutive days. Choose one routine below and perform it after your main upper-body exercises or as a short standalone session.
| Setup | Exercise | Sets and reps | Rest |
|---|---|---|---|
| With a high anchor | Standing band triceps pressdown | 2 × 10–15 | 60–90 seconds |
| With a high anchor | Two-arm overhead band triceps extension | 2 × 10–15 | 60–90 seconds |
| Without an external anchor | Single-arm overhead band triceps extension | 2 × 10–15 per arm | 60–90 seconds after both arms |
| Without an external anchor | Standing self-anchored triceps extension | 2 × 10–15 per arm | 60–90 seconds after both arms |
Use a resistance that leaves approximately two or three controlled repetitions available at the end of each set. If you already do substantial chest and shoulder pressing, begin with one additional triceps exercise and assess recovery before adding more.
For a compound option, replace one exercise with the floor press for 8–15 repetitions. Stronger exercisers can use the band-resisted push-up for 6–12 repetitions, resting 90–120 seconds as needed. These are substitutions, so you can keep the session manageable.
How to Progress
- Add repetitions first. Build toward the top of the chosen range while keeping the same setup and range of motion.
- Increase resistance gradually. When every set reaches the upper target with good control for two sessions, try a slightly stronger band and return to the lower end of the range.
- Track the setup. Record the band, anchor height, and your position. Changing your distance from the anchor also changes resistance.
- Use recovery as feedback. Reduce resistance or sets if discomfort develops or performance repeatedly declines.
Can Resistance Bands Build Triceps?
Yes. The American College of Sports Medicine recognizes elastic bands and home training as effective resistance-training options in its 2026 guidance. Progress depends on consistent training, sufficient effort, and gradually increasing the challenge.
Overhead work can provide a useful change in muscle length because the triceps’ long head crosses the shoulder. Researchers at Ritsumeikan University found greater triceps growth with overhead versus arm-at-side cable extensions in a 12-week study. The study used cables, so it does not establish that a particular band exercise is superior.
For a practical starting combination, choose one comfortable overhead variation and one pressdown or kickback. If overhead work is uncomfortable, you can still train your triceps with the other options.
Frequently Asked Questions
What resistance band should I start with?
Choose a band that lets you complete the target repetitions without changing posture or shortening the movement. Band colors are not standardized across brands. You will often need lighter resistance for single-arm extensions and kickbacks than for floor presses.
Do these exercises train all three triceps heads?
All three heads contribute to elbow extension. Shoulder position changes the working length of the long head, but changing your grip does not completely isolate one head. Prioritize a comfortable setup and controlled repetitions over trying to target a single small region.
Can I use a mini-loop band for these exercises?
A short mini-loop is not a direct substitute for the long bands described here. It may not provide enough length for the required setup and movement. Use the specified band type and follow its manufacturer’s stretching limits.
What should I do if overhead extensions bother my shoulders?
Stop the exercise. A lighter band or smaller comfortable range may be suitable, but do not force the movement. Choose an arm-at-side exercise only if it feels comfortable, and seek qualified advice for persistent pain or recurring symptoms.
Start With Two Movements You Can Control
Choose exercises that fit your equipment, keep the final repetitions smooth, and record your progress. Two well-chosen movements performed consistently are a practical place to begin.
This content is for informational purposes only and is not a substitute for medical advice.
References
- American College of Sports Medicine — Updated Resistance Training Guidelines (2026)
- Lopes et al. — Elastic Resistance Versus Conventional Resistance: Systematic Review and Meta-Analysis (2019).
- Maeo et al. — Triceps Muscle Growth With Overhead Versus Neutral-Arm Elbow Extensions (2023)
- American Council on Exercise — Resistance Band Workout Guidance and Safety
- American Council on Exercise — Build Your Triceps Workout
- Mayo Clinic — Triceps Kickback With Resistance Tubing
- British Heart Foundation — Resistance Band Exercises at Home